
 高CP值入門路由器- TOTOLINK N302RE
 無線路由器已經是家家戶戶的必需品,如果沒有802.11ac的需求,基本上使用者都會挑選一台CP值較高的產品,畢竟需求簡單不用太多花俏的功能,入門市場真的也是打得亂七八糟,產品多且廠商也多,雖然是入門產品也希望訊號涵蓋有一定水準,這次要來介紹一款價格漂亮且訊號涵蓋率有一定水準的高CP值入門路由器,由TOTOLINK推出的『N302RE』高速無線分享器,TOTOLINK N302RE WiFi部分規格為802.11n,傳輸速率最高300Mbps,天線部分採用3支5dBi全向性天線,提供還不錯的訊號品質與穿牆能力,並提供無線中繼、無線橋接、上網時間管理、遠端喚醒功能,還內建了一組MOD專用埠,這次導入了全新操作介面,使用手機也能輕鬆設定路由器,並加入了系統定時重啟功能,讓使用者可自行設定機器重啟,完全自動將機器重新啟動,廢話不多說,還是快來看這款高CP值入門路由器TOTOLINK N302RE高速無線分享器。
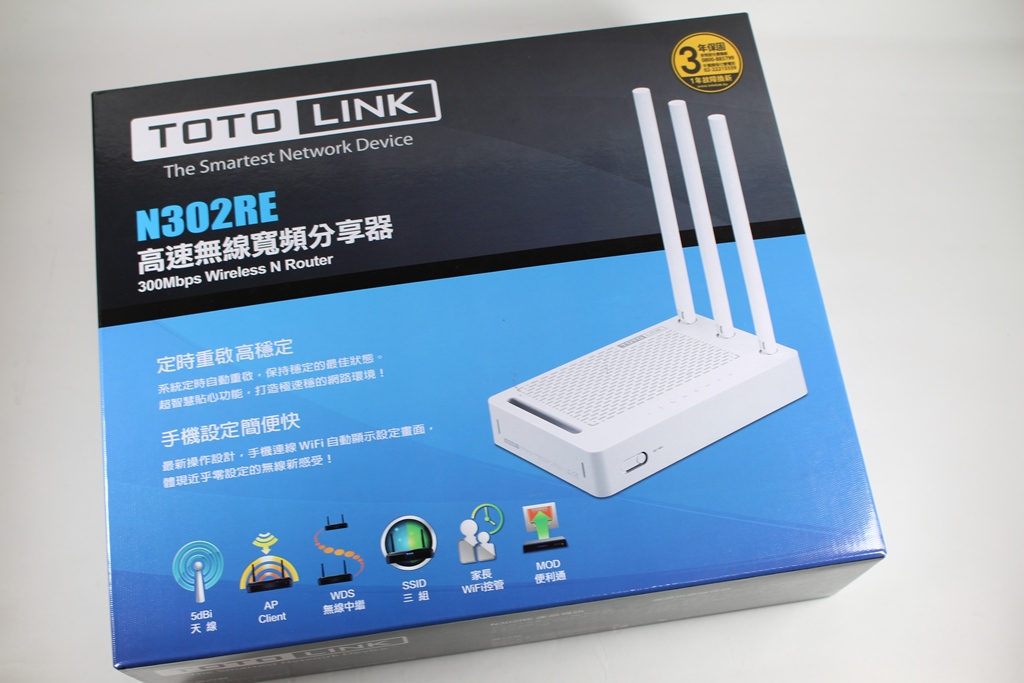
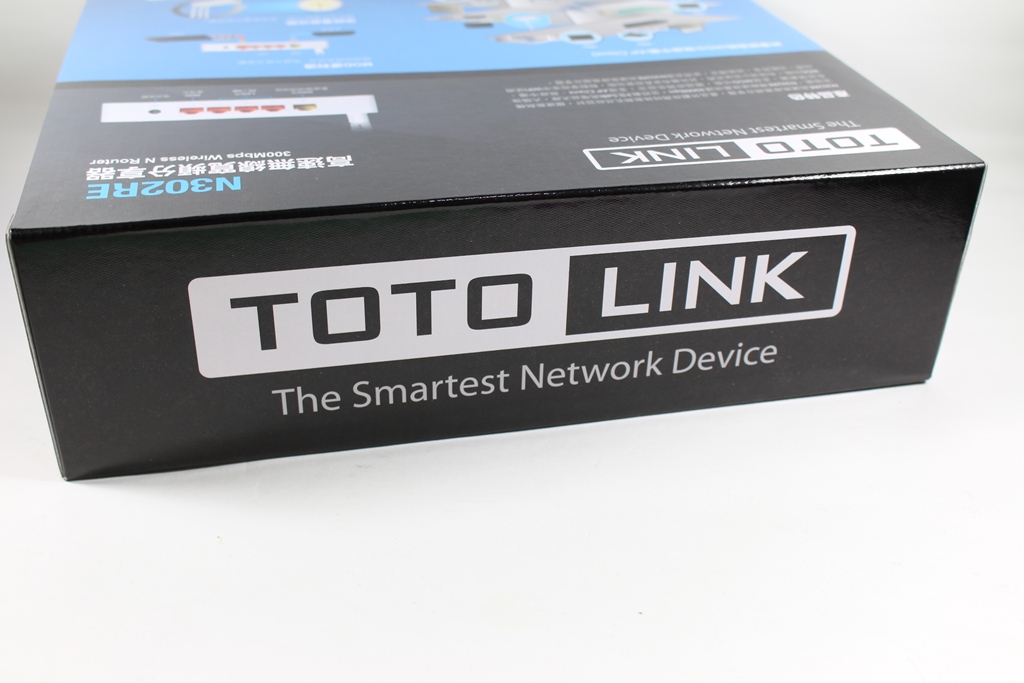
TOTOLINK N302RE包裝與本體▼外包裝簡單低調,標示產品型號、特色,並有產品外觀照片,原廠提供三年保固一年換新服務
▼TOTOLINK Logo
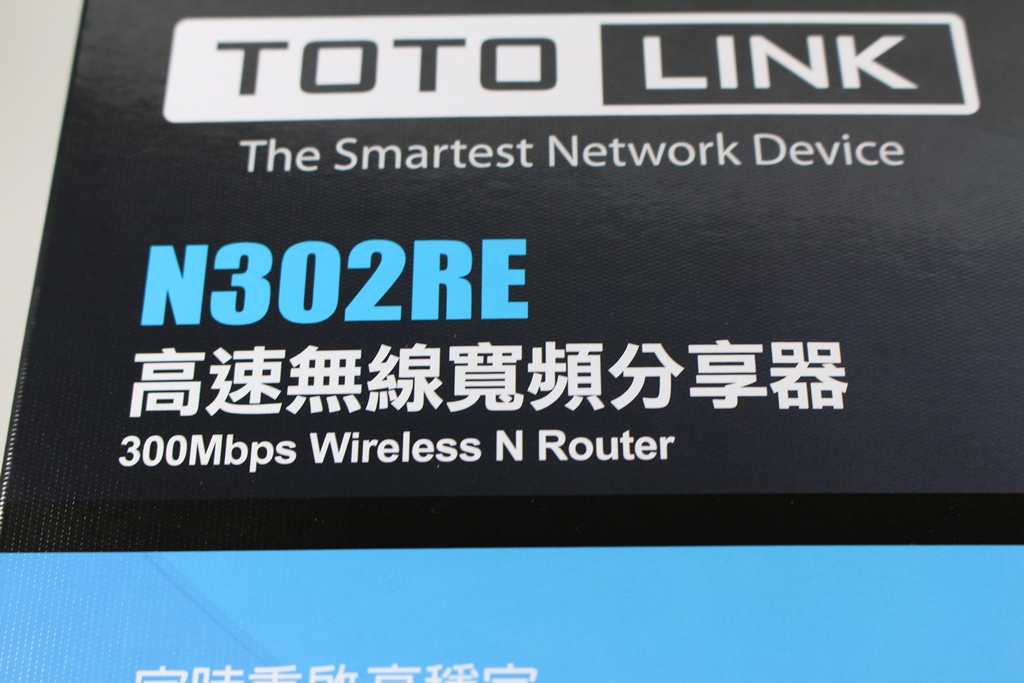
▼TOTOLINK N302RE 300Mbps Wireless N Router
▼原廠提供三年保固一年換新服務,並有線上客服服務

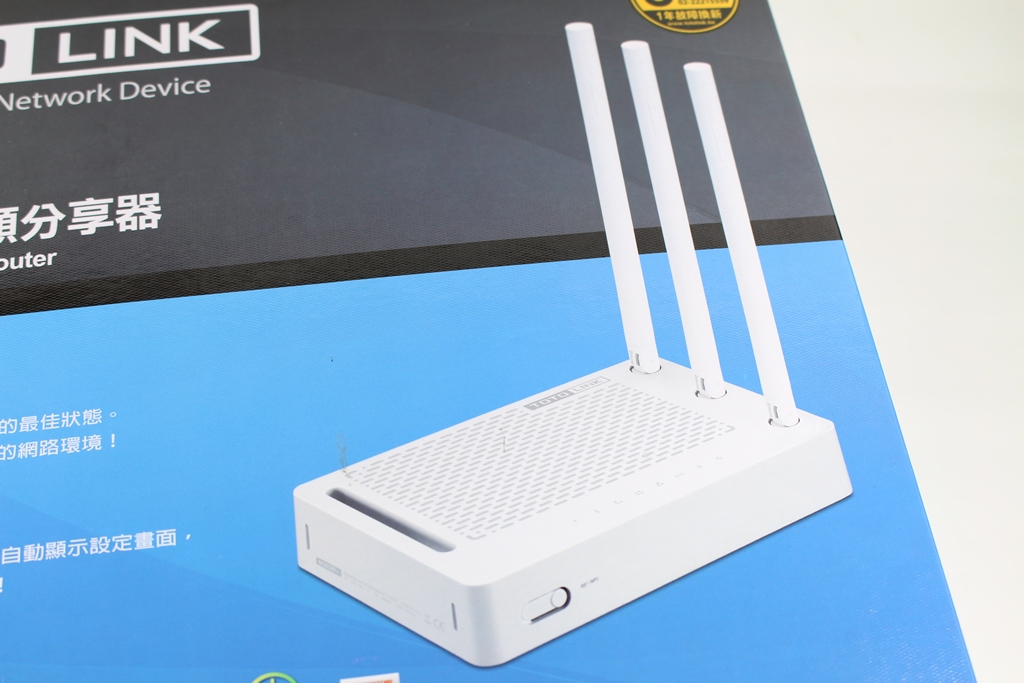
▼N300RH外型,採用3支5dBi全向性天線,相信會有不錯訊號涵蓋表現
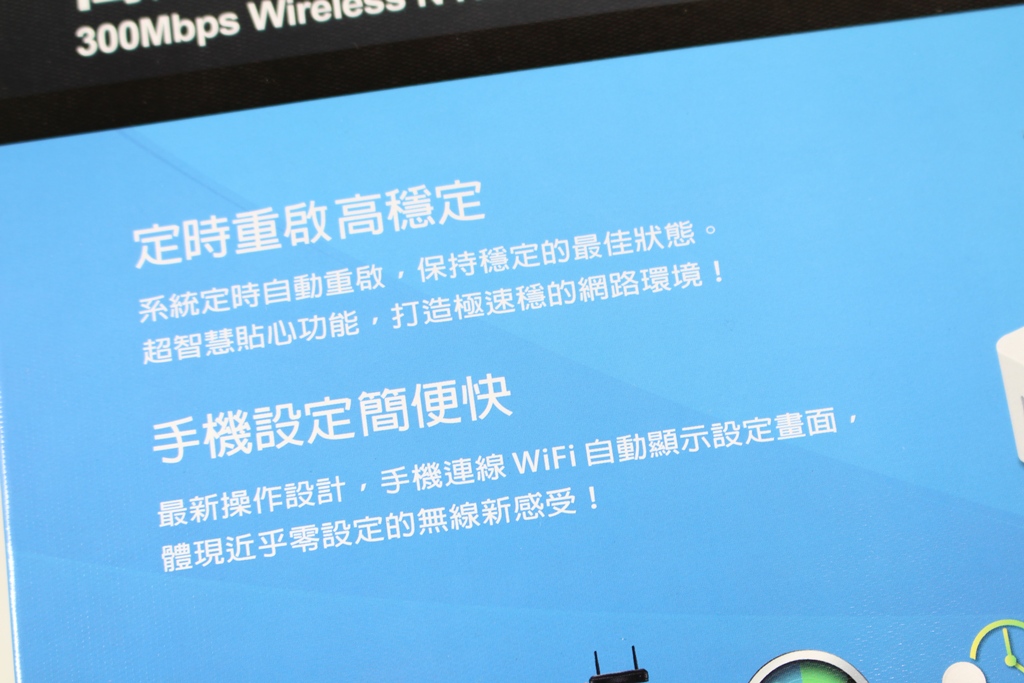
▼TOTOLINK N302RE最大特點定時重啟保持網路最佳狀態與手機設定簡便快
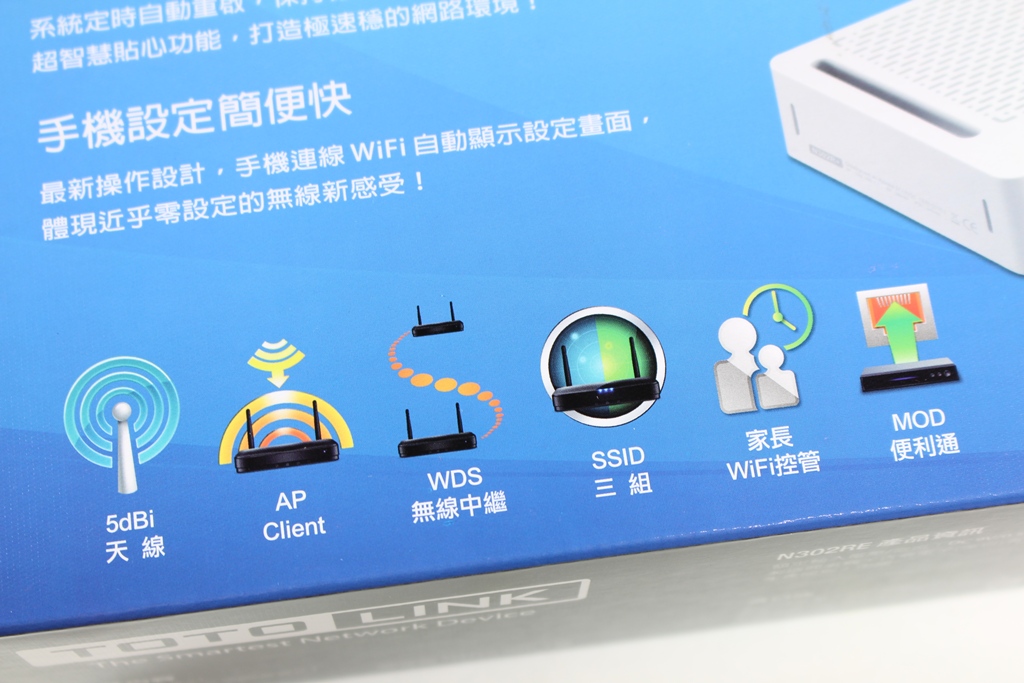
▼TOTOLINK N302RE特點:
1.採用3支5dBi全向性天線
1.支援AP Client功能
2.支援WDS無線中繼
3.支援三組SSID設定
4.家長WiFi控管
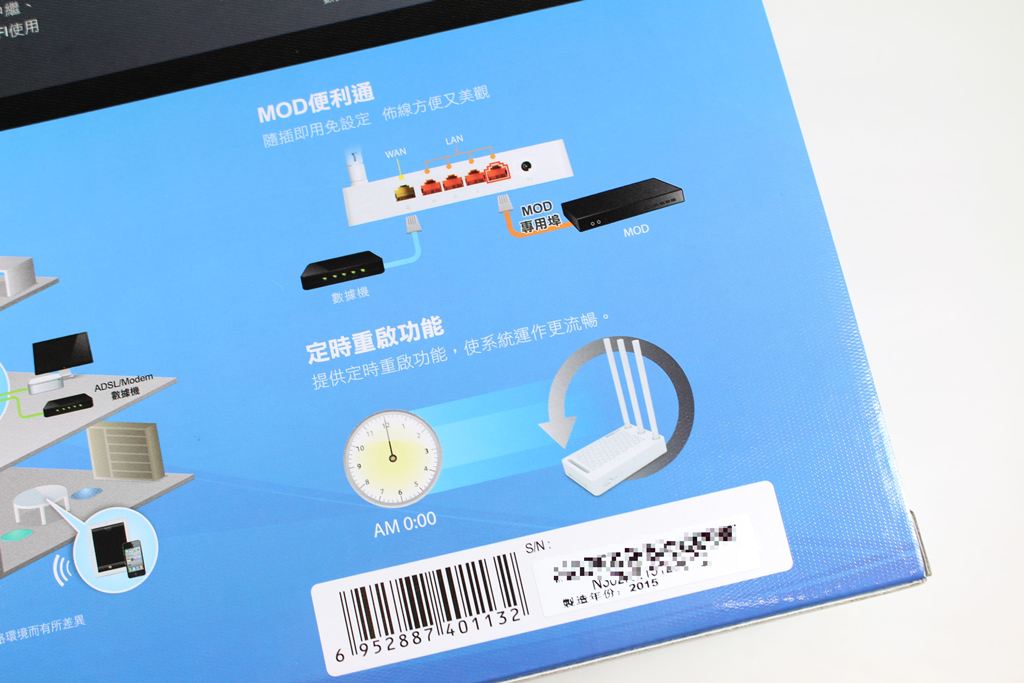
5.支援MOD便利通
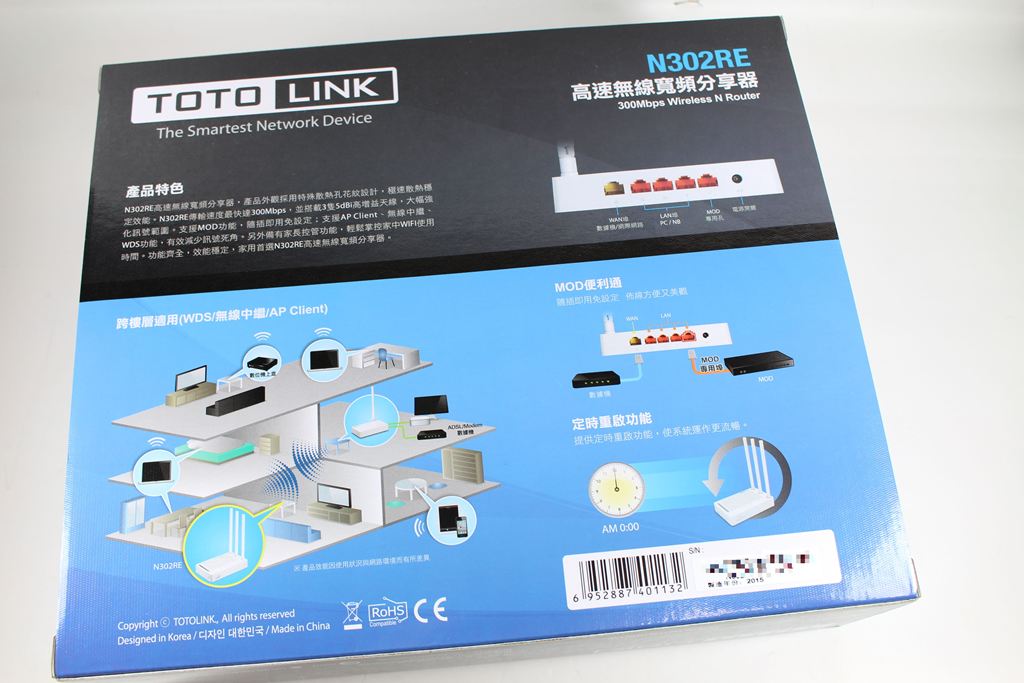
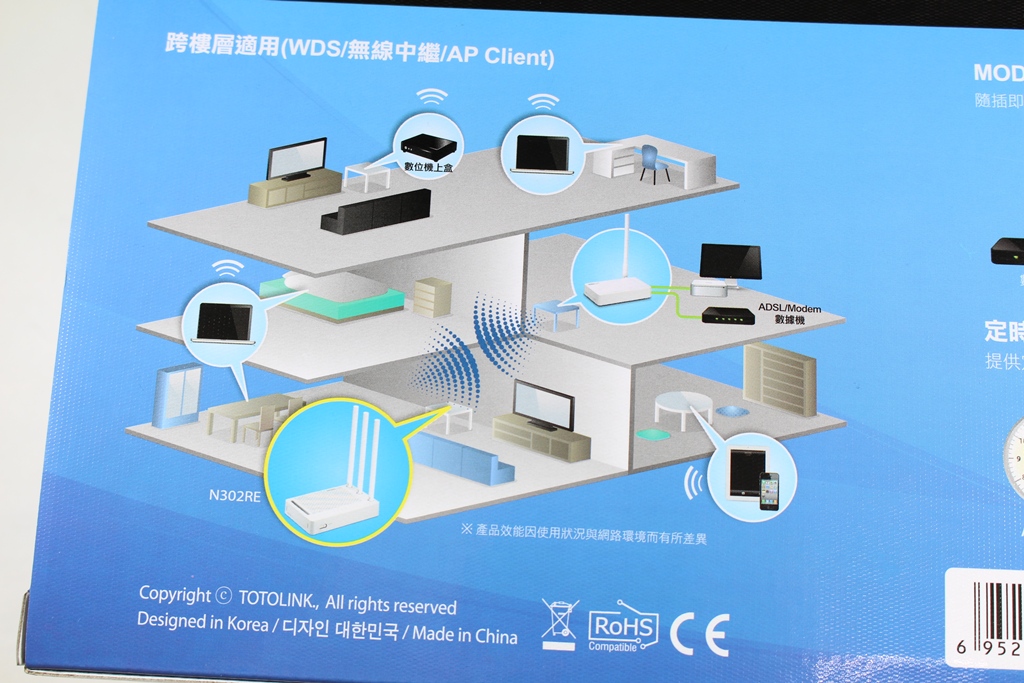
▼包裝背面說明產品應用、特色與連接埠介紹
▼TOTOLINK N302RE產品特色介紹

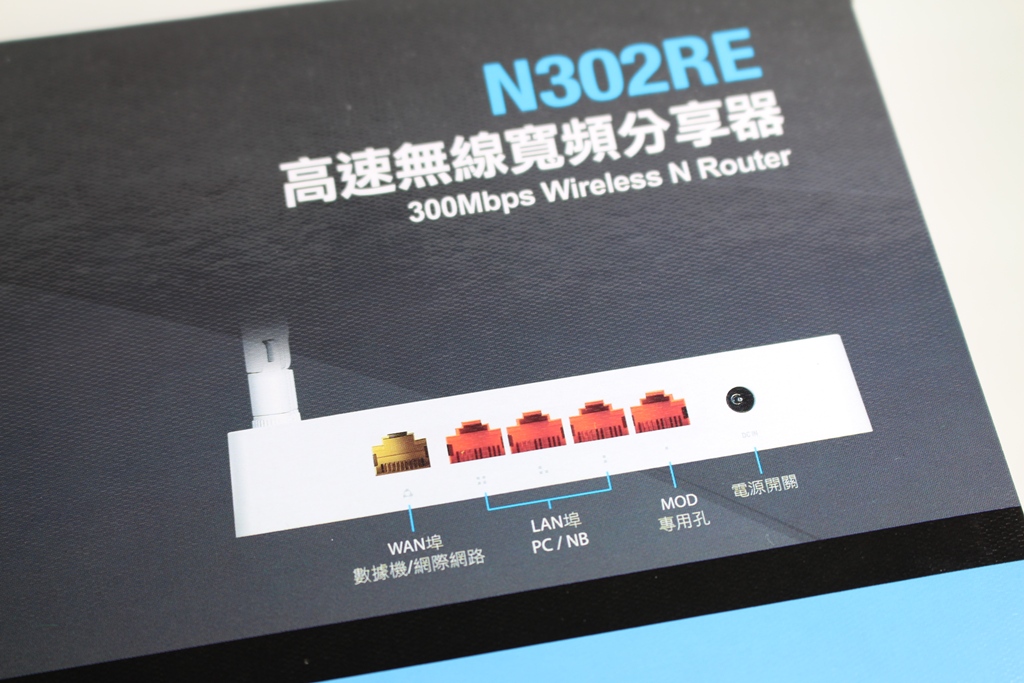
▼TOTOLINK N302RE連接埠介紹
▼TOTOLINK N302RE應用:可用於跨樓層,超大WiFi涵蓋範圍,並支援萬用橋接與MOD便利通,還有超方便的自動重新啟動功能
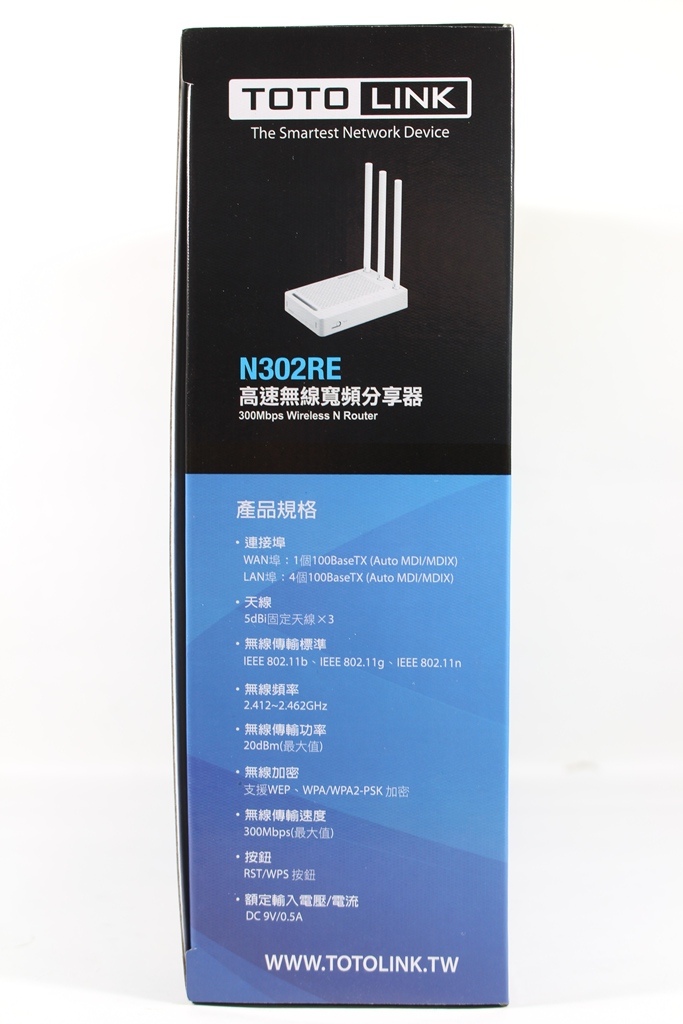
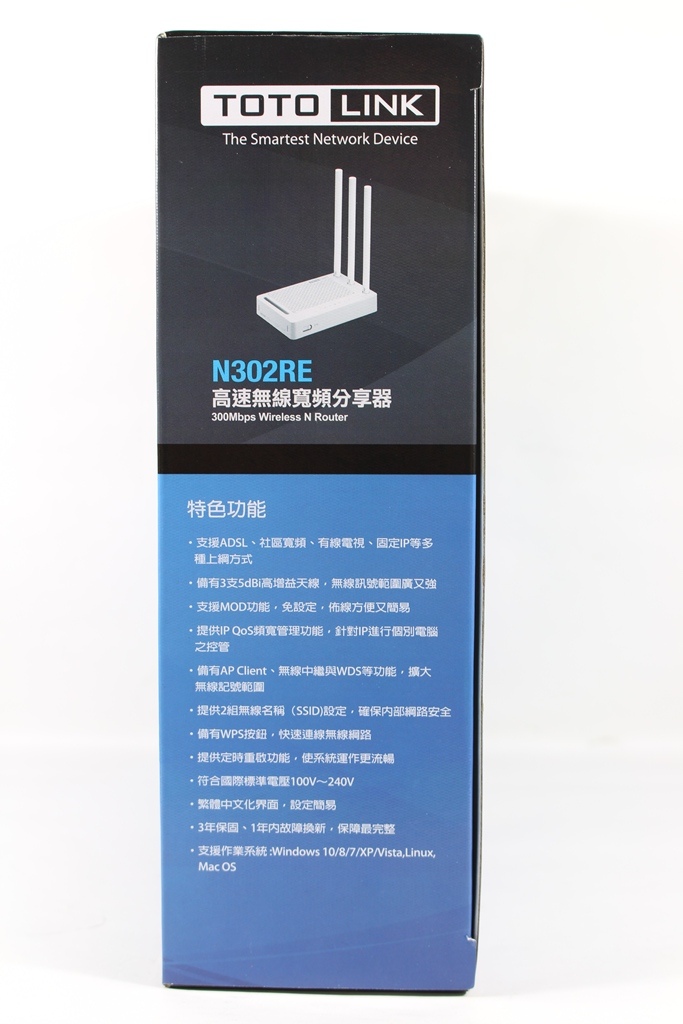
▼包裝側面說明產品規格與特色功能說明
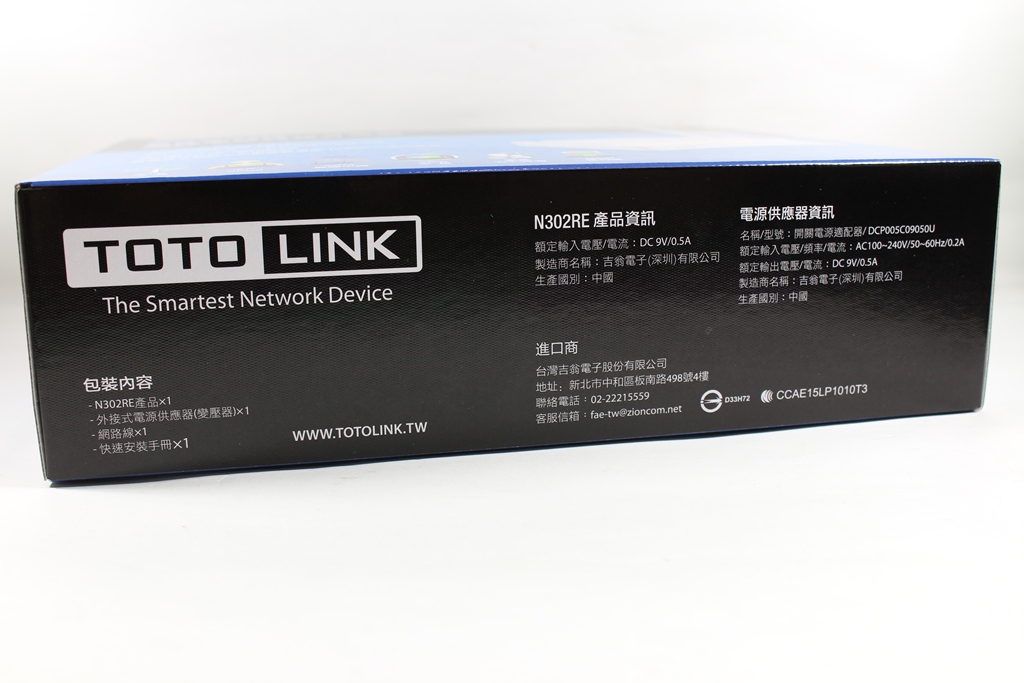
▼包裝上下側為TOTOLINK Logo、包裝內容物說明、產品資訊與代理商資訊
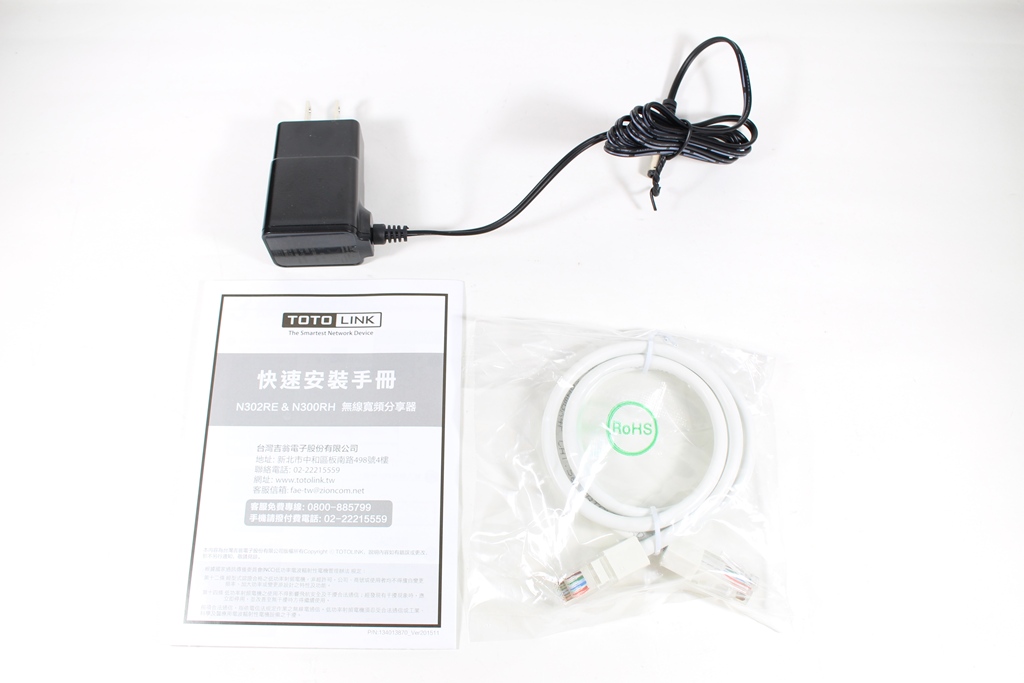
▼配件部分:快速安裝手冊、變壓器與網路線,變壓器為9V/0.5A

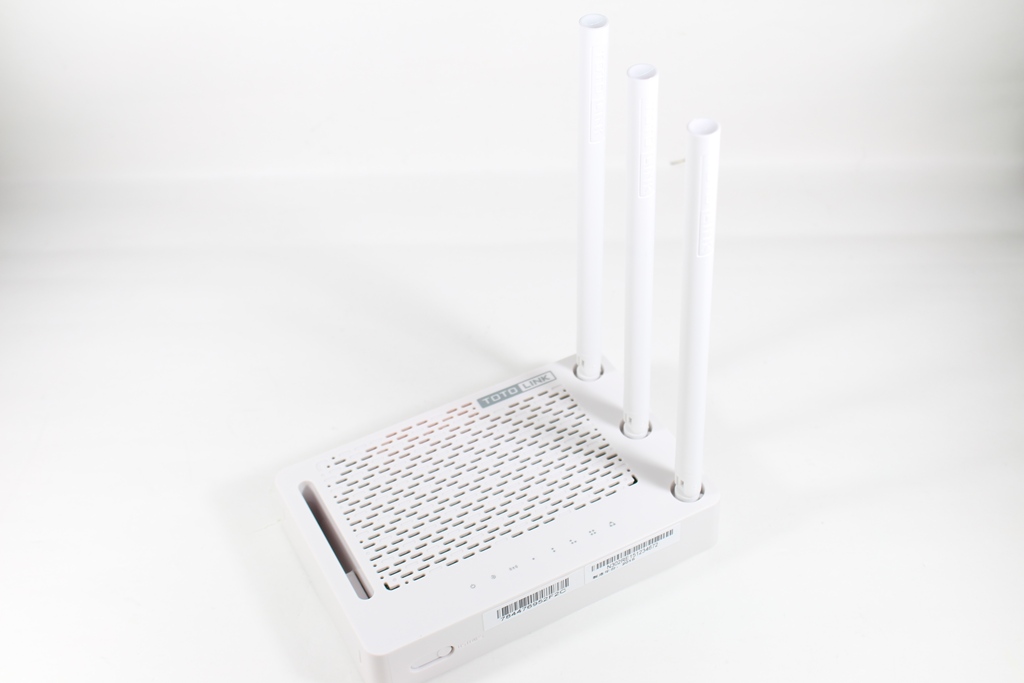
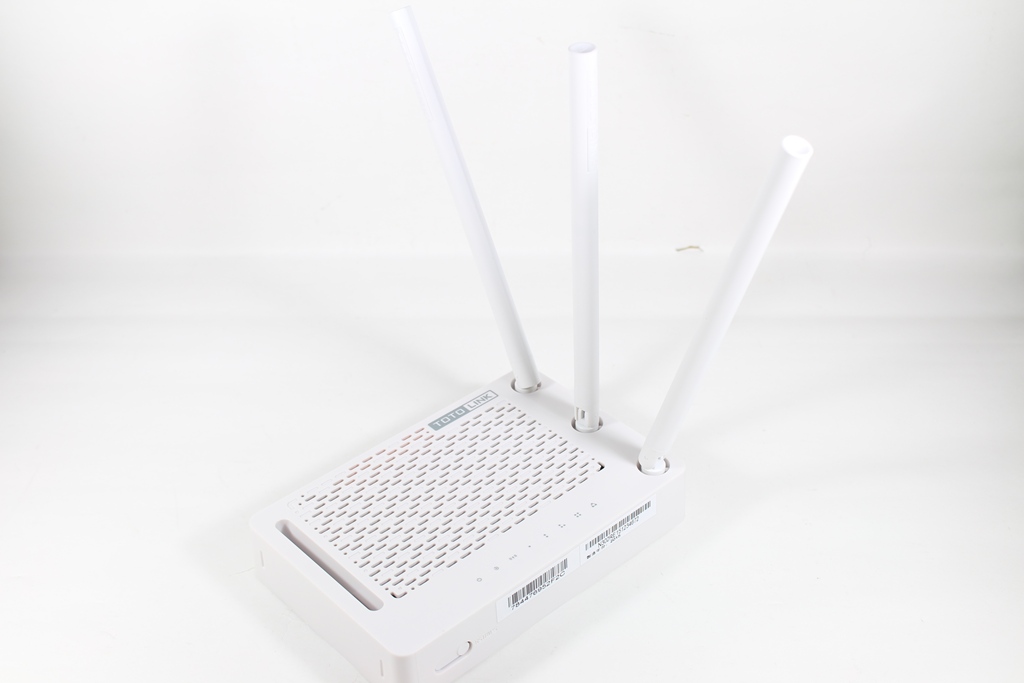
▼TOTOLINK N302RE本體一覽,本體採用白色設計,三支天線可依照使用者使用需求做調整,正面開有造型散熱口,提高散熱效果
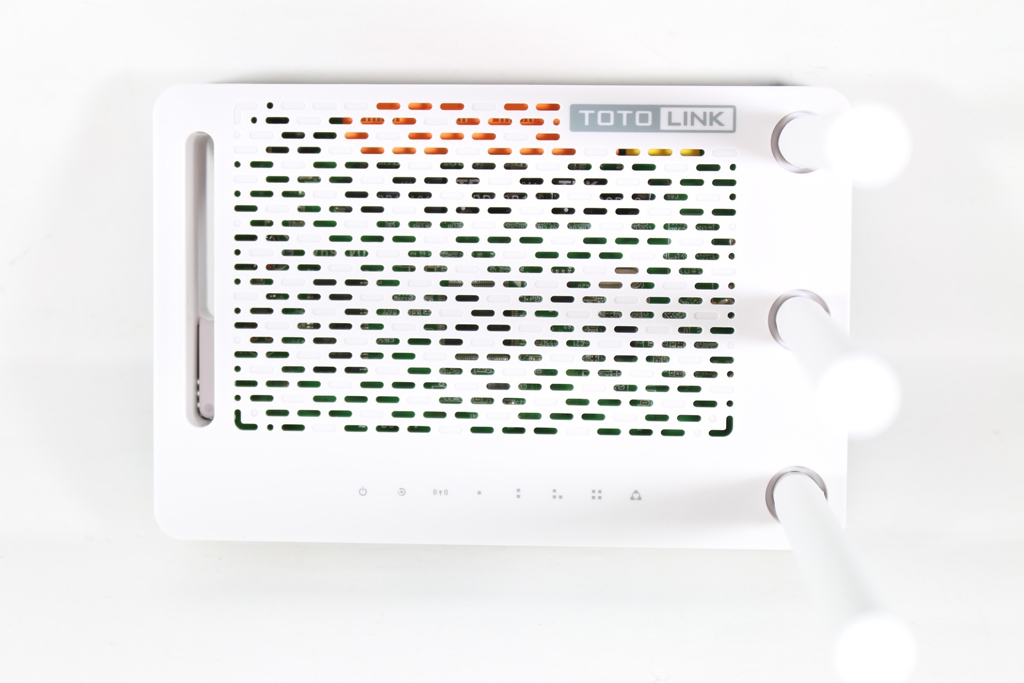
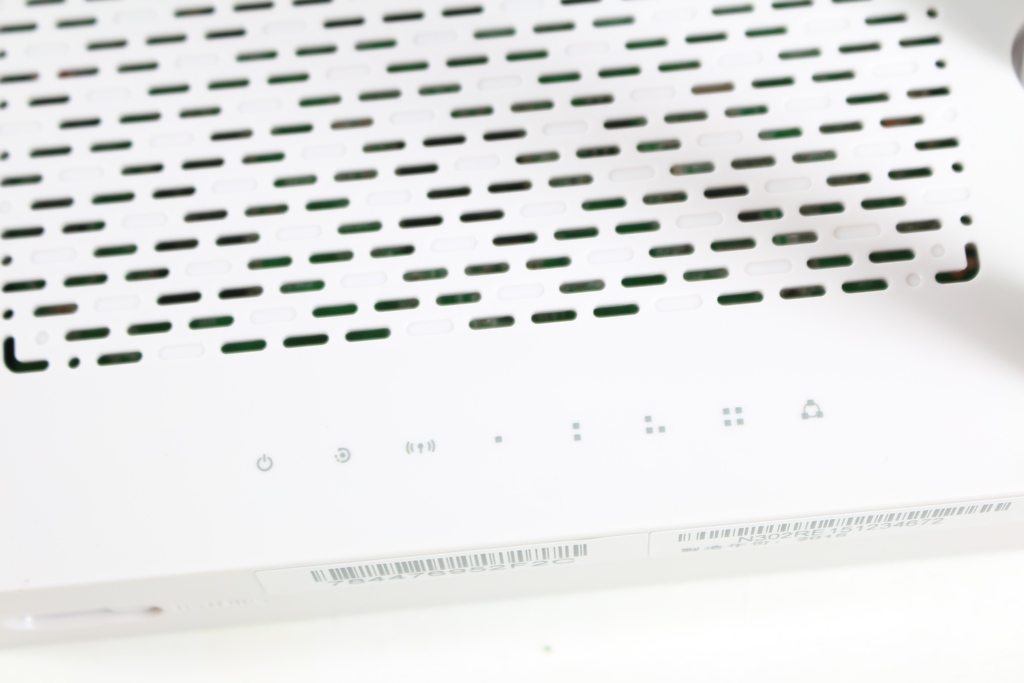
▼指示燈號部分有線網路燈號、WiFi燈號、電源燈號…等
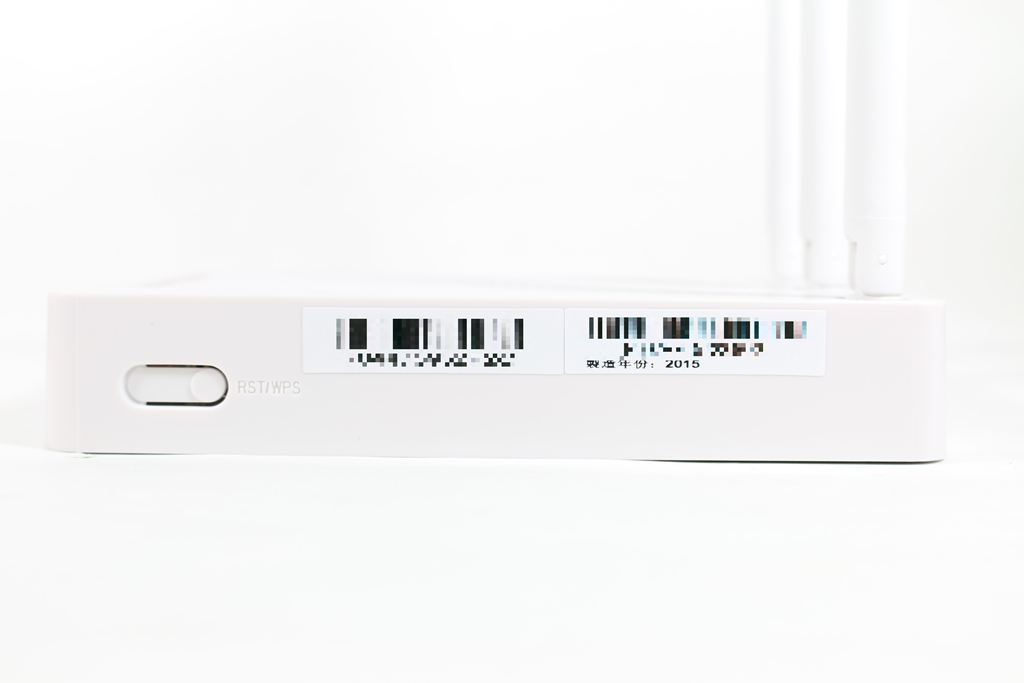
▼reset與WPS共用按鈕
▼另一側為I/O部分,分別為WAN、LAN與電源,上方貼有有線網路安裝說明

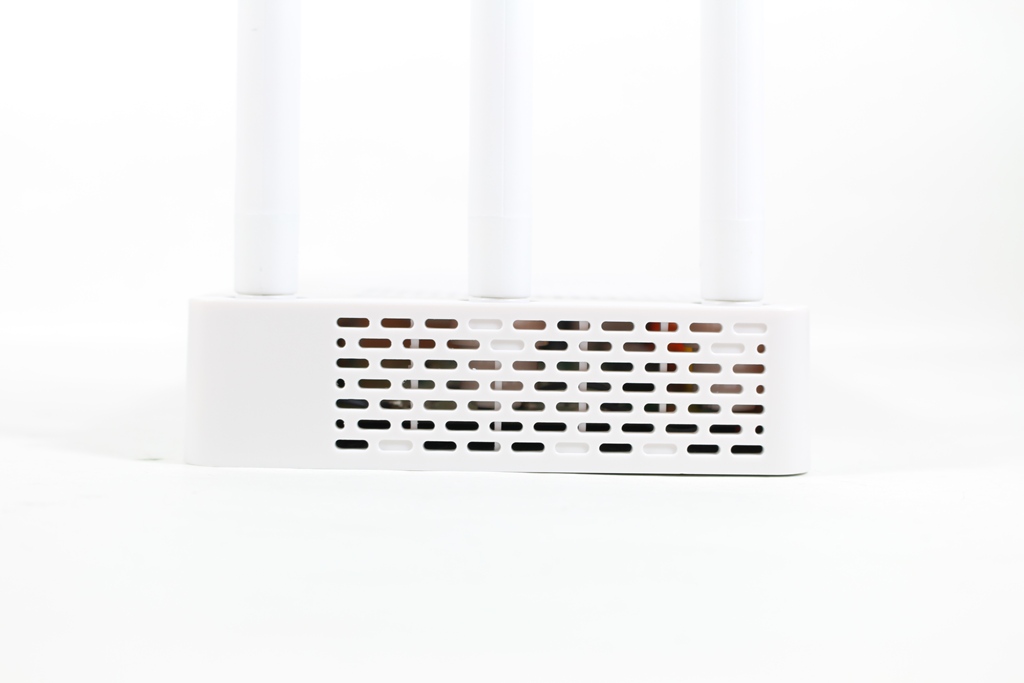
▼側面設有散熱開口設計
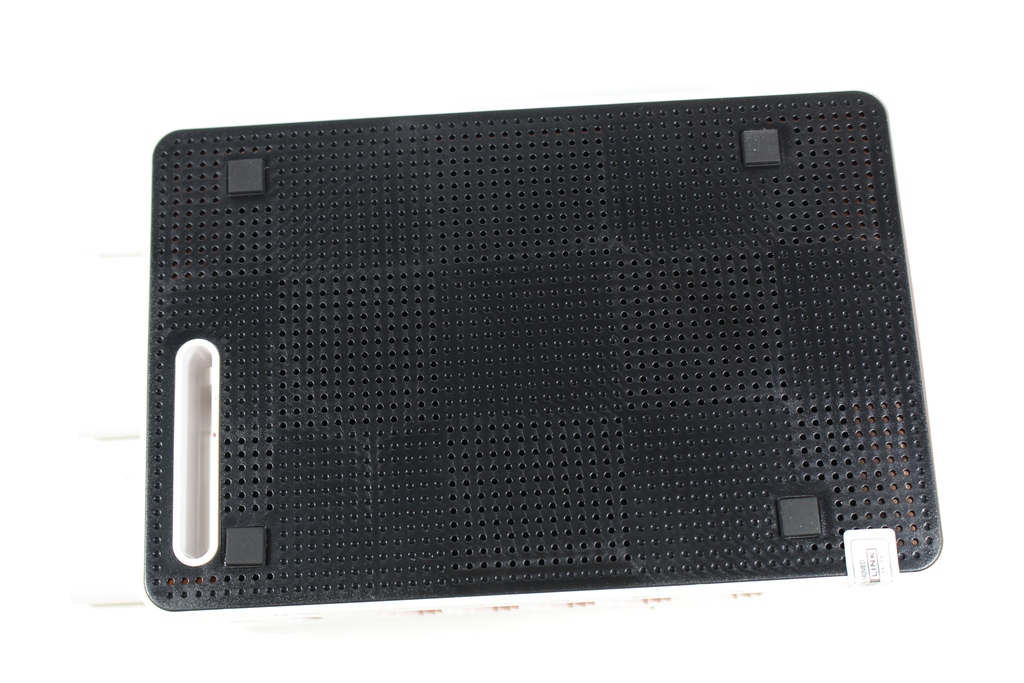
▼底部設有防滑膠墊,並有開孔做散熱
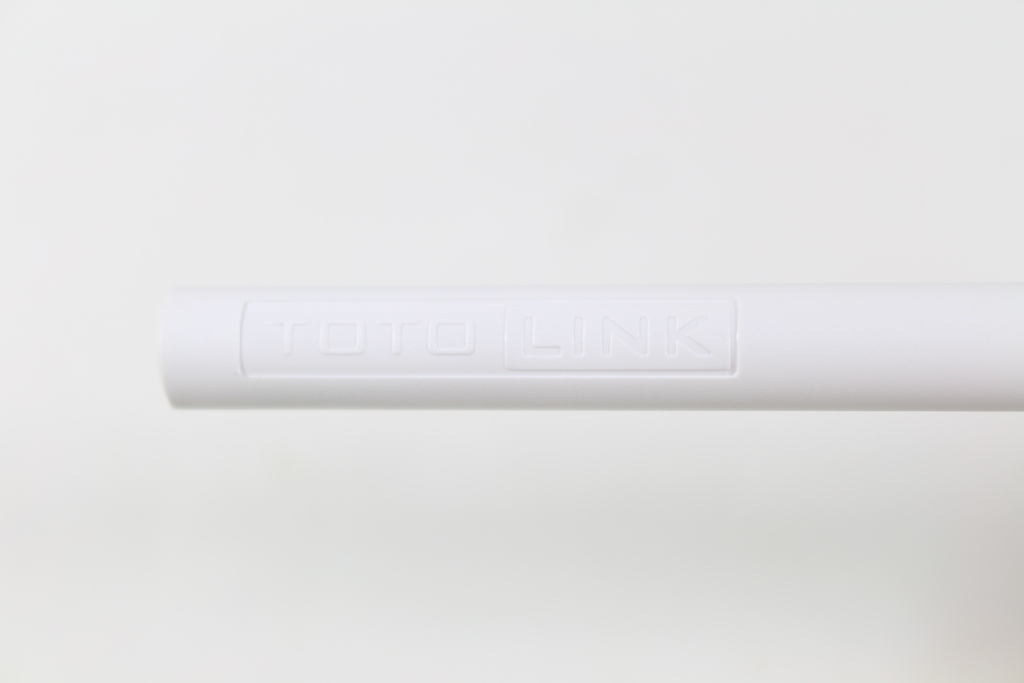
▼天線上有TOTOLINK字樣
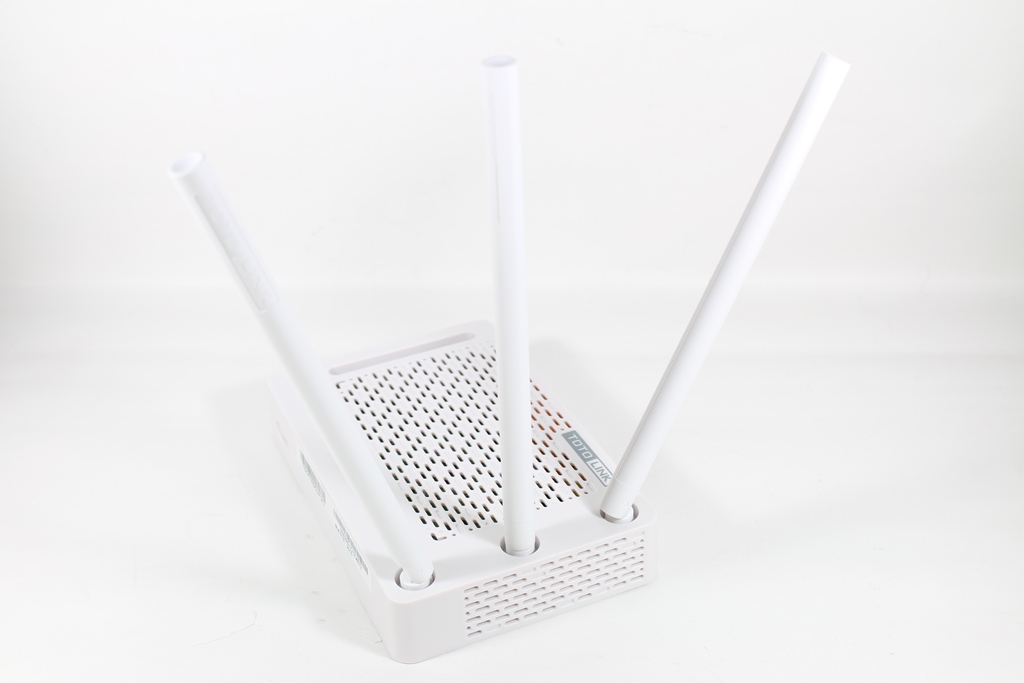
▼TOTOLINK N302RE其他角度一覽
 TOTOLINK N302RE基本設定介紹
近期推出的新產品操作介面都是全新介面,與以往的設定頁面稍有不同,這次就來介紹新款的操作介面拉
▼快速設定有別以往步驟方式,直接可看到有線網路設定、WiFi設定與MOD設定,有線網路部分則必須要按照網路連線方式做選擇,有DHCP、固定IP與PPPoE


以上是快速設定,完成以上幾個簡單設定步驟,沒有其他需求的使用這基本上就可以開始使用這台路由器了!!設定非常簡單!!不到5分鐘可以輕鬆搞定難搞的網路設定
接下來進入到進階設定部分
▼系統狀態:可看到目前路由器內的有線網路與無線網路的狀態,還可看到有哪幾個連接埠有網路連線


▼連線模式:可設定連線模式,有AP-Clinet、無線用戶端模式、無線中繼、路由器模式、Bridge模式與Bridge用戶端模式,預設為路由器模式

▼網路設定-網路連線設定:設定WAN連線方式,可選擇DHCP、PPPoE與固定IP


▼網路設定-區域網路設定:可設定區域網路與DHPC IP範圍,並可設定DNS方式


▼無線網路設定-無線網路基本設定:可設定SSID、加密方式、密碼與限制連線數


▼無線網路設定-SSID1設定:可設定第二組SSID、加密方式、密碼與限制連線數

▼無線網路設定-SSID2設定:可設定第三組SSID、加密方式、密碼與限制連線數

▼無線網路設定-進階設定:可設定無線網路細項設定與WiFi模式


▼無線網路設定-WDS設定:可設定WiFi WDS功能

▼無線網路設定-無線MAC位置控制:可設定無線網路MAC過濾機制

▼無線網路設定-WPS設定:可設定WiFi WPS功能

▼無線網路設定-WiFi排程:可設定每天開啟WiFi功能時段

▼QoS:可設定QoS是否開啟,並設定流量管制規則

▼防火牆-MAC位置過濾:可設定無線網路MAC位置黑名單與白名單

▼防火牆-IP位置過濾:可設定IP過濾功能

▼防火牆-通訊埠過濾:可設定通訊埠過濾功能

▼防火牆-URL關鍵字過濾:可設定URL關鍵字過濾功能

▼防火牆-通訊埠轉發:可設定通訊埠轉發功能

▼防火牆-DMZ:可設定DMZ相關參數

▼系統工具-韌體升級:可升級路由器內的韌體檔案

▼系統工具-備份/還原:可備份與還原路由器設定參數,也可還原為原廠預設值

▼系統工具-DDNS:可設定DDNS相關設定


▼系統工具-系統時間:可設定時間更新伺服器與時區

▼系統工具-登入密碼設定:可修改路由器登入密碼

▼系統工具-定時重啟時間表:可設定定時重啟功能

▼系統工具-系統重新啟動:可將系統做重啟啟動
 手機也可以輕鬆設定路由器
許多路由器雖然可以直接使用手機做設定,但都必須要使用原廠提供的App軟體搭配做設定,介面才夠人性化與操作方便,近期TOTOLINK推出的產品都採用新介面設計,讓使用者使用手機設定也不用搭配App軟體,操作同樣可以相當人性化與好操作
▼進入設定畫面介面與電腦端相當

▼進入進階設定後畫面與電腦端看到相同,操作上也非常方便

▼功能表部分在手機端變成在最上面,呈現方式為數狀排列,相當好操作,不用因為是手機瀏覽器而造成字體過小或是瀏覽設定上的不方便


 應用介紹3組SSID區隔網域
如果使用者需要多個WiFi網域的時候,則可以利用TOTOLINK N302RE無線路由器設定三個SSID來區隔網域,設定也是相當容易的喔!!
▼進入無線網路設定內的SSID設定,設定好其他兩組SSID與密碼後就大功告成!!


▼設定完成後即可看到總共有三個SSID可以連線
 網路中繼站
網路中繼站當家中原有一台路由器,但WiFi訊號有死角時,則可以利用TOTOLINK N302RE無線路由器當作中繼站來使用
▼進入連線模式將連線模式設定為無線中繼

▼需連線原有的WiFi訊號,輸入密碼後即可

▼到系統狀態查看,可看到無線網路中繼狀態
 AP Client功能
AP Client功能簡單說就是將路由器變成一台無線網路轉有線網路的機器,讓無法牽線的地方也能經由WiFi把網路變成有線網路使用,重點是不限廠牌與型號,只要是WiFi訊號即可!!!
▼進入連線模式將連線模式設定為AP Client

▼需連線原有的WiFi訊號,輸入密碼後即可


▼到系統狀態查看,可看到網路連線狀態為Wireless ISP
 距離與訊號強度測試
路由器訊號強度與連線距離有直接關係,5~6米基本款距離就不需再多做測試,這次測試兩種距離,8米與10米,8米部分穿過3面鋼筋水泥牆壁(牆壁厚度約13公分),10米部分穿過4面鋼筋水泥牆壁(牆壁厚度約13公分),現在就來看看TOTOLINK N302RE的表現
▼8米測試結果-平均訊號強度平均在78.5左右,表現還算不差,三組SSID皆有不錯的訊號強度

▼10米測試結果-平均訊號強度平均在65.8左右,三組SSID強度差不多,整體表現算還及格
 總結
總結TOTOLINK N302RE在入門市場中算是有不錯的表現,在訊號涵蓋率上有著不錯的表現;在設定上可以說是相當容易上手,就算是新手也是可以在短短的5分鐘內迅速將網路設定完畢,如果較為進階的使用者可以進入到進階模式做更細部的設定,進階設定的選項這次改版後同樣也是淺顯易懂,可以輕輕鬆鬆將想要的功能設定完畢,再加上新款介面使用手機做設定也是相當輕鬆簡單,且不用下載專用App軟體,直接用手機瀏覽器即可,操作介面同樣相當人性化;在應用上基本的3組SSID、無線網路中繼與AP Client…等功能可沒有因為價格親民而有所縮水,且設定相當簡單與容易;價格部分相當漂亮市價約NT$599元,你沒有看錯,就是NT$599元,同樣的價格其他廠商都是雙天線而已,TOTOLINK這次真的殺很大,硬是在規格上把附近價位的產品都給比下去了;原廠提供三年保固與一年換新服務,值得一提的是TOTOLINK產品在全省的原價屋有提供快換服務,現在產品所有售後服務皆由吉翁電子(TOTOLINK台灣分公司)提供服務。


