
 讯号强化收讯无死角
无线分享器已经是家家户户的必需品,不过目前许多主流且价格较为亲民的产品,讯号强度都有些差强人意,如果使用电信业者提供数据机内建的WiFi讯号强度更是悲剧,这次要介绍一款由台湾塔米欧tamio所推出的『REN-1』插头式大功率WiFi强波器,REN-1采用高功率发射接收强化设计,发射功率高达600 mW,延伸讯号范围最大可达180坪,机器上直接采用插头式设计,可直接安装在墙上(壁挂),还有有线网路孔设计,讯号强化可使用无线或有线皆可,天线部分为2T2R设计,内建2.5dBi隐藏式天线,外部可拆式天线为2dBi,讯号强度部分可透过设定介面做调整,让使用者可自行选择适合自己使用环境的强度,其他进阶功能尚WiFi上网时间管控与登入使用者黑/白名单管理,功能来说相当齐全;tamio REN-1有别于一般强波器和分享器,采用硬体加速解决方案,有独立两组高功率发射和接收晶片,透过高功率晶片,可以将无线设备的发射功率增强后再发送,能显着提升Wi-Fi讯号覆盖范围,同时也是让强波器更专注于讯号接收和发射处理并减轻主晶片的负担,绝对是市面上少有的 真 • 强波器;另外产品为MIT台湾制造,品质有保障,保固部分提供三年保固一年故障换新,现在就来看讯号强化收讯无死角的台湾塔米欧tamio REN-1插头式大功率WiFi强波器。
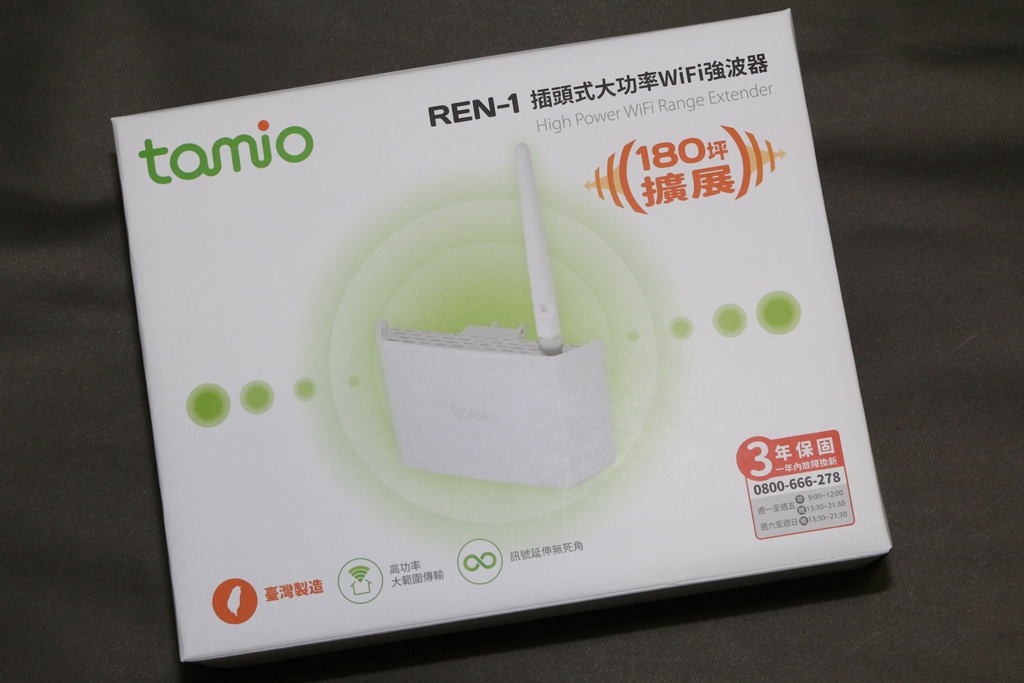
tamio REN-1包装与本体▼外包装简单,标示产品型号、特色,并有产品外观照片,原厂提供三年保固一年故障换新服务
▼tamio Logo

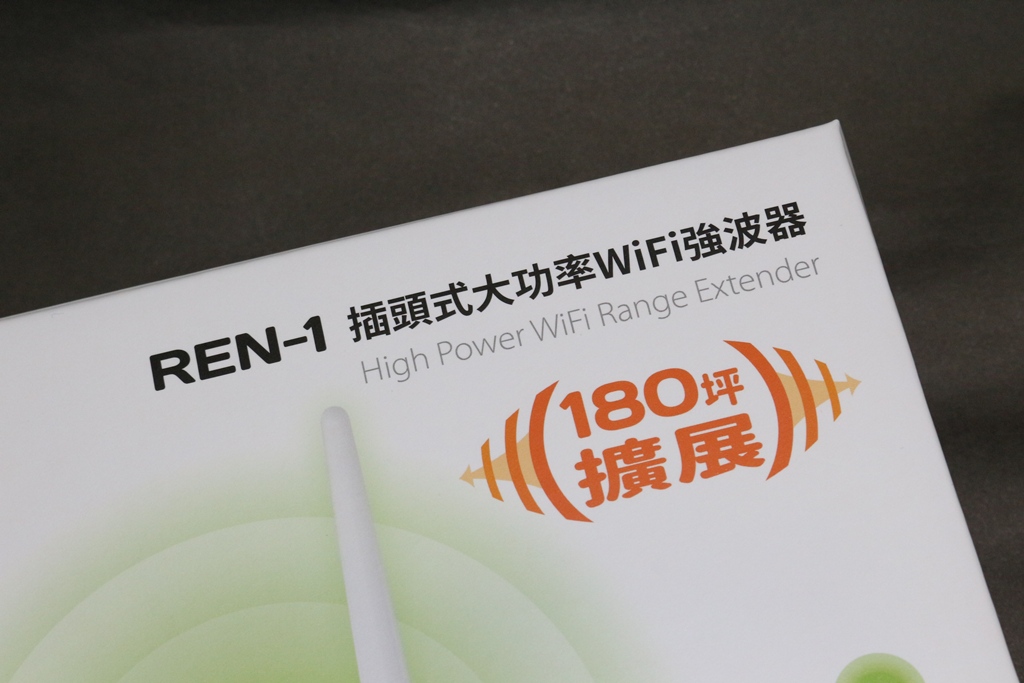
▼产品型号为REN-1插头式大功率WiFi强波器,并主打可以扩展范围最大为180坪
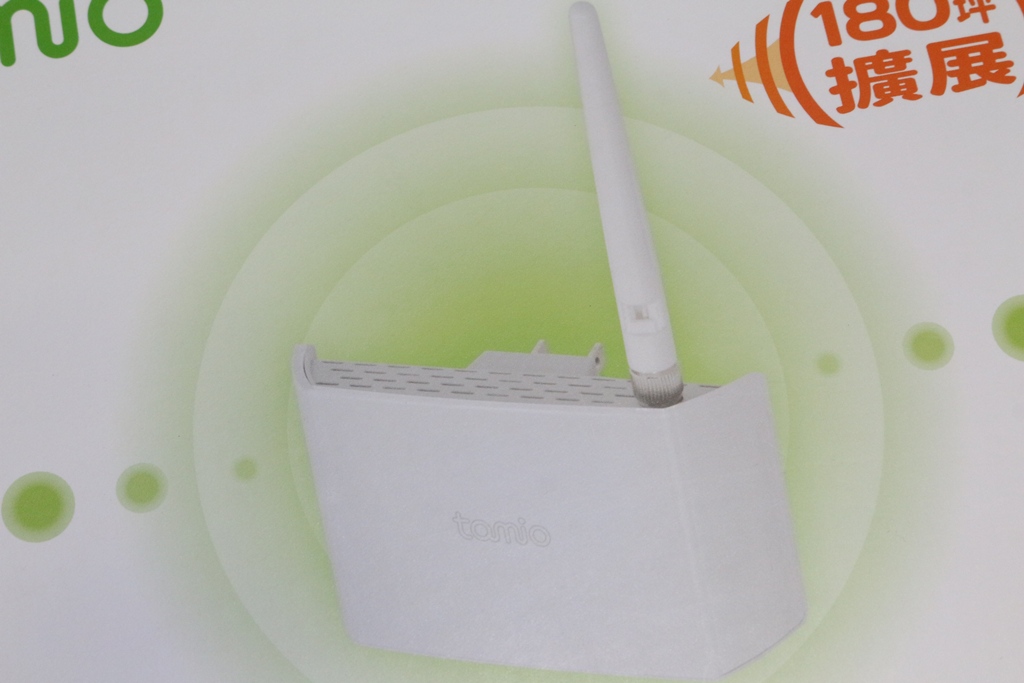
▼REN-1插头式大功率WiFi强波器产品外型
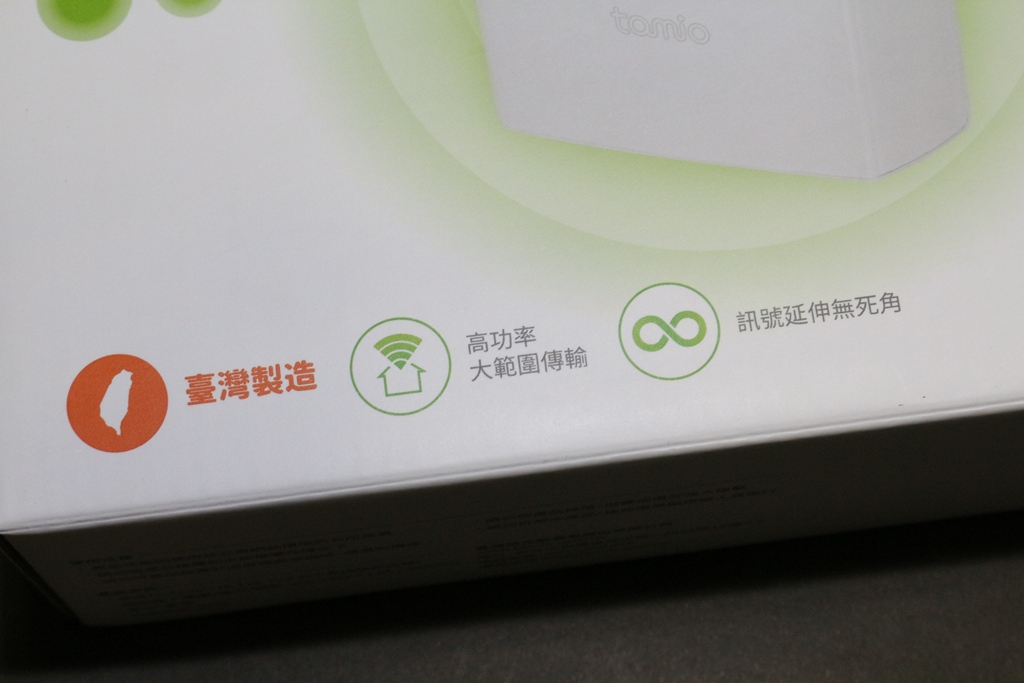
▼REN-1特点:
1.台湾制造
2.高功率大范围传输
3.讯号延伸无死角
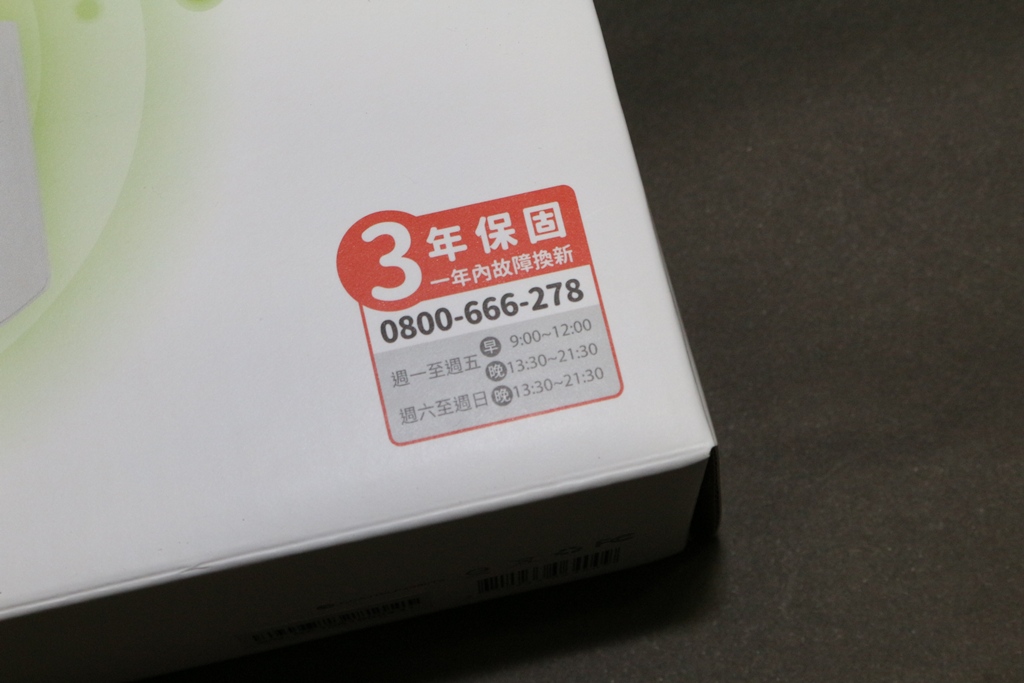
▼原厂提供三年保固一年故障换新服务,由塔米欧提供服务并有0800免费服务专线
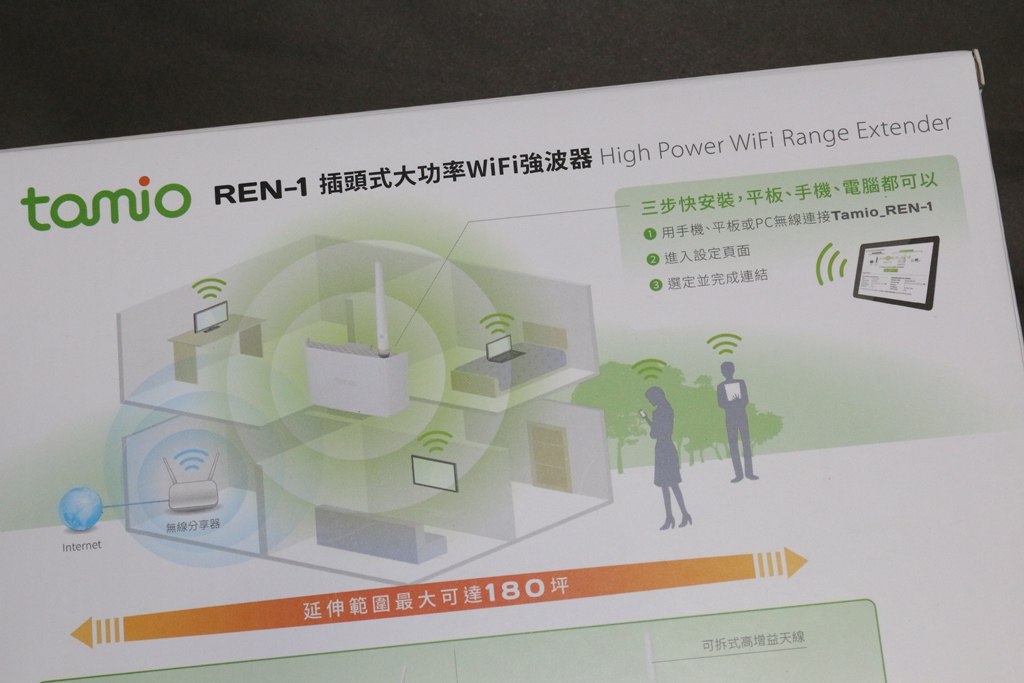
▼包装背面说明产品应用示意图、三步骤完成设定与产品硬体简介
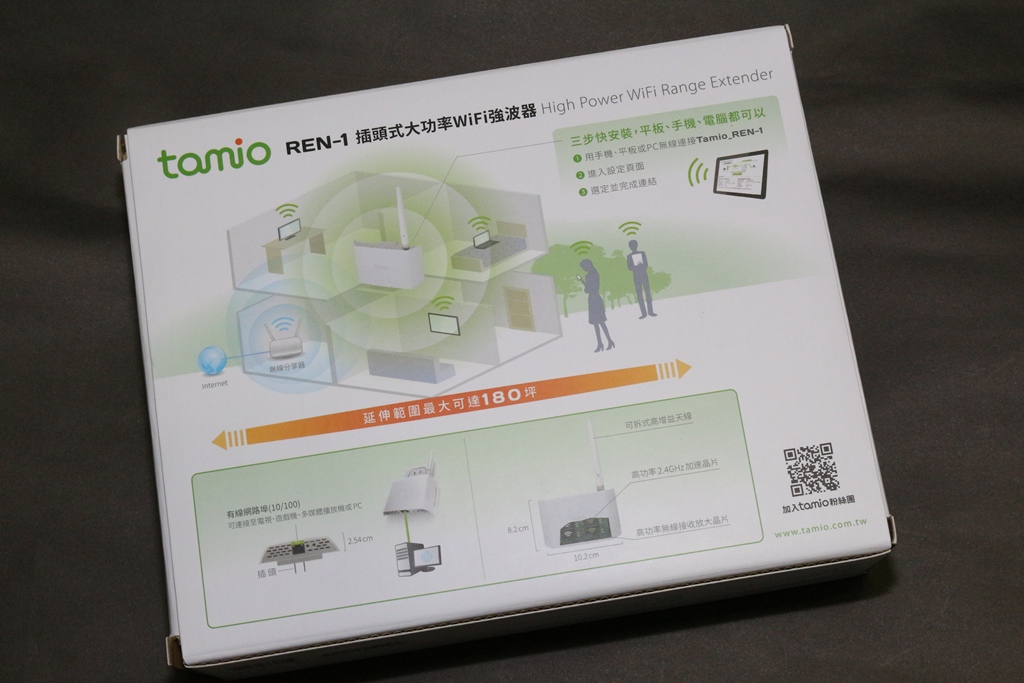
▼应用示意图与三步骤即可完成设定说明
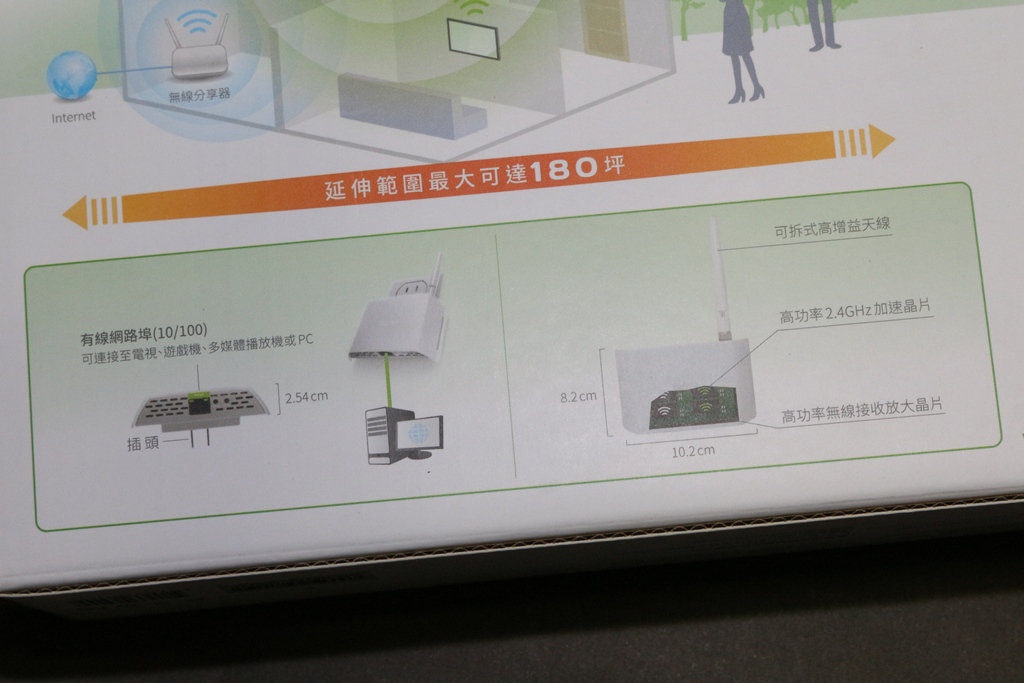
▼产品硬体简介,有一组有线网路孔,外部有一组可拆式高增益天线,内建高功率2.4GHz加速晶片与放大晶片
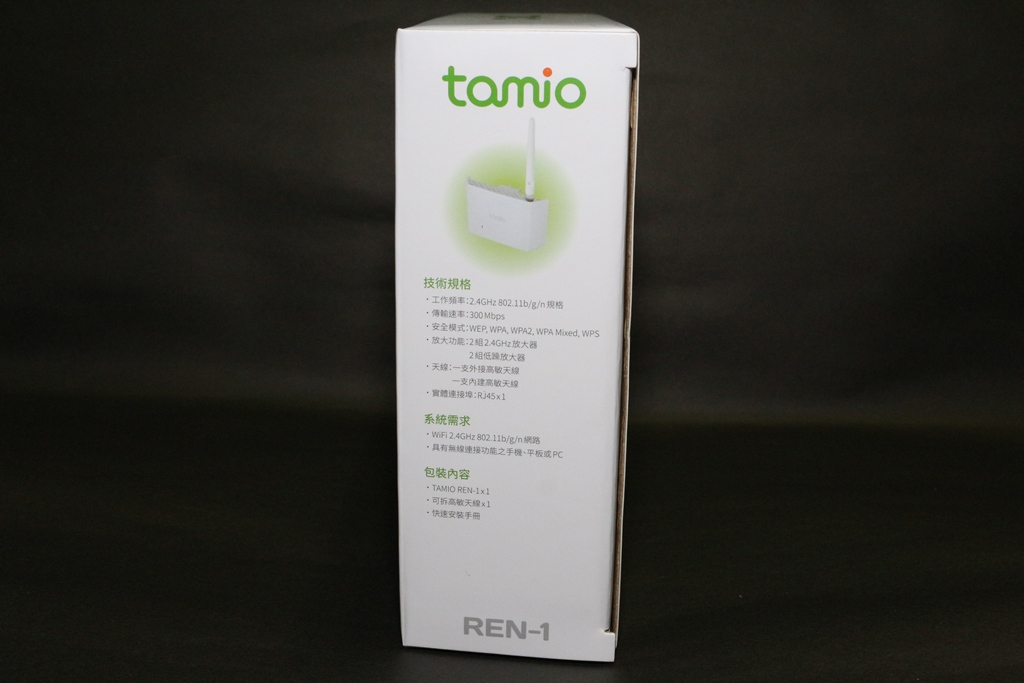
▼包装侧面说明产品技术规格、系统需求与包装内容物
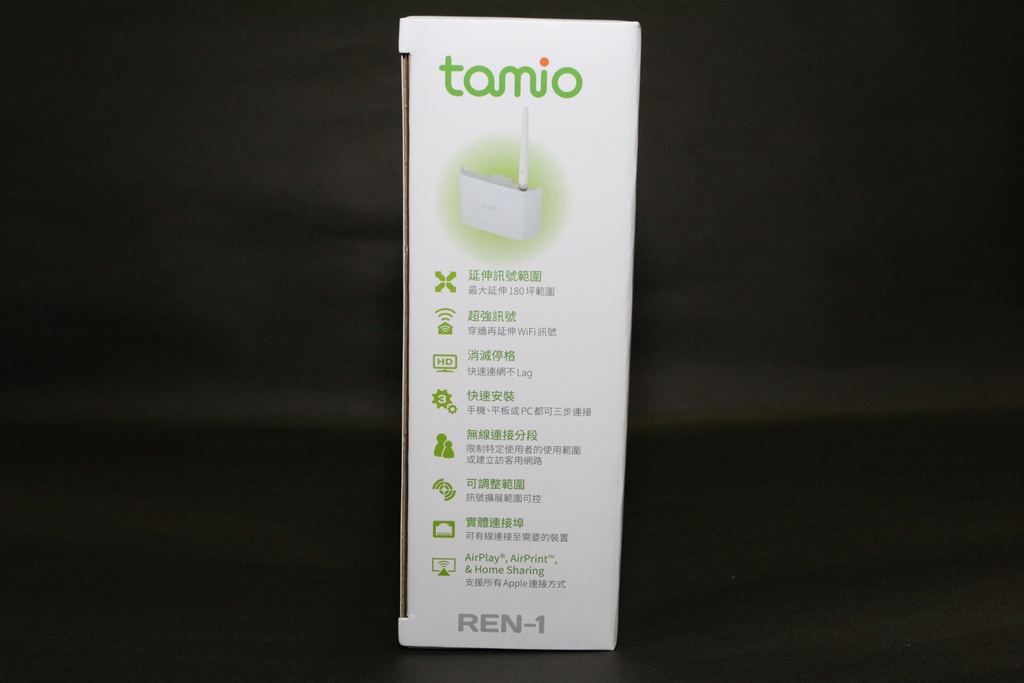
▼包装另一侧说明产品特色
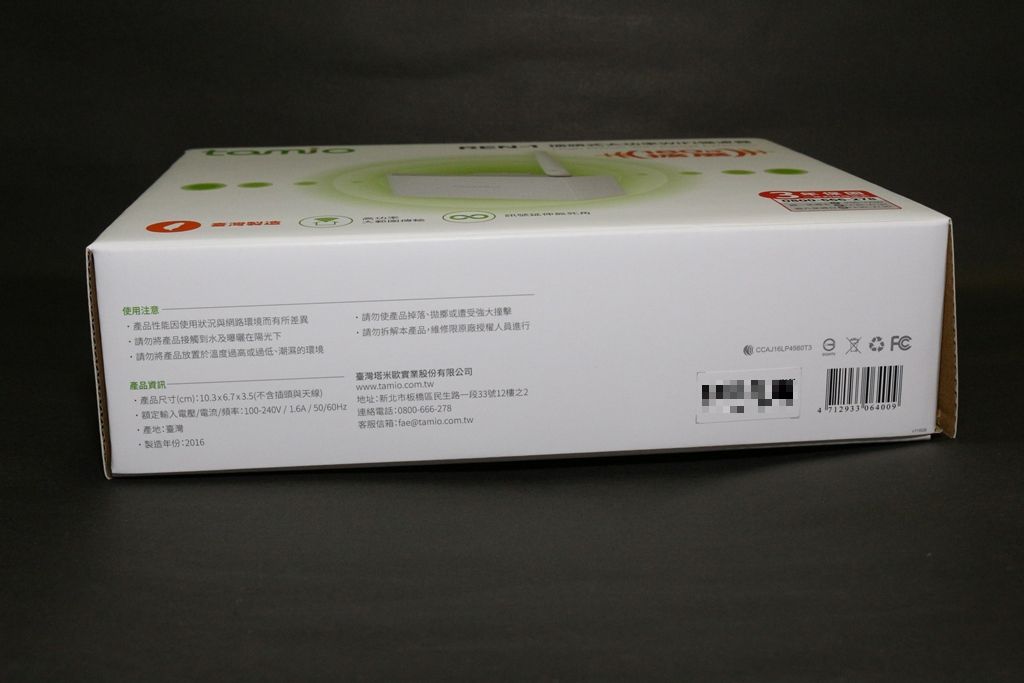
▼包装上下侧为tamio Logo、使用注意事项、产品资讯与代理商资讯

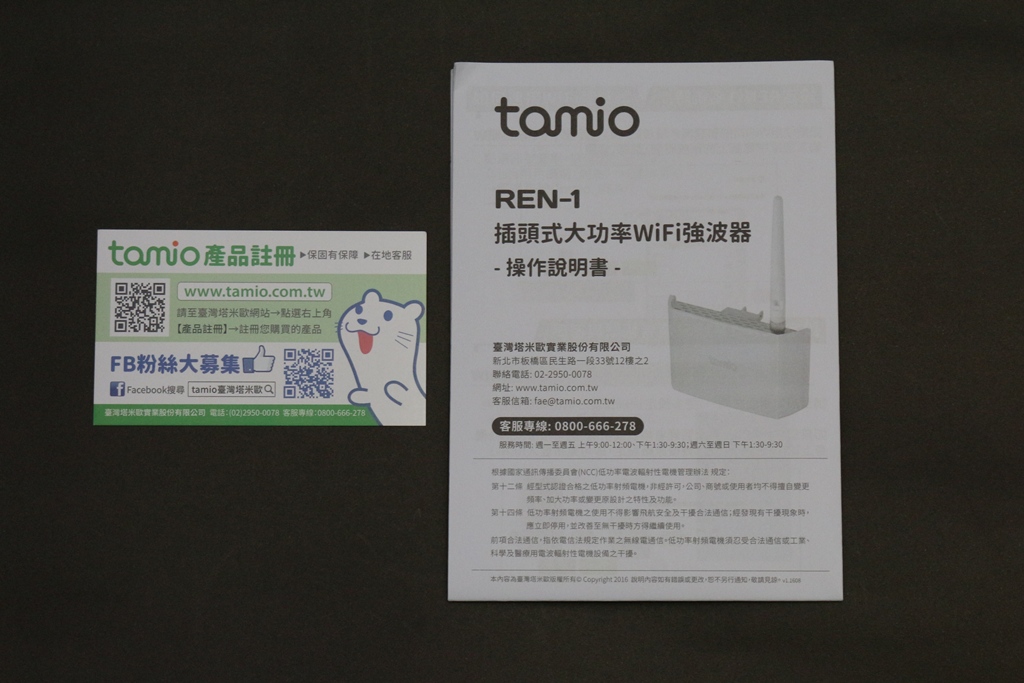
▼配件部分:注册产品说明与产品操作说明书
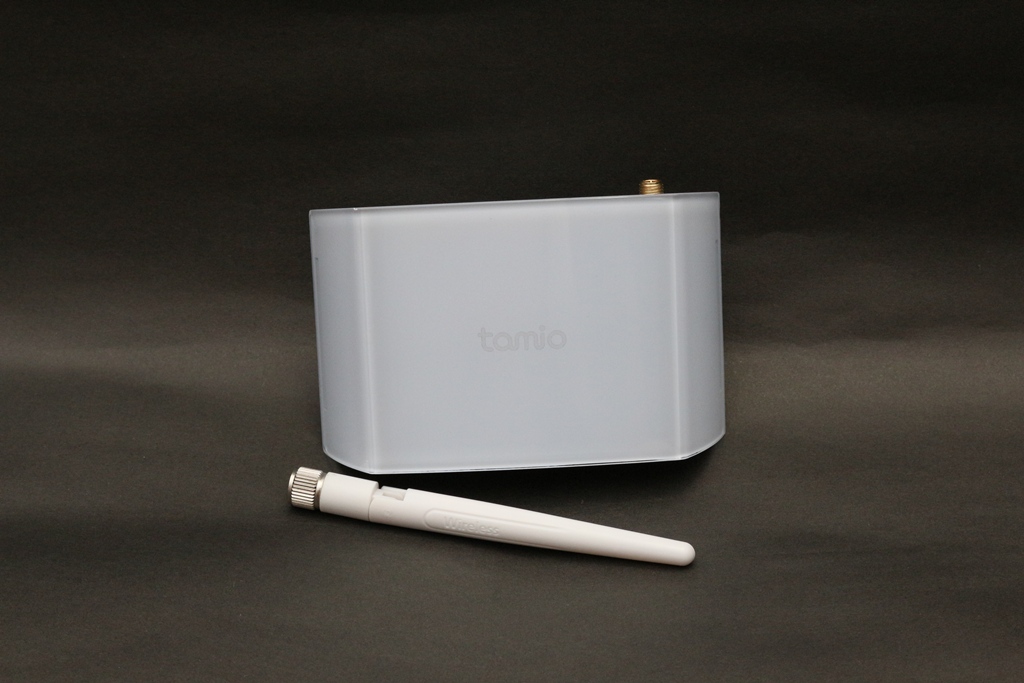
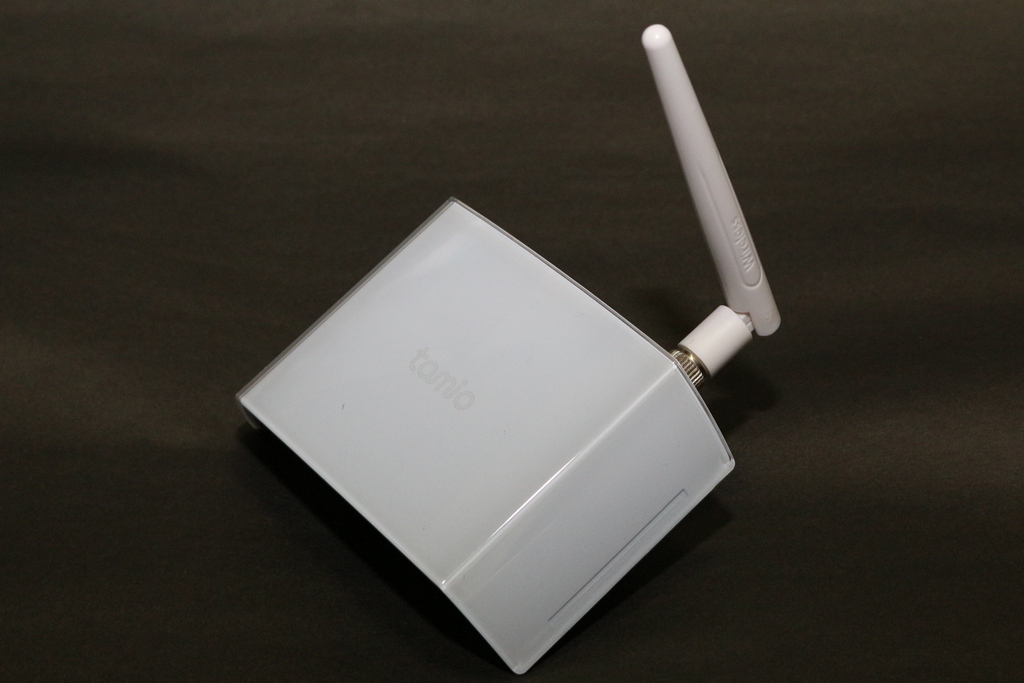
▼REN-1本体一览,本体采用白色设计,中间有tamio字样,正面有压克力做保护,质感相当不错,天线部分为可拆式2dBi天线
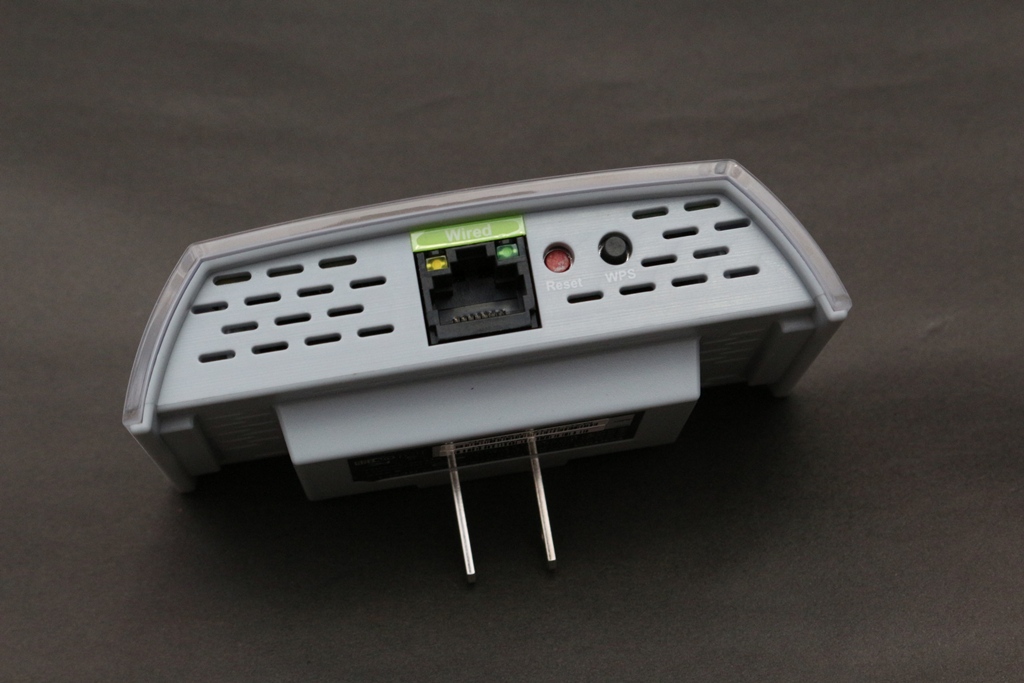
▼底部有一组10/100Mbps网路埠,旁边有Reset按钮与WPS按钮
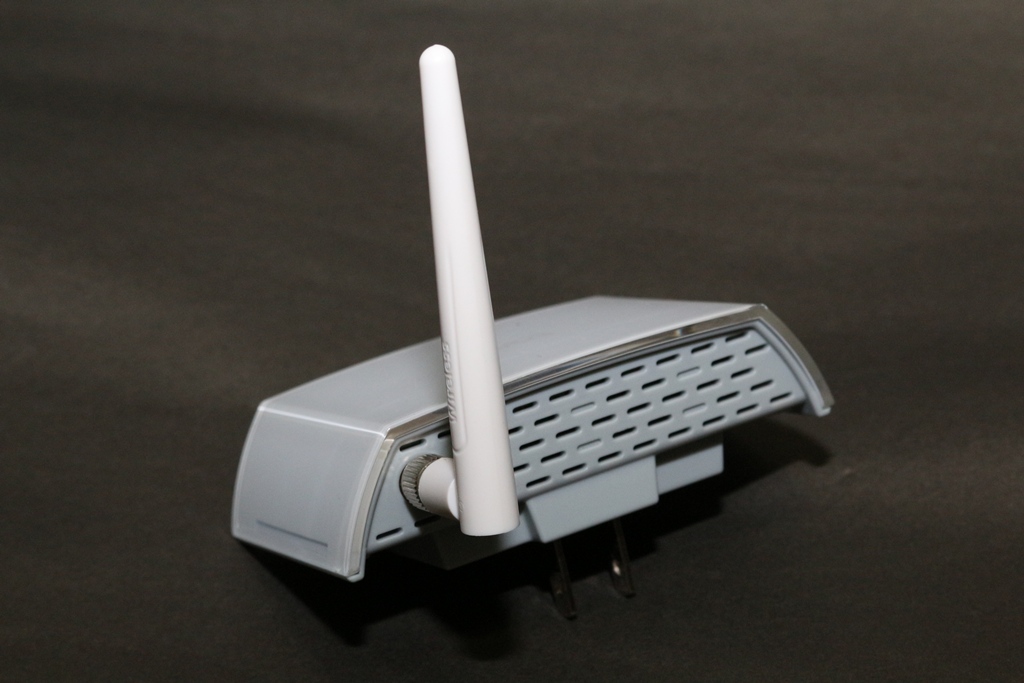
▼顶部为外部天线安装处

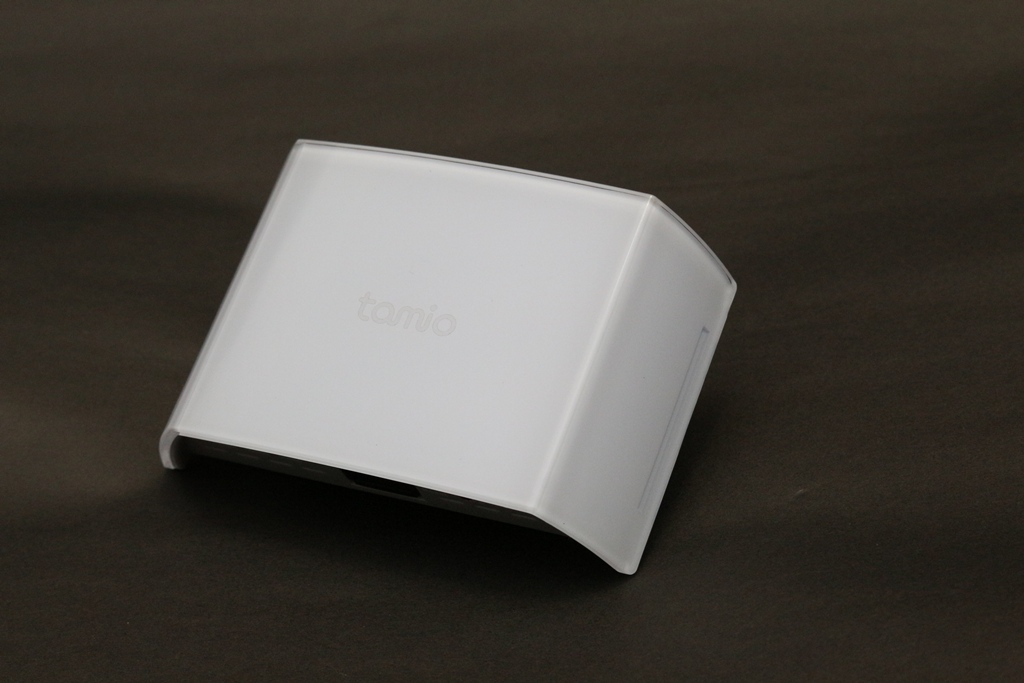
▼侧面相当圆润,整个外型相当讨喜
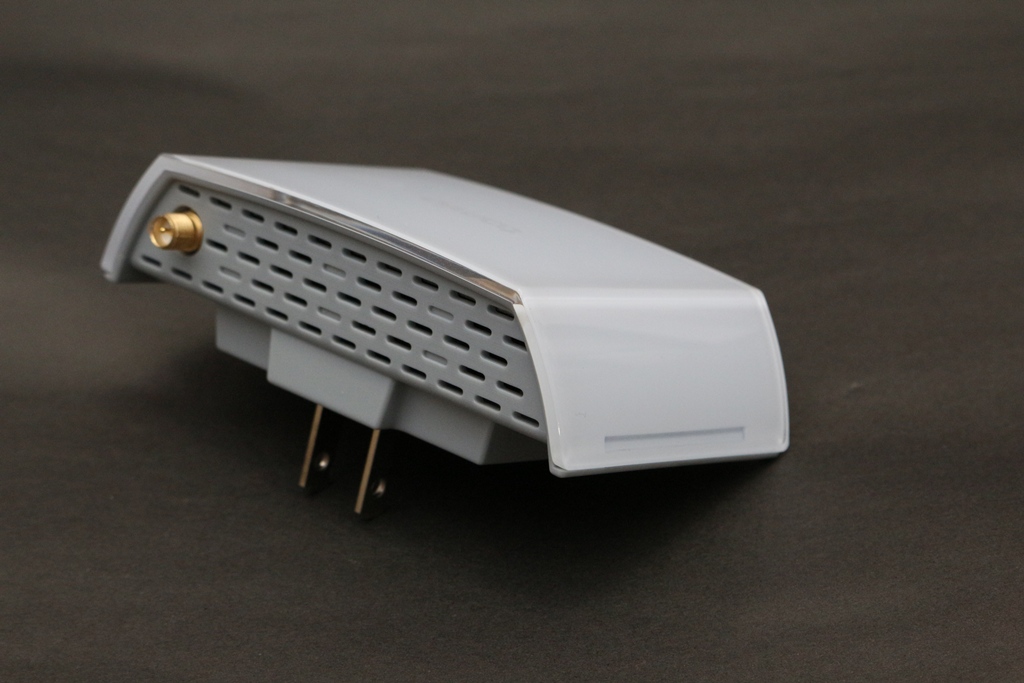
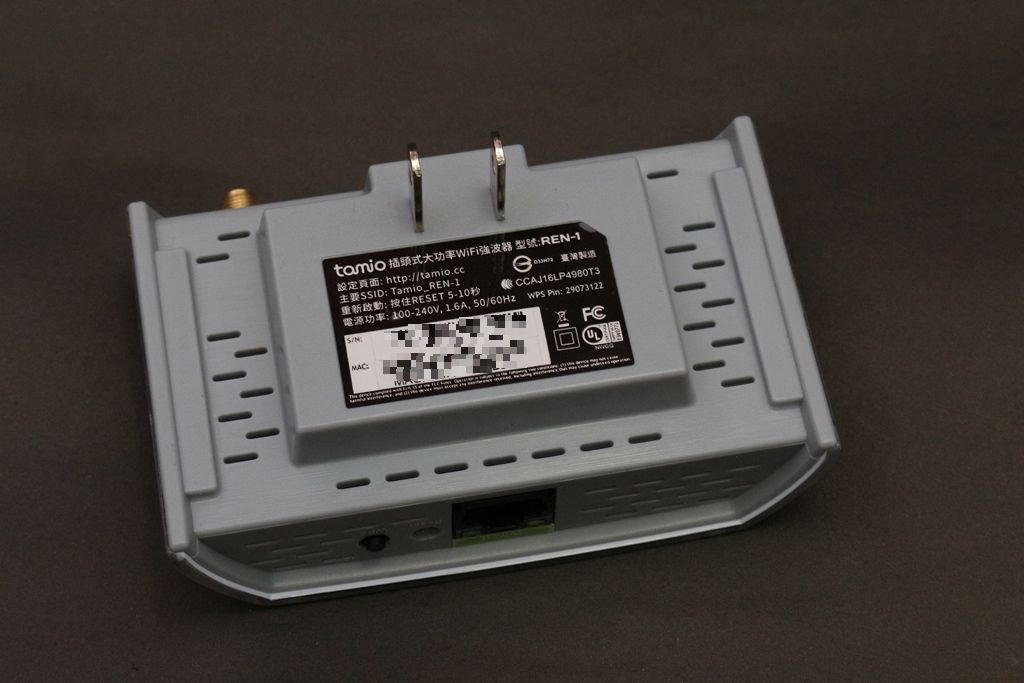
▼背面为插座、序号、MAC与基本说明
▼装上天线后一览

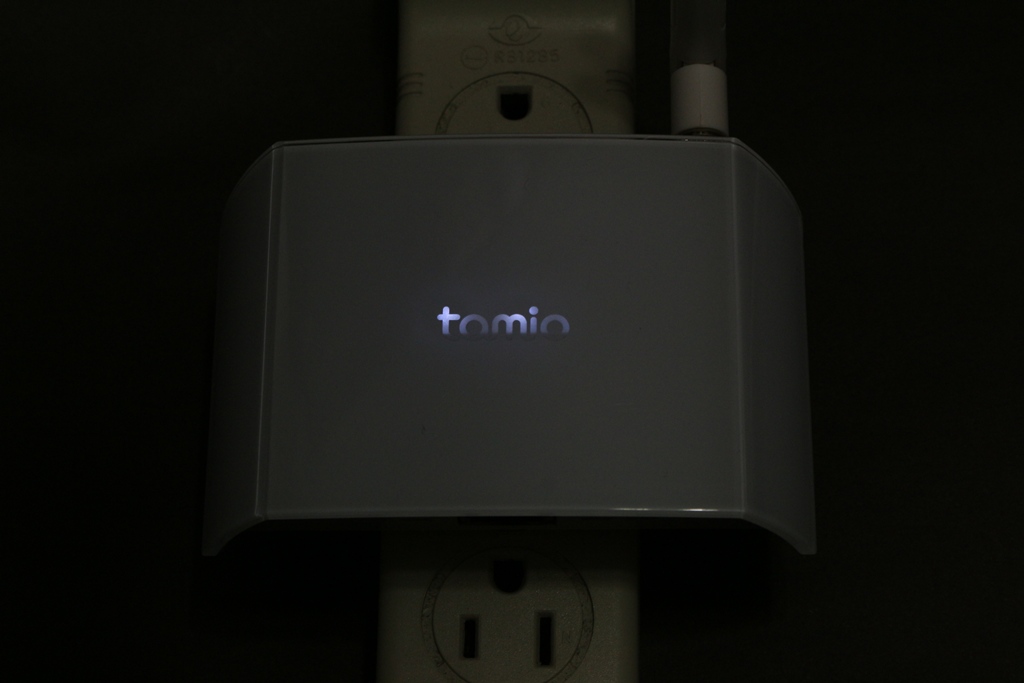
▼插上插头后,中间的tamio会发光
 tamio REN-1超快速三步骤完成设定
▼步骤一:使用电脑、手机或行动装置连线至tamio REN-1并进入设定页面

▼步骤二:选取欲延展的WiFi讯号并设定来源WiFi的密码


▼步骤三:设定延展后的SSID与密码

以上就是超简单的三步骤,完成以上几个简单设定步骤,就完成延展设定,没有其他需求的使用这基本上就可以开始使用这台路由器了!!设定非常简单!!不到3分钟可以轻松搞定网路延展
tamio REN-1设定介面介绍▼无线设定-讯号源:可设定延展的讯号来源,不过这边只能手动输入SSID,无法用选择的

▼无线设定-强波器:可设定强波后的相关设定

▼无线设定-加密设定:加密设定部分则是设定延展来源的密码与延展后的SSID密码

▼无线设定-WPS:设定WPS相关选项,也可关闭功能

▼无线设定-进阶设定:进阶设定部分可设定一些WiFi部分的进阶选项让使用者调整

▼智慧特色-网路排程:可设定WiFi每天可上网的时间

▼智慧特色-黑/白名单:可针对MAC位置设定黑名单与白名单,有效管理登入的使用者

▼智慧特色-发射功率控制:可针对WiFi发射功力做调整,使用者可依据使用环境做选择

▼IP设定:可设定REN-1的DHCP相关设定

▼管理选项-装置状态:可查看目前REN-1所有网路状态

▼管理选项-统计:可查看目前REN-1与来源网路、无线网路与有线网路统计数据

▼管理选项-系统时间:设定REN-1系统时间,也可与网路时间做同步

▼管理选项-系统日志:可启动日志让管理者方便管理

▼管理选项-韧体升级:上传韧体升级版本

▼管理选项-备份/还原:可汇出与汇入系统设定档,也可将设定还原为预设值

▼管理选项-管理者帐号/密码:可修改管理者登入帐号与密码
 距离与讯号强度测试
路由器讯号强度与连线距离有直接关系,5~6米基本款距离就不需再多做测试,这次测试两种距离,8米与10米,8米部分穿过3面钢筋水泥墙壁(墙壁厚度约13公分),10米部分穿过4面钢筋水泥墙壁(墙壁厚度约13公分),现在就来看看tamio REN-1插头式大功率WiFi强波器的表现
▼测试网路卡采用LB-LINK BL-WN153A USB无线网路卡

▼8米测试结果(讯号强度100%)-平均讯号强度为100,表现真的是相当棒

▼10米测试结果(讯号强度100%)-平均讯号强度为76.7,表现还算OK

▼10米测试结果(讯号强度70%)-平均讯号强度为73.2,强度降低了30%,不过讯号品质没有降低太多

▼10米测试结果(讯号强度50%)-平均讯号强度为72.6,虽然调整到了50%的强度,不过还是可以维持在不错的讯号品质

▼10米测试结果(讯号强度35%)-平均讯号强度为65.1

▼10米测试结果(讯号强度15%)-平均讯号强度为60.3,表现虽然不算优异,不过强度仅15%有这样的表现还不错噜
 总结
总结台湾塔米欧tamio REN-1插头式大功率WiFi强波器算是一台功能齐全且表现还不差的强波器,可有效延展WiFi讯号的涵盖范围;在设定上可以说是相当容易上手,就算是新手也是可以在短短的3分钟内迅速将延展网路设定完毕,如果较为进阶的使用者可以做其他细部选项设定,操作介面相当人性化;附加功能部份可以调整WiFi可上网时间,还可以做使用者登入管理,设定黑/白名单,在管理上相当有效率;价格部分网路通路约NT$1750元左右,保固部分提供三年保固一年故障换新,服务部分由台湾塔米欧提供服务并有0800免费服务专线,想找一款可延展WiFi讯号功能齐全的强波器,相信tamio REN-1插头式大功率WiFi强波器是个相当不错的选择。


