
 高功率穿牆能力一流,一台就搞定居家無線網路
家中基本上一定都會有一台無線分享器,不過往往在室內環境的某個角落,訊號可能會有涵蓋不足的狀況,這次要介紹一台擁有高功率的無線路由器產品,由TOTOLINK推出的『A3700R』AC1200 Giga高功率雙頻WiFi無線路由器,A3700R的WiFi規格為802.11ac,傳輸速率最高提供1200Mbps(300Mbps+867Mbps),天線採用四支5dBi全向性天線,搭配Beamforming波束成形技術,而且A3700R主打高功率,訊號品質與穿牆能力值得期待一下,有線網路提供四組Giga LAN有線網路與一組Giga WAN,其他功能提供訪客網路2.4GHz與5GHz、無線中繼、無線橋接、上網時間管理、QoS頻寬管理、定時重啟…等功能,還有VPN翻牆功能,整體功能非常齊全,馬上就來看TOTOLINK A3700R AC1200 Giga高功率雙頻WiFi無線路由器啦。
TOTOLINK A3700R AC1200 Giga高功率雙頻WiFi無線路由器包裝與本體▼外包裝標示產品型號與外型

▼TOTOLINK Logo

▼A3700R為高功率雙頻WiFi無線路由器

▼產品型號為A3700R

▼產品外型

▼包裝背面標示產品特色與I/O

▼產品特色:
①High Power高功率晶片
②雙核心處理器
③SD-WAN建構跨區網路
④VPN翻牆,支援iOS/Android/MacOS/Windows雙系統
⑤MU-MIMO設備高承載量
⑥MOD專用埠
⑦Beamforming訊號雷達技術
⑧支援IPv6通訊協議
⑨QoS頻寬管理及無線中繼
⑩手機圖形化設定畫面

▼I/O標示

▼側邊標示包裝內容物、產品資訊、變壓器資訊與吉翁電子公司資訊


▼配件:快速安裝手冊、變壓器與網路線

▼變壓器規格為12V/1A

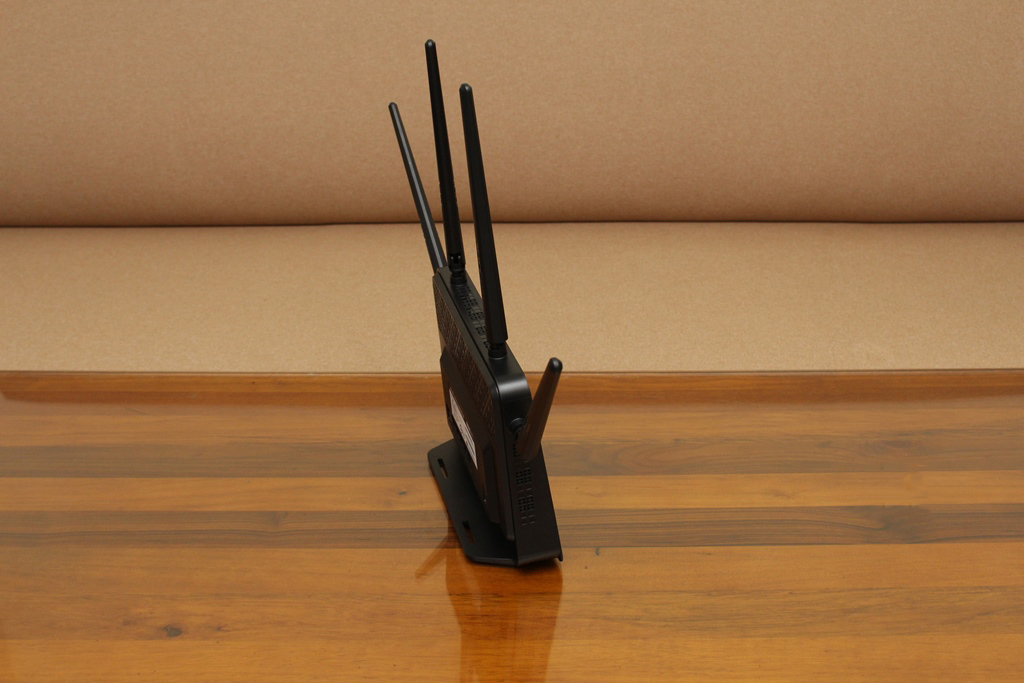
▼TOTOLINK A3700R本體一覽,外型採用直立式設計,天線採用四支全指向性天線可依照使用者使用需求做角度調整


▼TOTOLINK Logo

▼指示燈號

▼產品型號貼紙

▼電源輸入、四組Giga LAN有線網路與一組Giga WAN

▼WPS與RST按鈕

▼兩側造型

▼上方有造型散熱開孔

▼天線可依照使用環境做角度調整

▼天線上有TOTOLINK Logo

▼底部有兩塊防滑膠墊
 TOTOLINK A3700R基本設定介紹
▼輸入192.168.0.1即可進入設定畫面,這次設定介面也是新版界面,分為快速設定、基本設定與進階設定,快速設定會先開始設定時區

▼網際網路設定可選擇DHCP、固定IP、PPPoE、PPTP與L2TP


▼IPTV設定,如果有MOD的話就必須要開啟此功能,連接埠為LAN1

▼2.4GHz與5GHz無線網路SSID與密碼設定,2.4GHz與5GHz網路可分開SSID也可合併SSID

▼路由器登入密碼設定

▼設定摘要

▼可以設定異地組網SD-WAN建構跨區網路


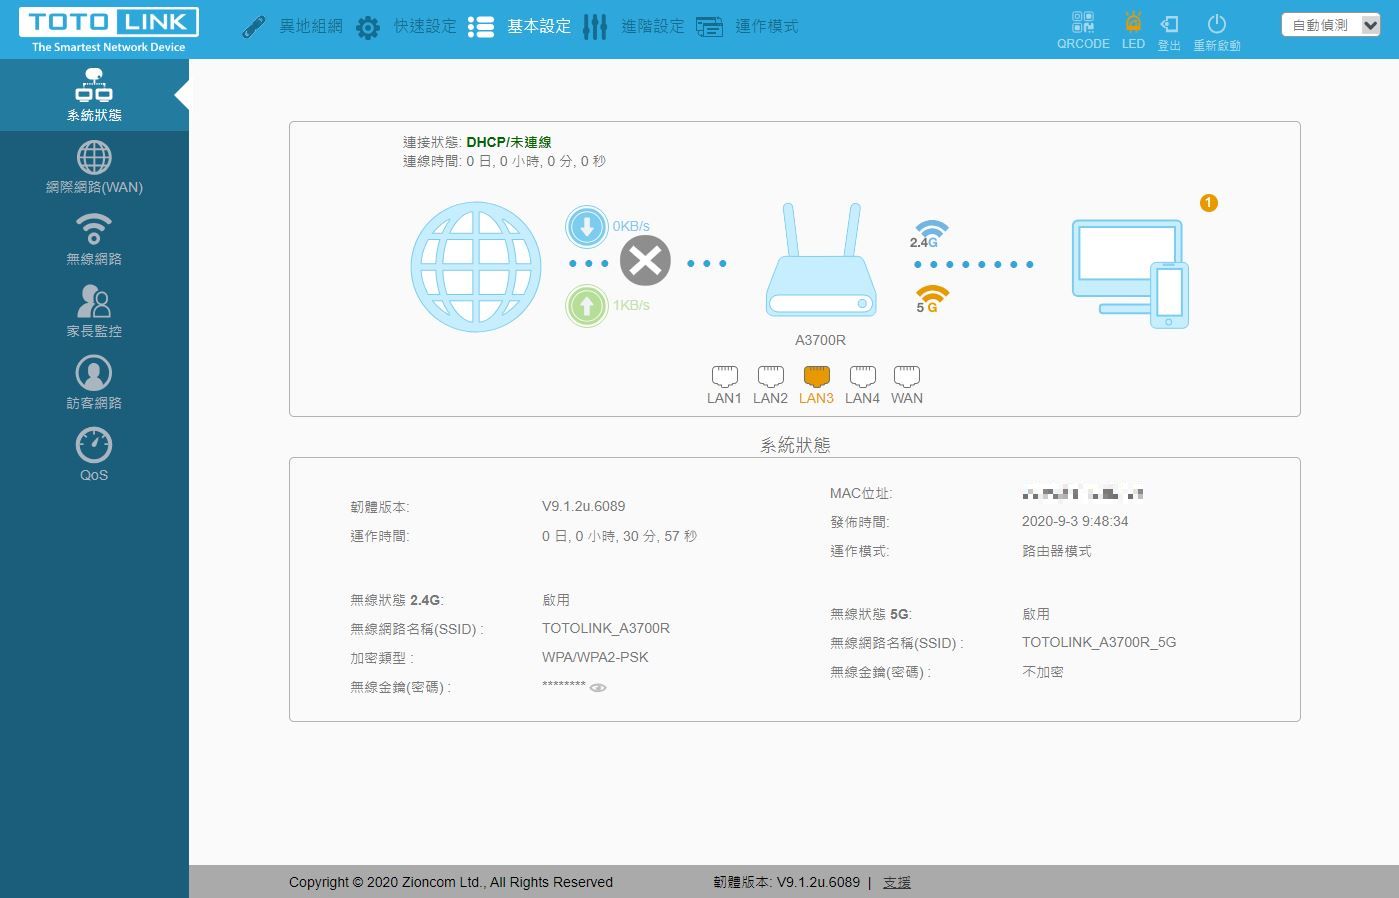
▼進入基本設定後可以看到常用的設定項目,系統狀態可看到目前路由器內的有線網路與無線網路的狀態(包含2.4GHz/5GHz),還有當前連接的設備列表
▼網際網路(WAN)設定:設定WAN連線方式,可選擇DHCP、固定IP、PPPoE、PPTP與L2TP


▼無線網路設定:設定2.4GHz與5GHz無線網路的SSID與密碼

▼家長監控可設定網路連接時間,可以讓小孩乖乖去念書


▼訪客網路設定:設定2.4GHz與5GHz訪客網路的SSID與密碼,還可設定是否可存取區域網路

▼QoS:可設定QoS是否開啟,並設定流量管制規則

▼進入進階設定後,可以看到比基本設定多了幾個設定項目,系統狀態多了處理器與記憶體使用率,還有目前網路下載與上傳速度

▼網際網路(WAN)設定:設定WAN連線方式,可選擇DHCP、固定IP、PPPoE、PPTP與L2TP

▼區域網路(LAN)設定:設定LAN DHCP與IP

▼DDNS設定:可開啟DDNS功能與設定

▼IPTV設定:如果有MOD的話就必須要開啟此功能

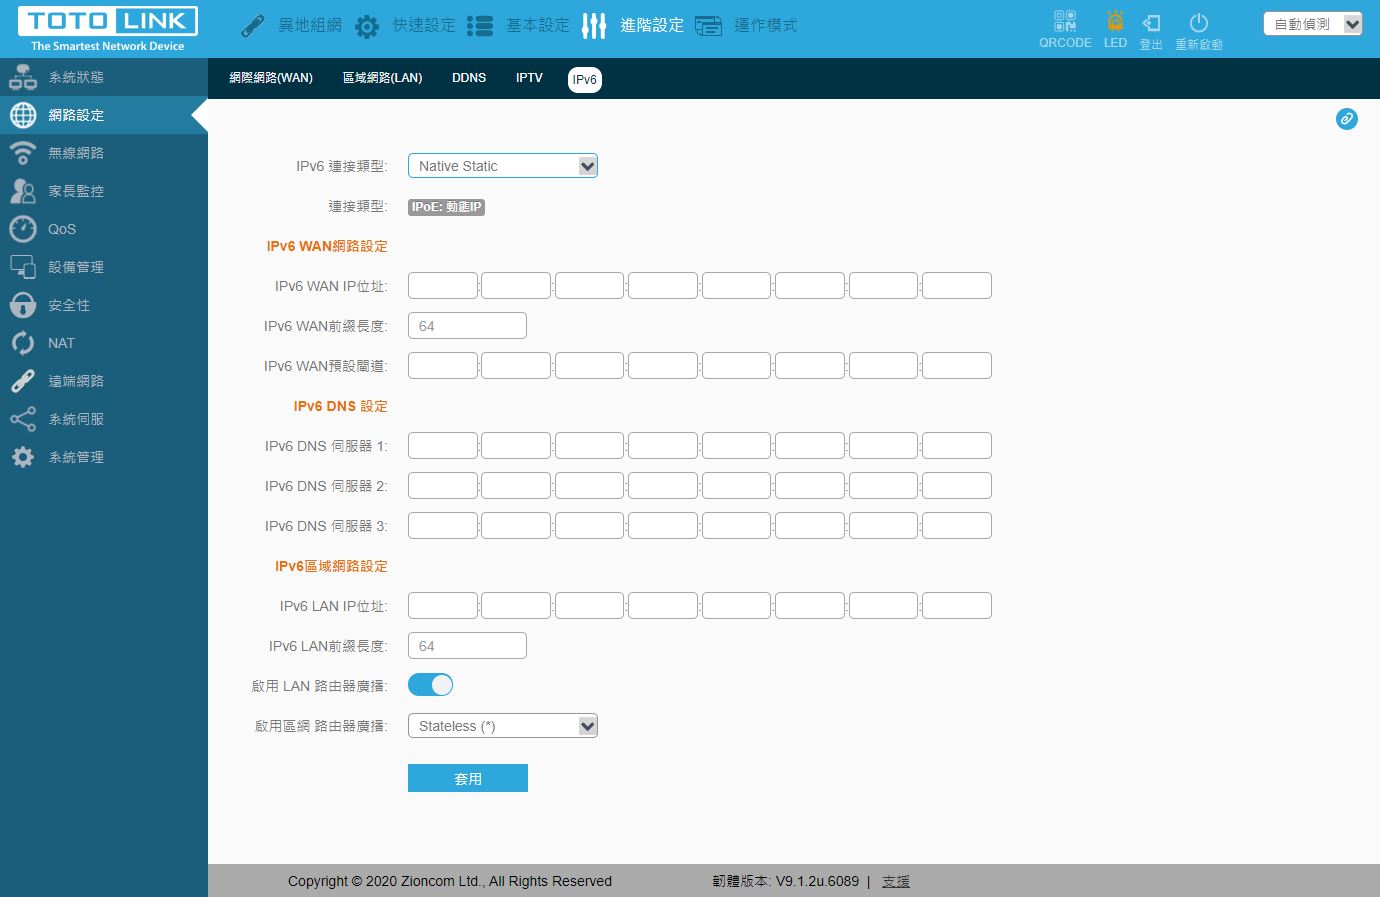
▼IPv6設定:IPv6相關細部設定
▼無線網路基本設定:設定2.4GHz與5GHz無線網路的SSID與密碼


▼訪客網路設定:2.4GHz與5GHz訪客網路SSID設定,可勾選是否可存取區域網路


▼無線排程設定:設定主網路與訪客網路的可連線時間


▼存取監控設定:設定2.4GHz與5GHz黑名單與白名單


▼進階設定:設定2.4GHz與5GHz細項網路設定


▼家長監控:可針對MAC設定每天網路連接時間,可以讓小孩乖乖去念書

▼QoS:可設定QoS是否開啟,並設定流量管制規則

▼系統路由表:查看路由器的路由表

▼固定路由:設定固定路由

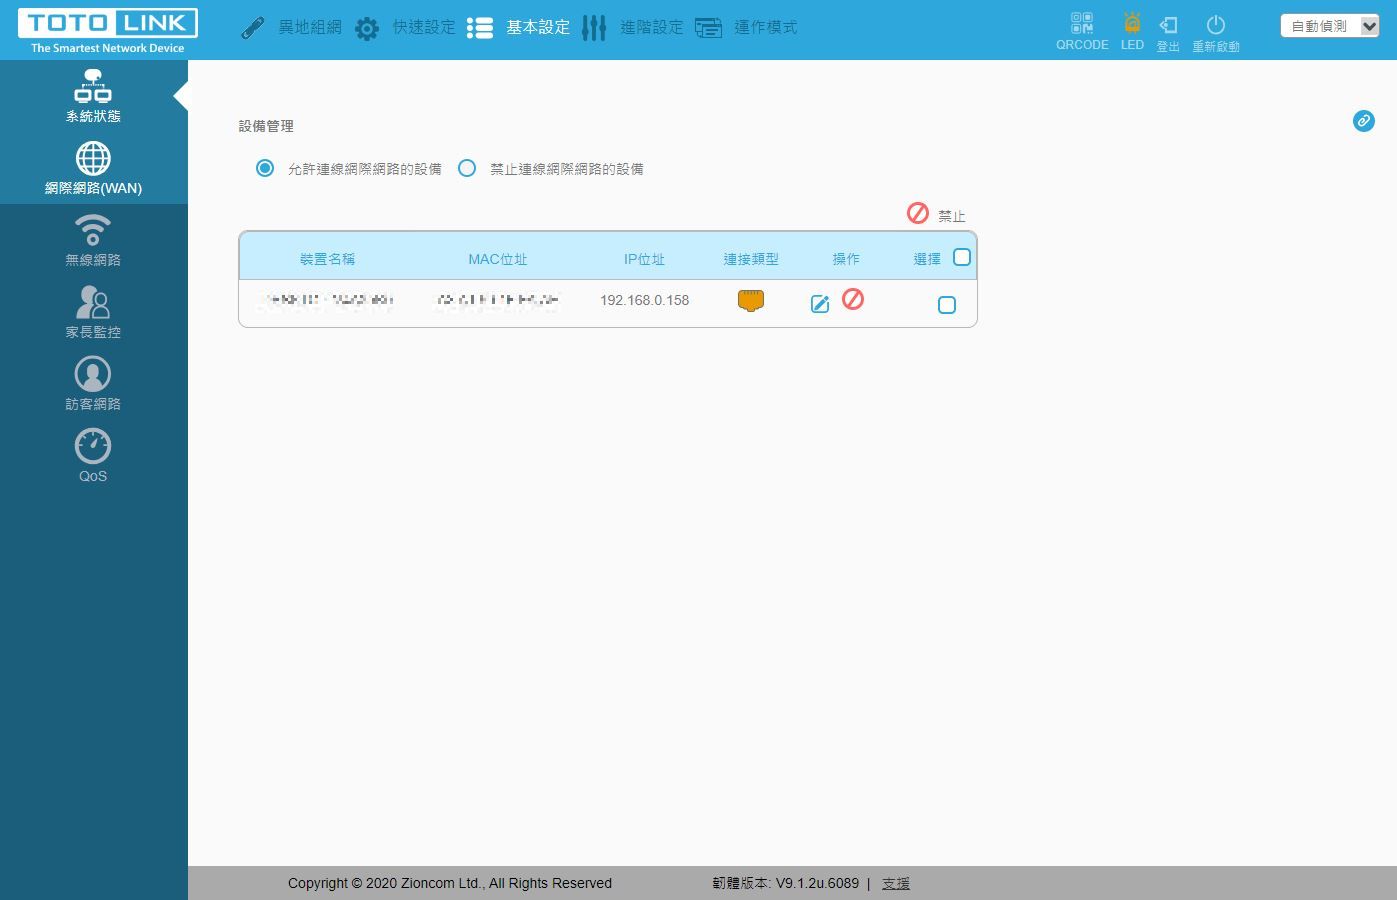
▼IP/MAC網路綁定:可設定指定MAC與IP綁定

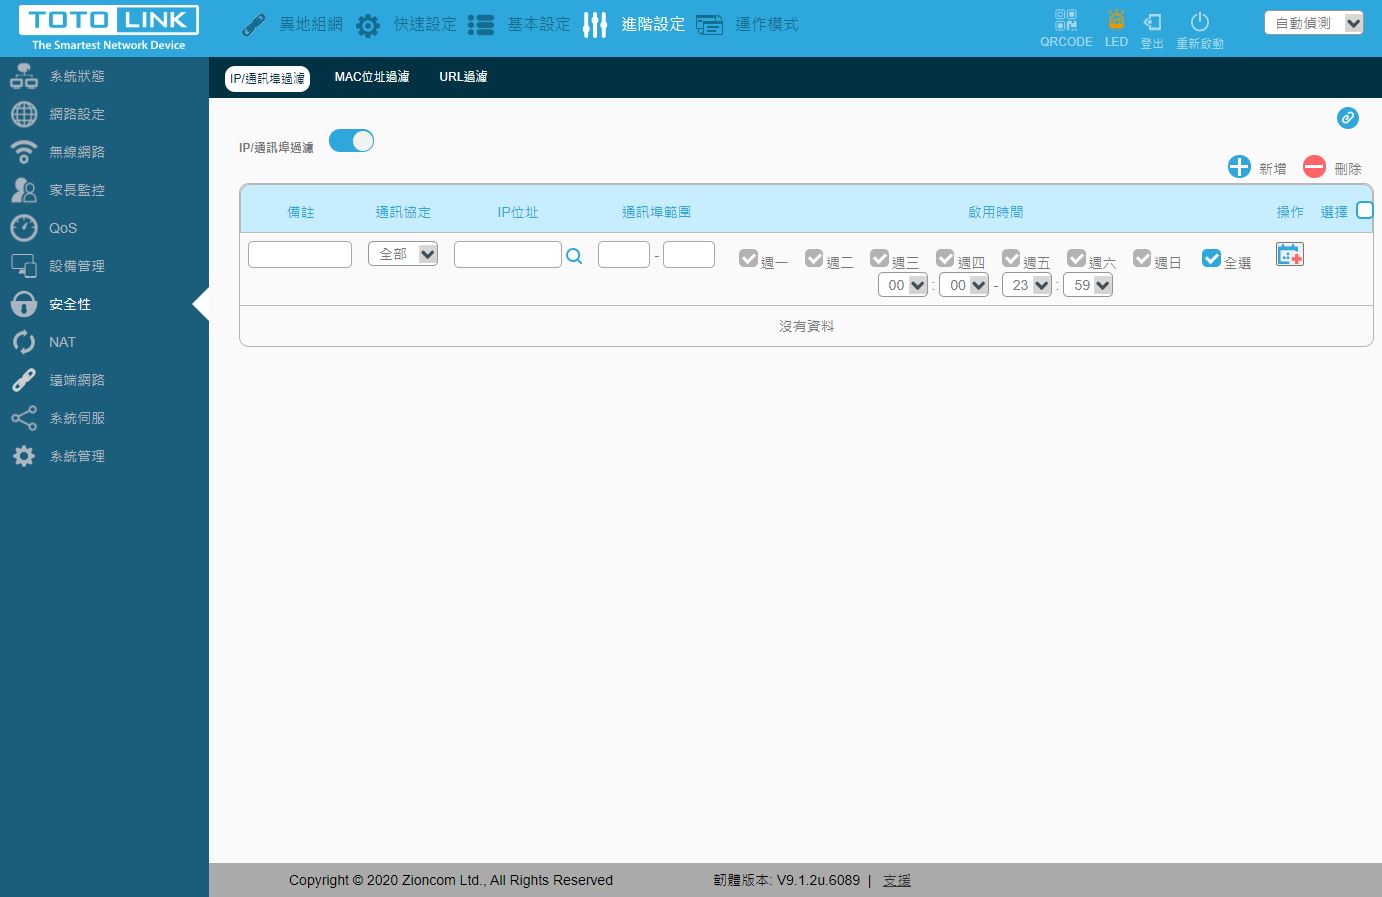
▼安全性設定:有IP/通訊埠過濾、MAC位置過濾與URL過濾三種功能可設定


▼NAT設定:有通訊埠轉發、DMZ與VPN通透三種功能可設定


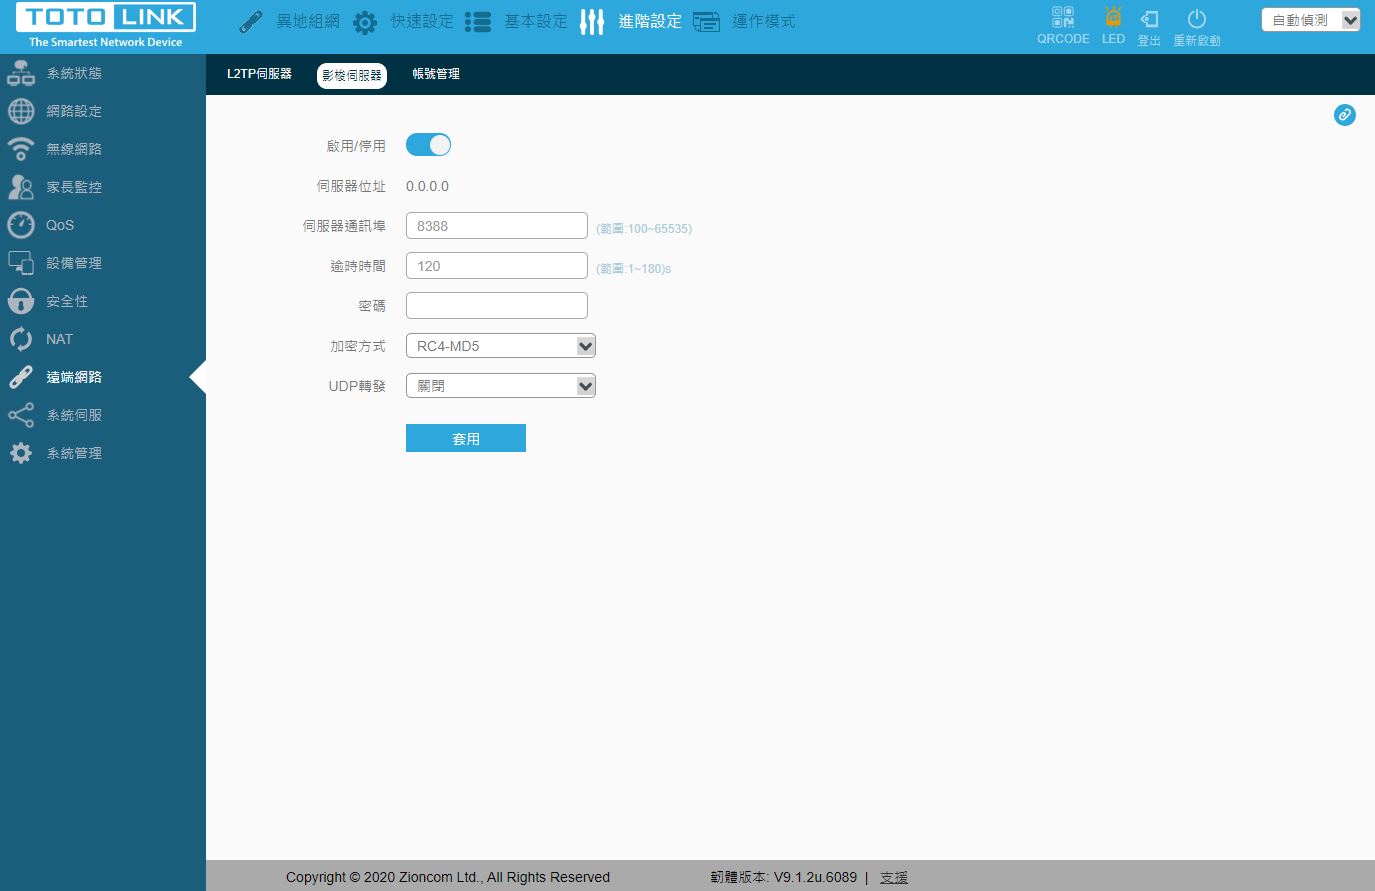
▼遠端網路設定:有L2TP伺服器、影音伺服器與帳號管理


▼系統伺服設定:可開啟遠端管理、UPnP與設定路由器定時重啟


▼系統管理-修改密碼:修改路由器登入密碼

▼系統管理-時間設定:可設定時間、時區與NTP伺服器

▼系統管理-備份/還原:可備份與還原路由器設定參數,也可還原為原廠預設值

▼系統管理-韌體升級:可升級路由器內的韌體檔案

▼系統管理-Ping診斷:可做連續Ping動作,如有問題可診斷問題點

▼系統管理-路徑跟蹤:可察看前往IP位置的節點

▼系統管理-系統紀錄:可開啟系統紀錄功能,方面管理者管理

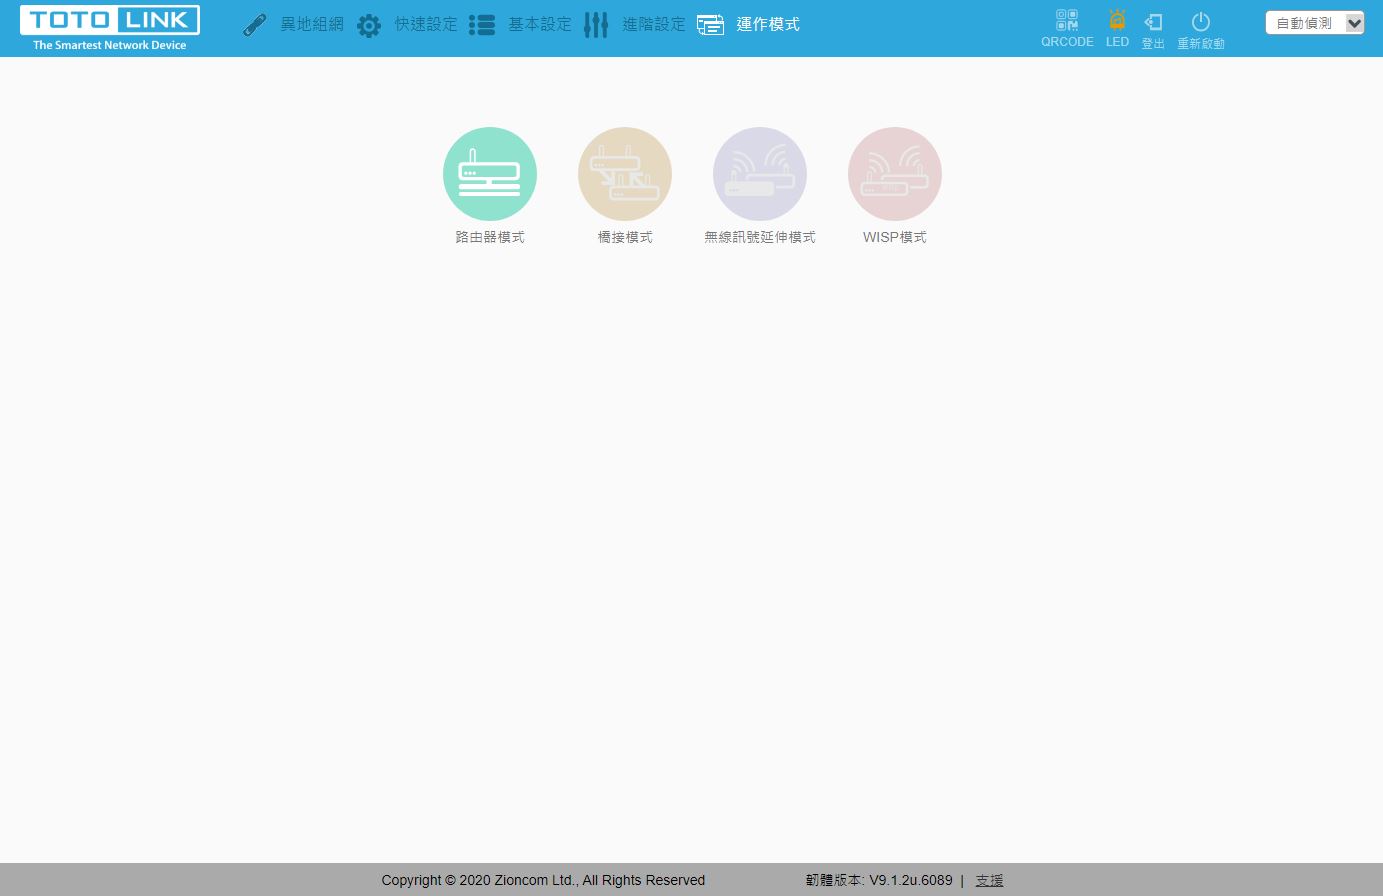
▼運作模式可設定路由器模式、橋接模式、無線訊號延伸模式與WISP模式
 訊號強度測試
一般來說路由器訊號強度與使用者連線距離有很大關係,5~6米基本距離就不測試了,這樣的環境訊號強度一定可以保持在一定的水準之上,這次測試11米距離與15米距離,11米部分穿過2面鋼筋水泥牆壁(牆壁厚度約13公分),15米部分穿過3面鋼筋水泥牆壁(牆壁厚度約13公分)
▼11米測試結果 2.4GHz兩組訊號強度平均在82~82.9之間,表現相當不錯;5GHz兩組訊號強度平均落在82.5;5GHz訊號品質表現相當強,擁有不錯的穿牆能力

▼15米測試結果 2.4GHz兩組訊號強度平均在82.3~82.5之間,表現依然相當棒,跟11米距離的測試沒有太大差異;5GHz兩組訊號強度平均落在76.6~76.8之間;5GHz訊號品質雖然稍微有衰減,不過以15米的距離能有這樣的強度,真的要拍拍手,不愧是高功率產品!
 總結
總結TOTOLINK A3700R AC1200 Giga高功率雙頻WiFi無線路由器不得不說表現真的非常強,而且功能相當齊全,像是中繼、橋接、訪客網路、QoS、VPN(L2TP)、自動重開機...等功能樣樣不缺,設定介面為新版介面,操作與設定都很人性化,文字說明也淺顯易懂,新手或是老手都能在5分鐘內把網路設定完畢,A3700R無線規格為AC1200搭配四支5dBi全向性天線,訊號實測,在距離11米時,2.4G與5G部分訊號品質非常穩定,提供82左右的強度,15米測試時,2.4G訊號依然有82以上強度,5G訊號則提供76左右的強度,高功率產品的表現真的就是出色,穿牆能力優異,可以達到更好的無線網路訊號涵蓋率,價格目前網路通路為NT$1099元,價格可以說是相當便宜!想找高功率穿牆能力一流的無線路由器,TOTOLINK A3700R AC1200 Giga高功率雙頻WiFi無線路由器是個不錯的新選擇。
喜歡我們的文章可以追蹤我們,可以看到更多開箱文與業界消息
 https://www.facebook.co...ardware/https://3cjohnhardwar...ess.com/


