
 色卡司 Thecus N2810搭配希捷Seagate 8TB大容量4K UltraHD影音多媒体中心轻松Get!!
 近年来人们针对资料安全意识崛起,让NAS系统越来越流行,再加上网路速度蓬勃发展,每个人对储存空间的需求量越来越大,不论是音乐、影片或照片的品质与容量也随之增加,NAS需求量也逐年增加中,再加上近年来硬碟最大容量不断进步,目前NAS专用硬碟最大容量已经提升到8TB了!!若采用2 Bay NAS机种做RAID1,还是有超大8TB容量可以使用,想要让NAS做资料备份并且将NAS变成高清影音多媒体中心也是轻轻松松,有大容量做什么应用都方便!!!
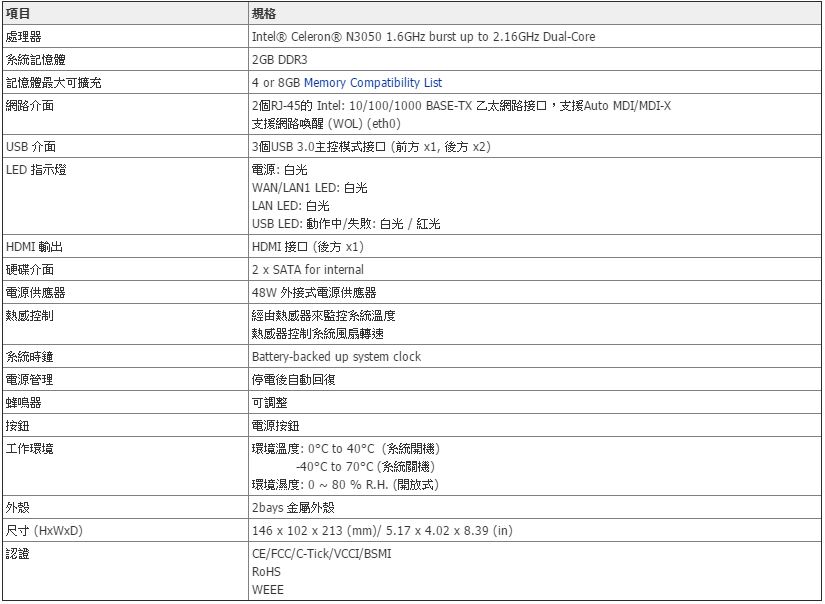
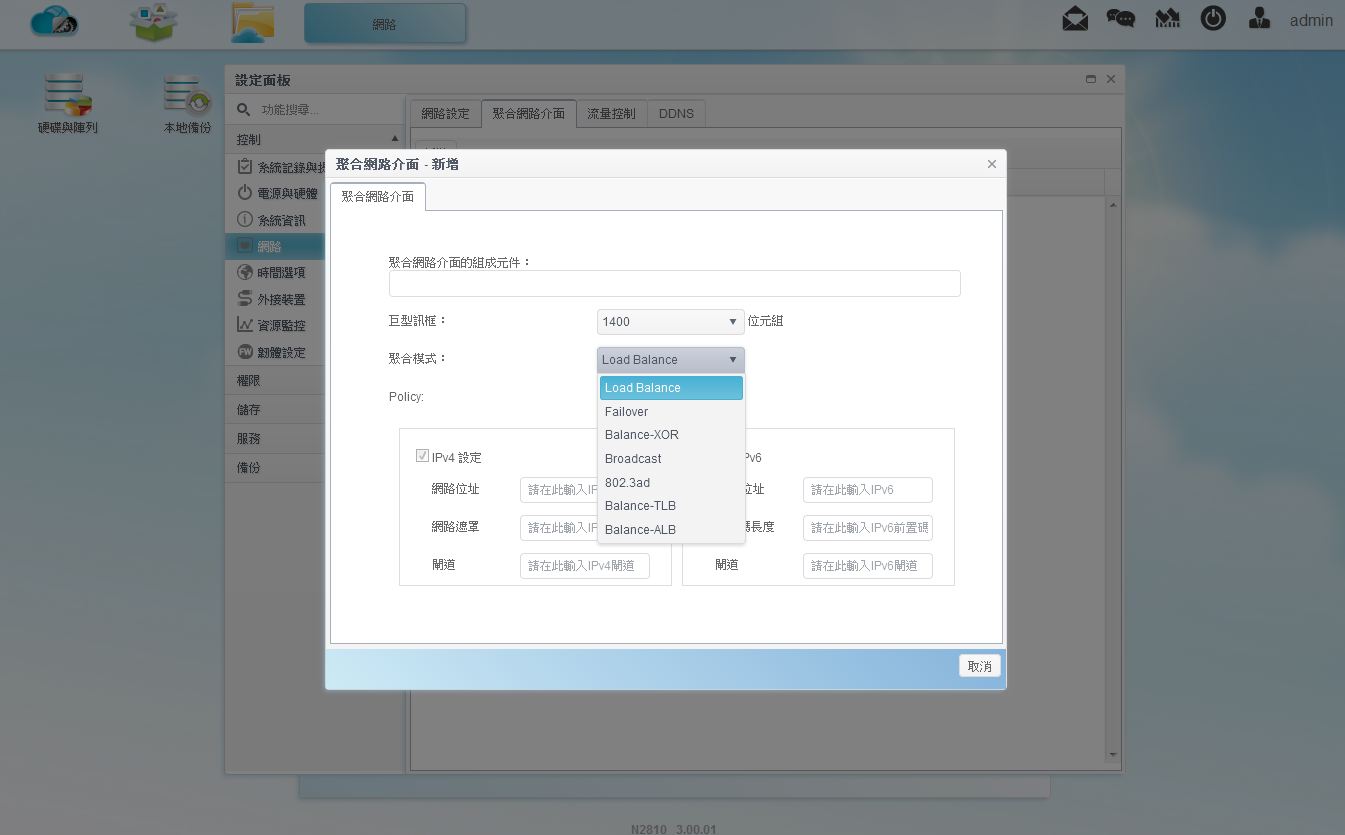
这次要介绍一款由Thecus(色卡司)所推出的2Bay网路储存伺服器『N2810』,N2810采用Intel最新一代Celeron N3050 1.6GHz双核处理器(Braswell)搭配2GB DDR3记忆体(最大可扩充到8GB),可播放4k UltraHD影片,内建3组USB3.0(前面板一组、后方I/O两组)、3组Giga Lan网路传输埠、1组HDMI输出;2组Giga Lan网路传输埠提供了Load balance、Fail over、802.3ad、Broadcast、Balance-XOR、Balance-TLB与Balance-ALB等共有七种网路聚合模式,并支援了IPv6模式,可符合各种不同应用的使用者;HDMI部分搭配kodi软体可让N2810直接变成4K UltraHD影音多媒体影音中心,要播放音乐、影片、照片或是上网都是相当容易;软体介面方面采用自家ThecusOS 7作业系统,在操作介面上相当浅显易懂,可以自己额外安装App软体,让NAS的应用更加无远弗届,此外还可以利用行动装置App T-OnTheGo 随时随地存取NAS内的资料;N2810这次还提供了还支援了快照备份可经由手动或自动制作备份快照档案,并储存在快照备份专用空间,使用者可自行选择快照备份档案轻松完成还原工作;N2810还有一个非常不错的功能就是系统失效接管,当使用两台相同NAS时,透过设定后可将两台NAS内的设定与资料完全相同,当主要NAS有电源、网路或机器故障时,会由备用的NAS立即做接管,提供无间断的服务,功能来说相当齐全。
这次要搭配N2810的硬碟为希捷Seagate 8TB NAS专用硬碟,希捷的NAS专用硬碟针对24x7全天候运作来设计,而一般硬碟不会用这样的方式来设计,如果采用一般硬碟再加上全年无休使用环境,相对寿命会降低很多,NAS专用硬碟还有RV旋转震动感应器与Seagate独家的NASWorks技术,NAS专用硬碟全系列写入工作负载(Write Endurance)高达180TB/年,为业界最高规格,让硬碟寿命更长,使用者用起来也更加安心,目前NAS专用硬碟系列容量有1~8TB可以选择,各种容量可符合各种不同需求的使用者,这次搭配的8TB非常适合有高储存需求的使用者,可以备份大量高清影音多媒体资料或是重要文件,且搭配了256MB大容量快取,效能表现可以让人期待一下^^
看了两款让人流口水的规格产品,废话不多说还是赶紧来看看色卡司 Thecus N2810与希捷Seagate 8TB NAS专用硬碟。
▼色卡司 Thecus N2810 2Bay NAS硬体基本规格
 色卡司 Thecus N2810搭配希捷Seagate 8TB大容量4K UltraHD影音多媒体中心轻松Get!! 色卡司 Thecus N2810与Seagate 8TB NAS专用硬碟介绍
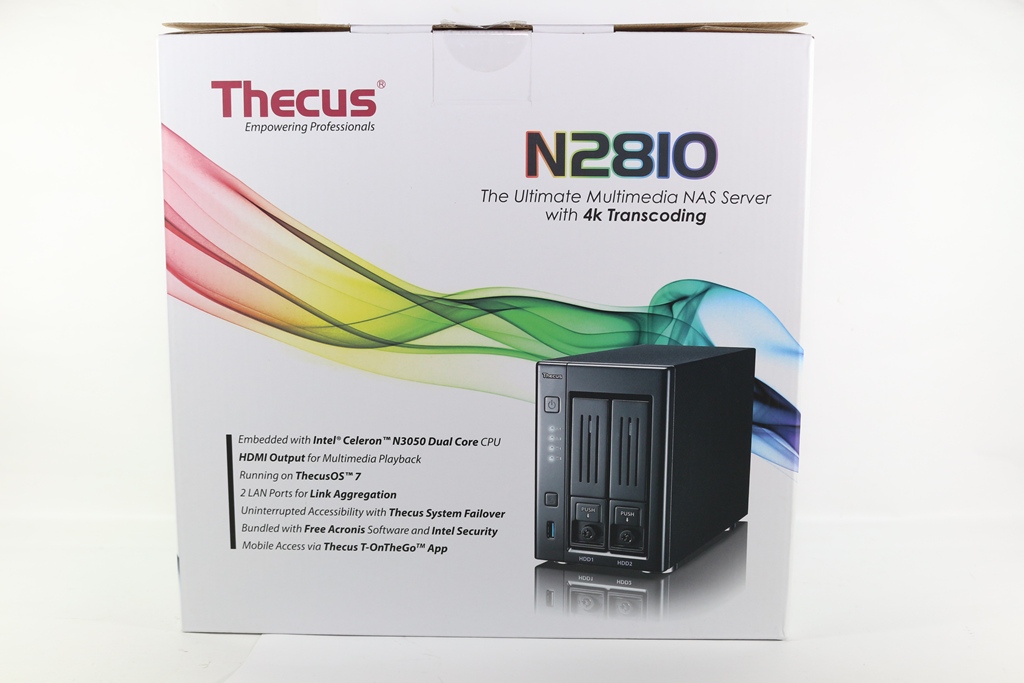
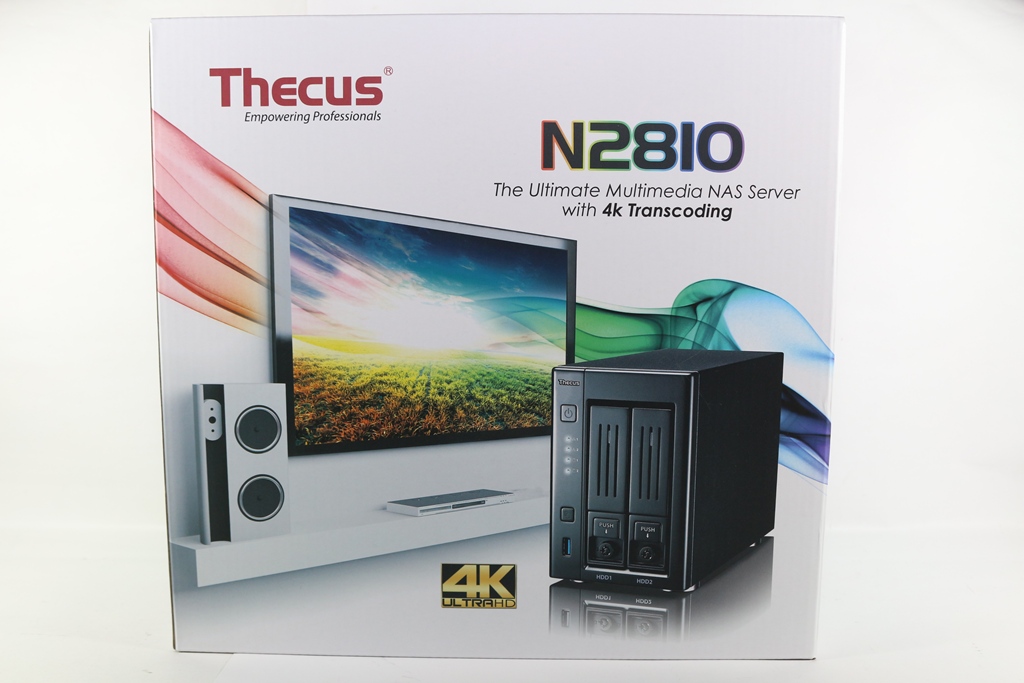
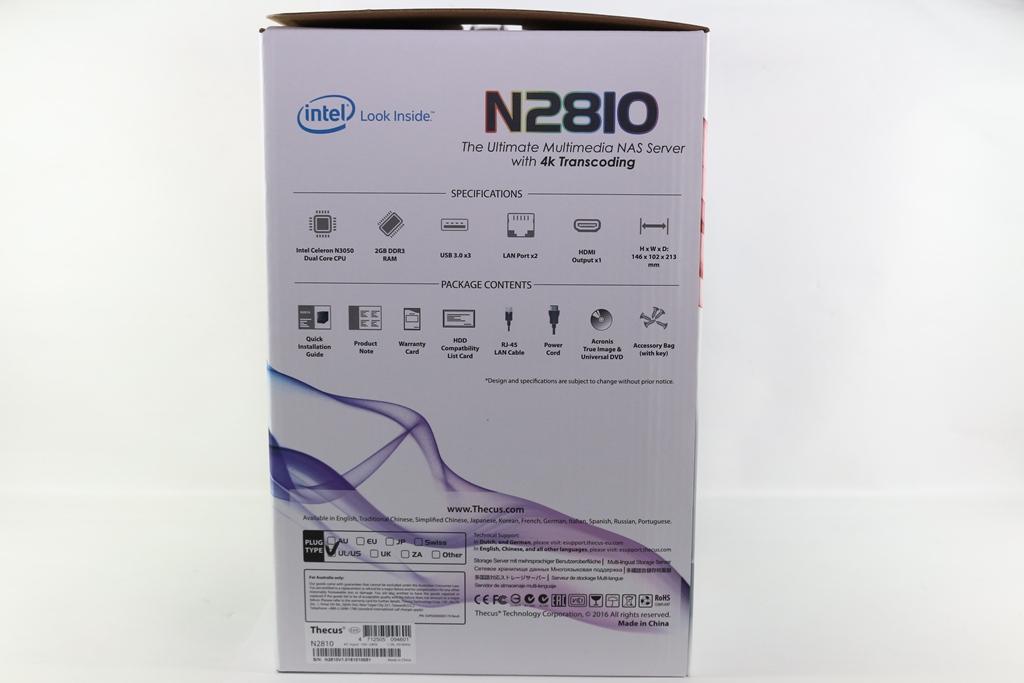
▼Thecus N2810外包装印有产品外型与产品特色简介
▼Thecus Logo
▼产品型号为N2810,支援4K多媒体播放
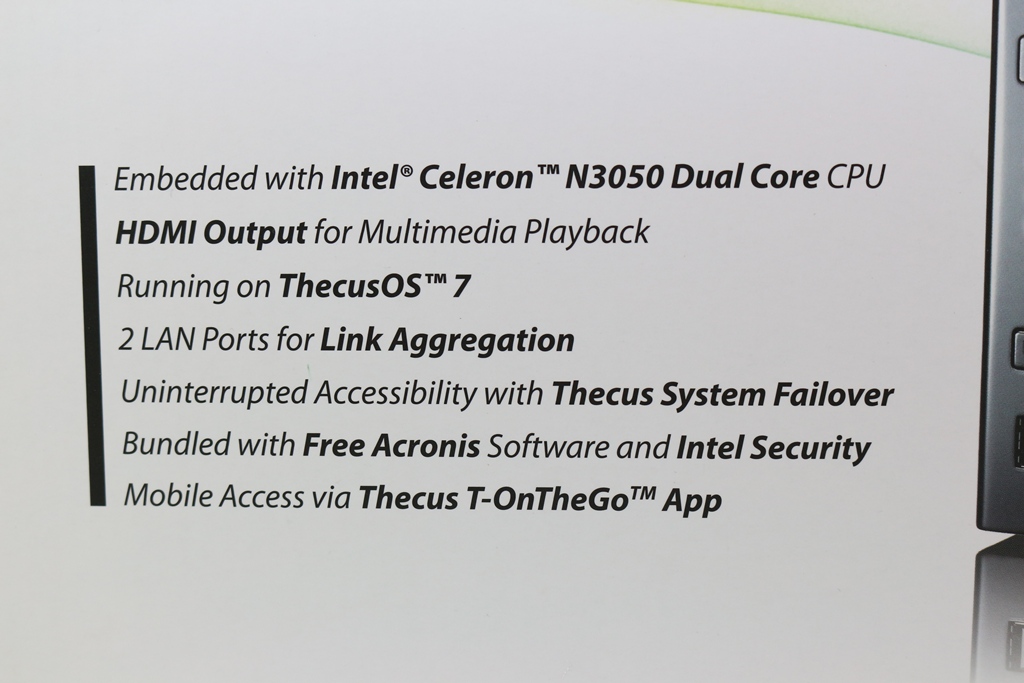
▼产品特色:
1.搭载Intel Celeron N3050双核心处理器
2.内建HDMI输出
3.搭载色卡司最新操作系统ThecusOS 7.0
4.内建2组网路接口
5.支援 色卡司失效接管功能让工作程序无间断
6.随机附赠免费Intel防毒软体
7.可搭配T-on the-Go行动装置App做资料存取
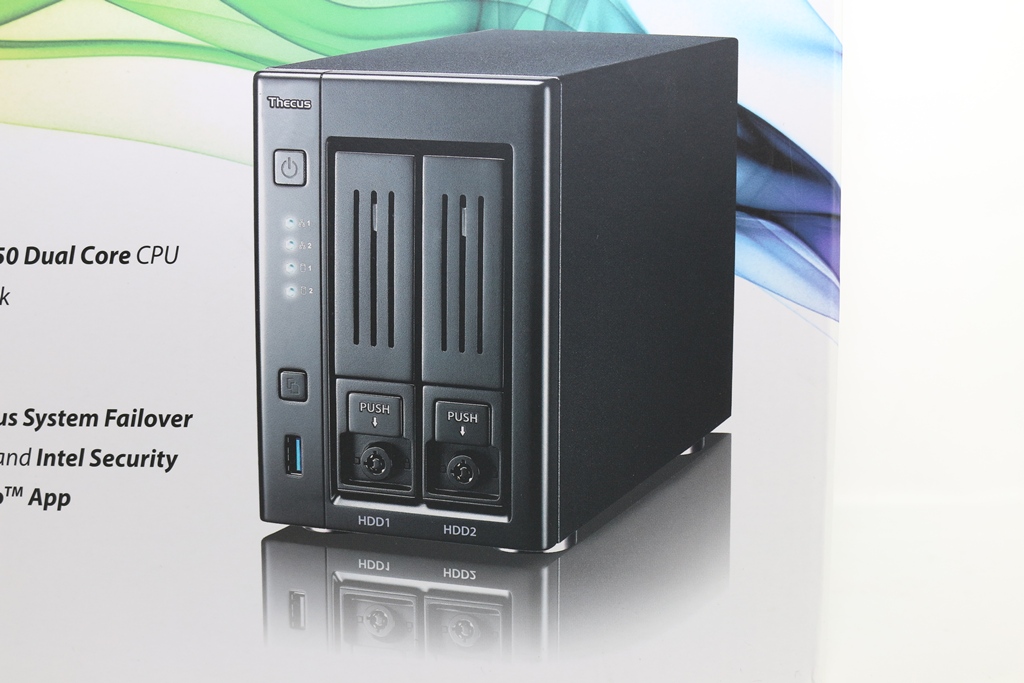
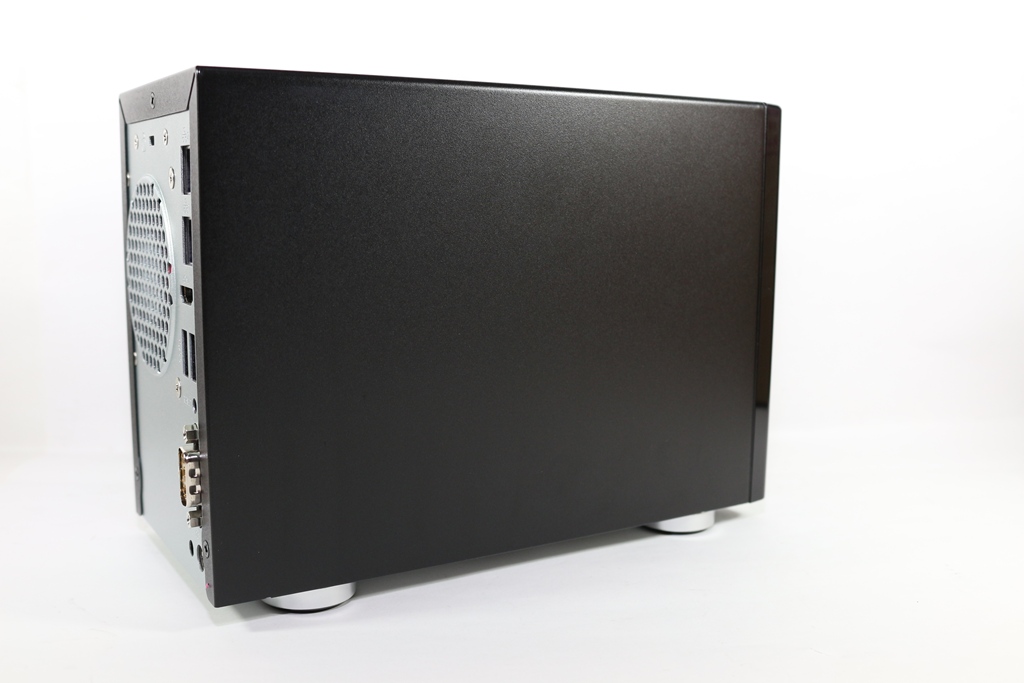
▼Thecus N2810外型
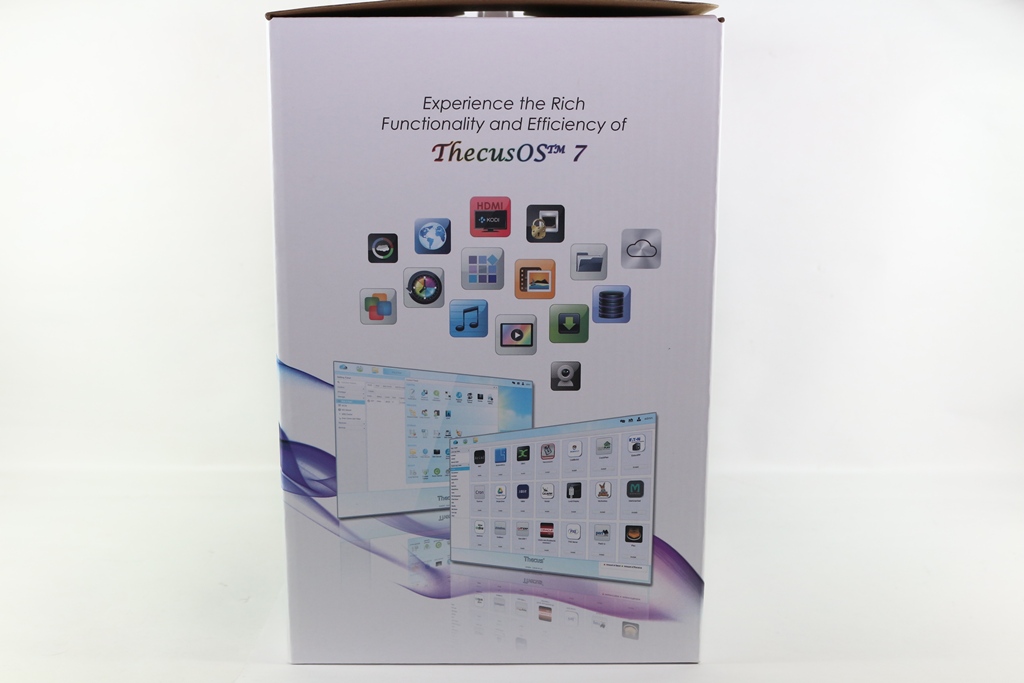
▼另一侧强调N2810适合应用于多媒体中心,并支援4K影片播放
▼侧面标示N2810采用最新操作系统ThecusOS 7.0,操作介面更加人性化与容易上手
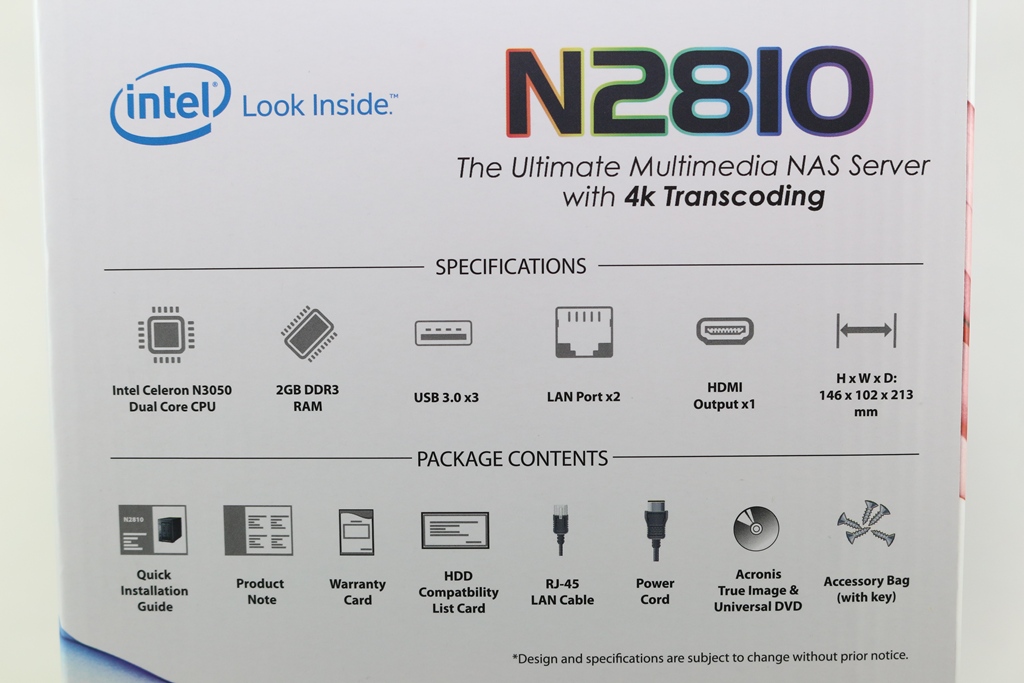
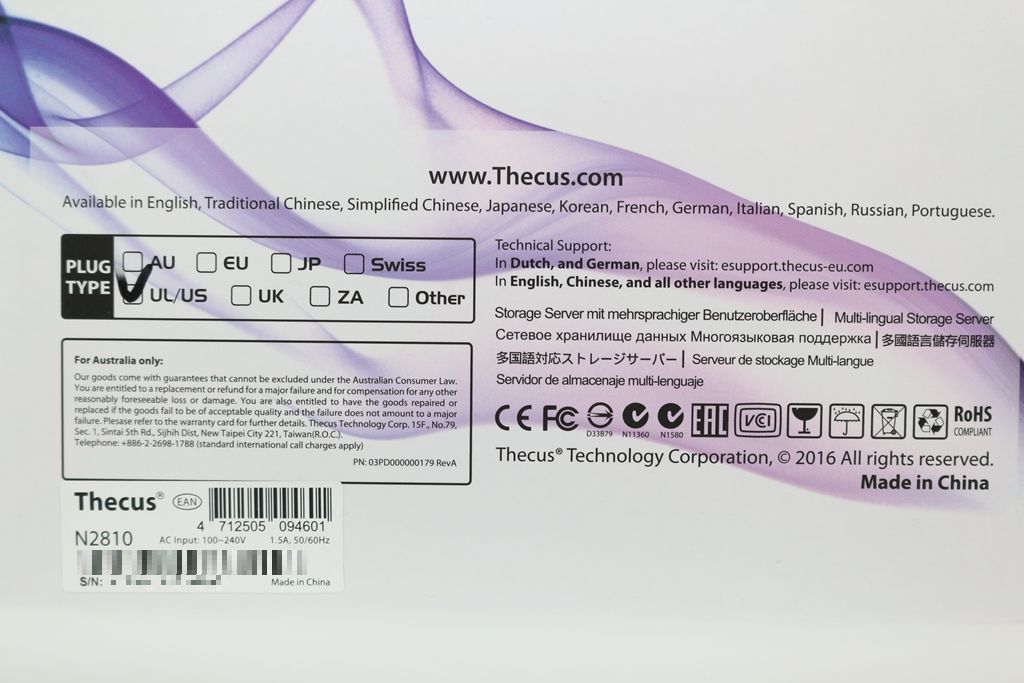
▼另一侧为说明产品基本规格、包装内容物与产品资料…等相关资讯
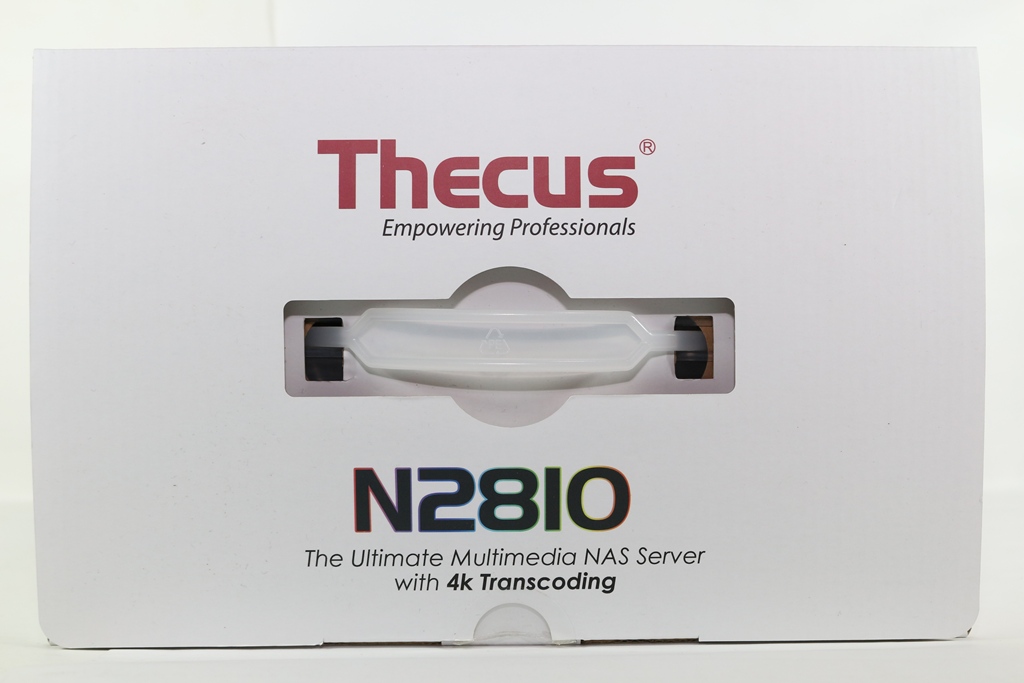
▼包装采用手提式设计,方便使用者移动
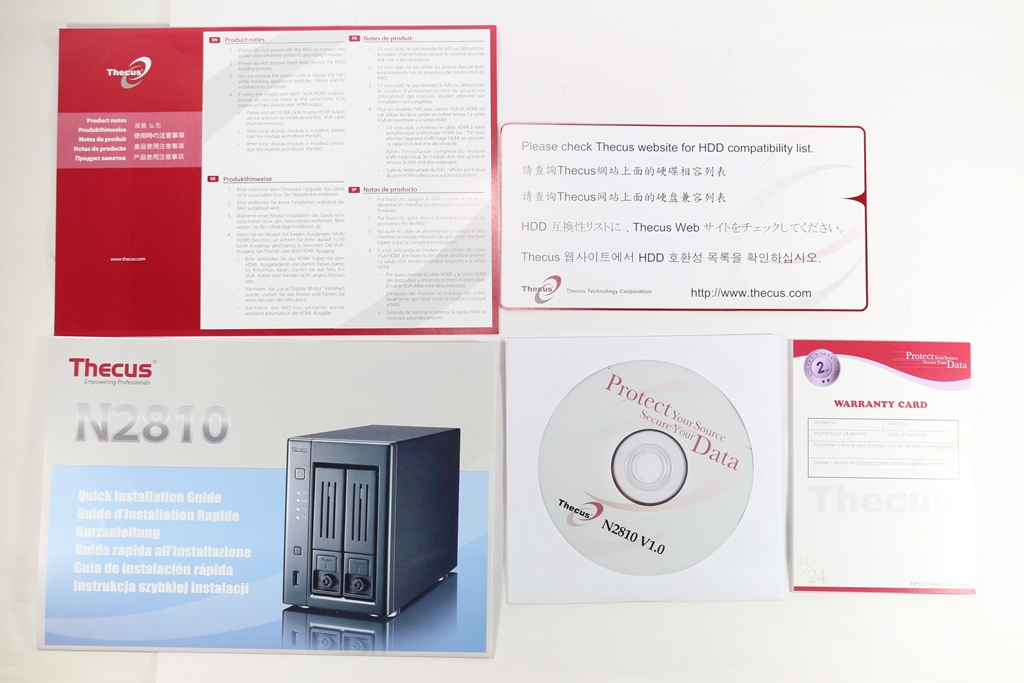
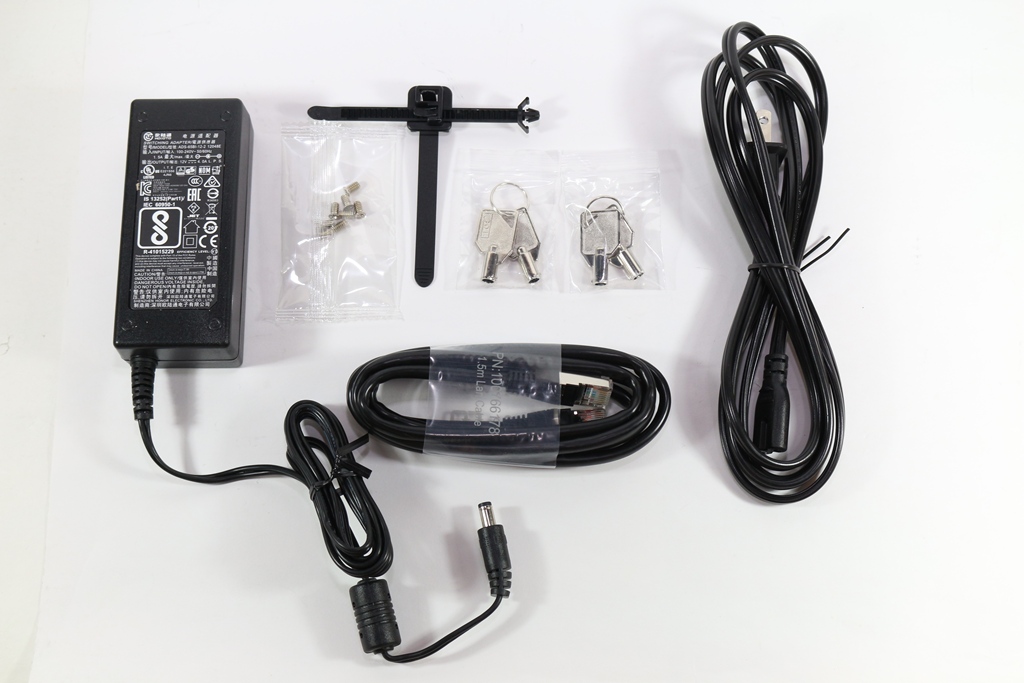
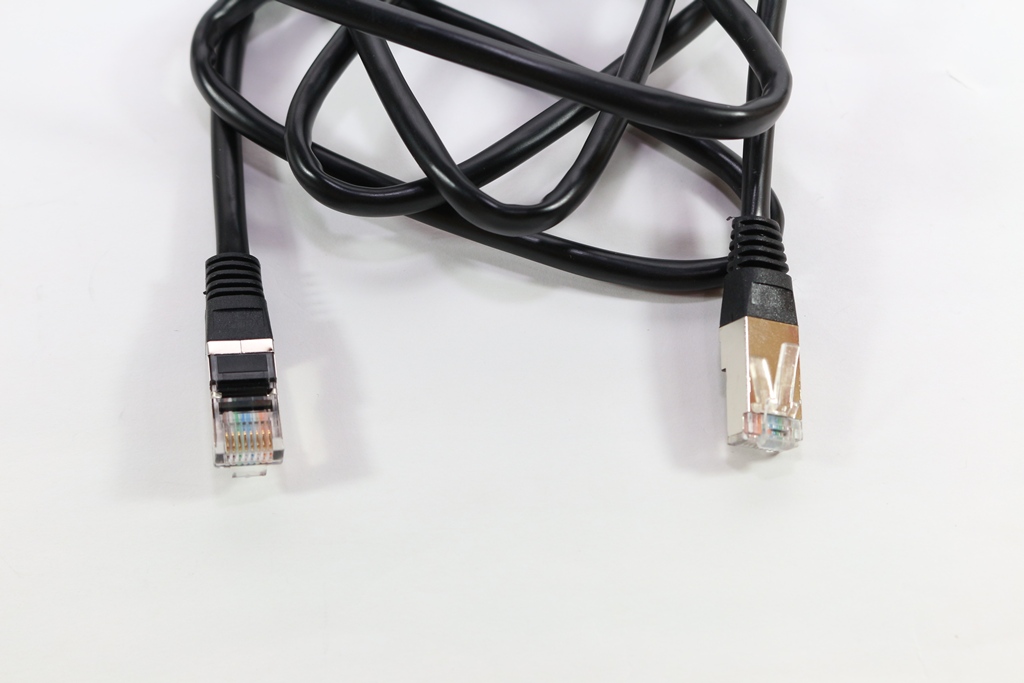
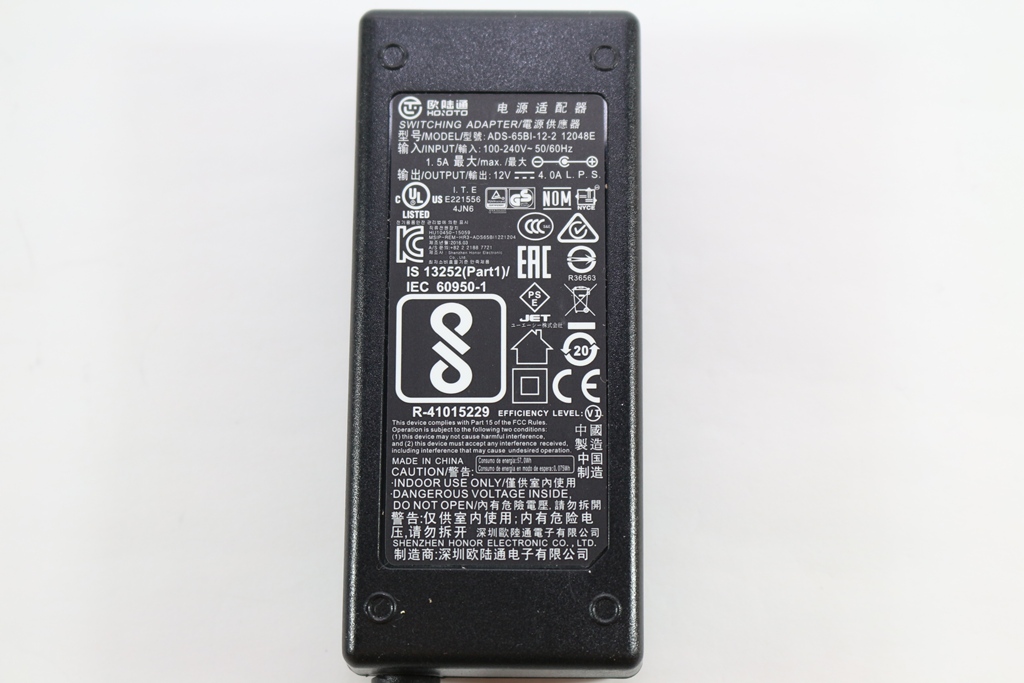
▼配件:说明书、硬碟固定螺丝、光碟片、网路线、变压器、钥匙与束线,网路线接头部分采用金属遮罩,可避免杂讯干扰,变压器部分规格为12V/4A
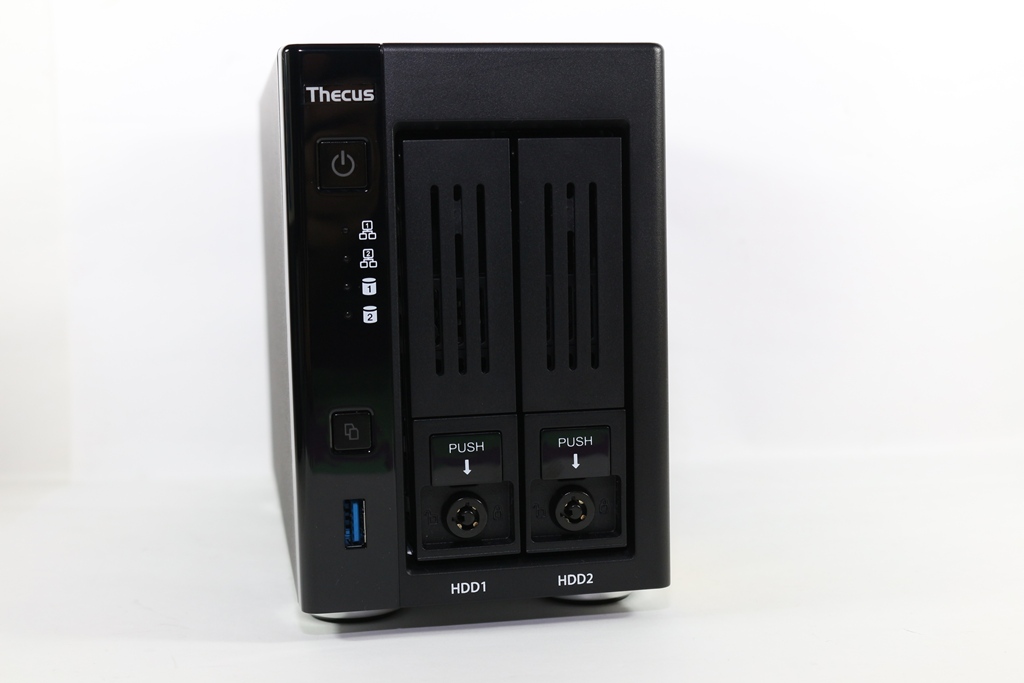
▼Thecus N2810正面,前方设有USB3.0,方便使用者安装USB装置与一键备份按键,并有电源开关与硬碟、网路指示灯号
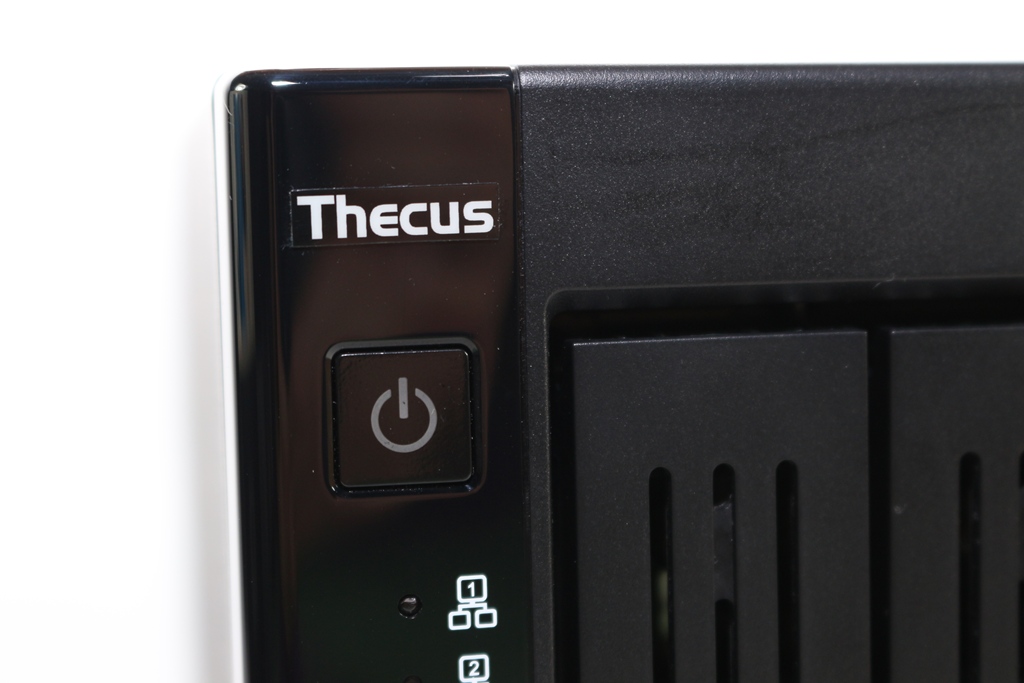
▼Thecus Logo与电源开关
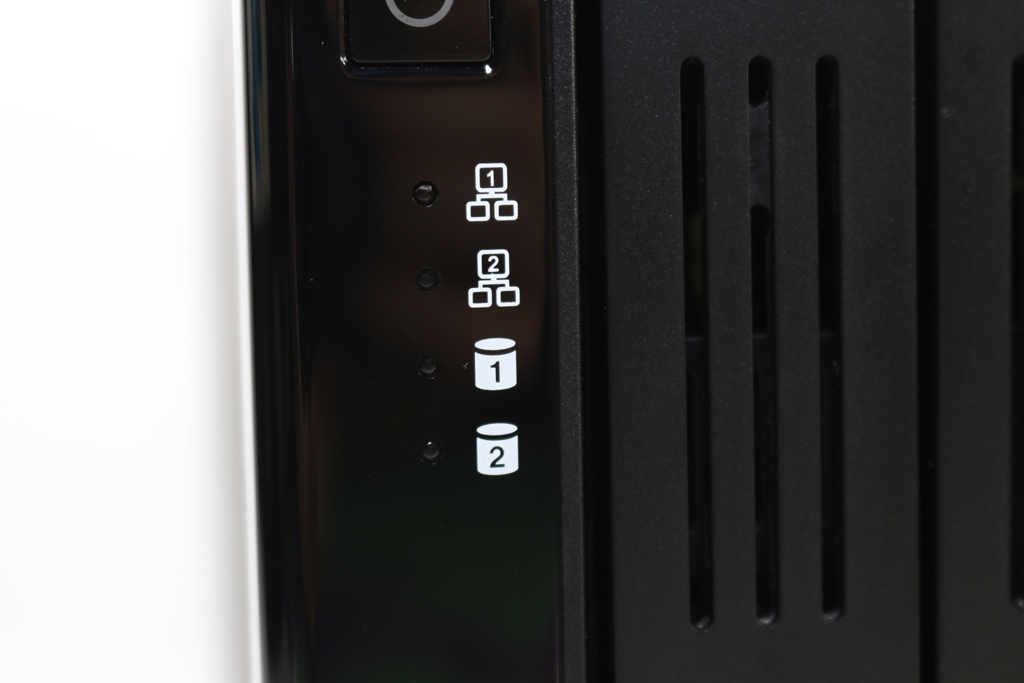
▼硬碟、网路指示灯号
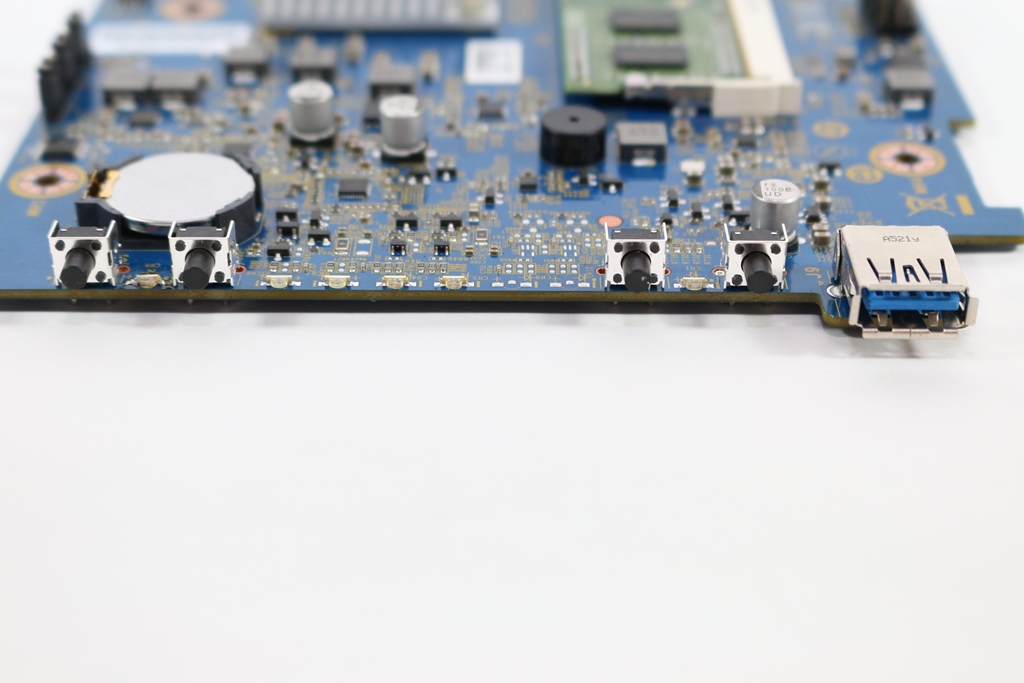
▼USB3.0与一键备份按键

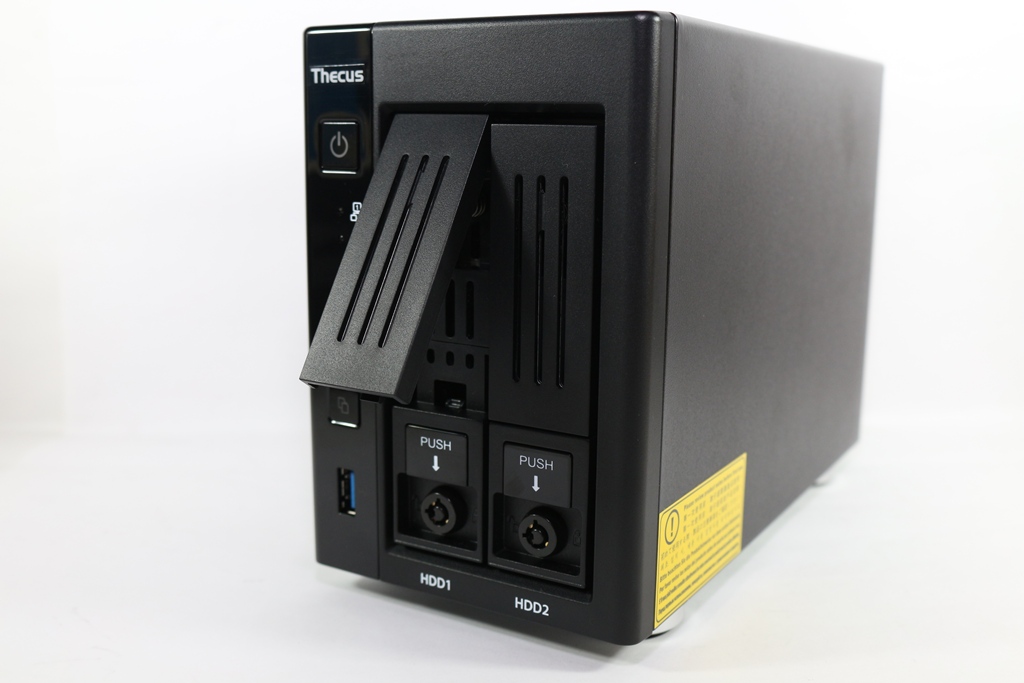
▼N2810硬碟安装为滑轨式设计,硬碟可经由钥匙直接上锁
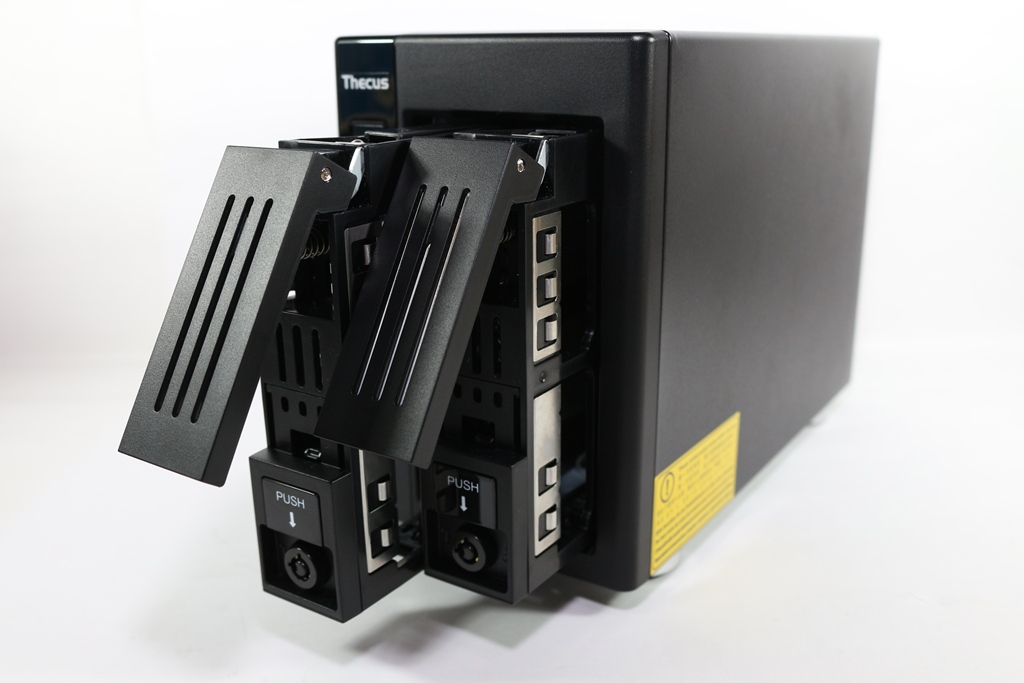

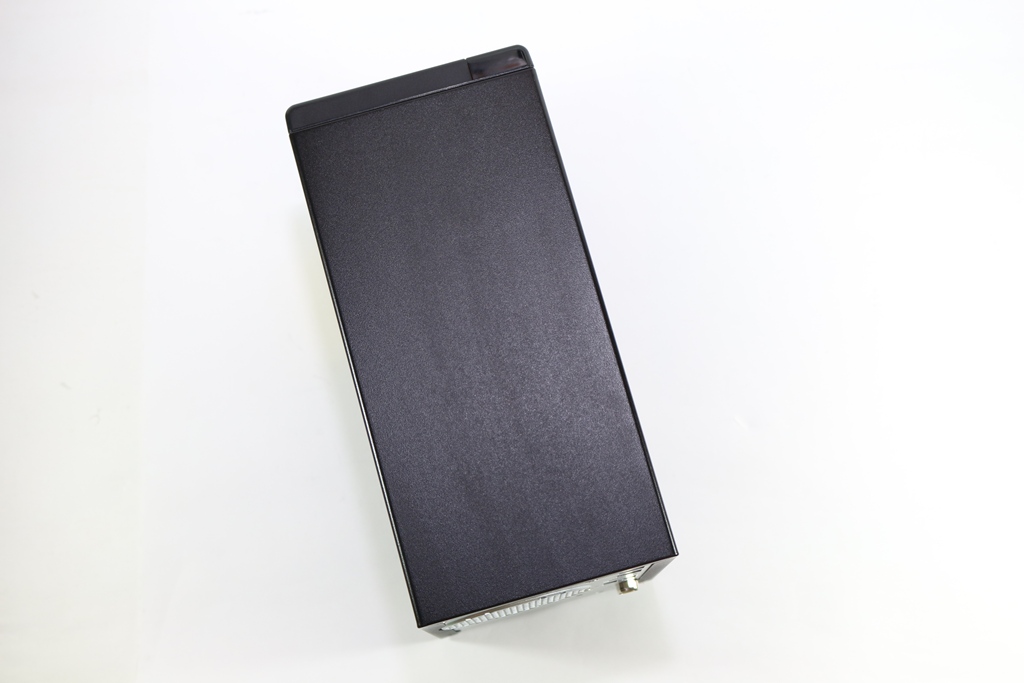
▼上方与两侧一览,两侧与上方并无开散热孔,代表机器本身无太多废热,且相当省电
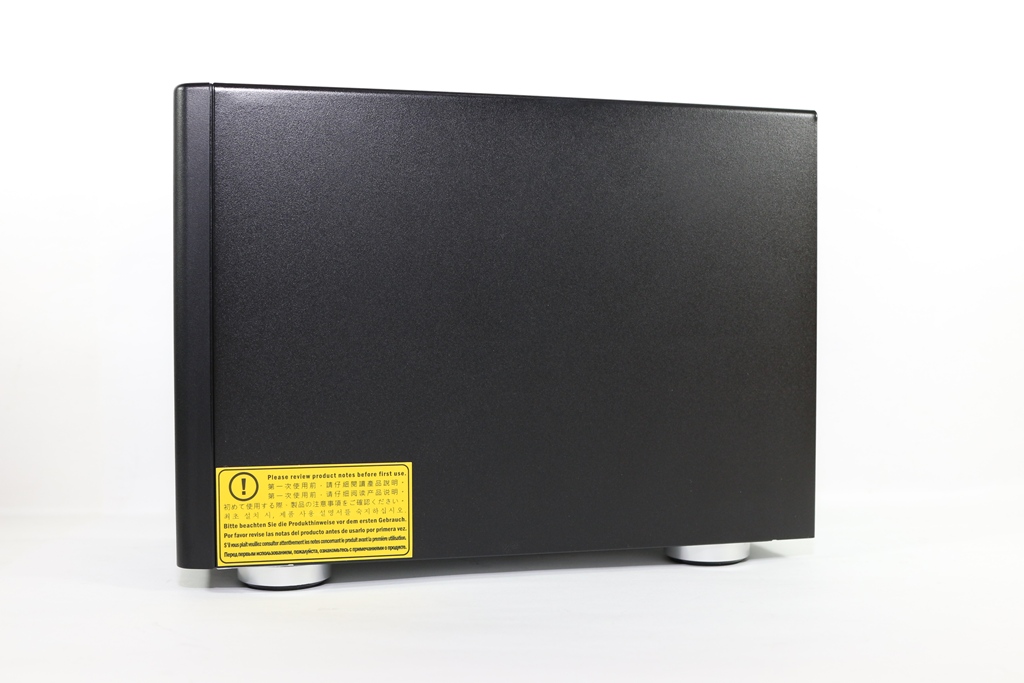
▼第一次使用提示标语

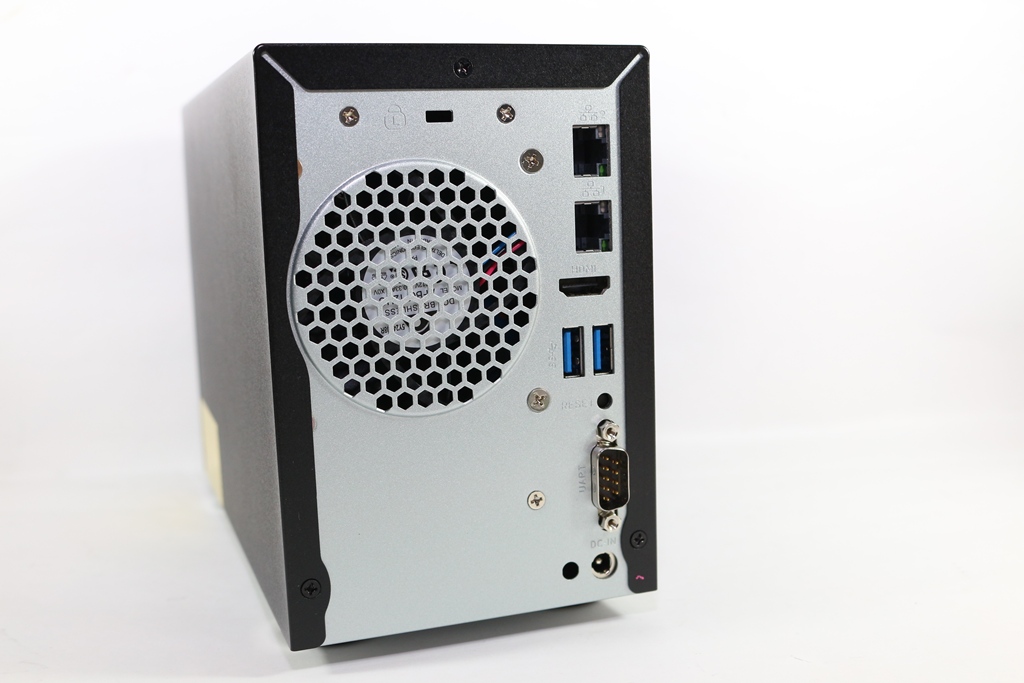
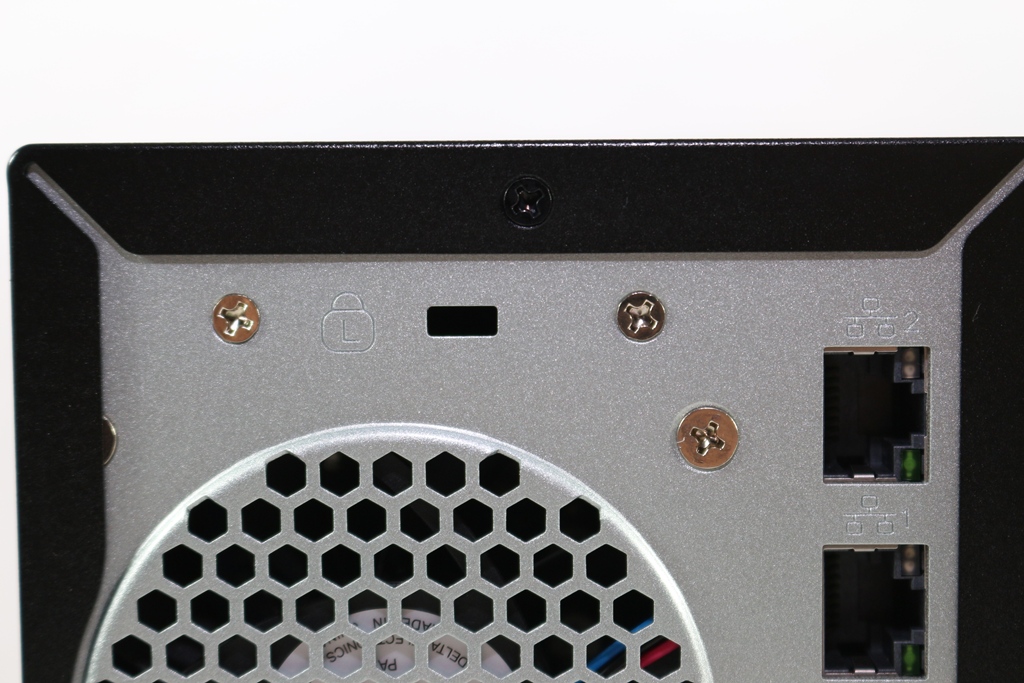
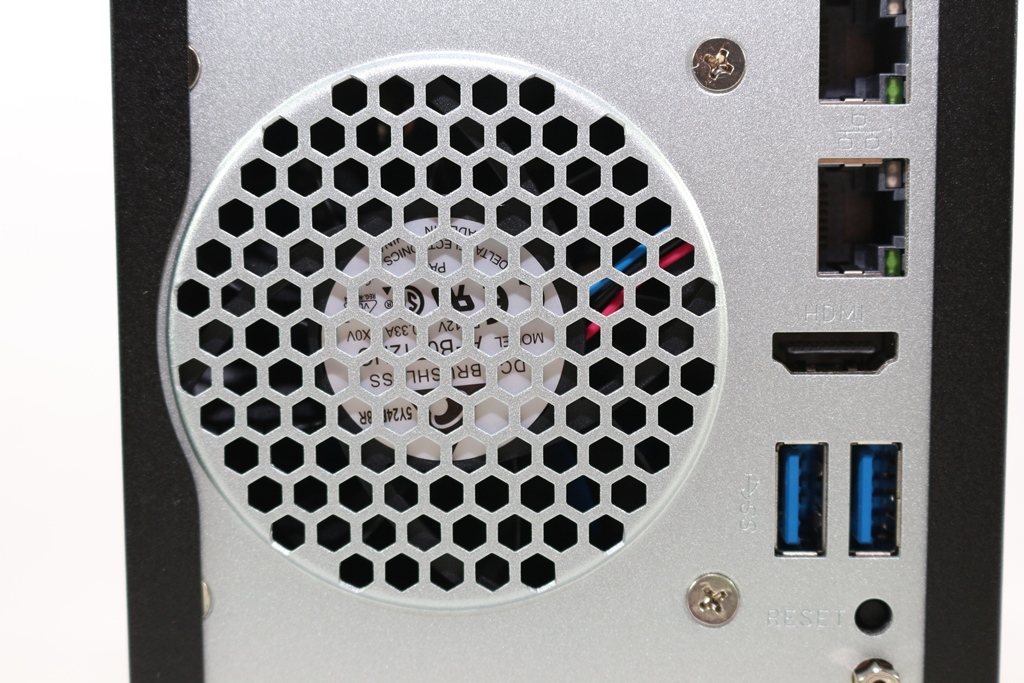
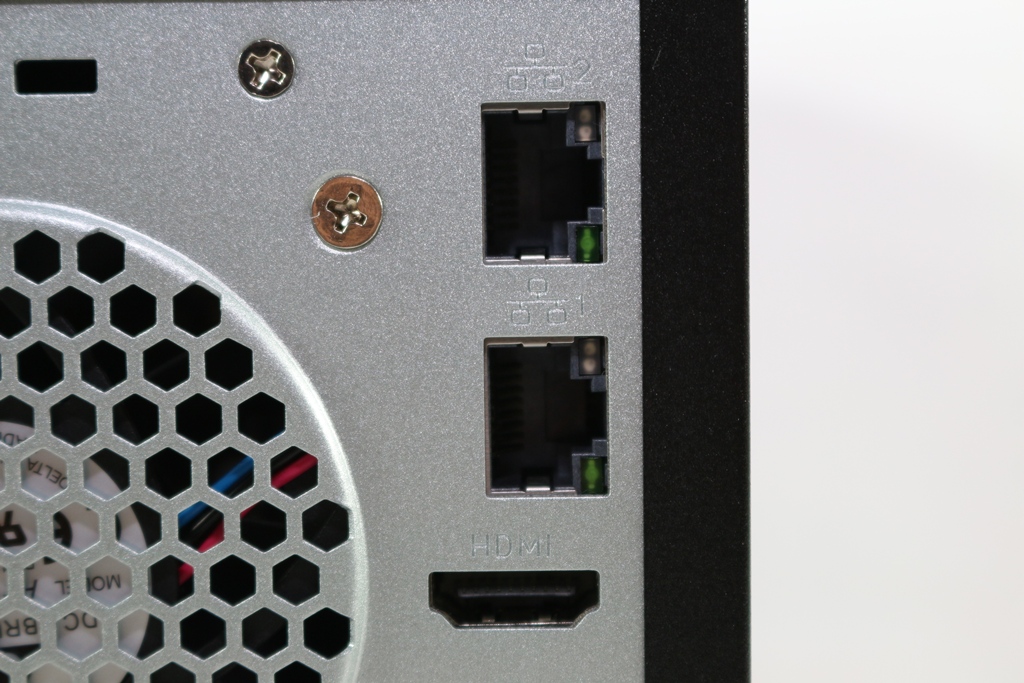
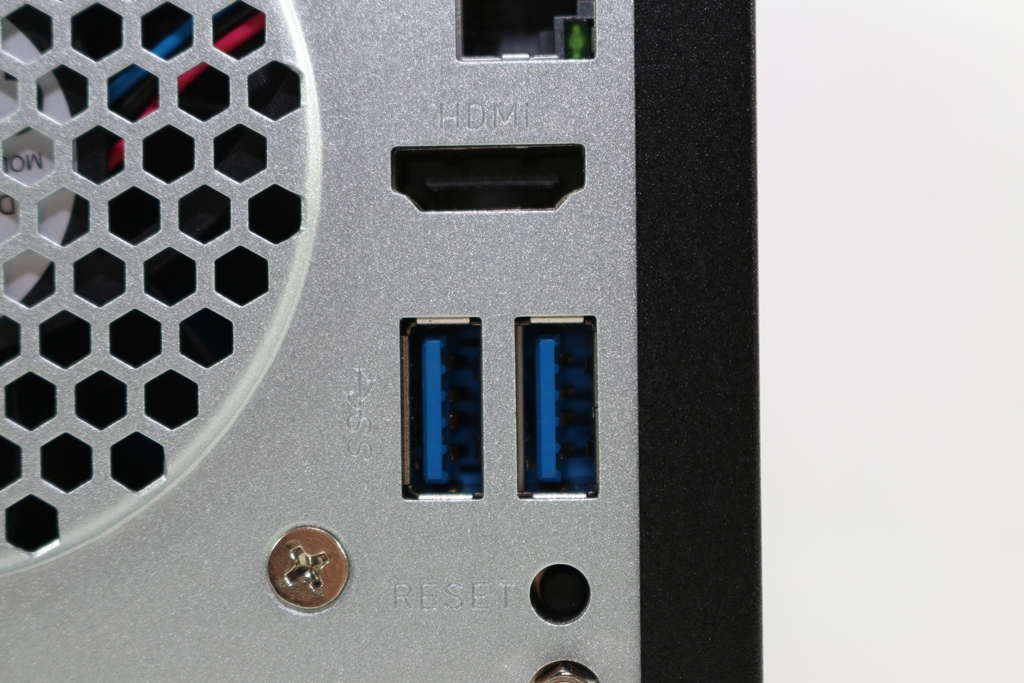
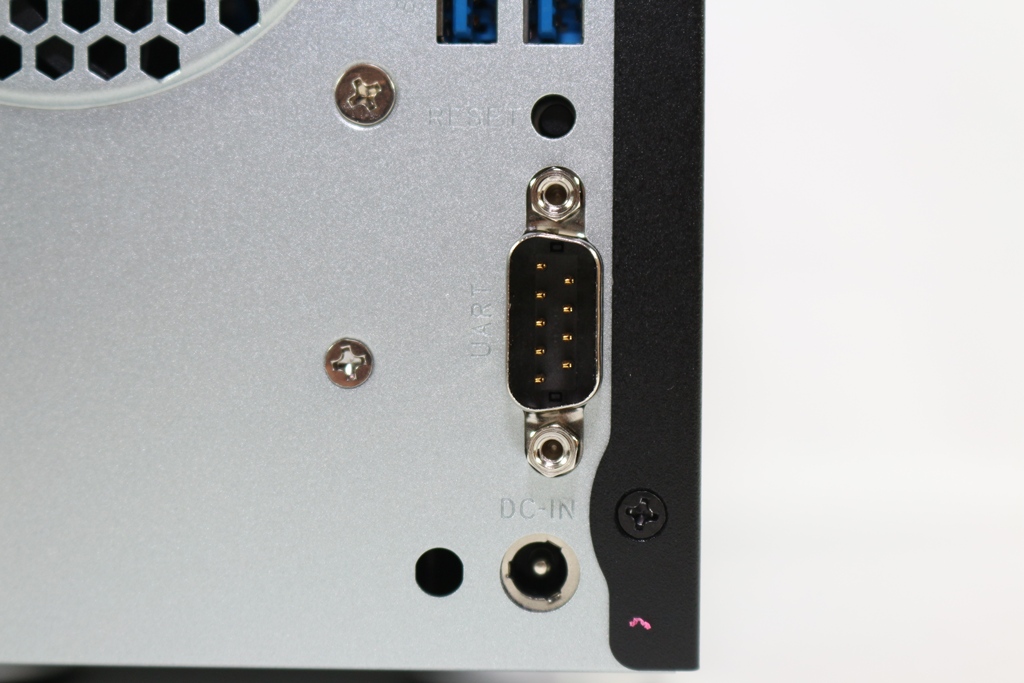
▼后方I/O部分:机器上所处、台达7公分滚珠散热风扇、两组USB3.0、2组Giga Lan RJ45、HDMI输出、Reset按钮、电源输入孔与RS-232
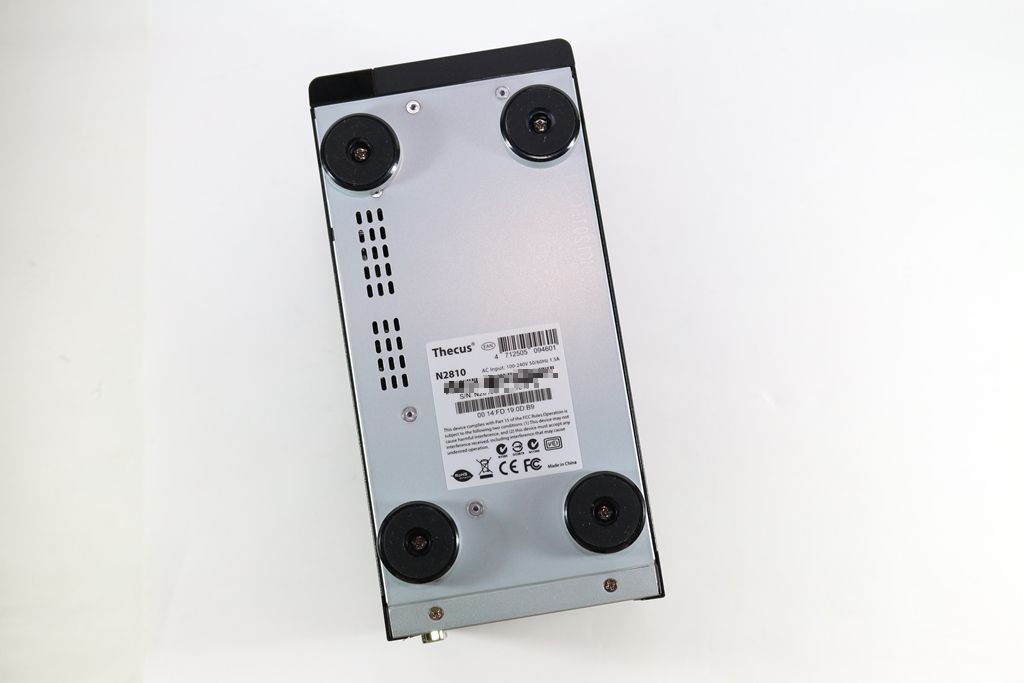
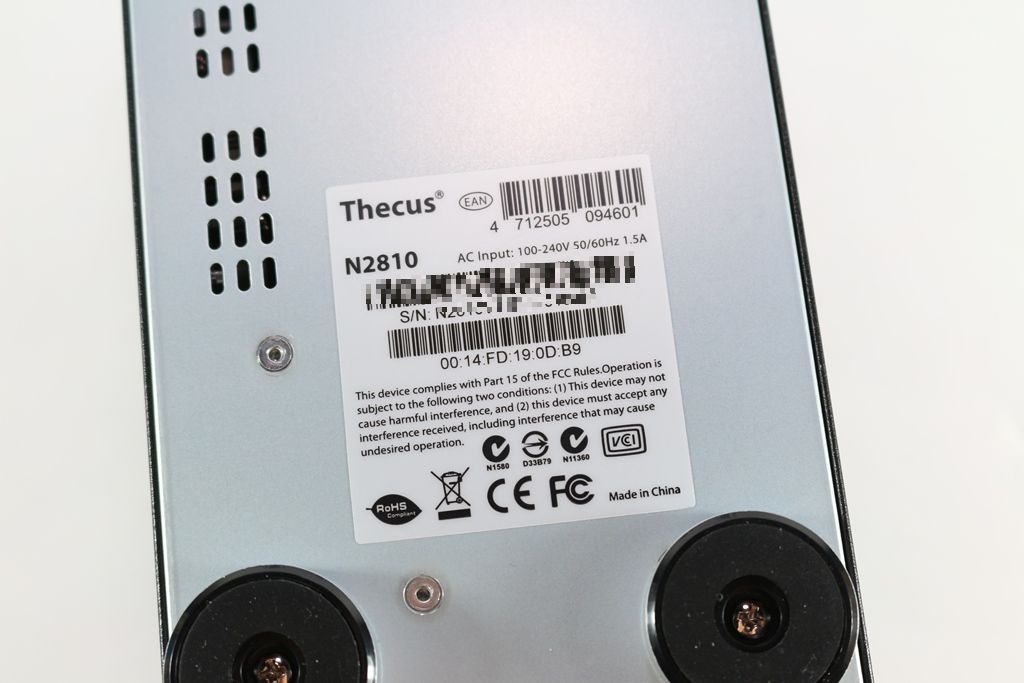
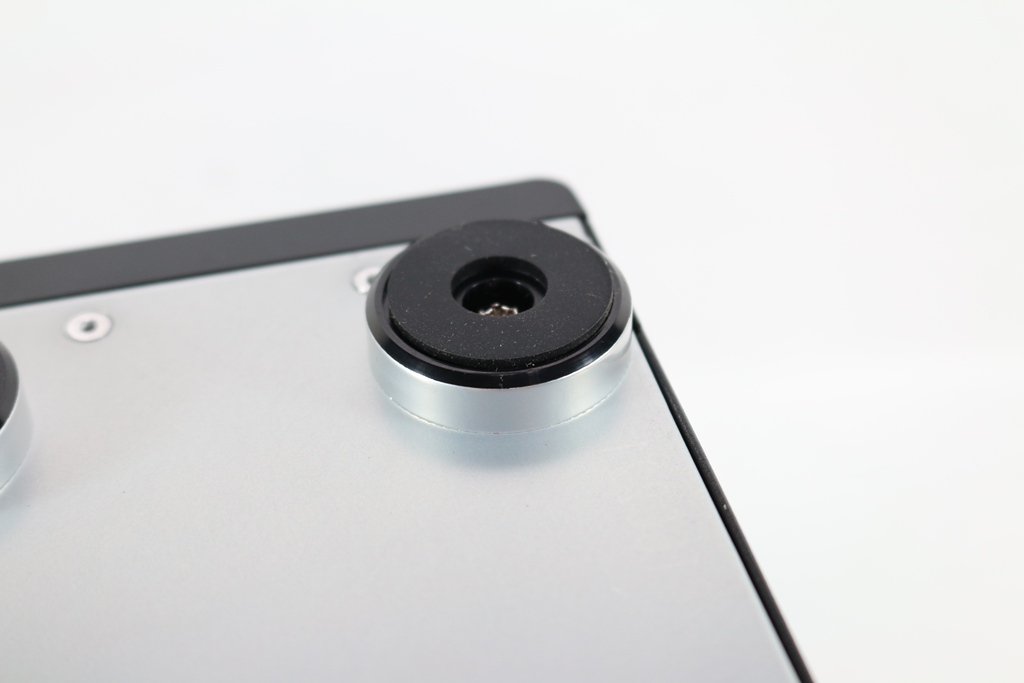
▼底部有四颗防滑胶垫,并贴有产品序号贴纸,脚座部分采用高阶音响才会使用的防滑胶垫相当有质感
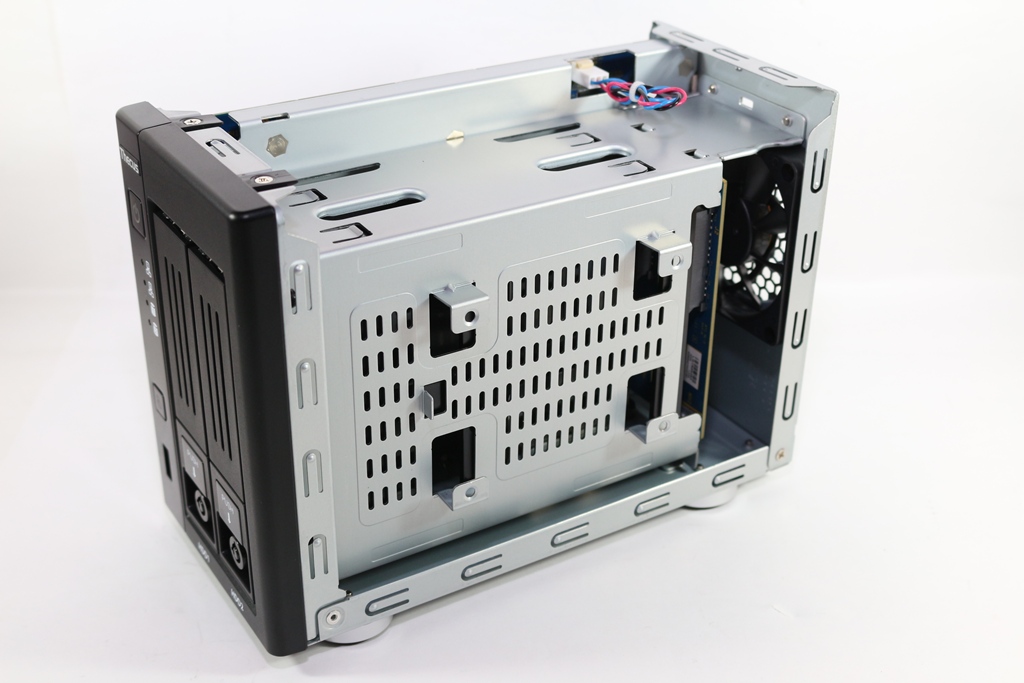
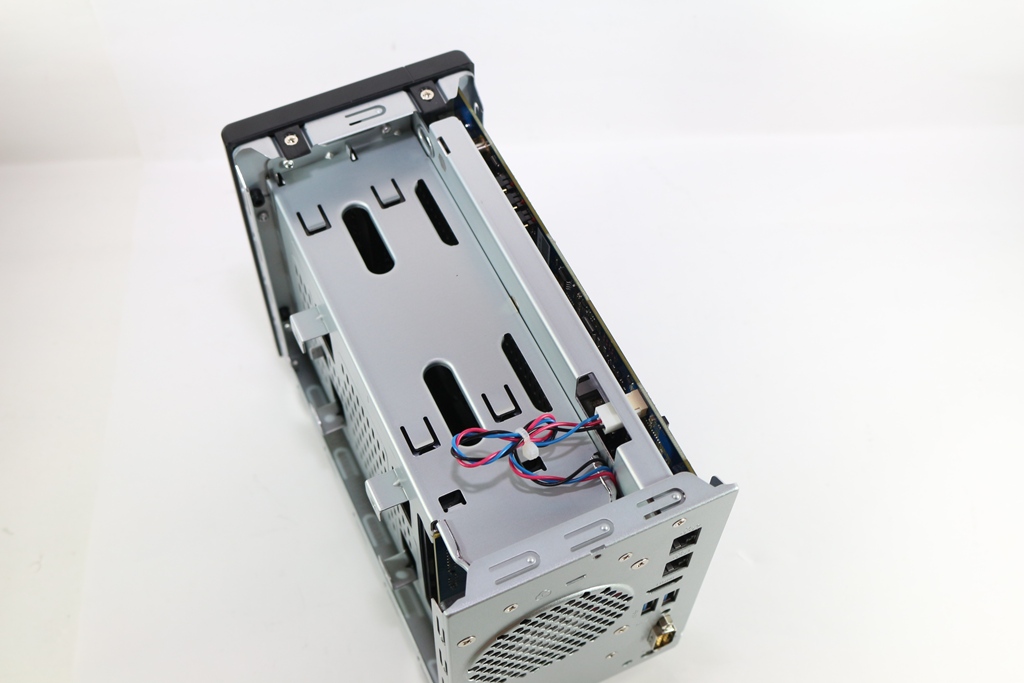
▼N2810脱光光一览,结构相当坚固,内部结构以金属制品为主
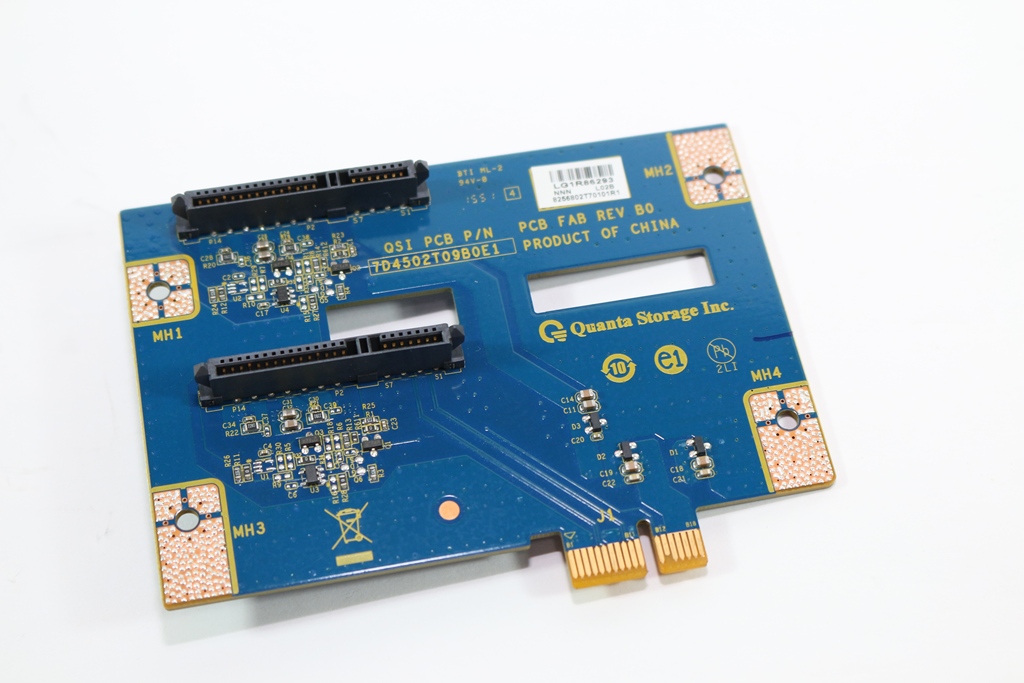
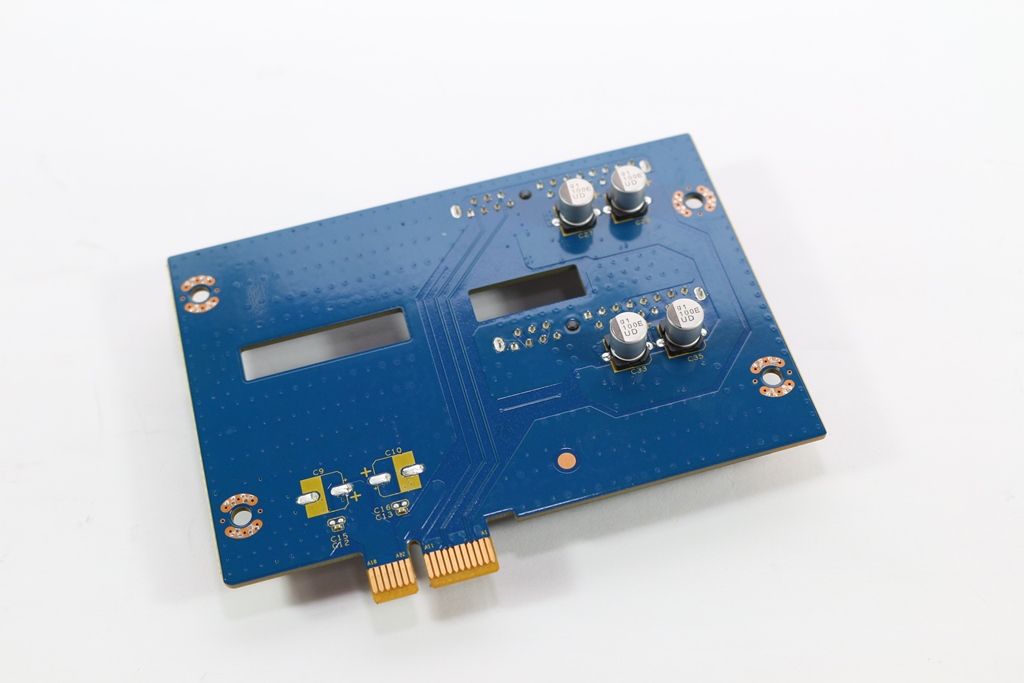
▼硬碟连接转板
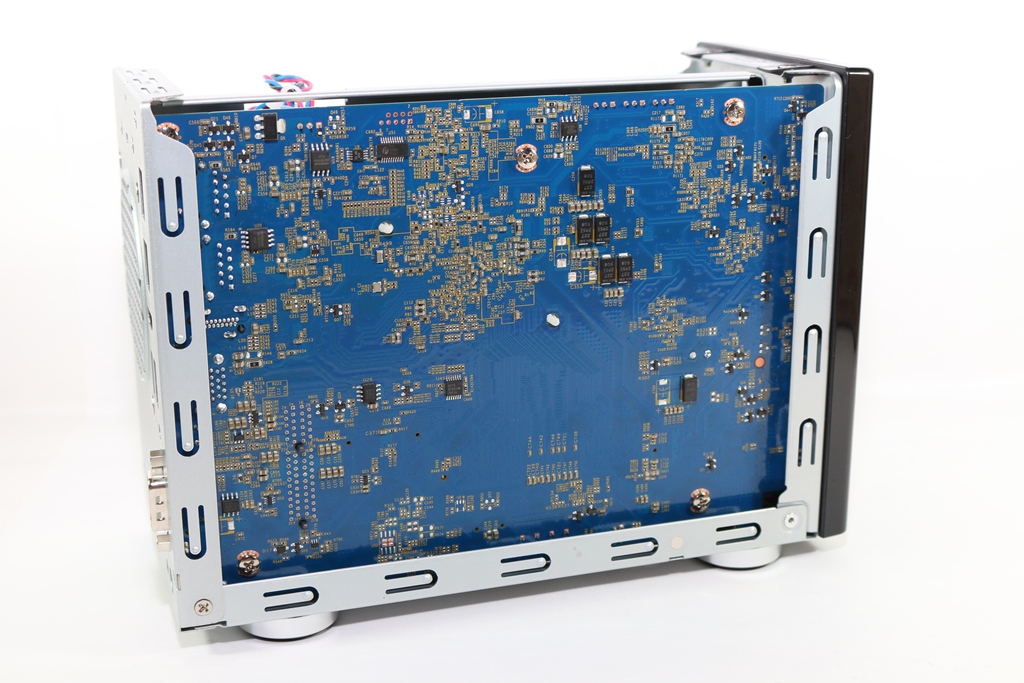
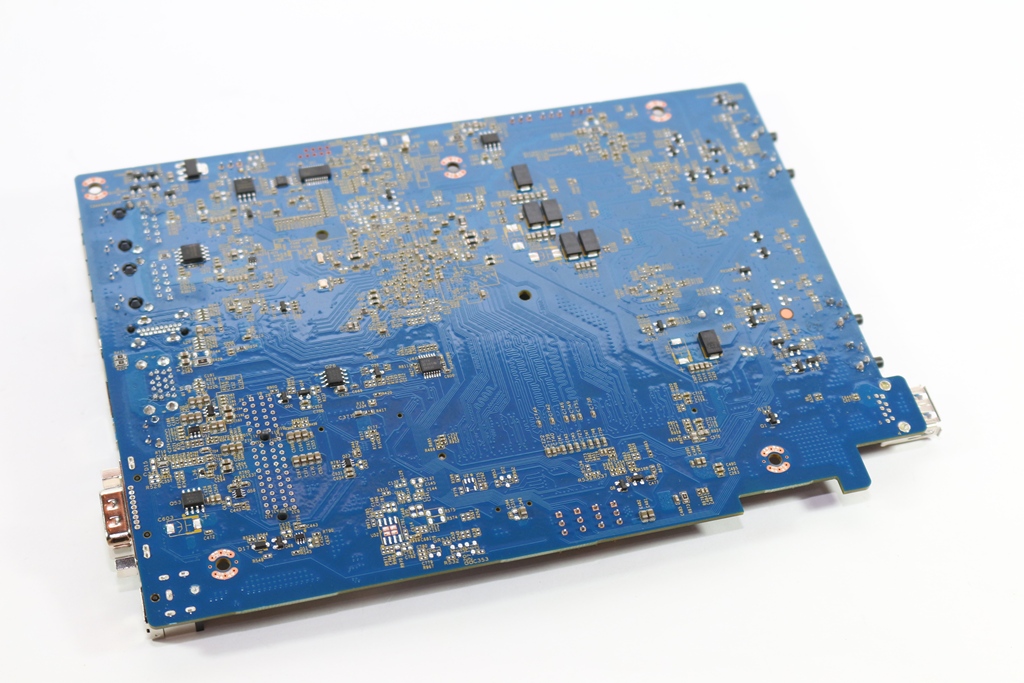
▼主机板正反面一览
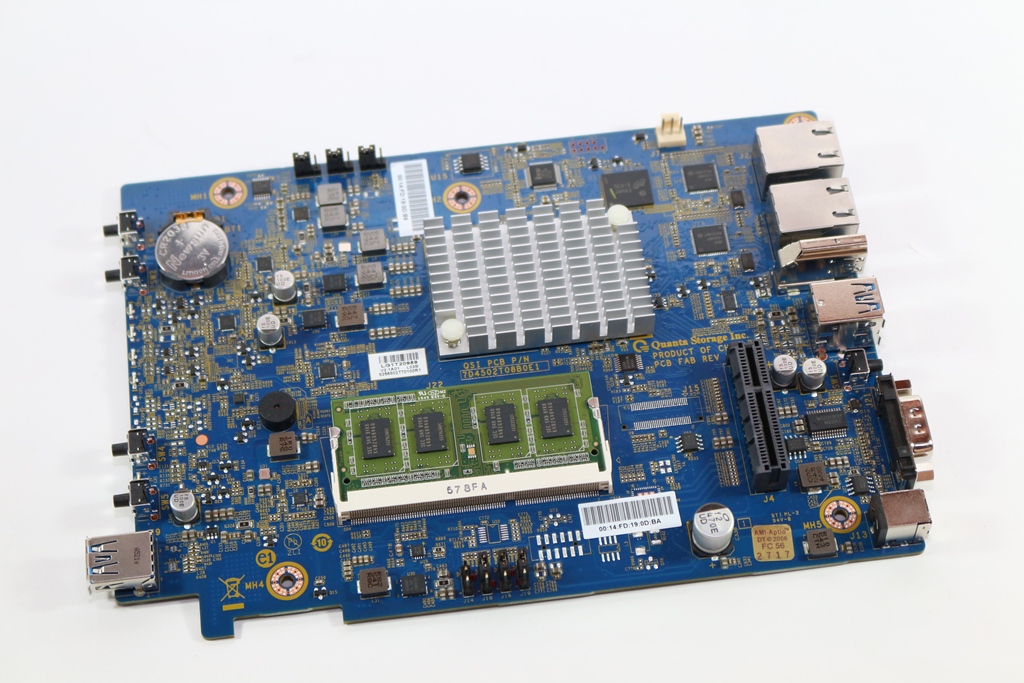
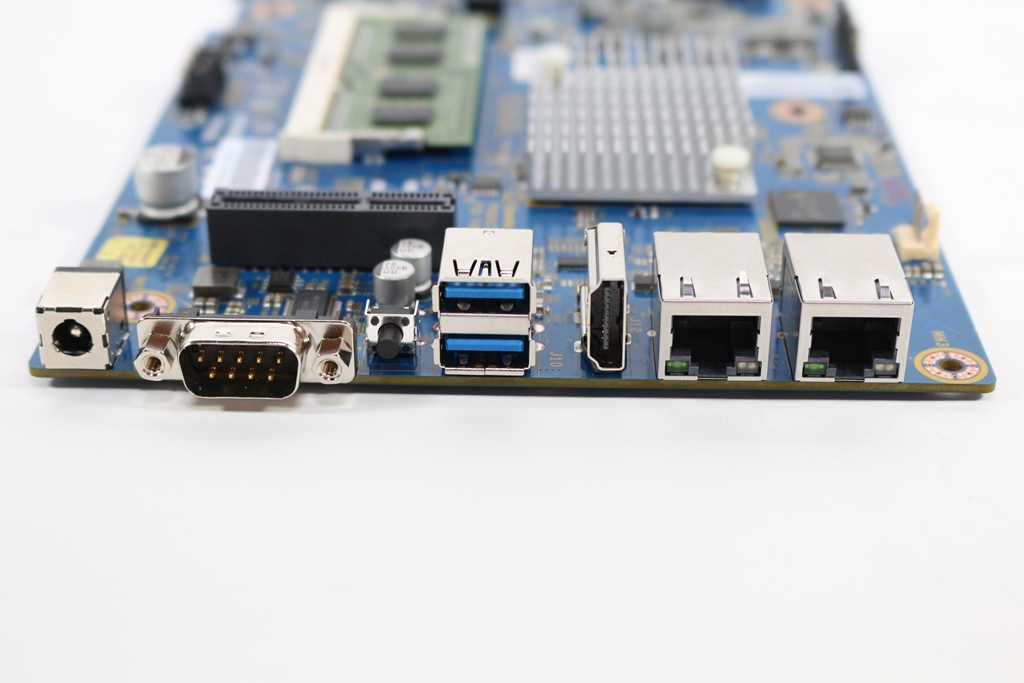
▼主机板前后IO总览
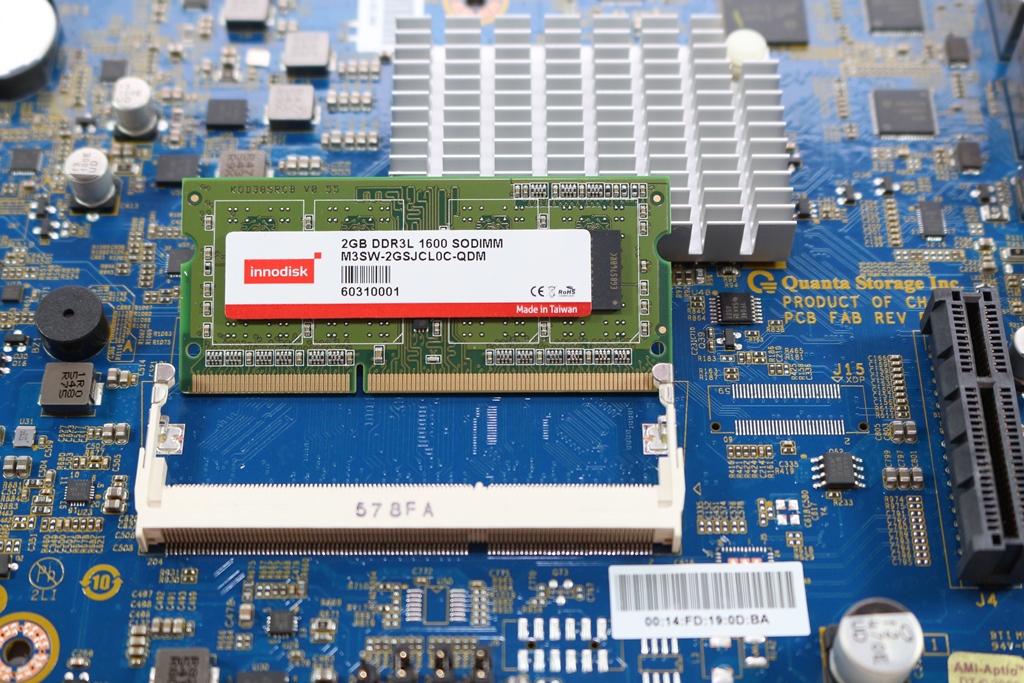
▼记忆体采用DDR3L 1600 2GB,可自行再升级
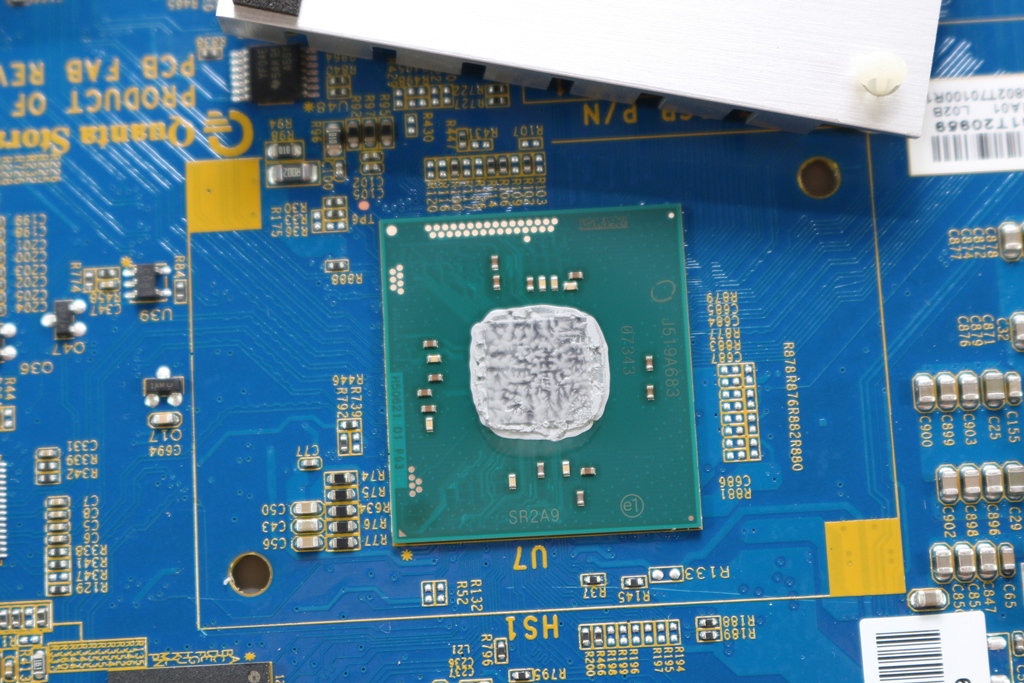
▼CPU Chip:Intel Celeron N3050双核心处理器(SR2A9)
▼Super IO Chip:iTE IT8616E

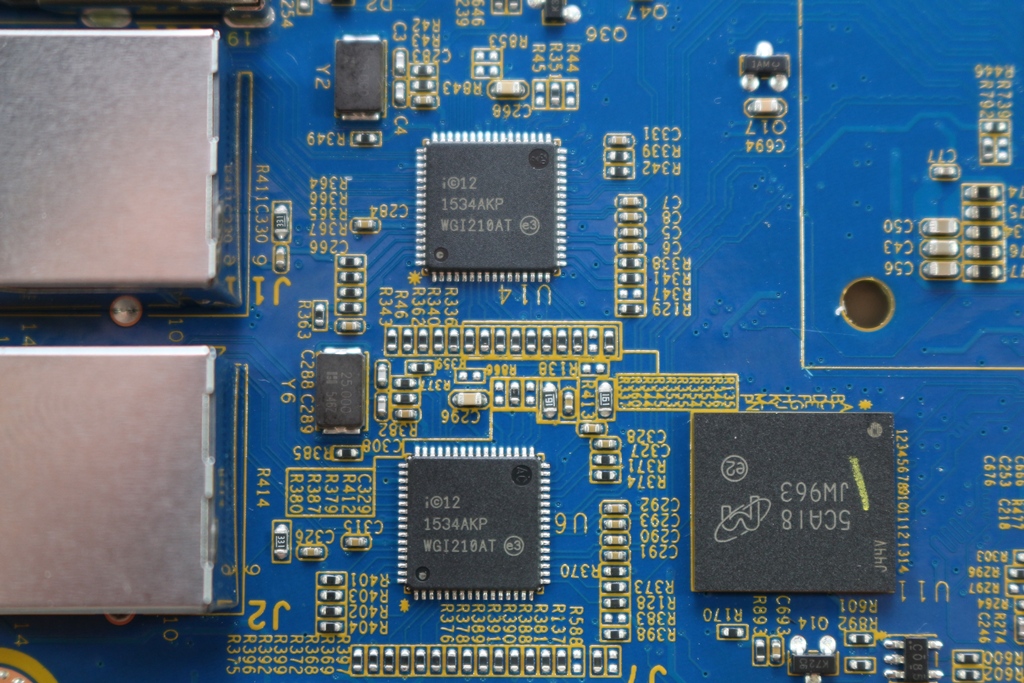
▼eMMC:Micron JW963
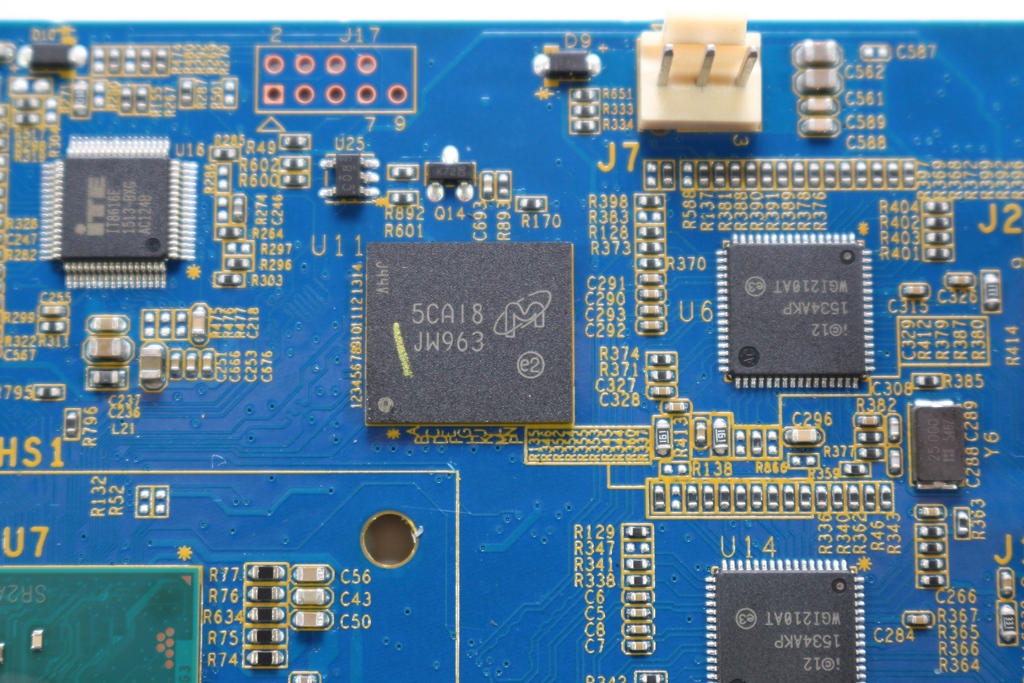
▼2 Port Lan Chip:Intel WGI210AT
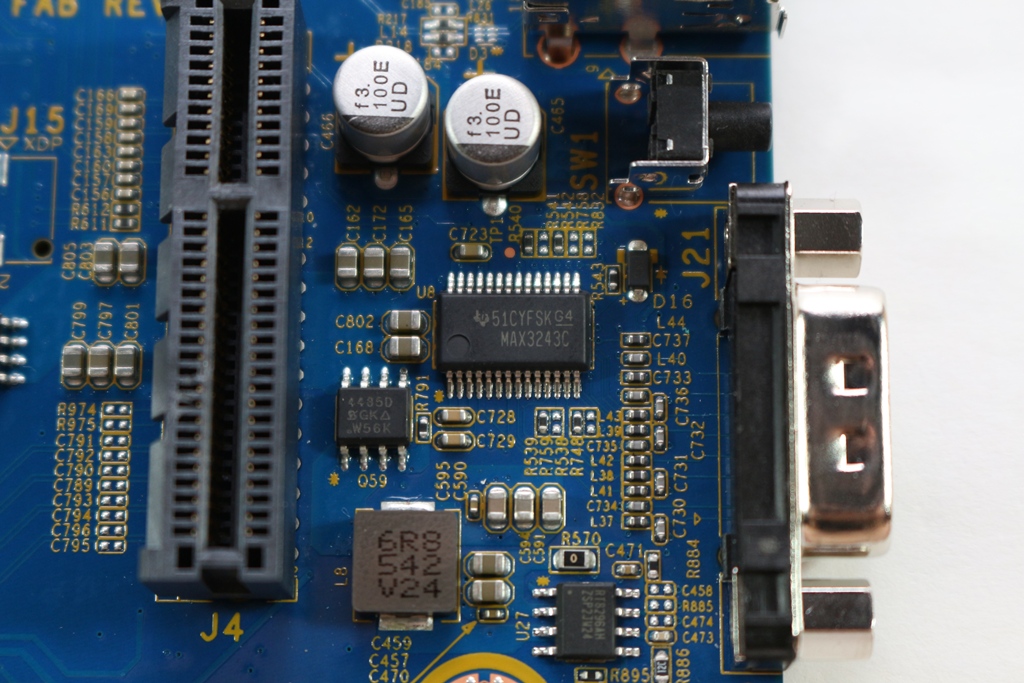
▼RS232 Line Driver/Redriver Chip:TI MAX3243C
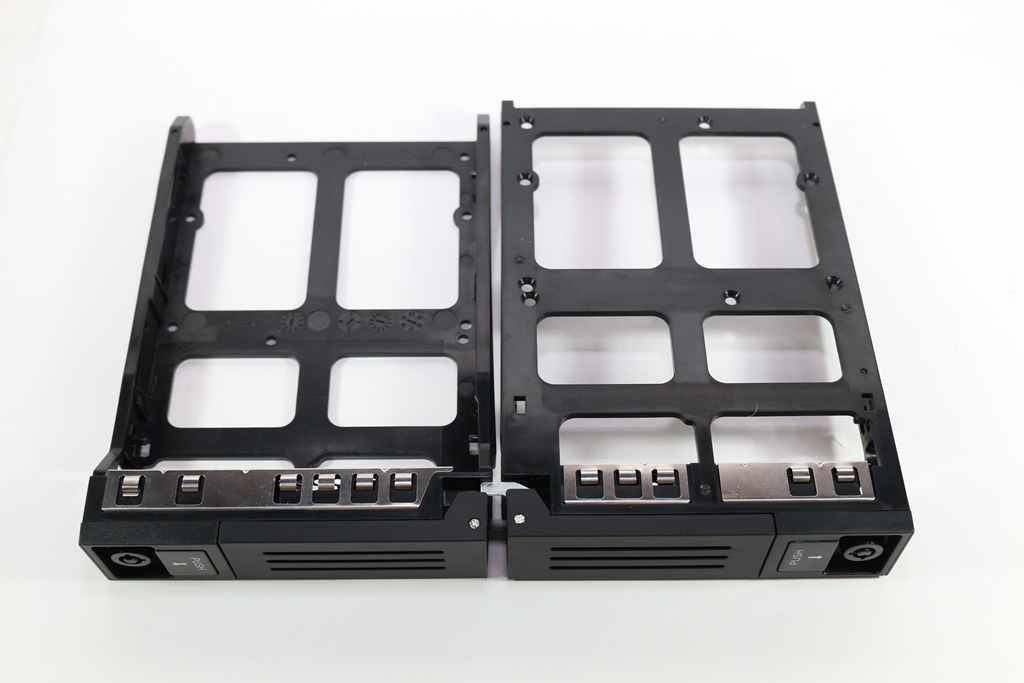
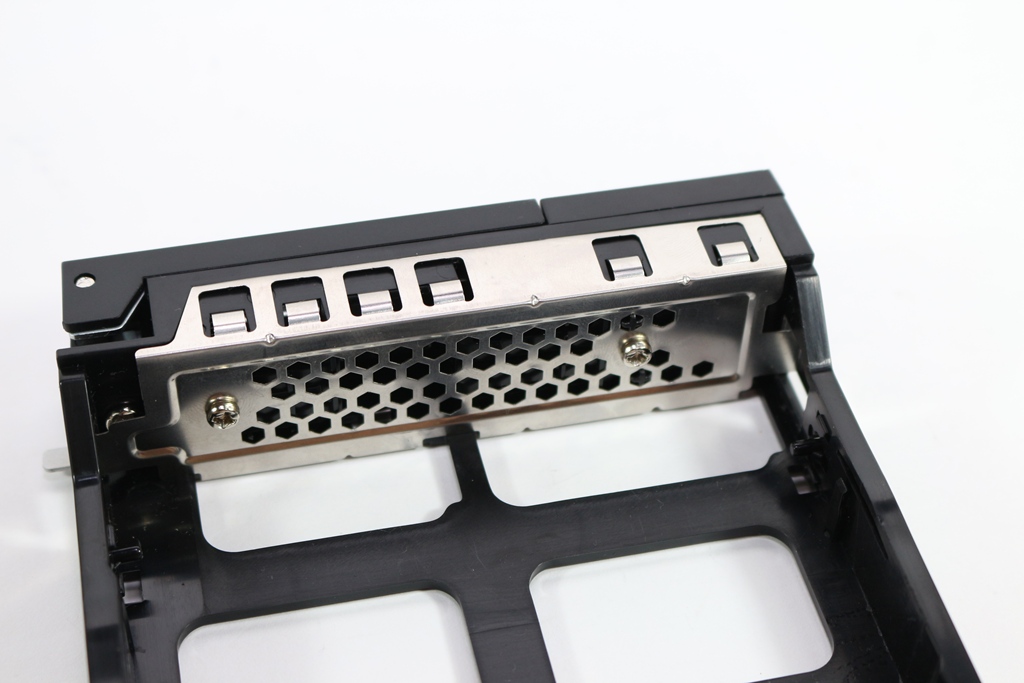
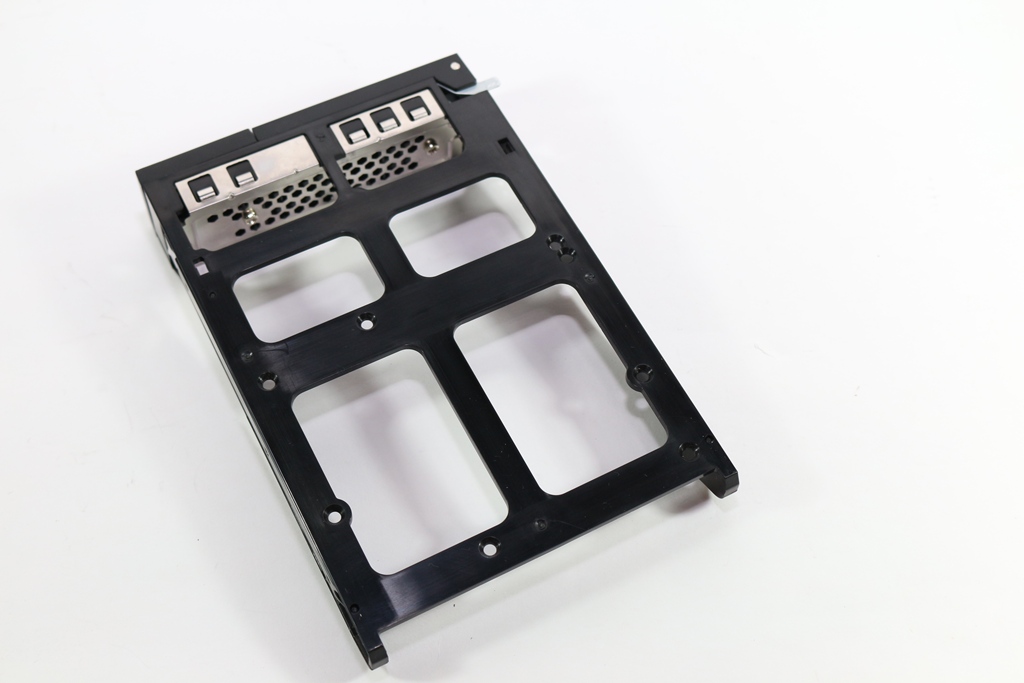
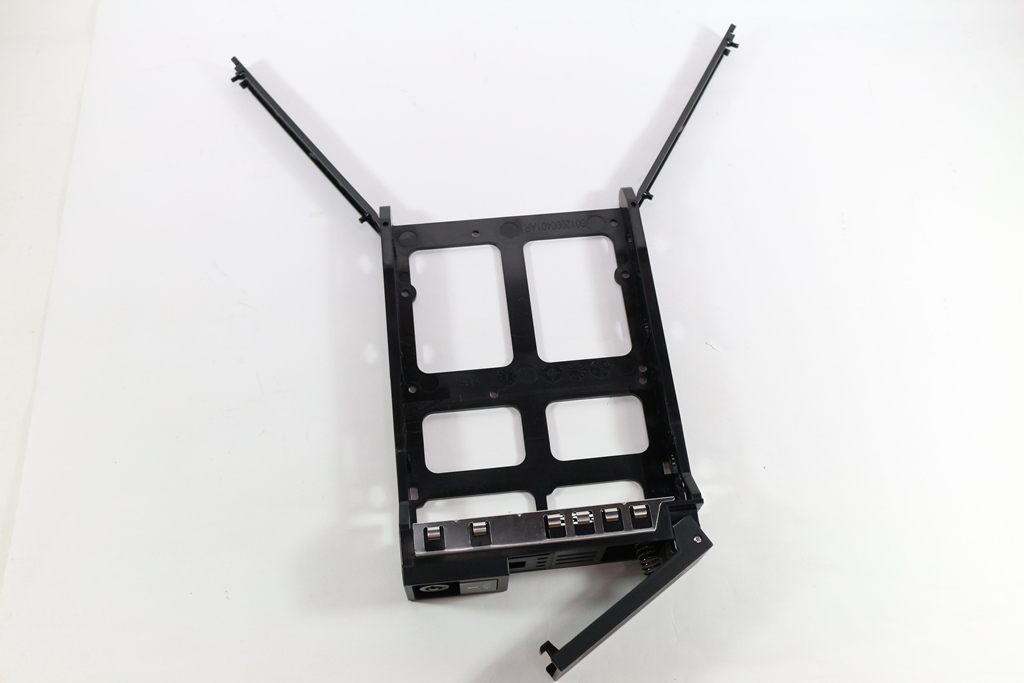
▼硬碟槽为塑胶制品,采用螺丝固定方式设计,滑轨也可安装2.5吋硬碟,并有固定孔位,若安装3.5吋装只可使用免螺丝安装设计
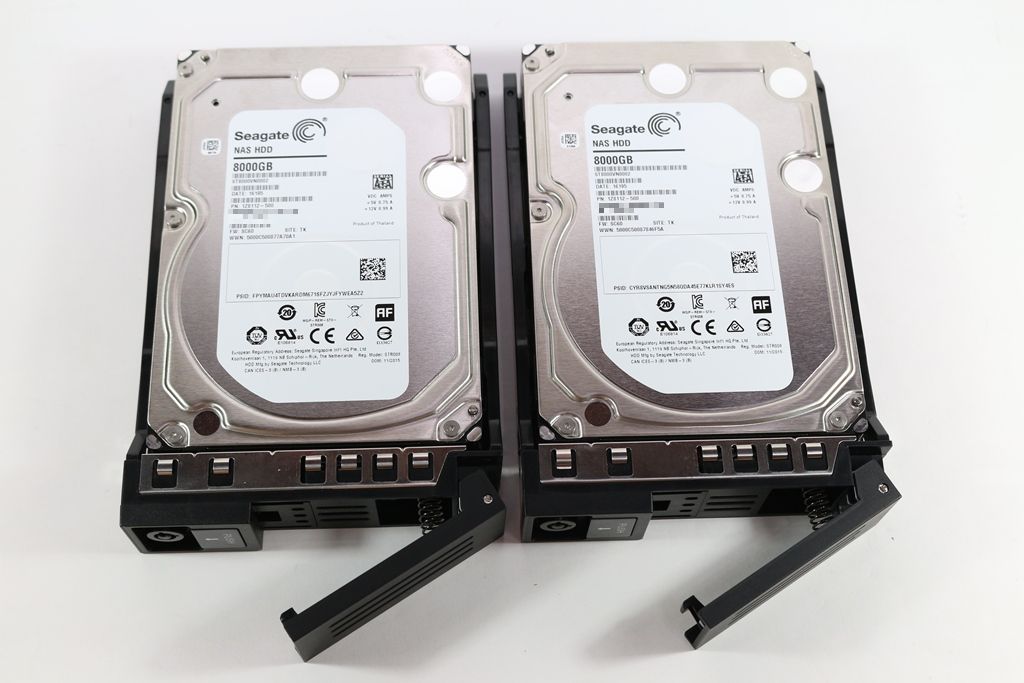
▼2颗Seagate 8TB NAS专用硬碟
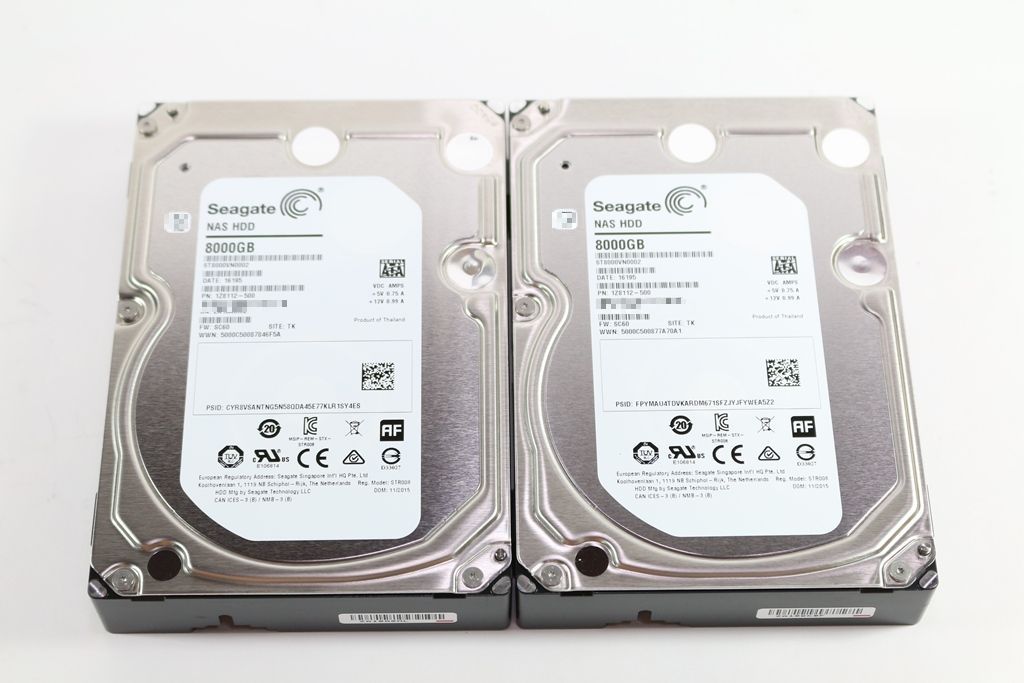
▼Seagate 8TB NAS专用硬碟正面,贴有硬碟标签,硬碟背面,与一般硬碟无太大差异
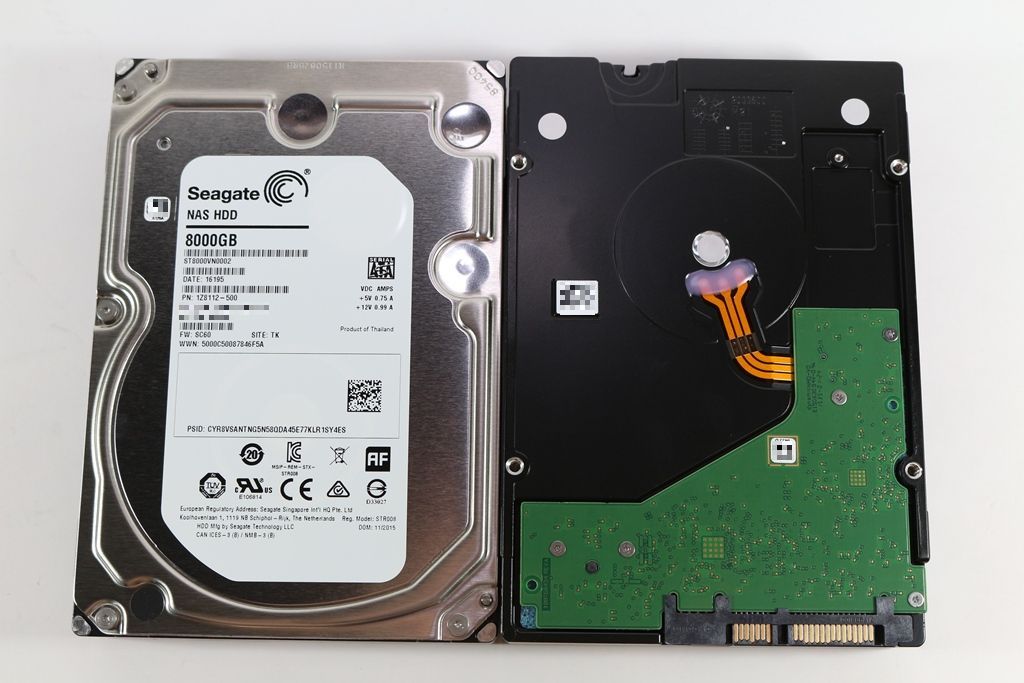
▼采用SATA 6Gb/s介面,下向相容SATA 3Gb/s

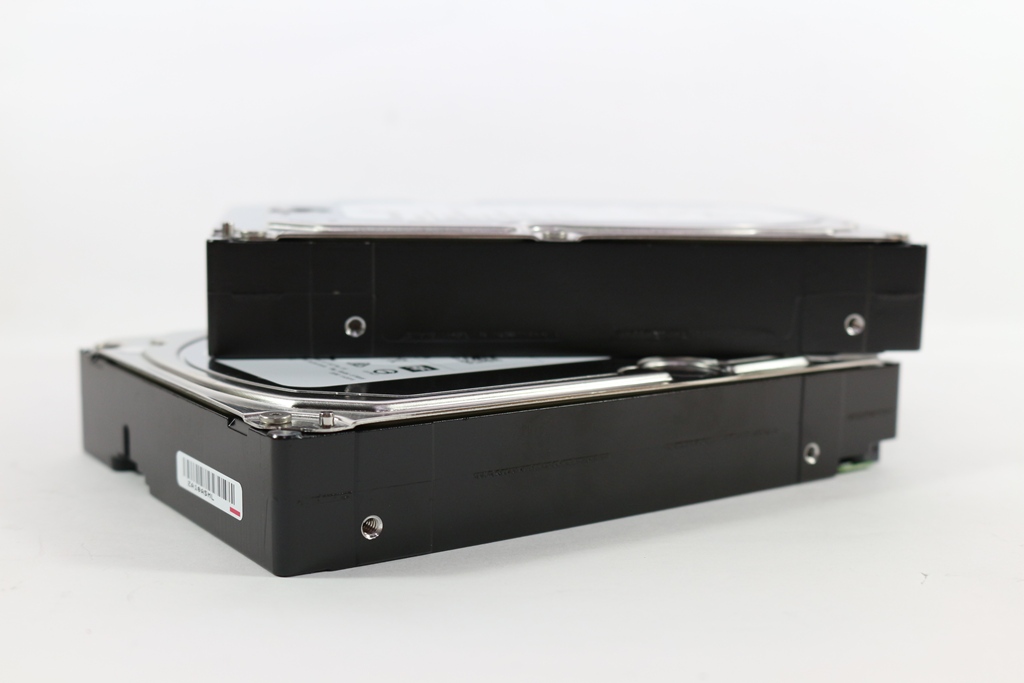
▼硬碟厚度与一般硬碟相同
▼硬碟与硬碟槽合体
 Seagate 8TB NAS专用硬碟单颗效能测试
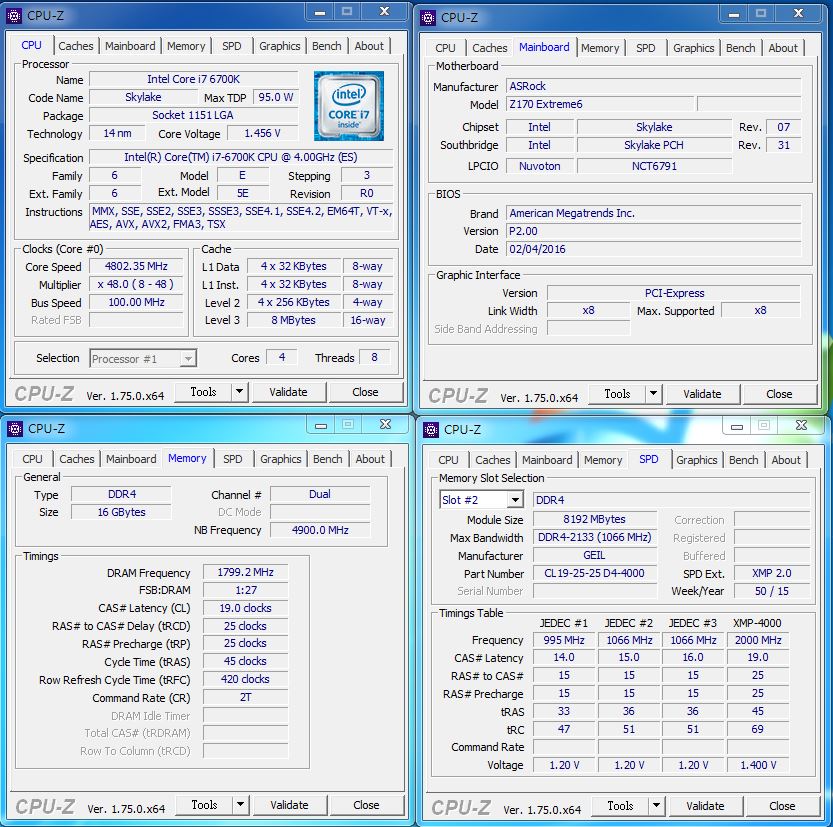
CPU:Intel i7-6700K @ 4.8GHz
Cooler: NZXT. Kraken X61
MB: ASRock Z170 Extreme 6
RAM: GeIL DRAGON RAM DDR4 16GB kit (8G*2) @ DDR4-3600MHz
Storage: Transcend SSD720 128GB
PSU: be quiet! STRAIGHT POWER 10 500W CM 80 PLUS Gold
OS: Windows 7 旗舰版 64 Bit
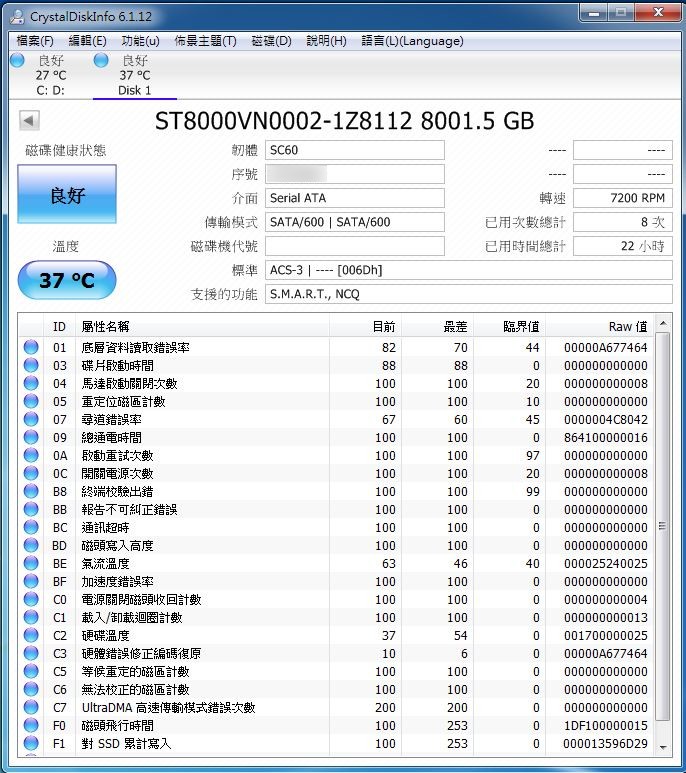
▼测试硬体验明正身
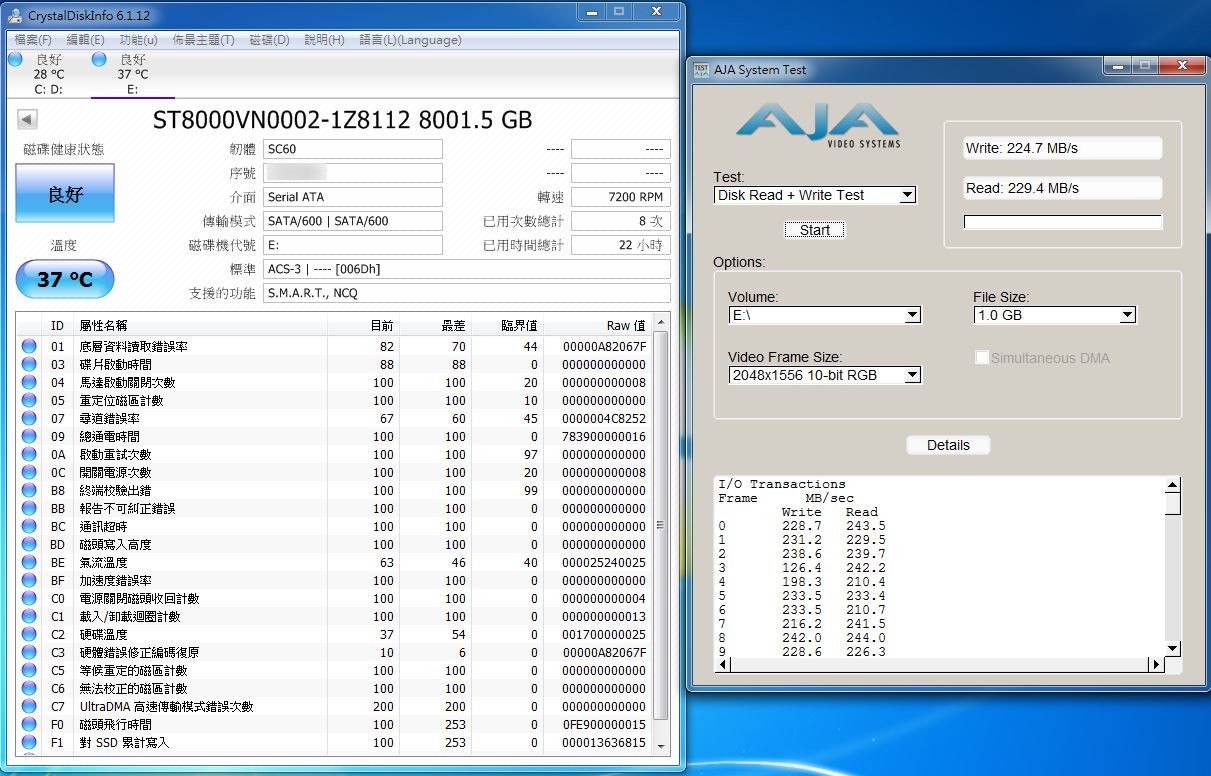
▼AJA Video System
Write:224.7MB/s
Read:229.4MB/s
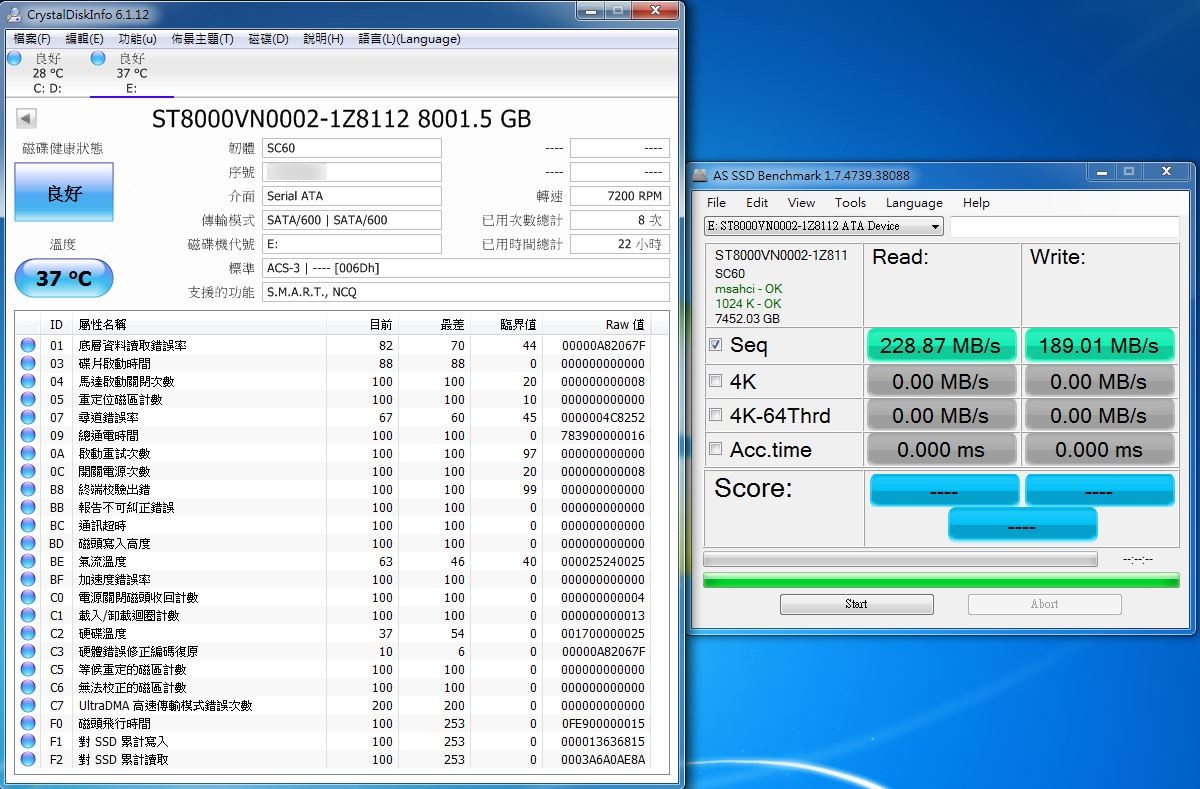
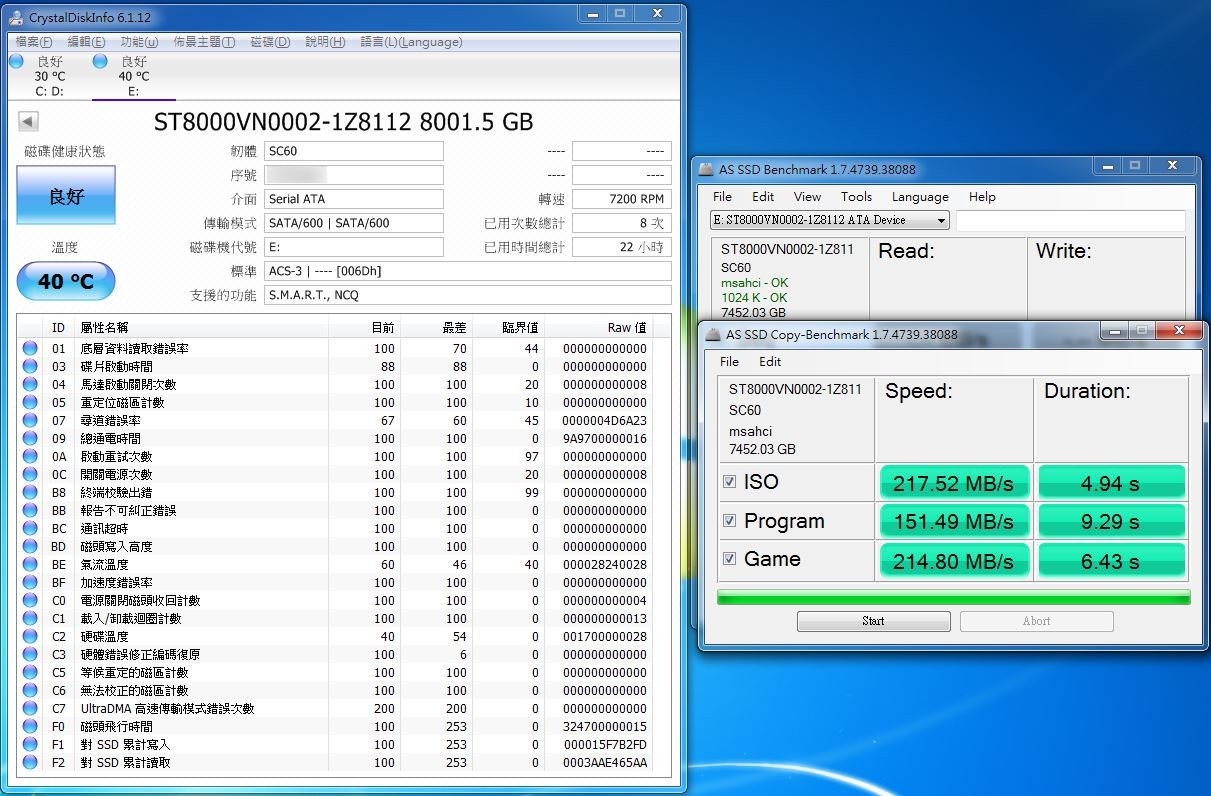
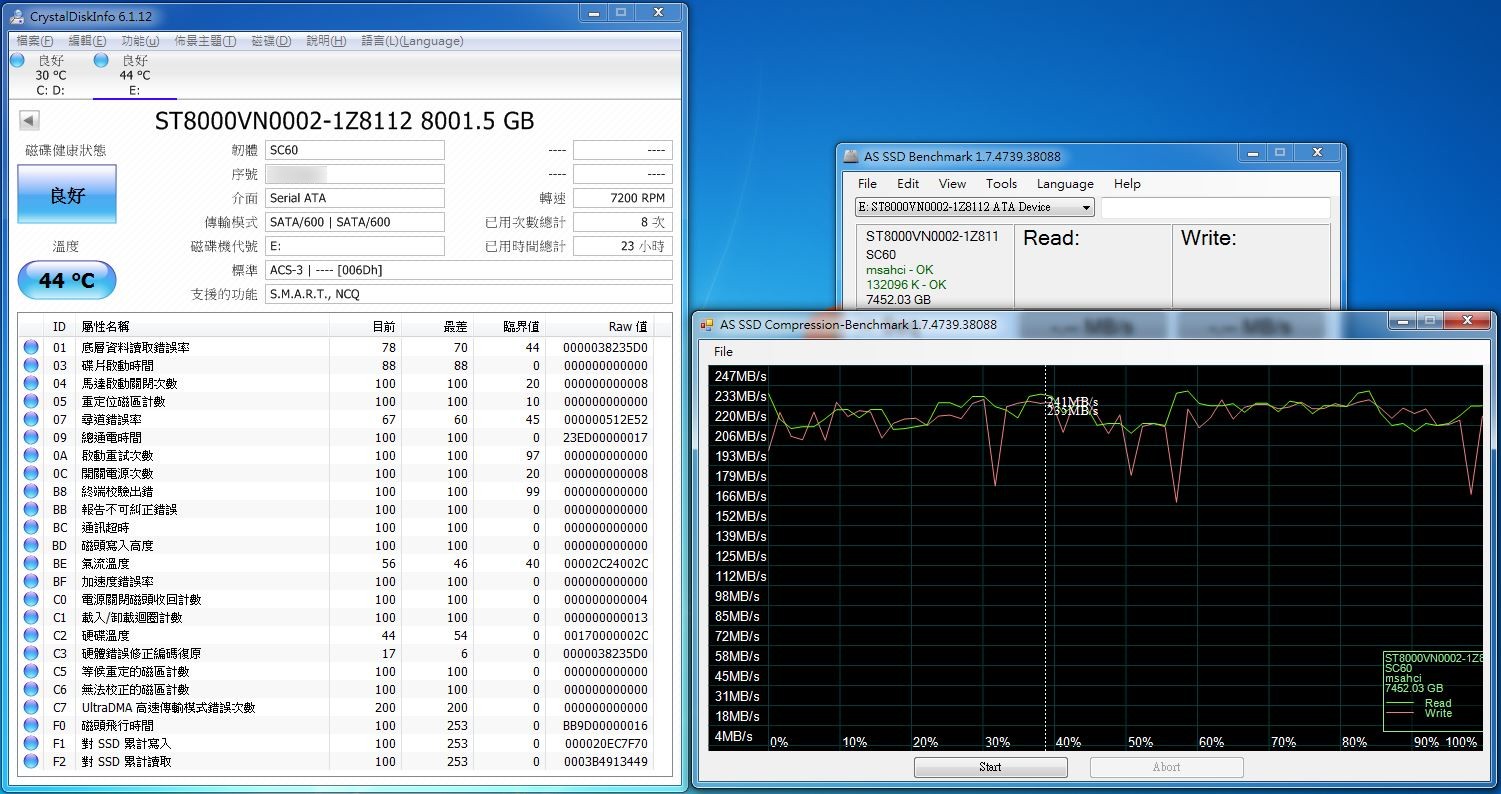
▼AS SSD Benchmark
Read:228.87MB/s
Write:189.01MB/s
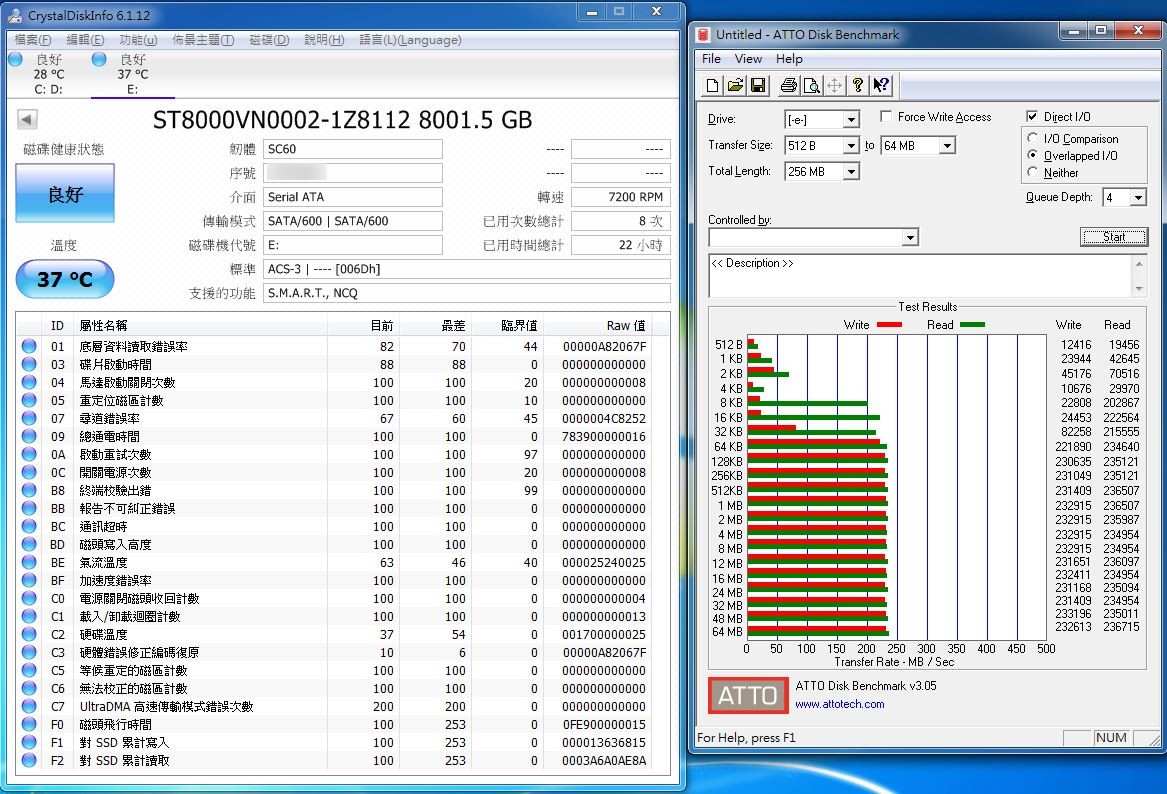
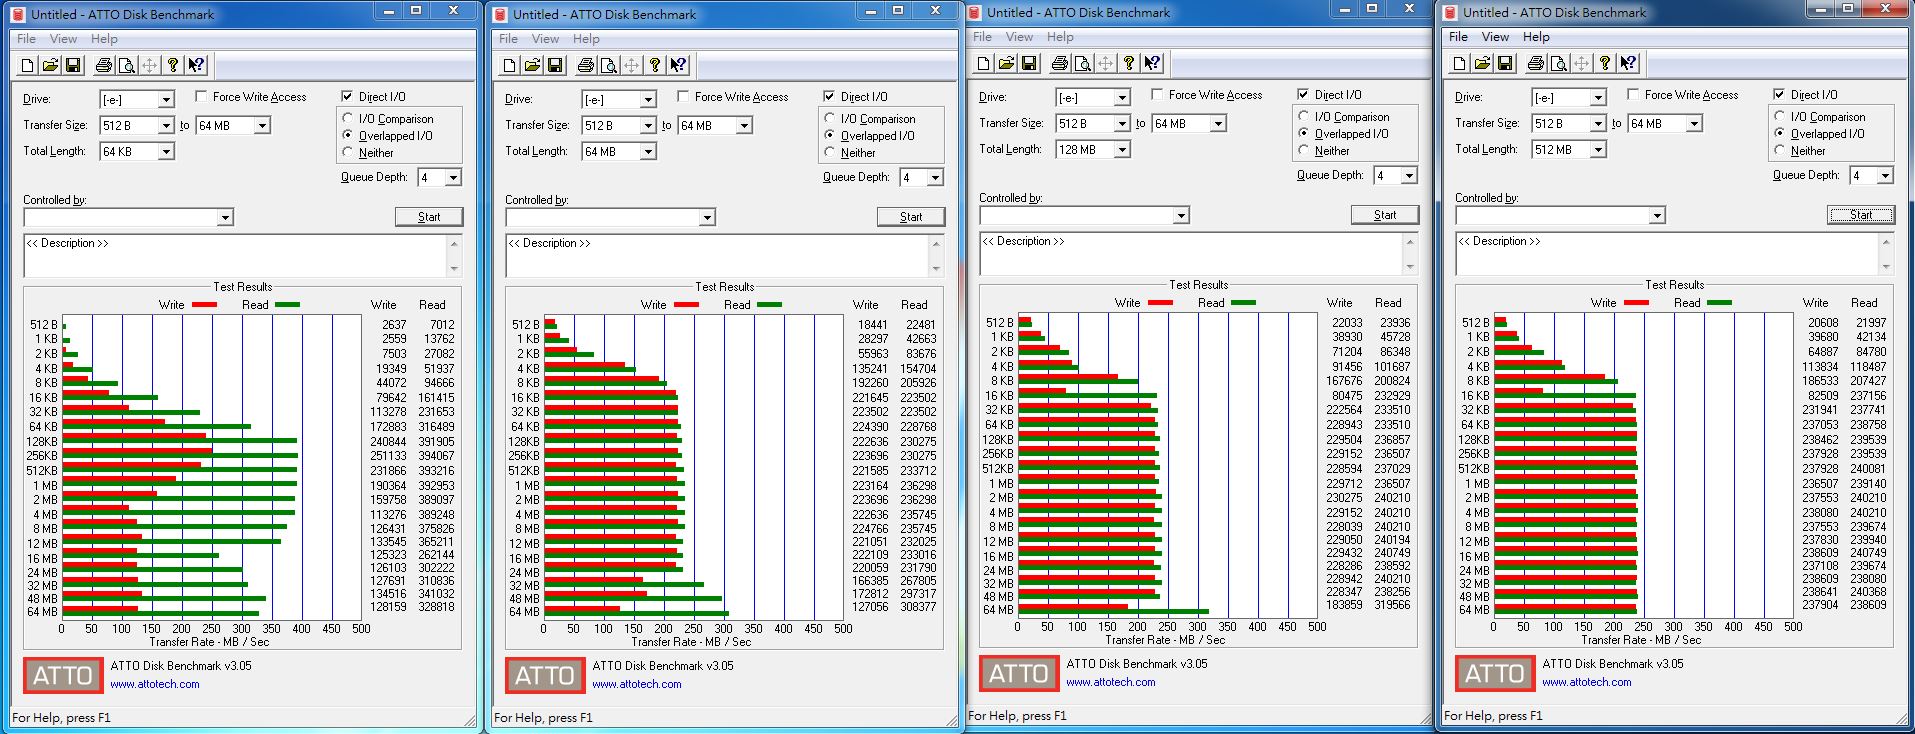
▼ATTO Disk Benchmark
Read:236.715MB/s
Write:232.613MB/s
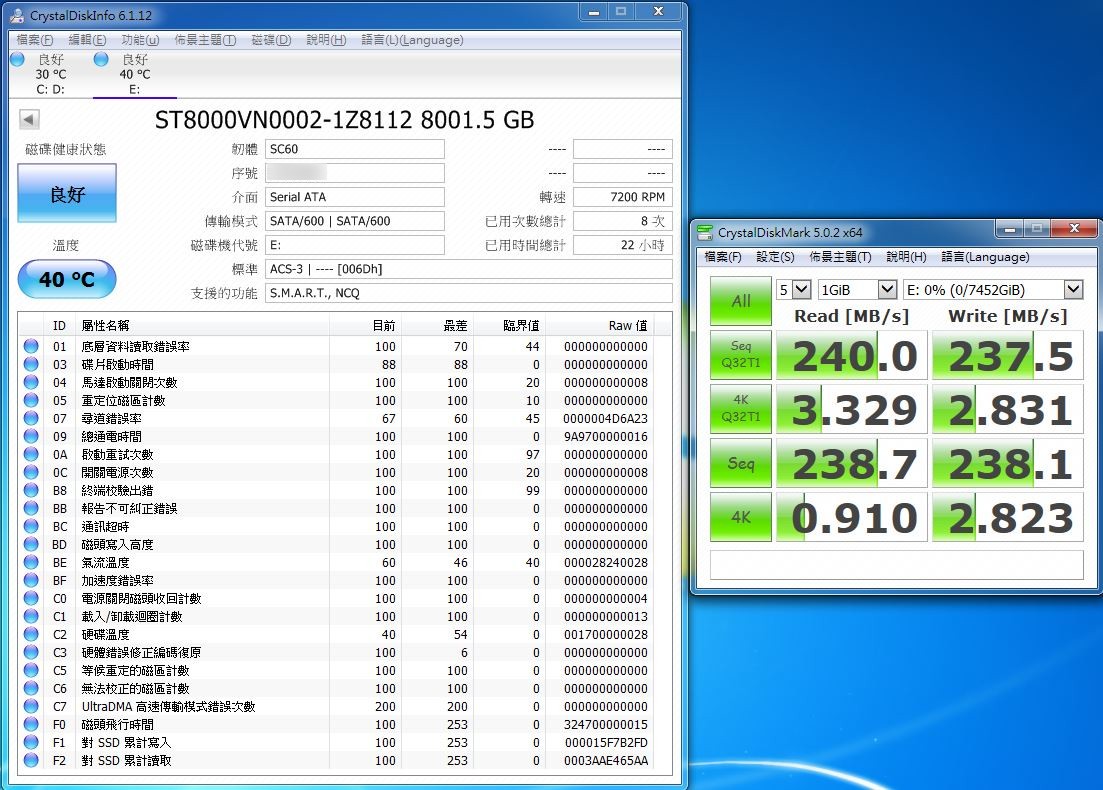
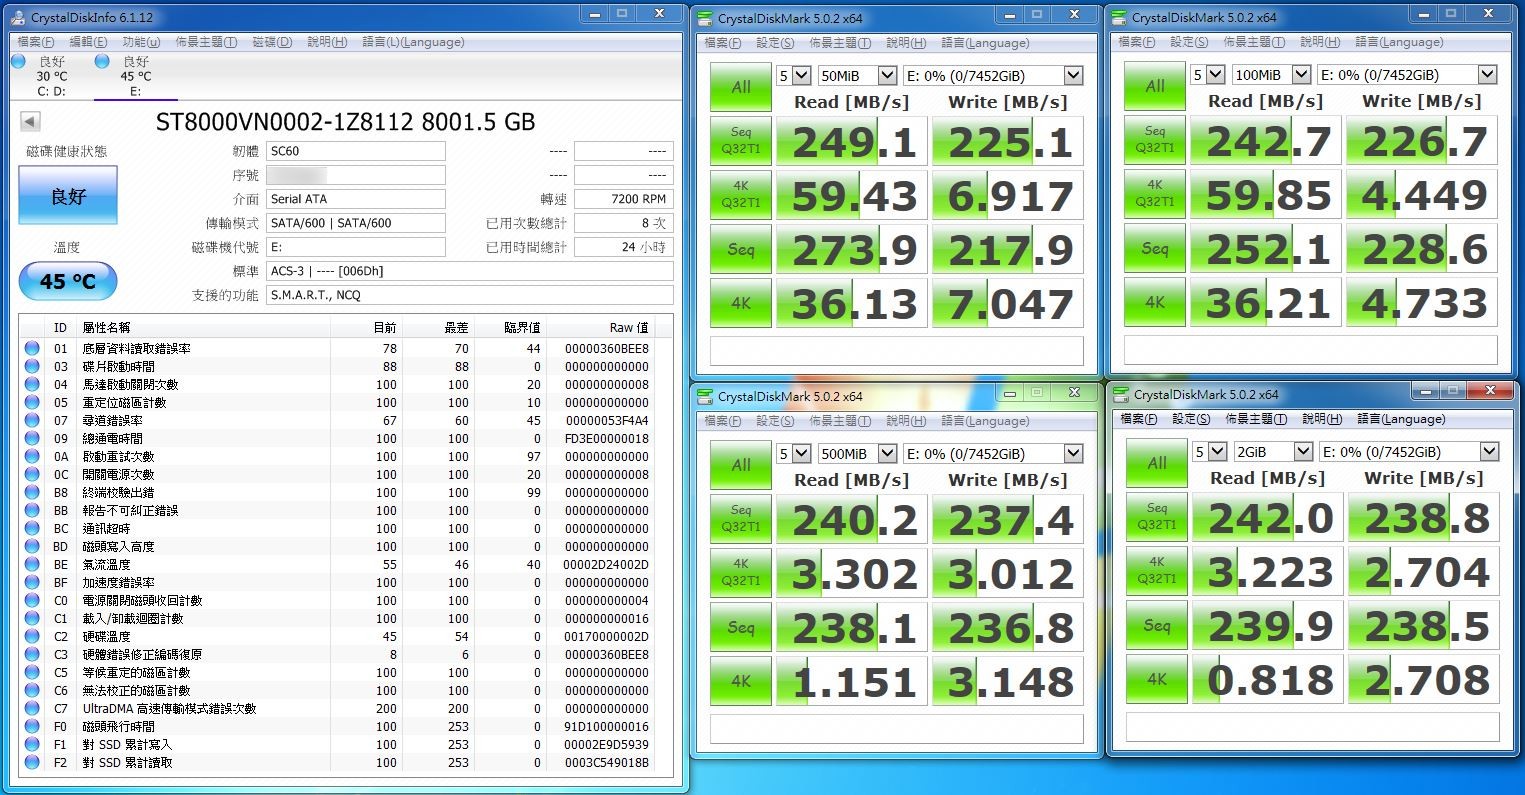
▼Crystal Disk Mark
Read:240MB/s
Write:237.5MB/s
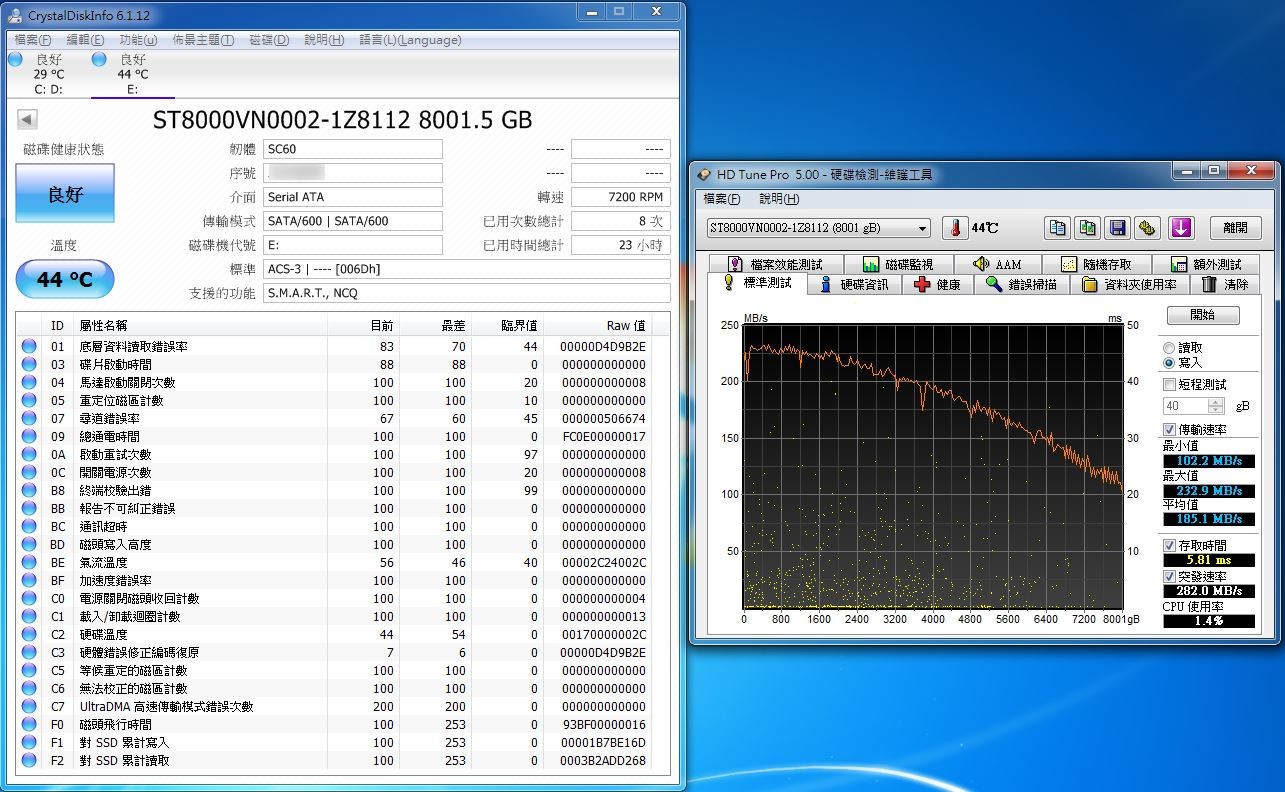
▼HD Tune Read:189.5MB/s

▼HD Tune Write:185.1MB/s
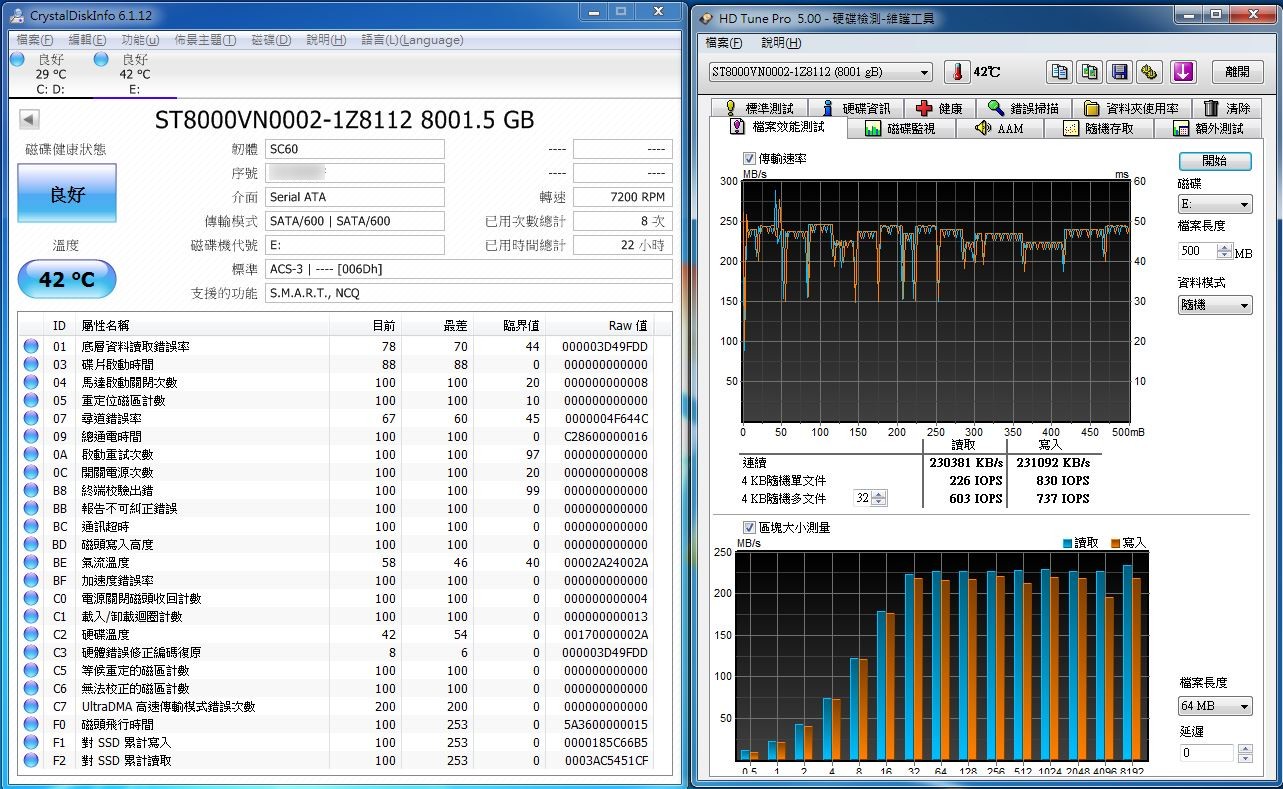
▼HD Tune 档案效能测试(随机)
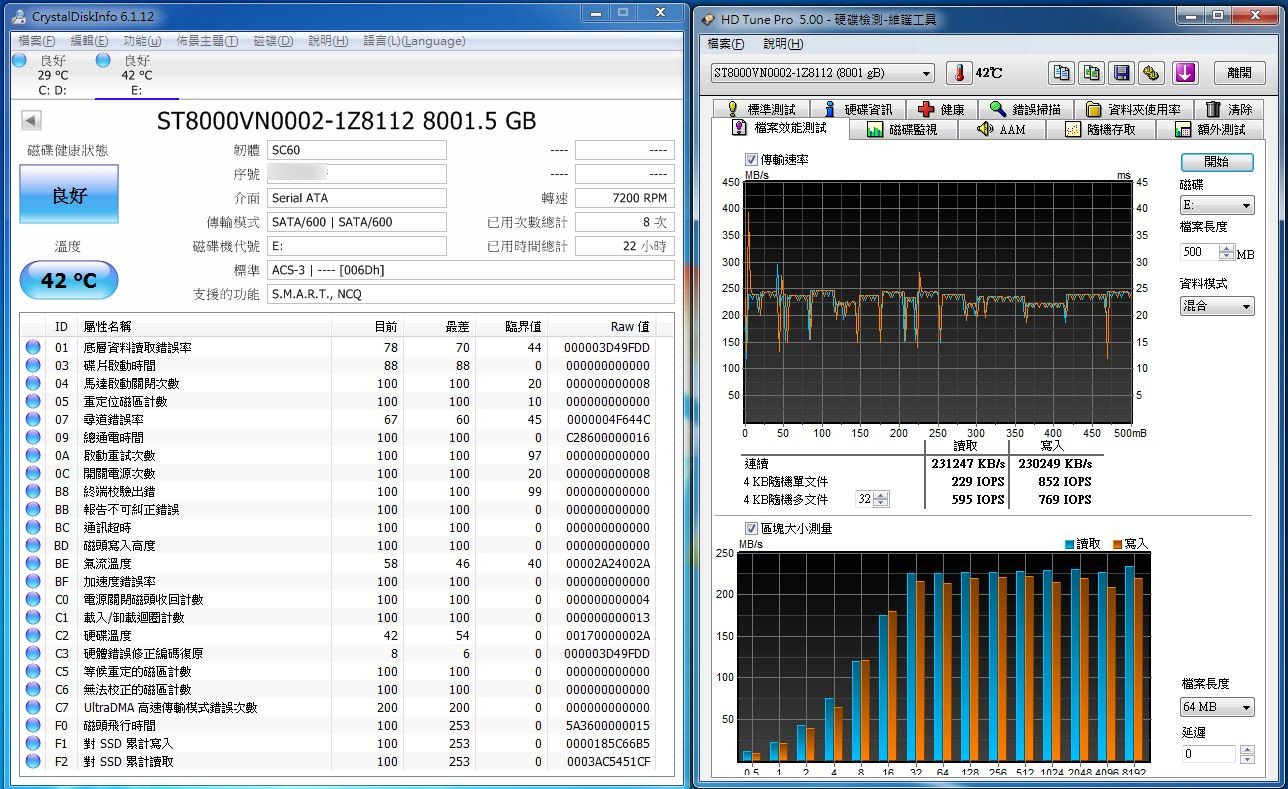
▼HD Tune 档案效能测试(混合)
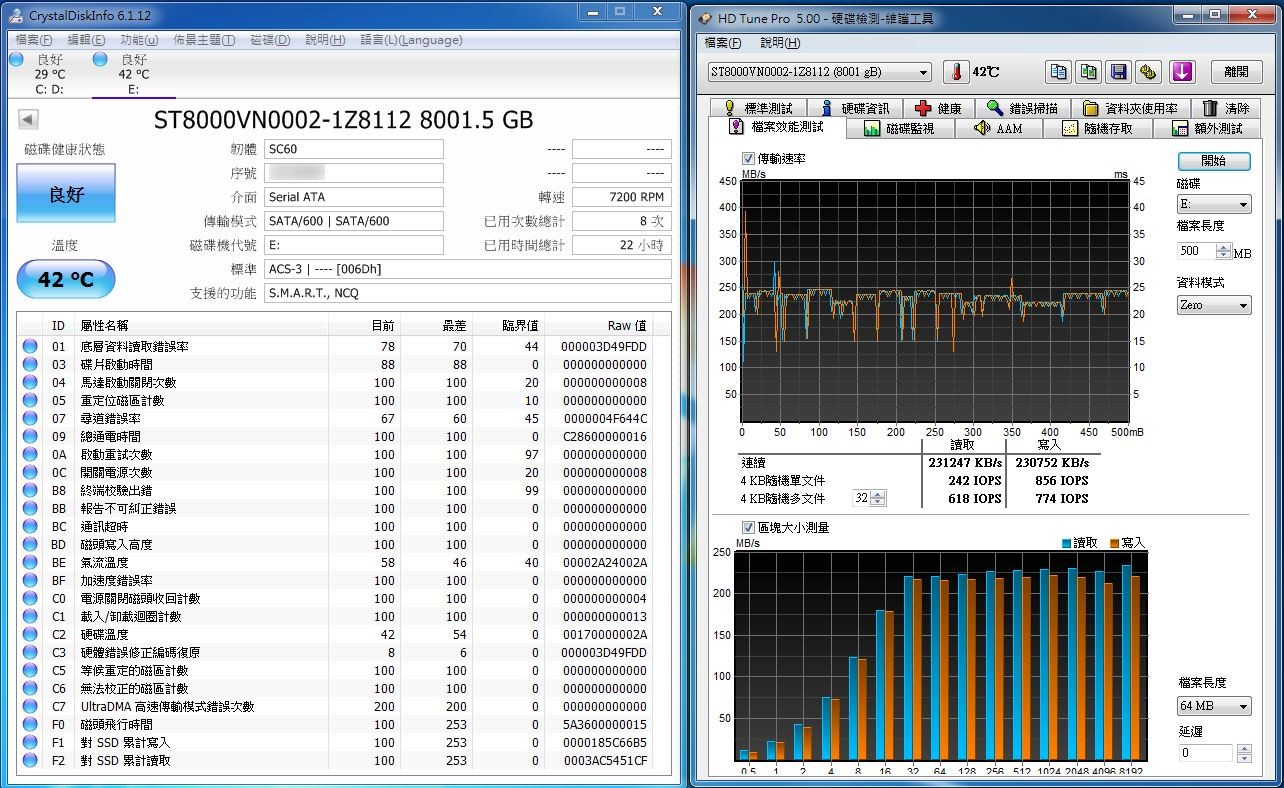
▼HD Tune 档案效能测试(Zero)
▼HD Tune随机存取读取
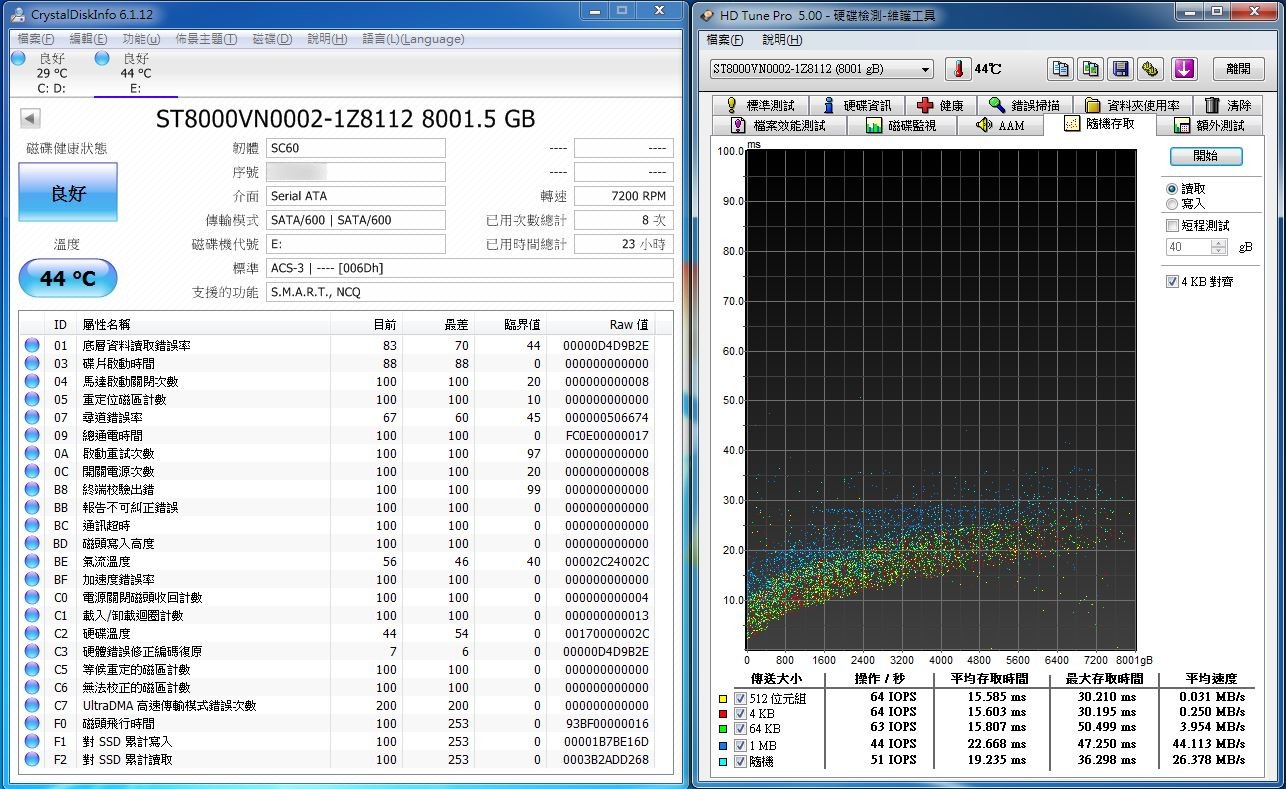
▼HD Tune随机存取写入
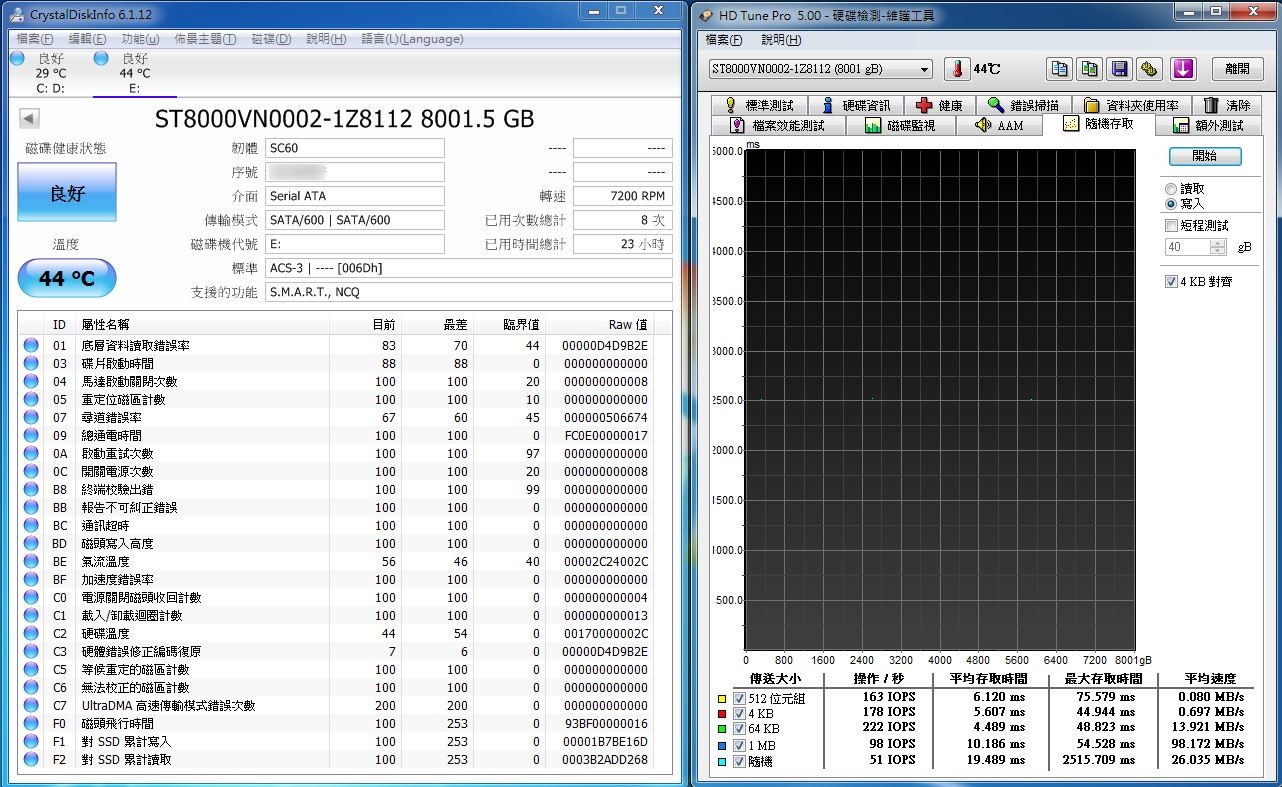
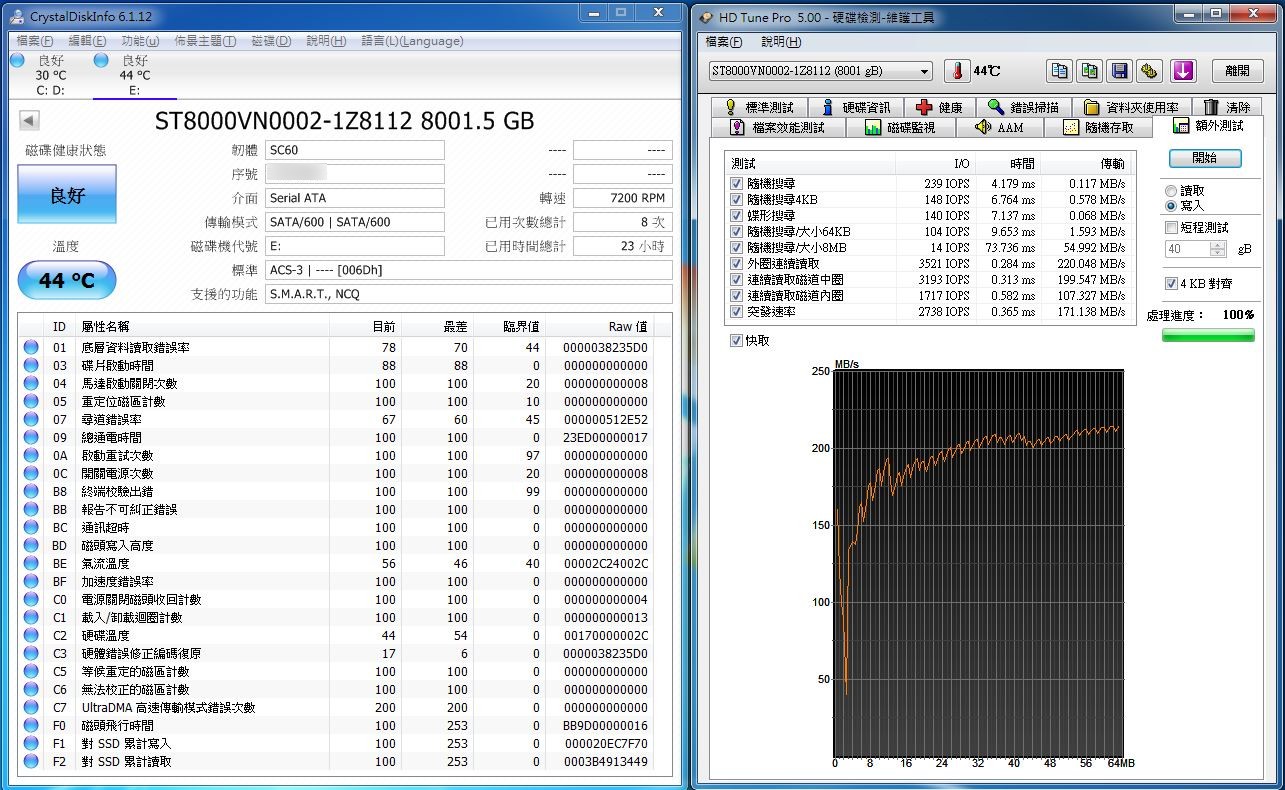
▼HD Tune额外测试读取

▼HD Tune额外测试写入
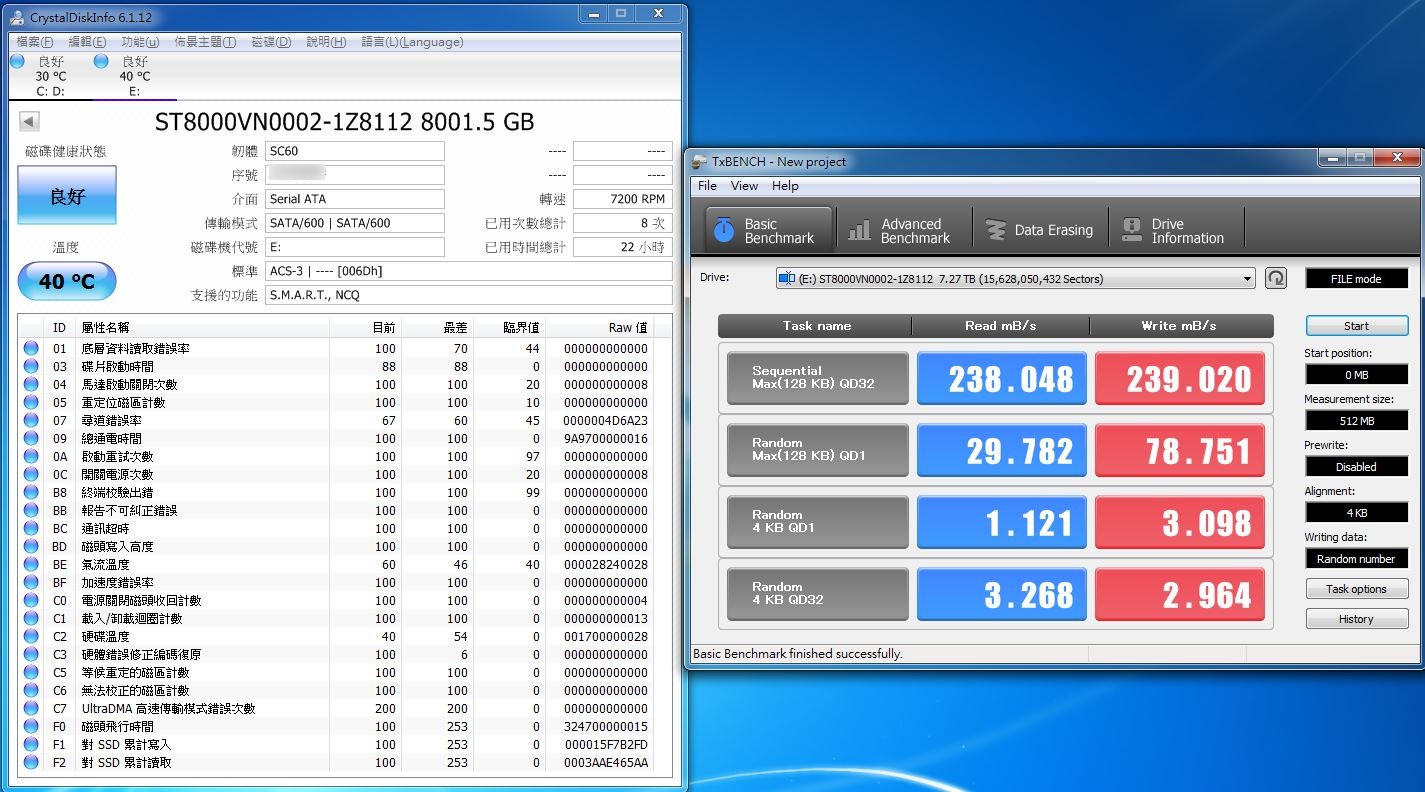
▼TxBench
▼Crystal Disk Mark不同档案容量效能比较
▼ATTO Disk Benchmark不同档案容量效能比较
 Thecus N2810基本设定与介面介绍
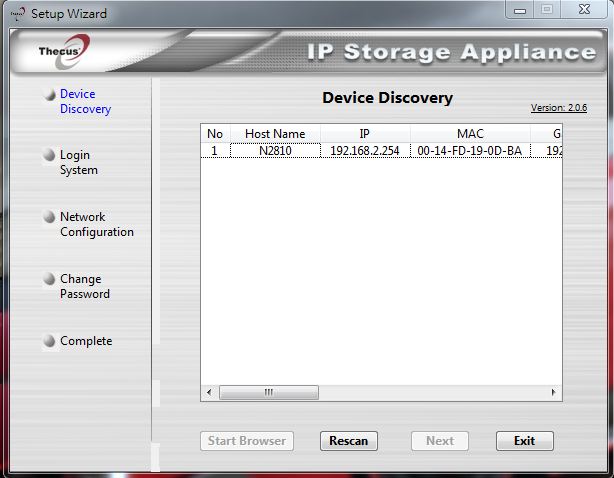
▼看到已连接上的N2810接着就要开始做基本设定
▼输入预设管理者帐号与密码

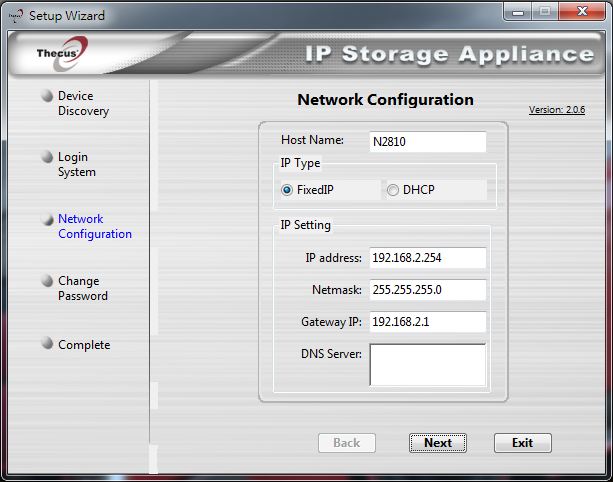
▼网路配置设定
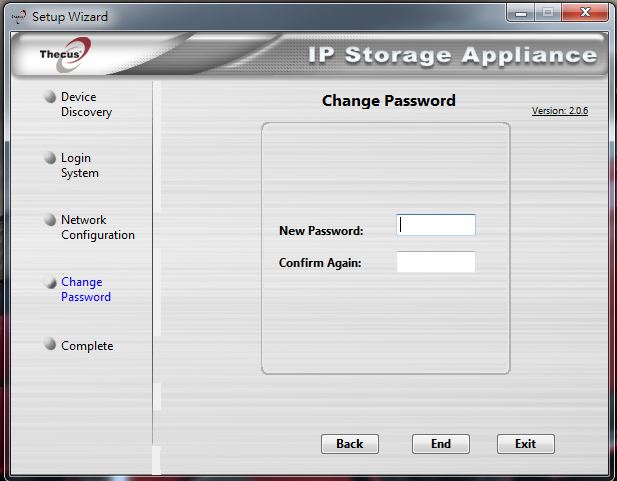
▼变更管理者密码
▼设定储存中
▼设定完毕后则可以进入浏览器做设定
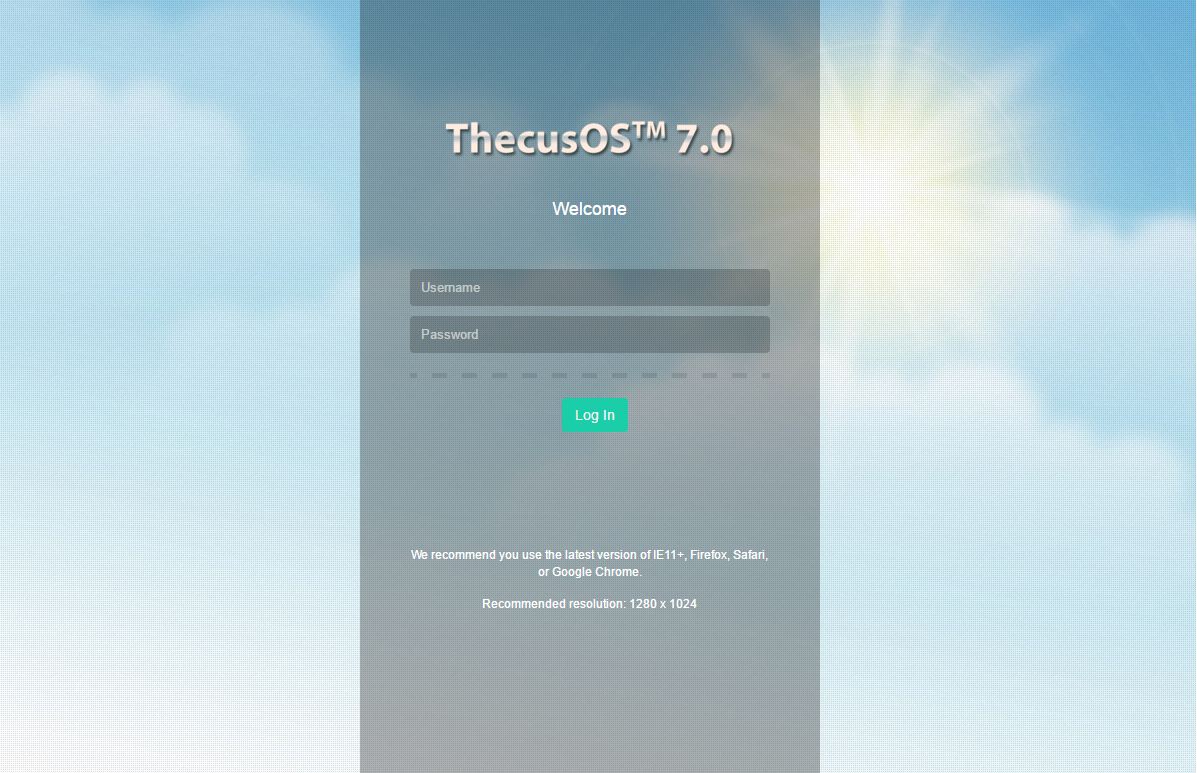
▼进入到设定画面并须先登入
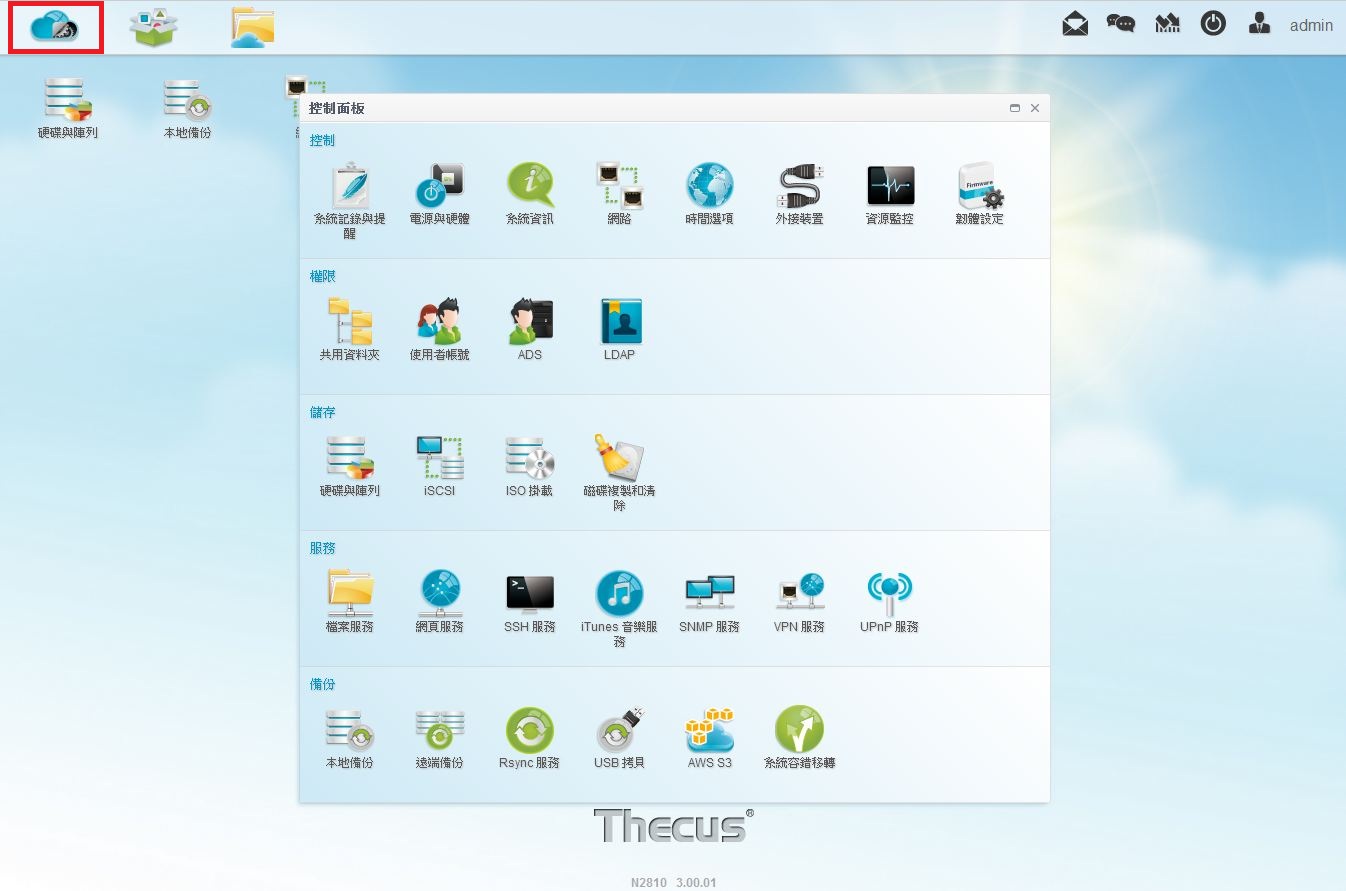
▼Thecus OS 7与以往的介面有相当大的变化,操作介面更加人性化与好上手,左上方为控制面板、APP中心与档案总管,下方则为硬碟与磁碟阵列资讯、本地备份与网路设定

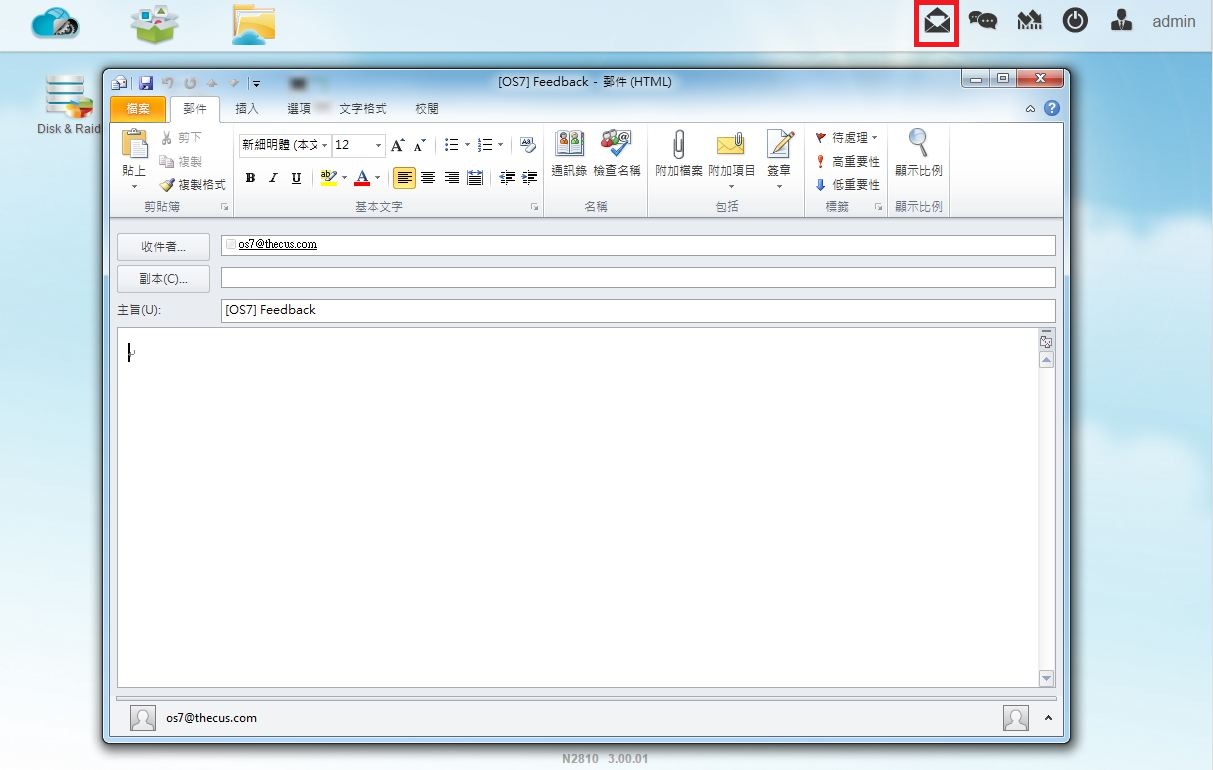
▼如有Thecus OS 7问题可以寄信至Thecus信箱
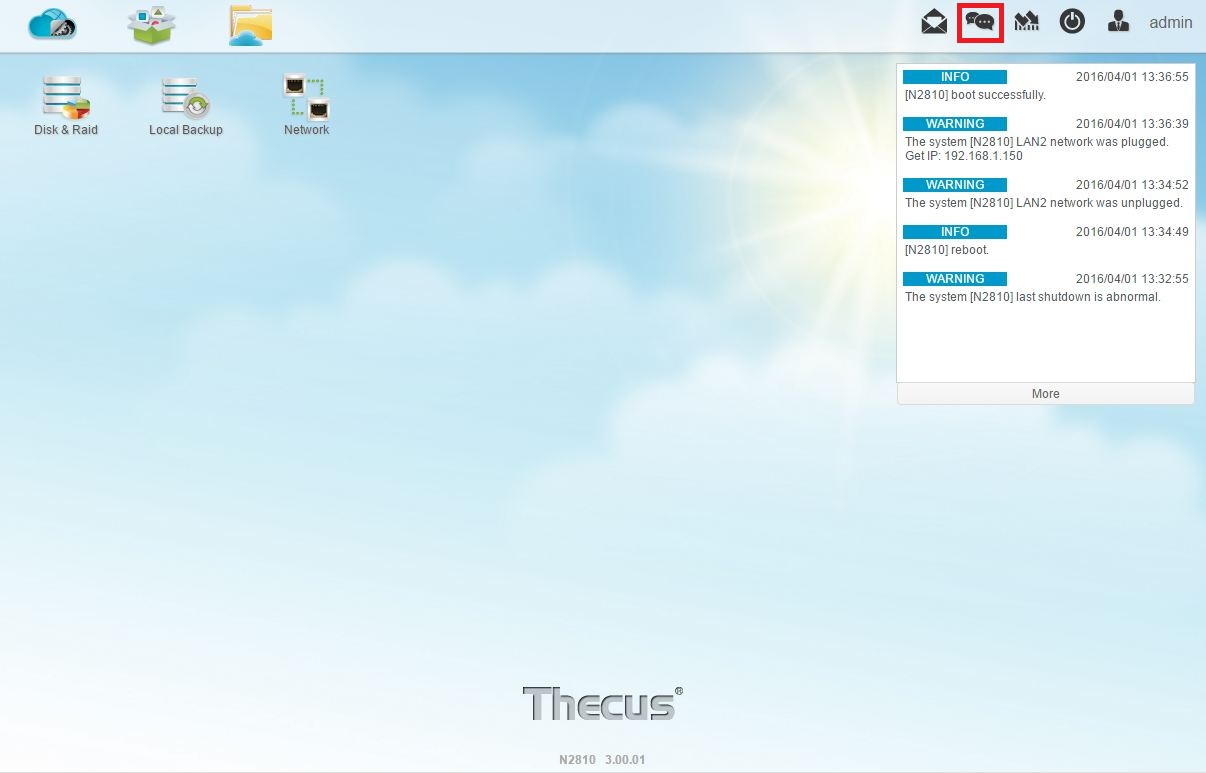
▼可快速查看系统资讯Log
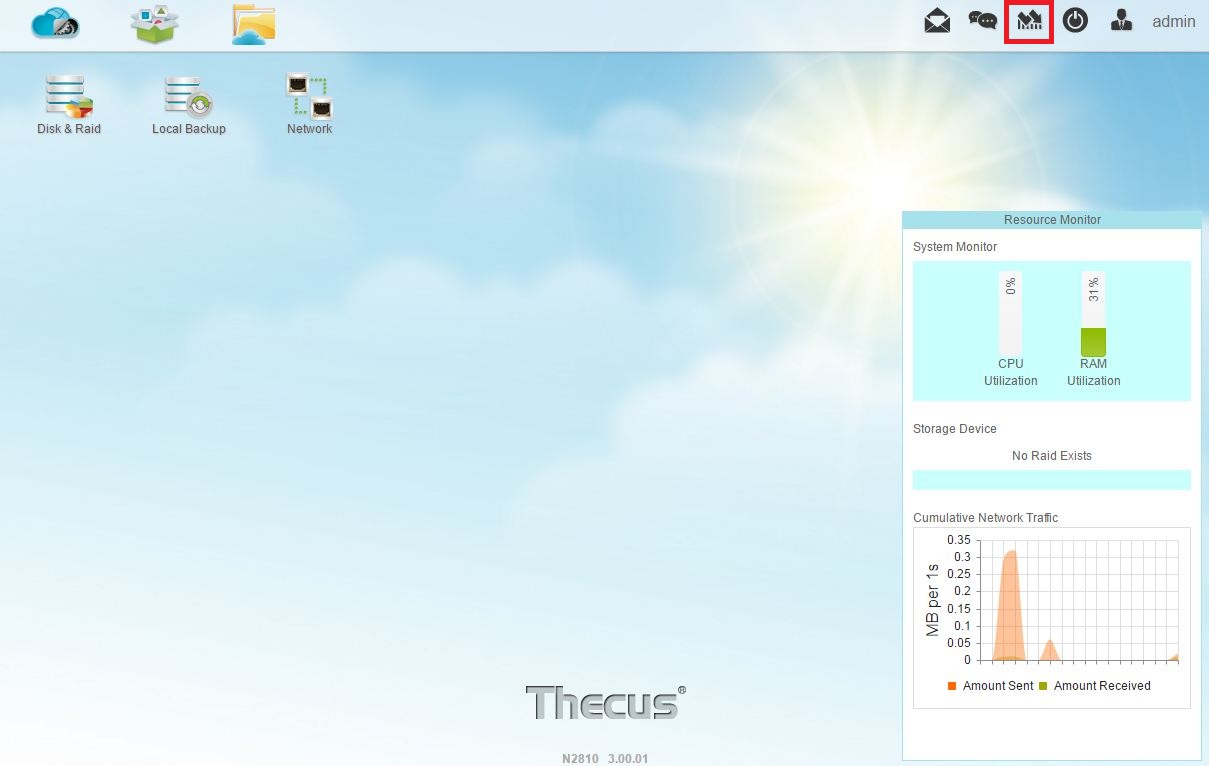
▼可监控CPU、RAM与网路使用情形
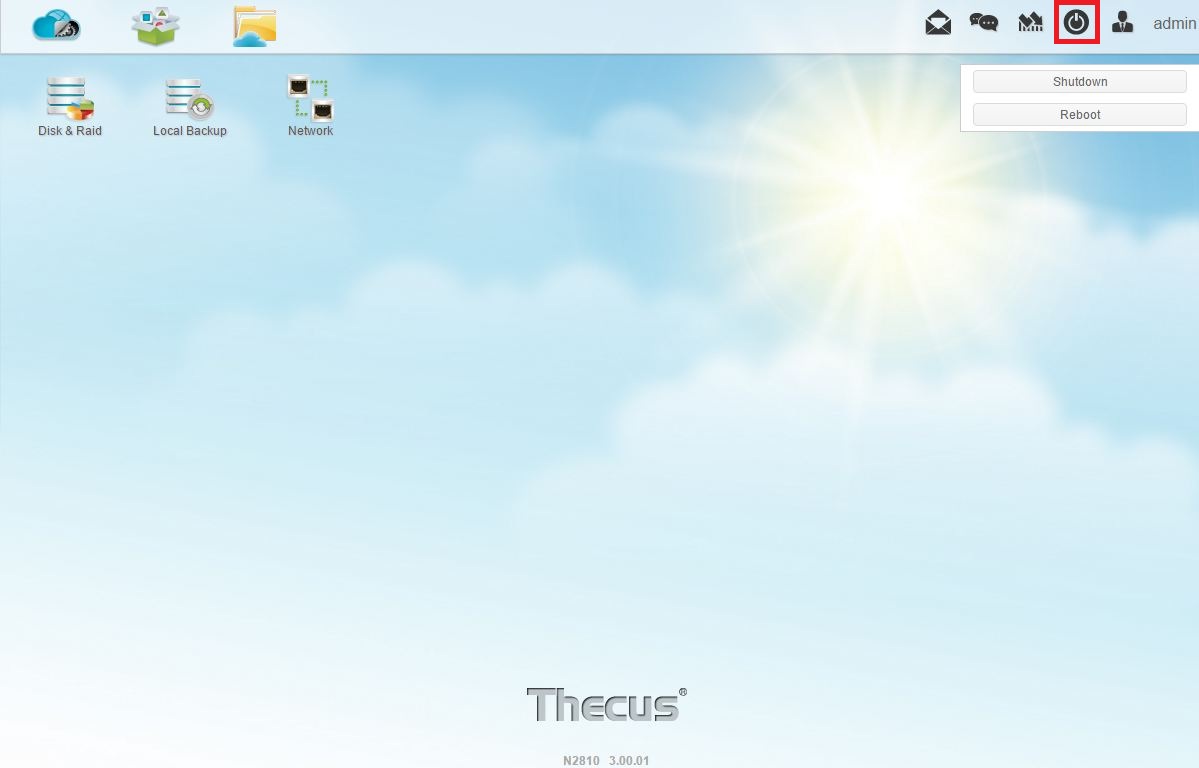
▼电源按钮可以将机器重开机或关机
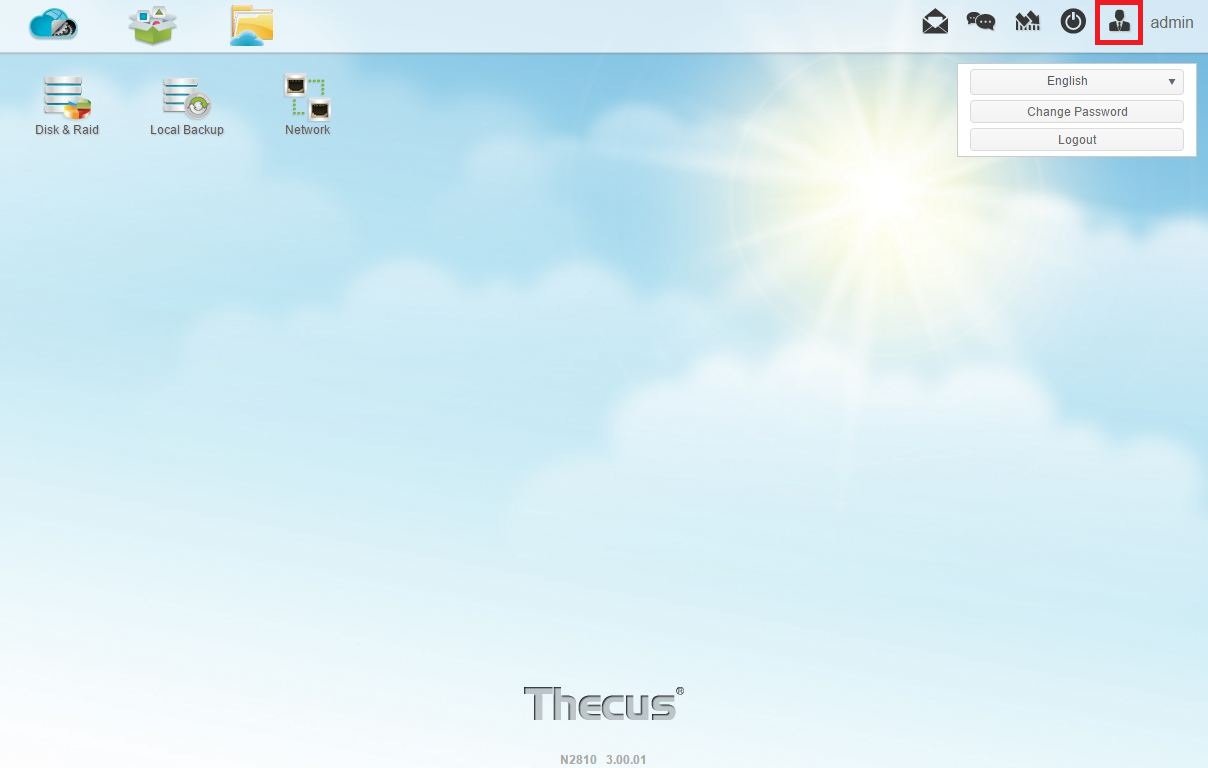
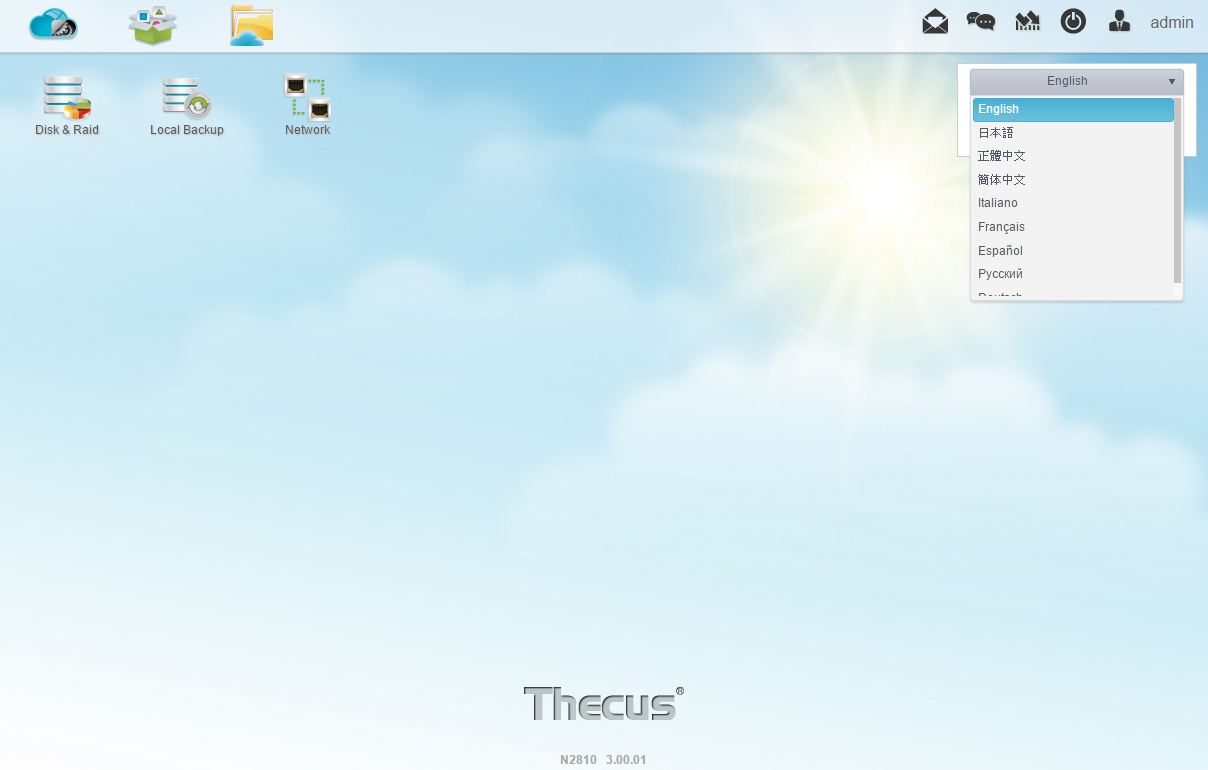
▼使用者按钮可设定语言、更换密码与登出,语言部份有多国语言可选择
接下来介绍操作界面与设定选项
▼控制面板所有设定项目一览
 控制
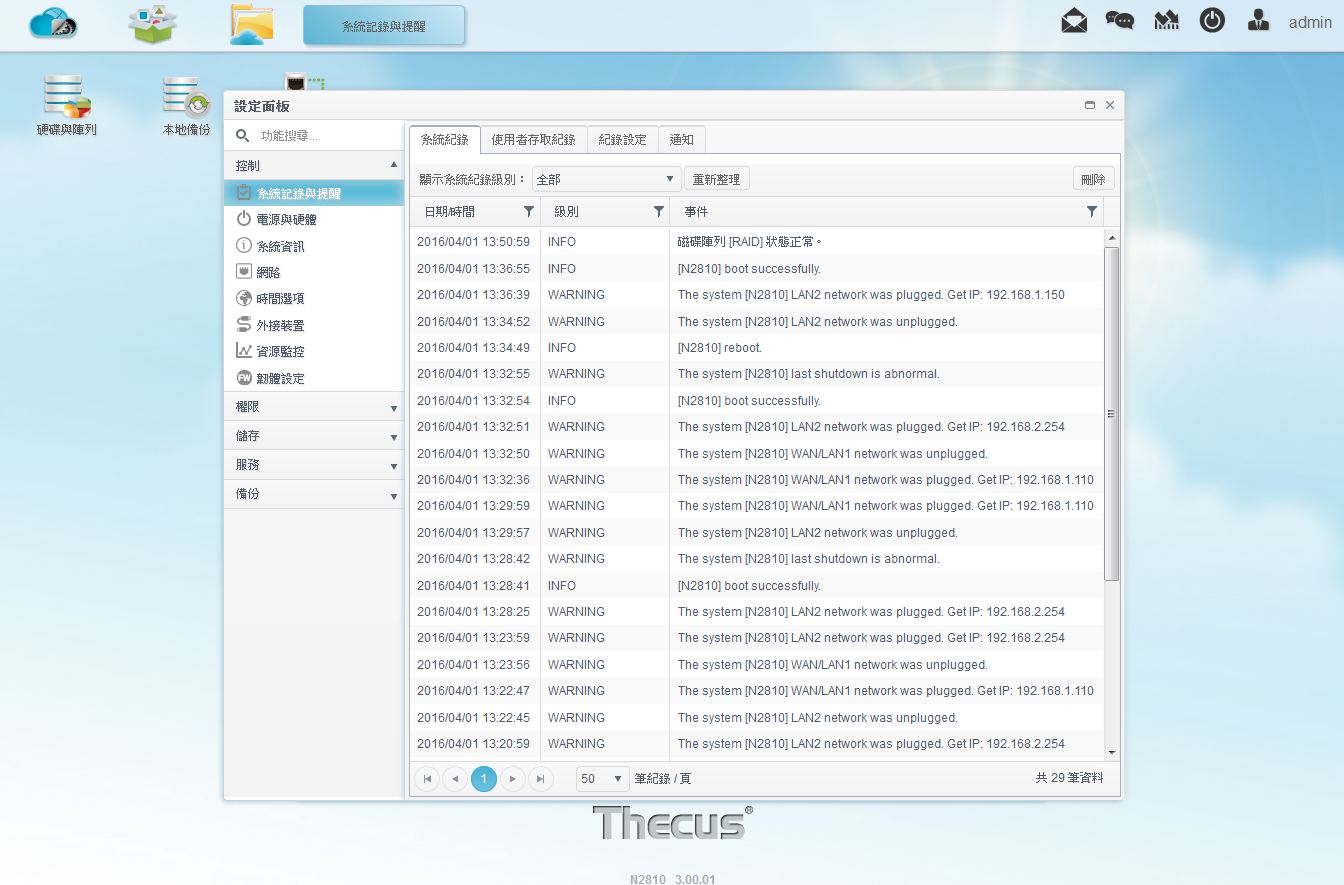
控制▼系统纪录与提醒-系统纪录:纪录系统Log供管理者查看
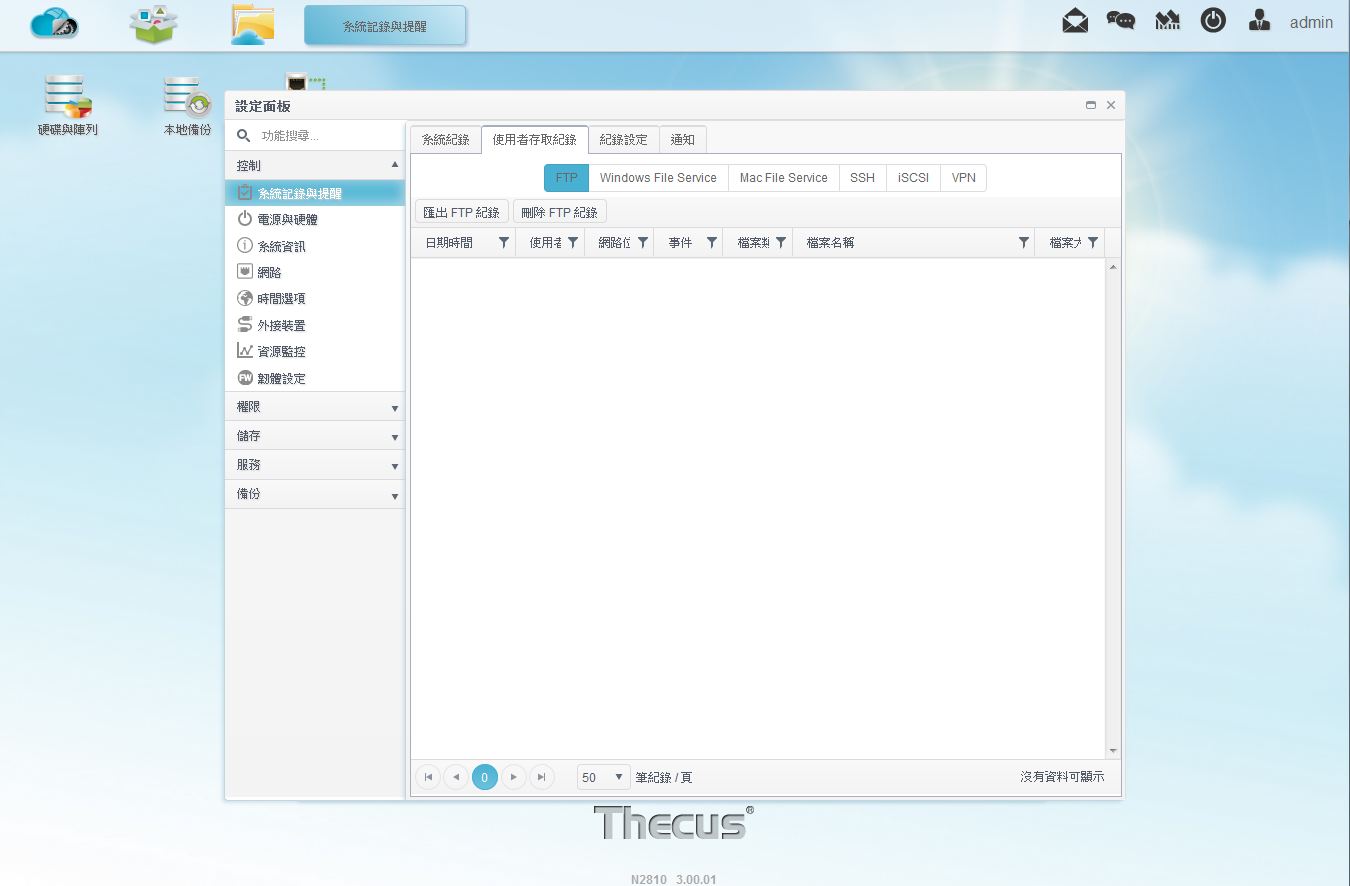
▼系统纪录与提醒-使用者存取纪录:各种传输服务使用者存取纪录,让管理者可以快速管理传输情形
▼系统纪录与提醒-纪录设定:可设定纪录内容
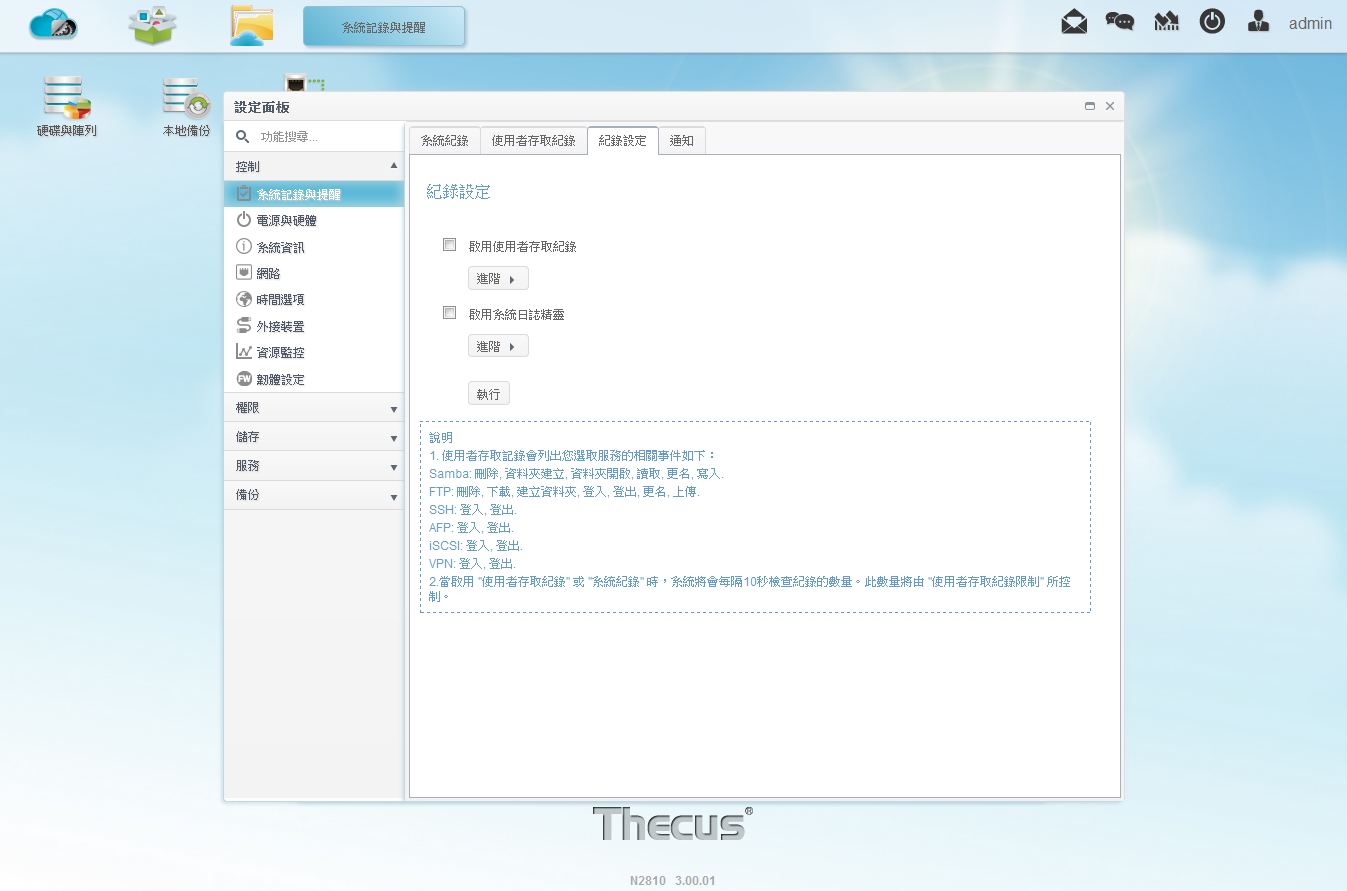
▼系统纪录与提醒-通知:可将纪录内容寄送到管理者的邮件中

▼电源与硬体-电源管理:设定电源细项设定,可开启EuP模式与电源回复时的动作

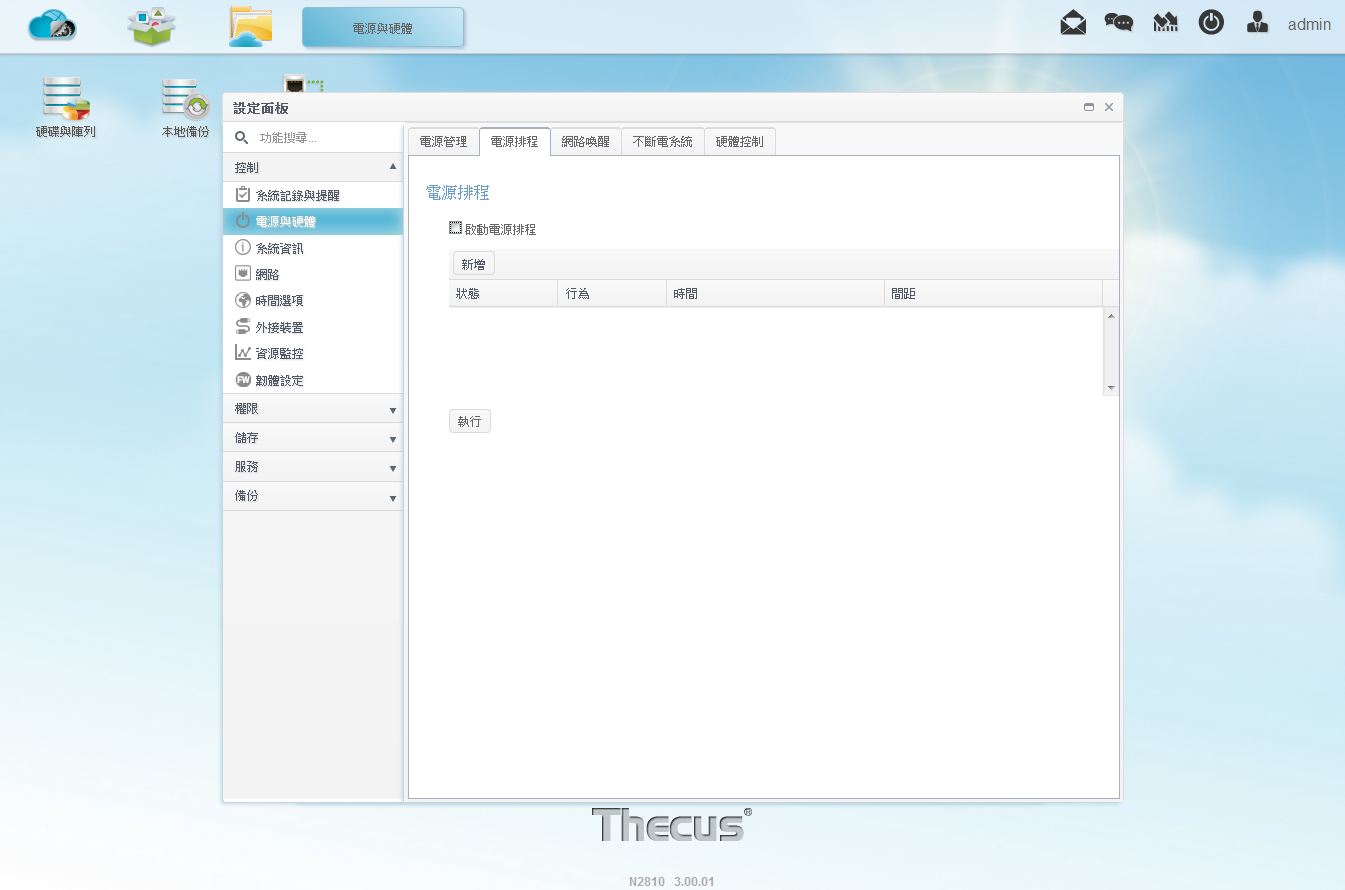
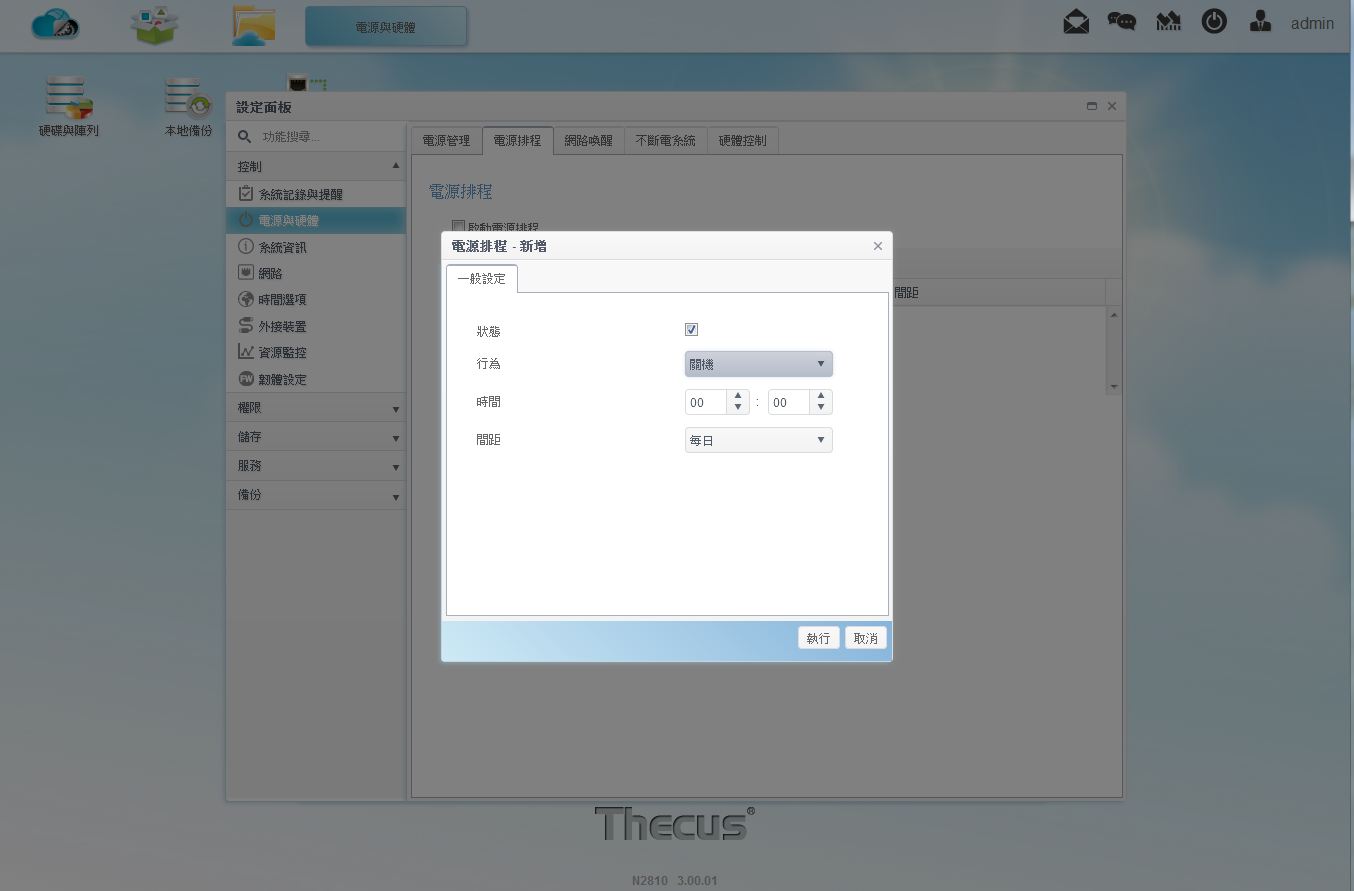
▼电源与硬体-电源排程:设定电源开关机排程
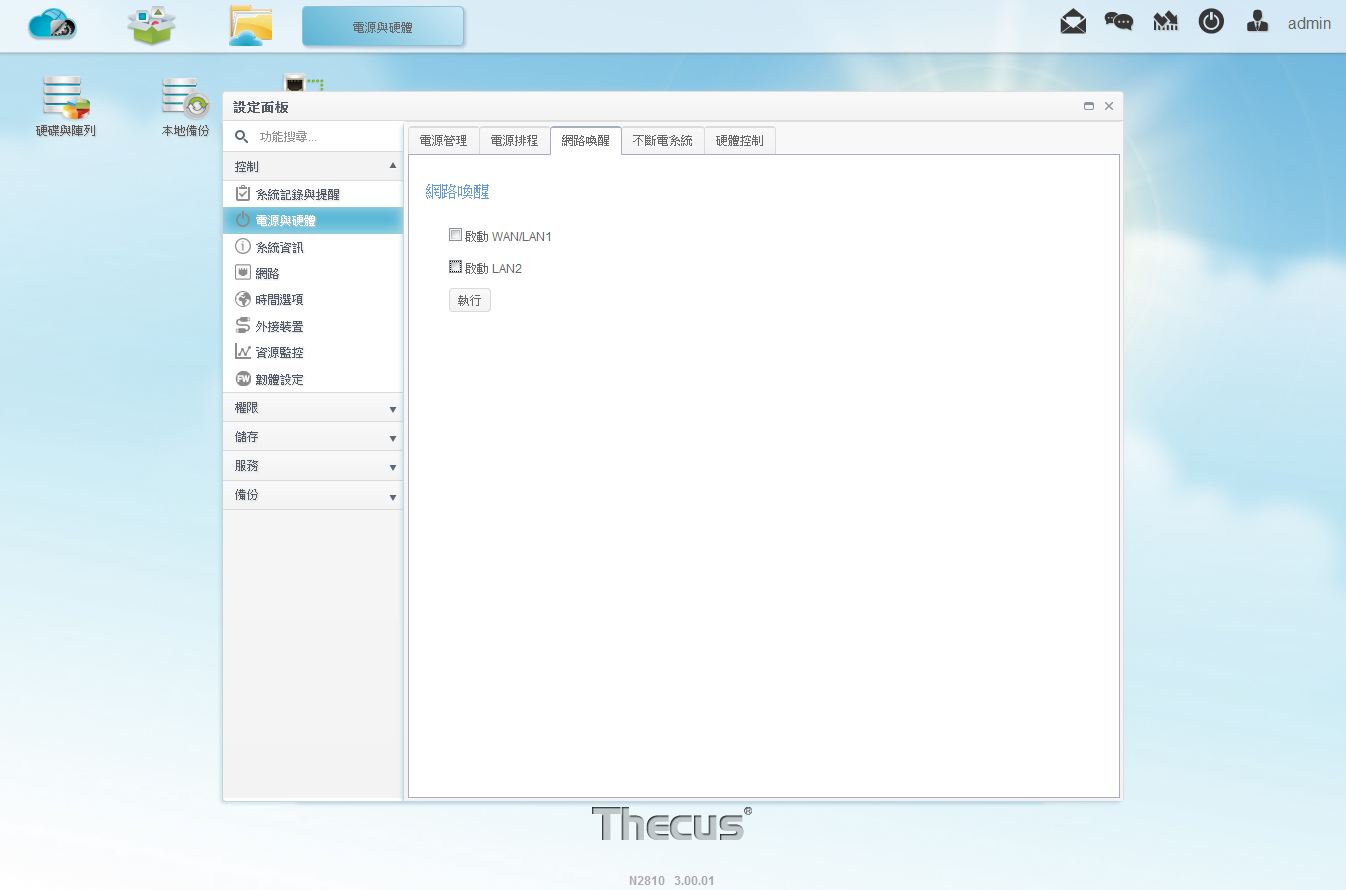
▼电源与硬体-网路唤醒:设定网路唤醒支援
▼电源与硬体-不断电系统:如有使用UPS可在NAS内设定连结
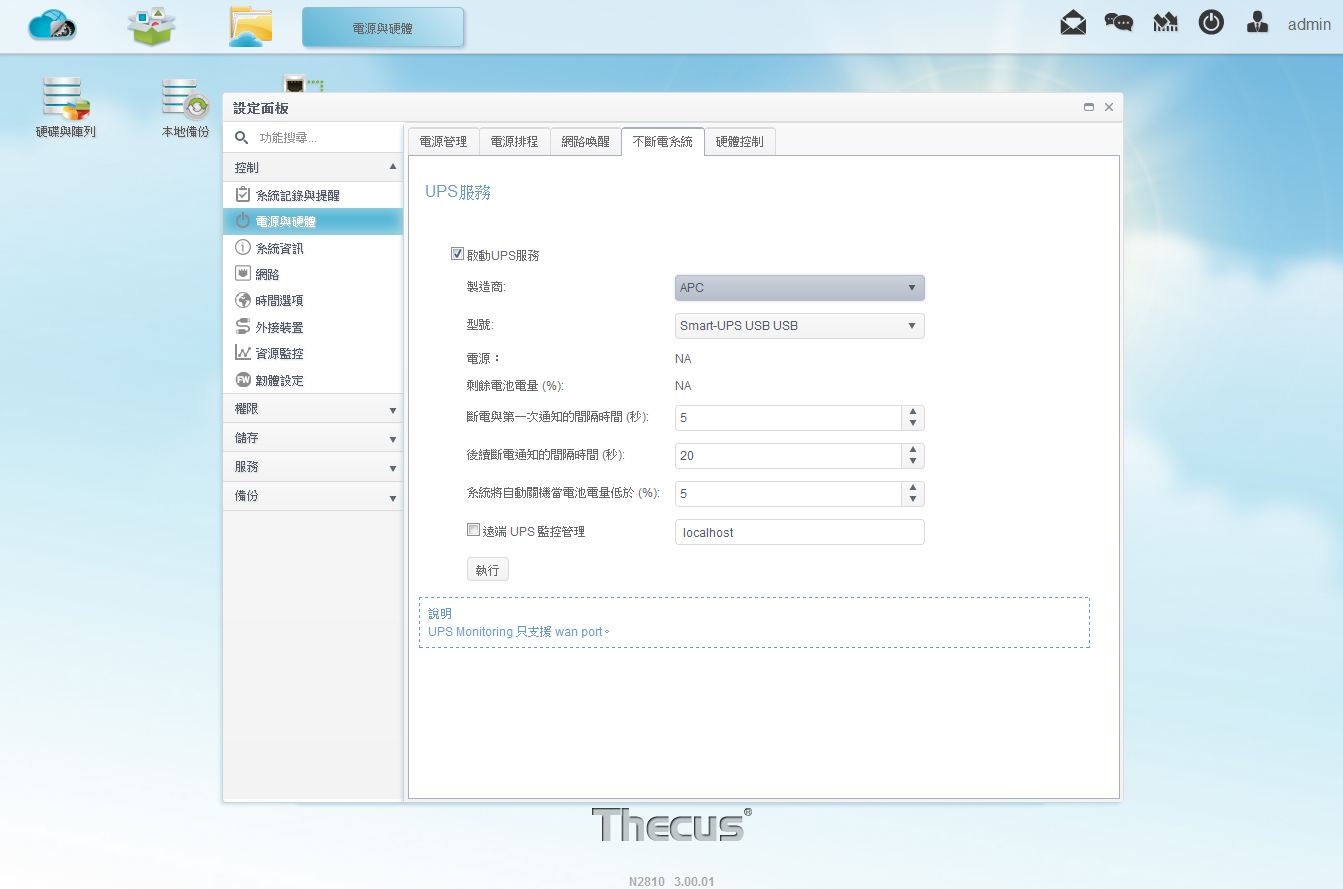
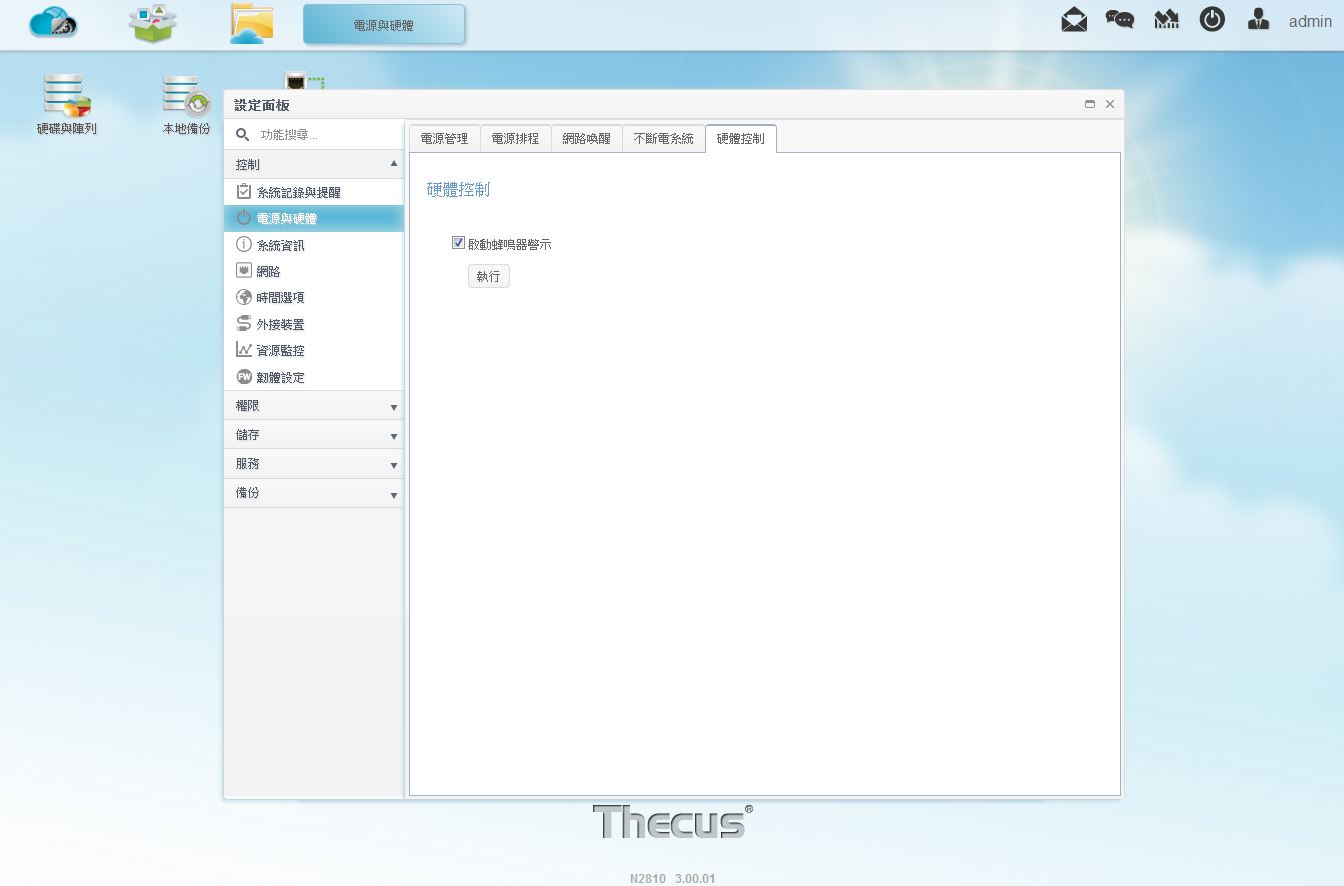
▼电源与硬体:设定电源细项设定,可开启EuP模式与电源回复时的动作,还可设定电源开关机排成与网路唤醒,如有使用UPS可在NAS内设定连结,NAS内有内建蜂鸣器,可设定是否开启
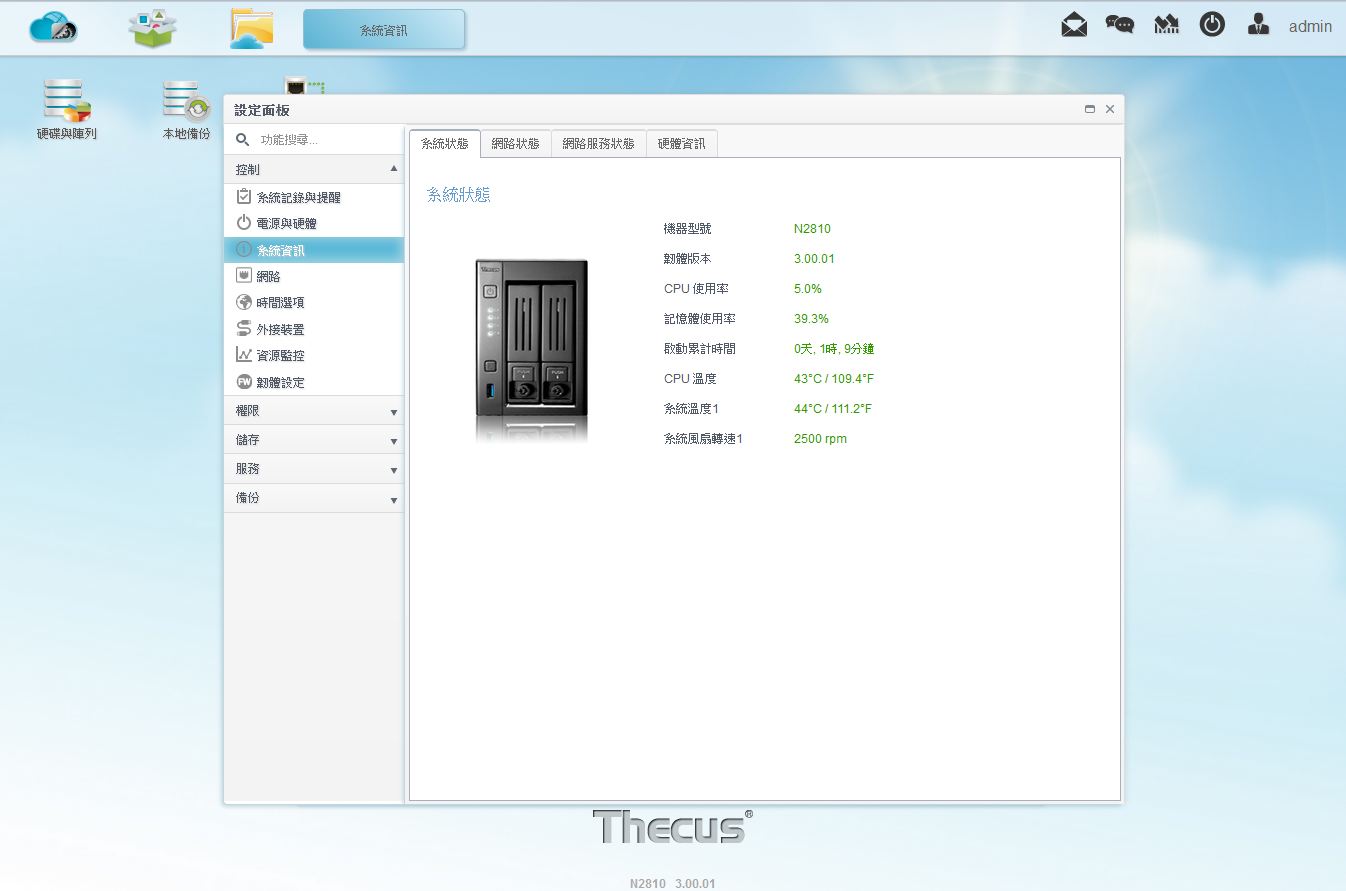
▼系统资讯-系统状态:可查看系统基本状态有韧体版本、CPU与RAM使用率、开机时间、系统温度与风扇转速
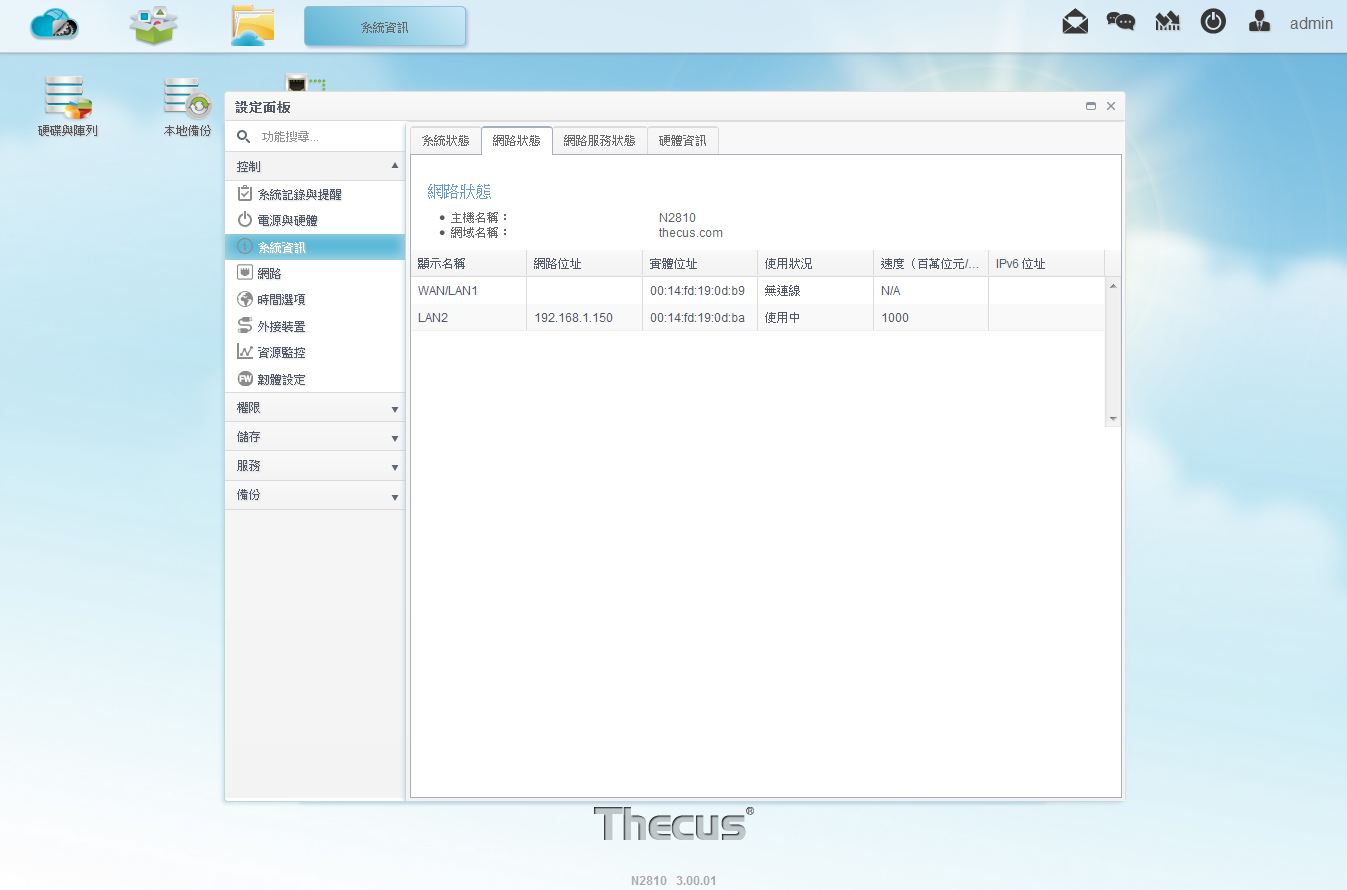
▼系统资讯-网路状态:可查看网路状态有IP位置、MAC位置、网路速度与使用状态
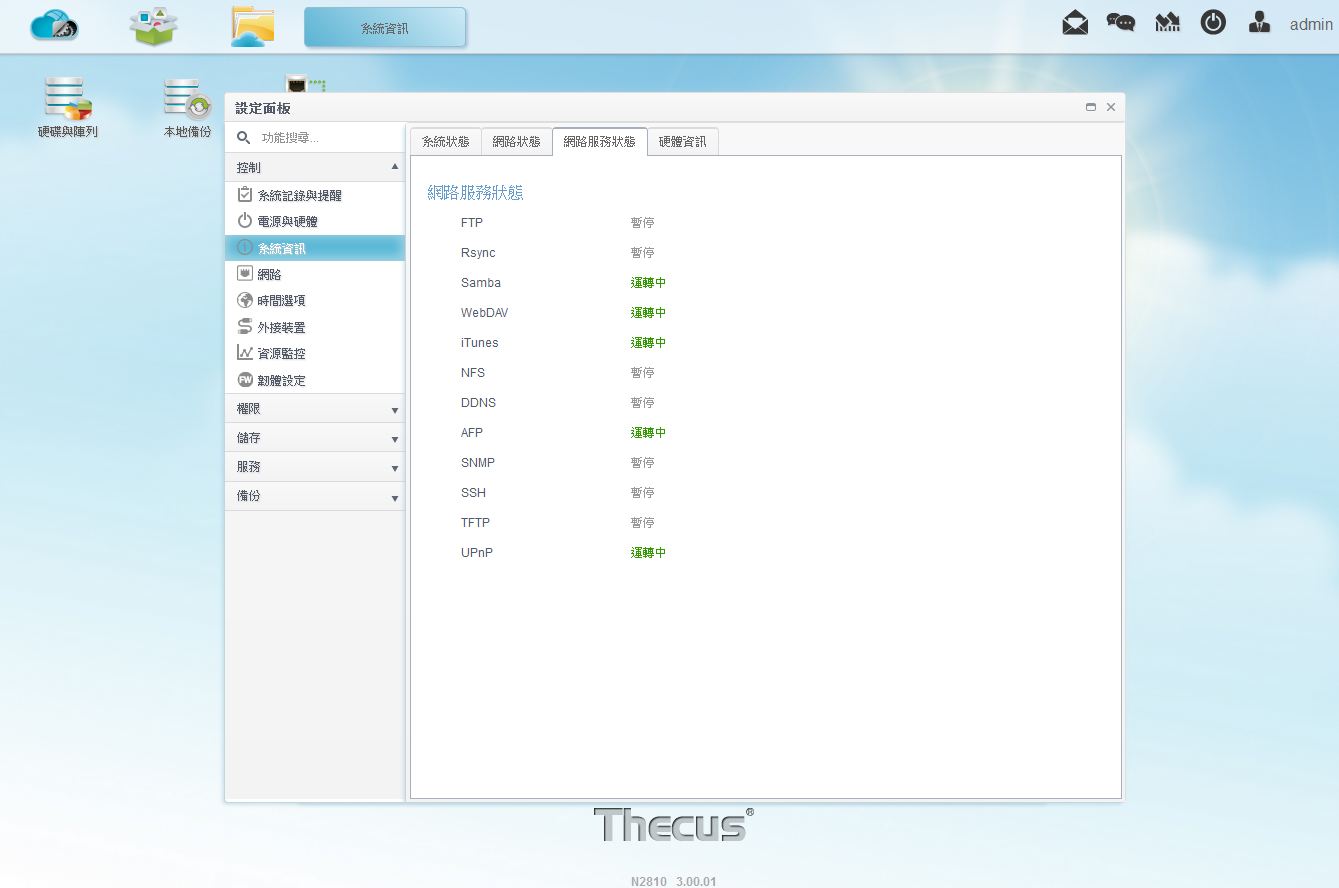
▼系统资讯-网路服务状态:可查看系统网路传输协定是否开启
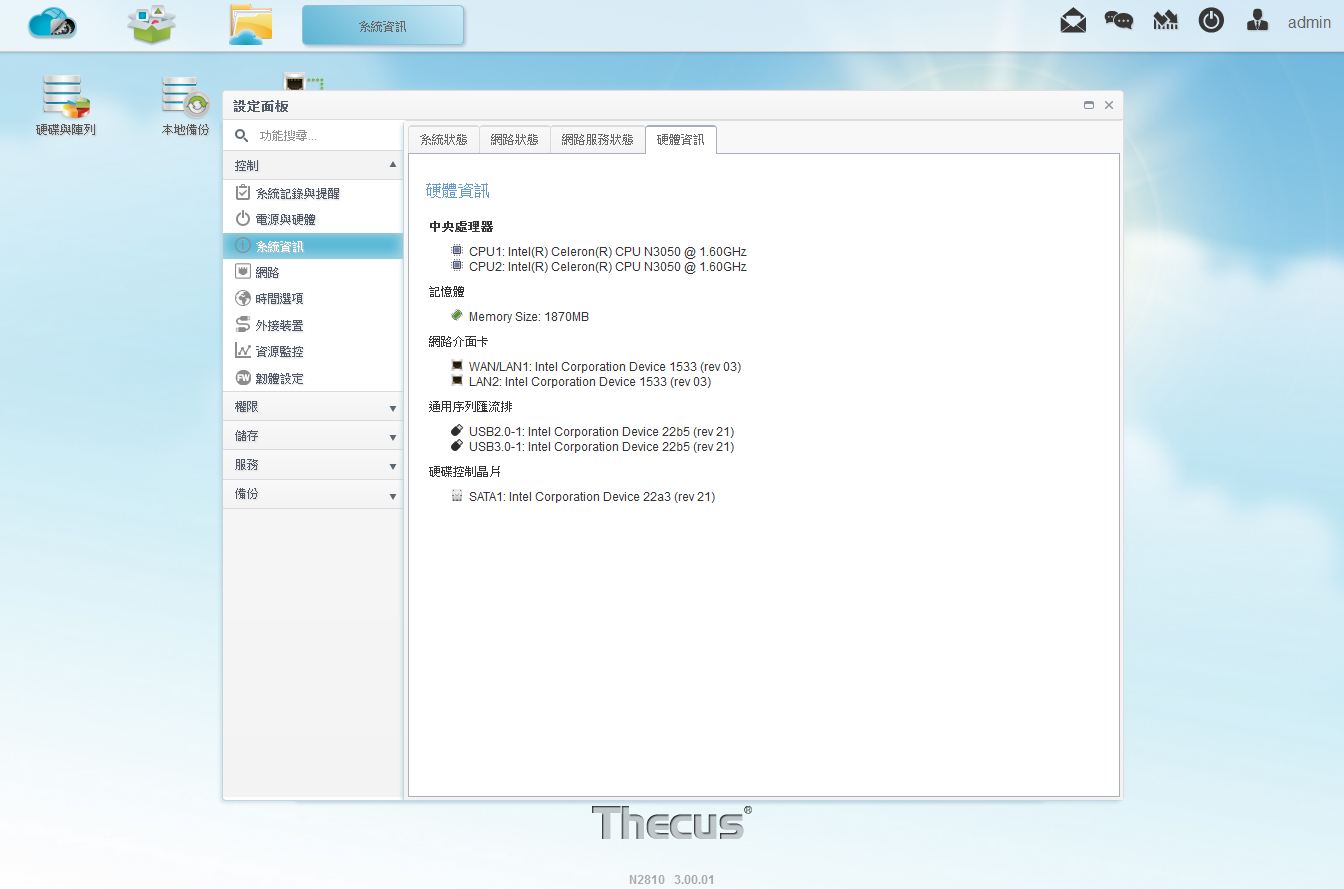
▼系统资讯-系统状态:可查看硬体资讯
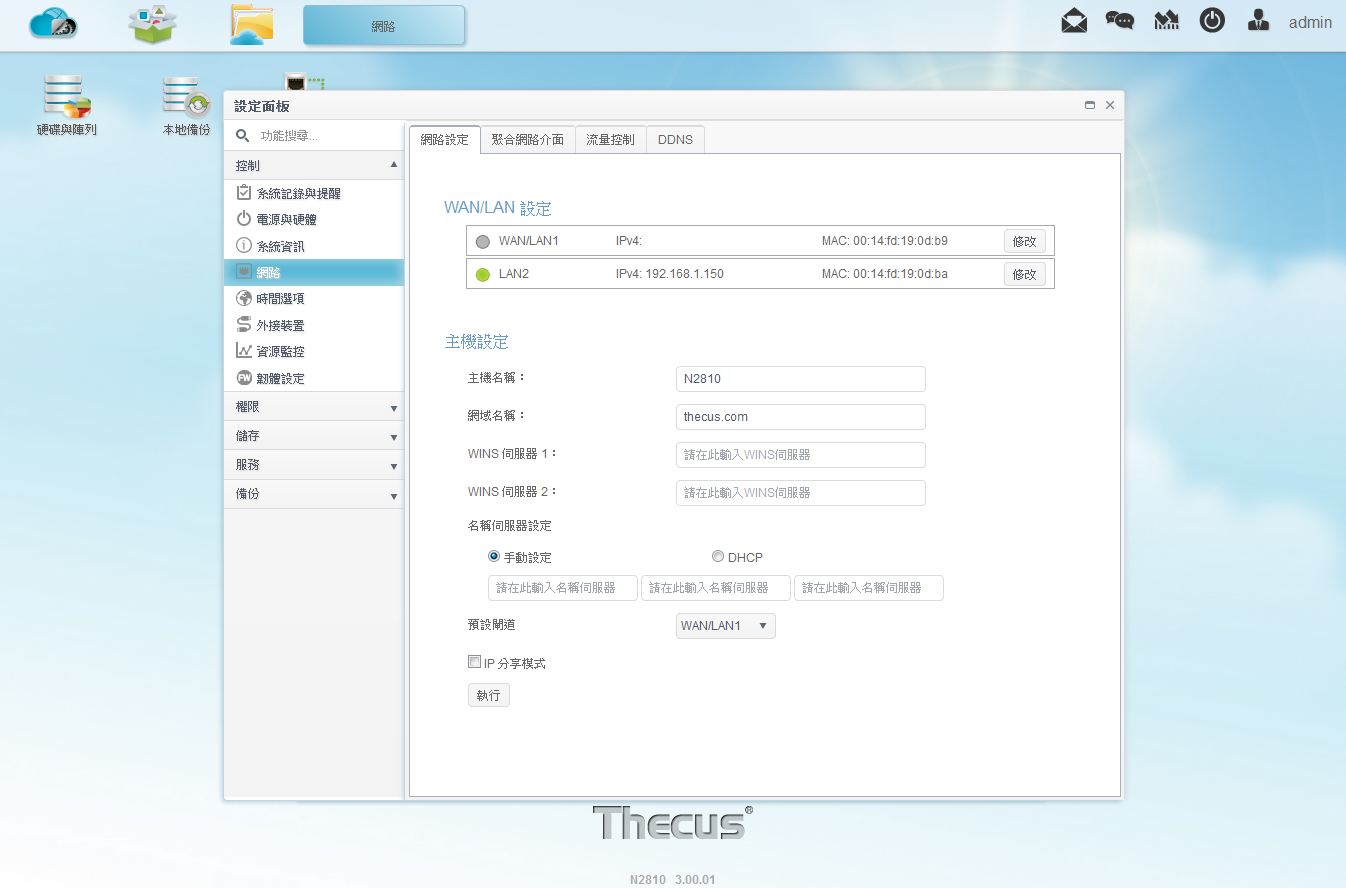
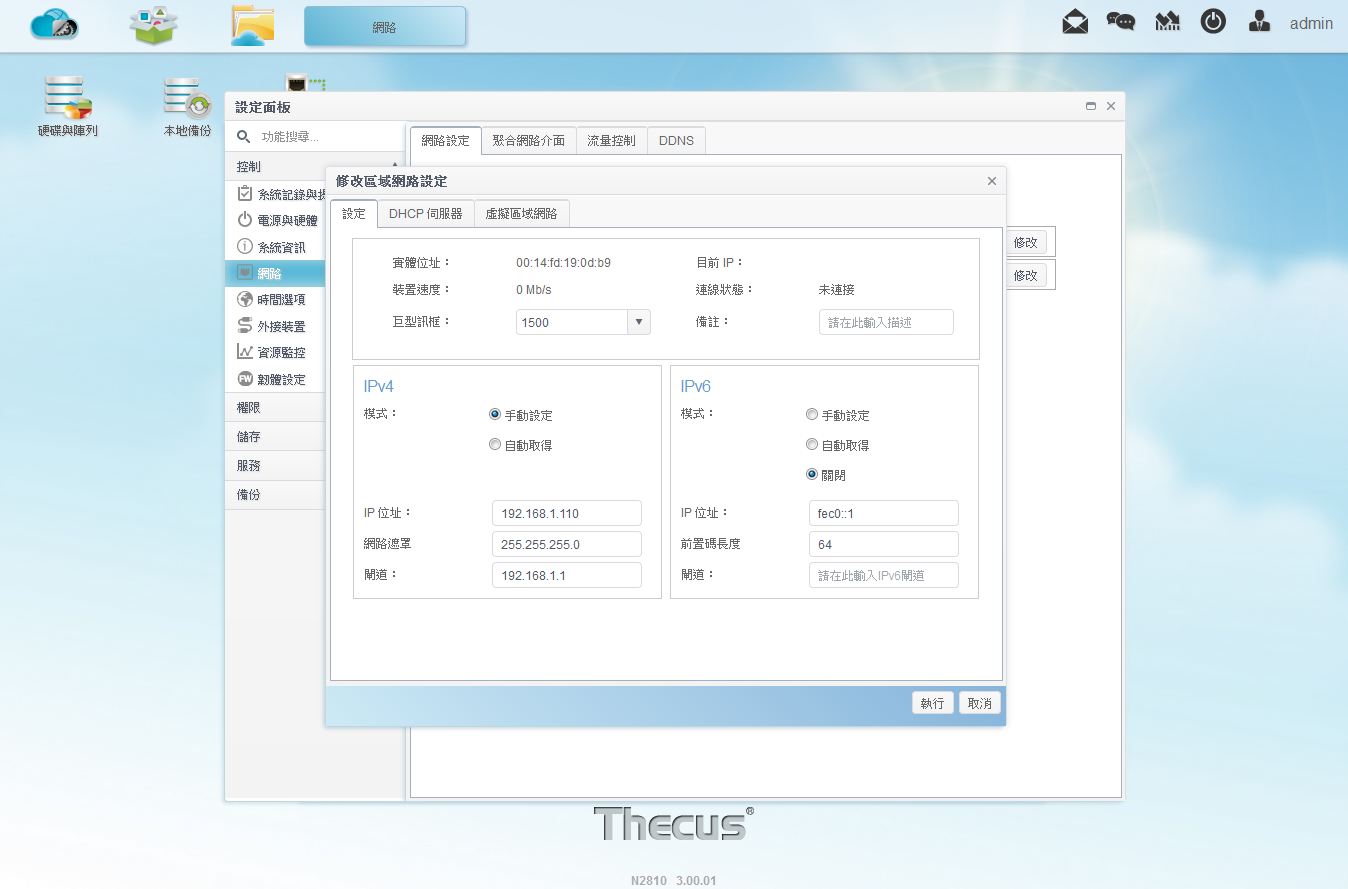
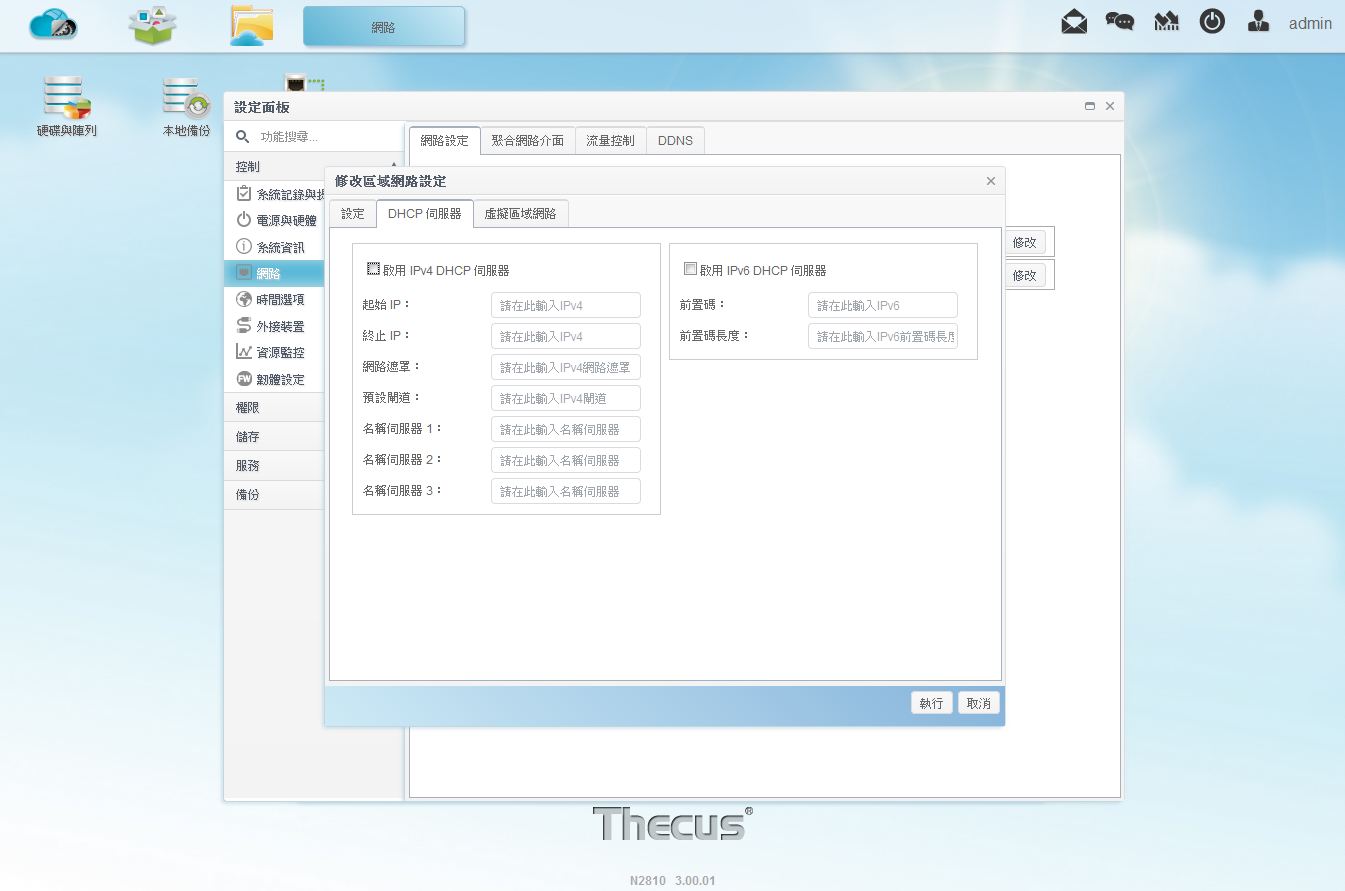
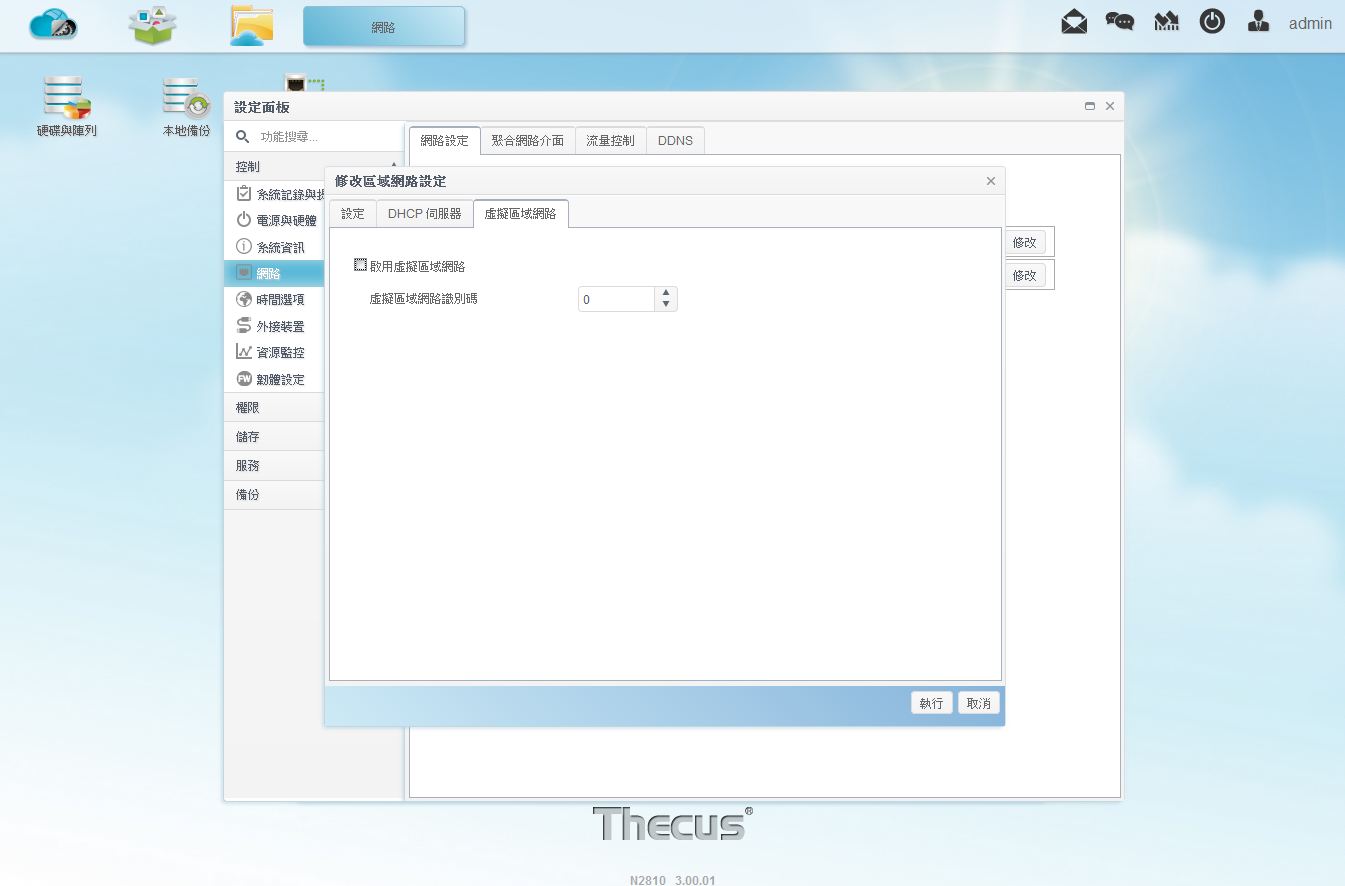
▼网路-网路设定:可分别设定两组LAN网路设定,IP部分可指定IP或DHCP,并可开启DHCP伺服器与虚拟网路功能
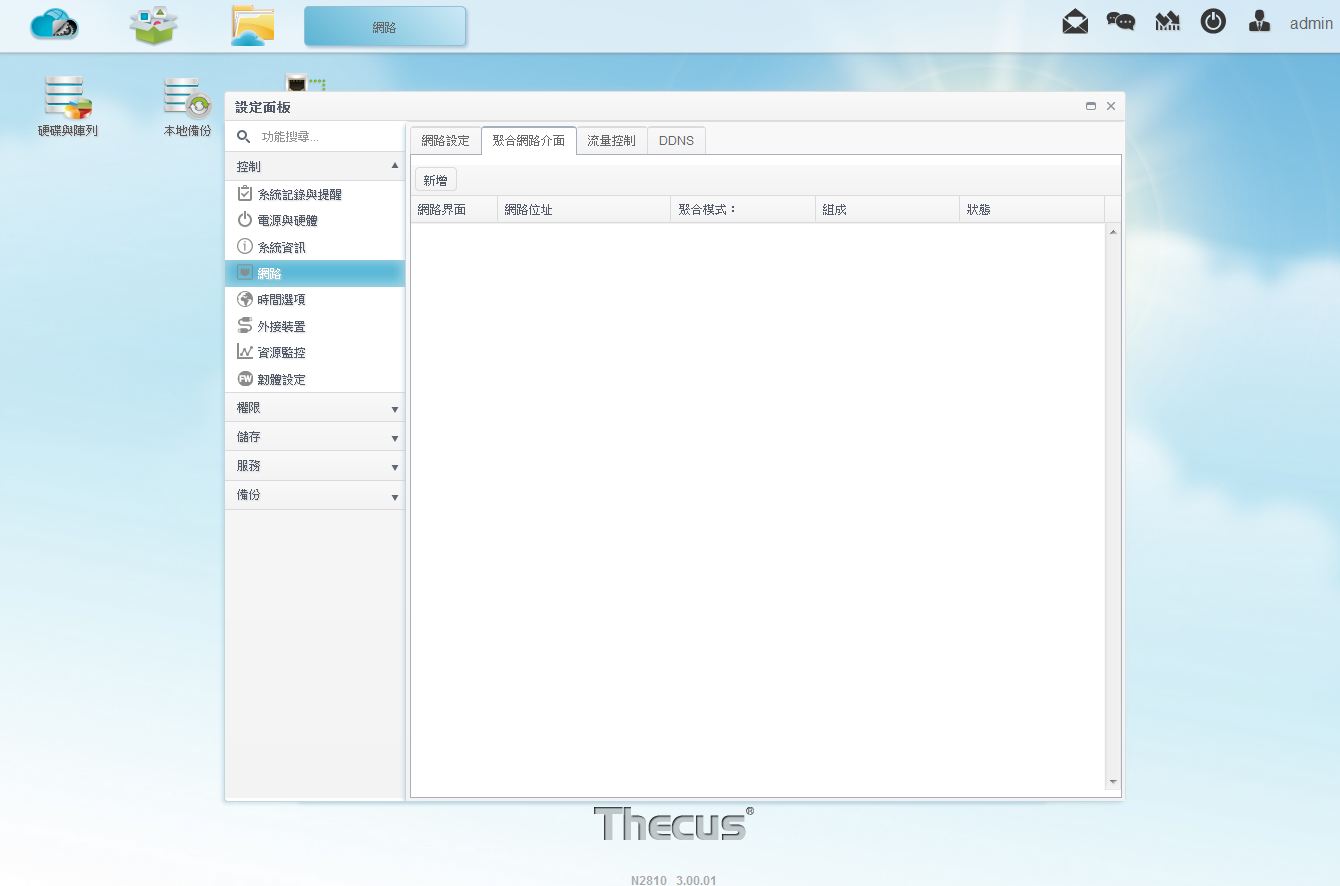
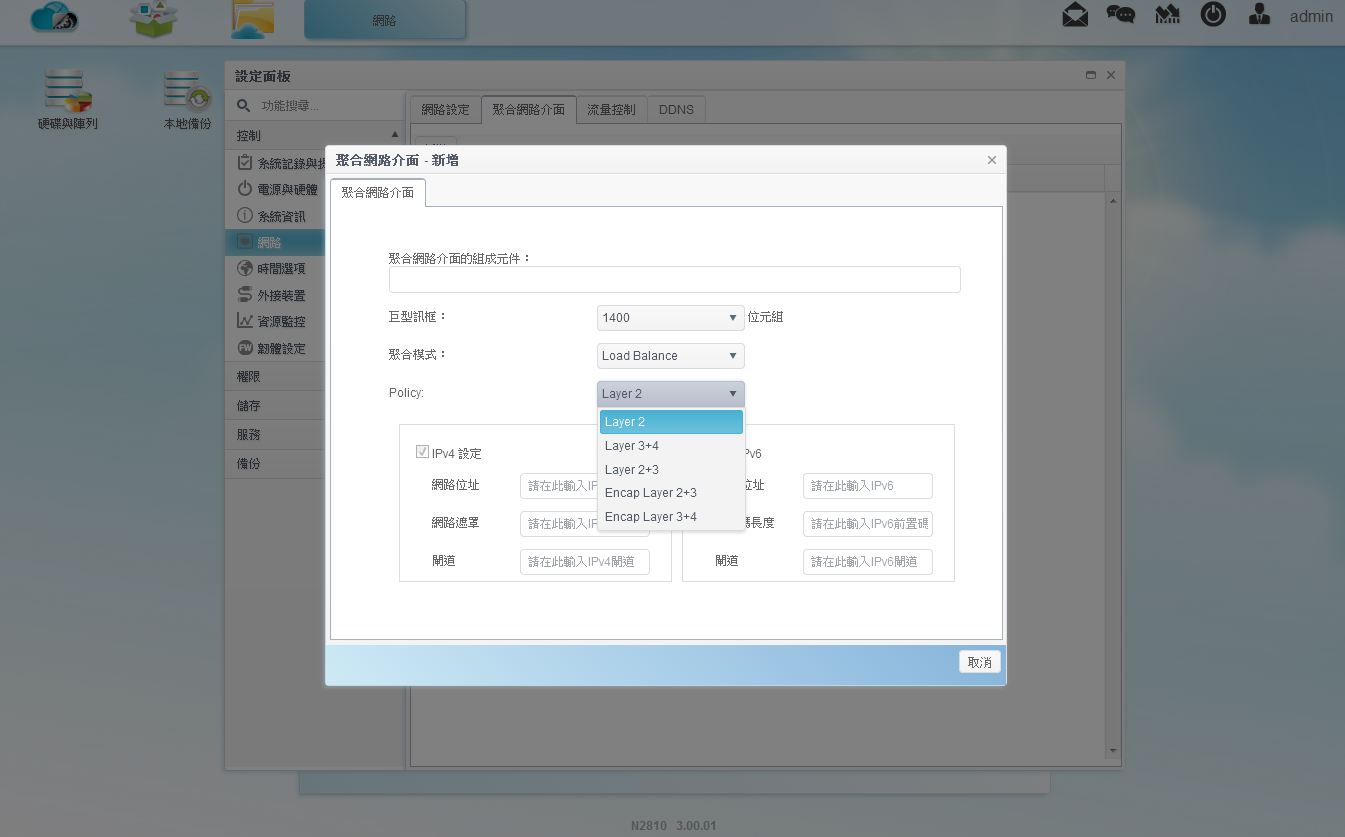
▼网路-聚合网路介面:可依照使用者环境做设定

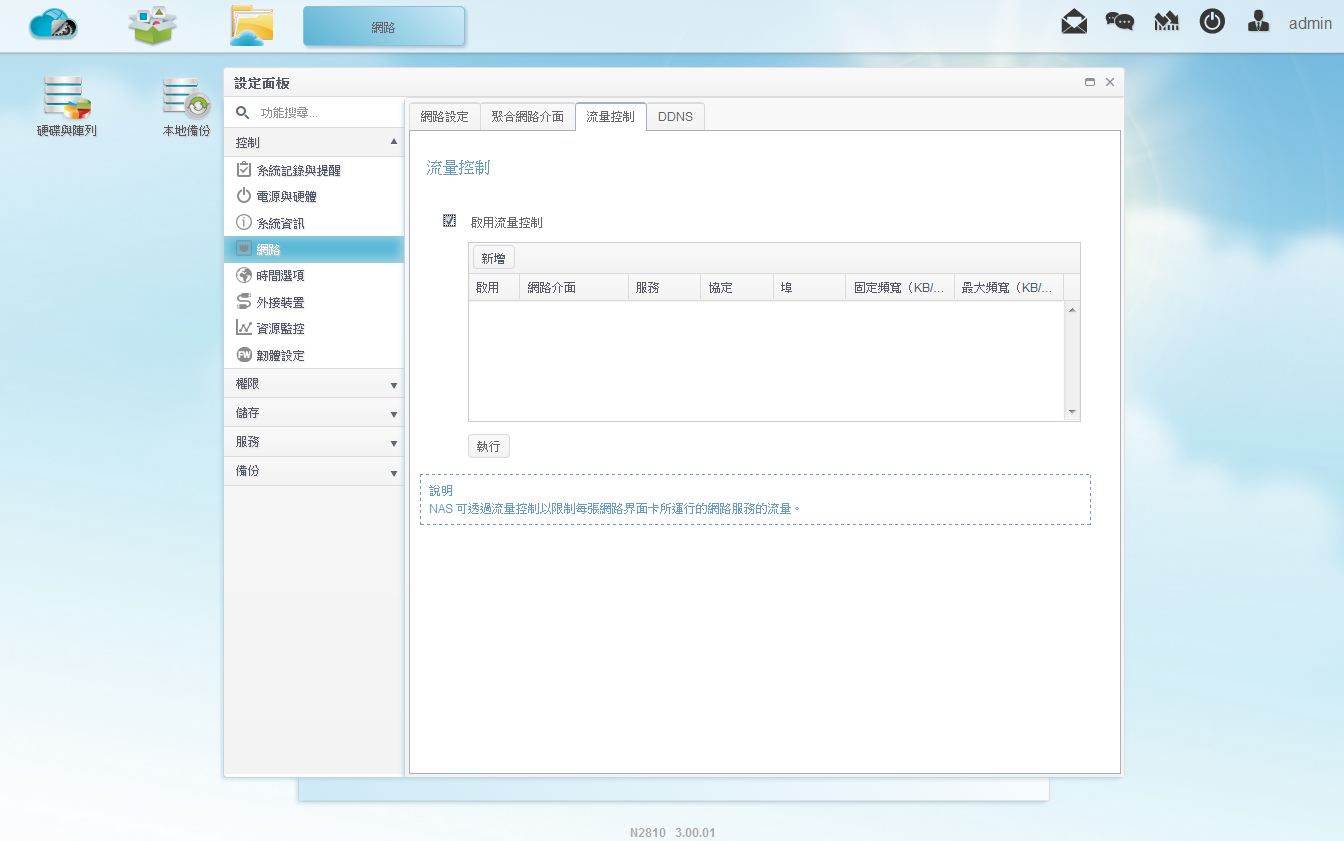
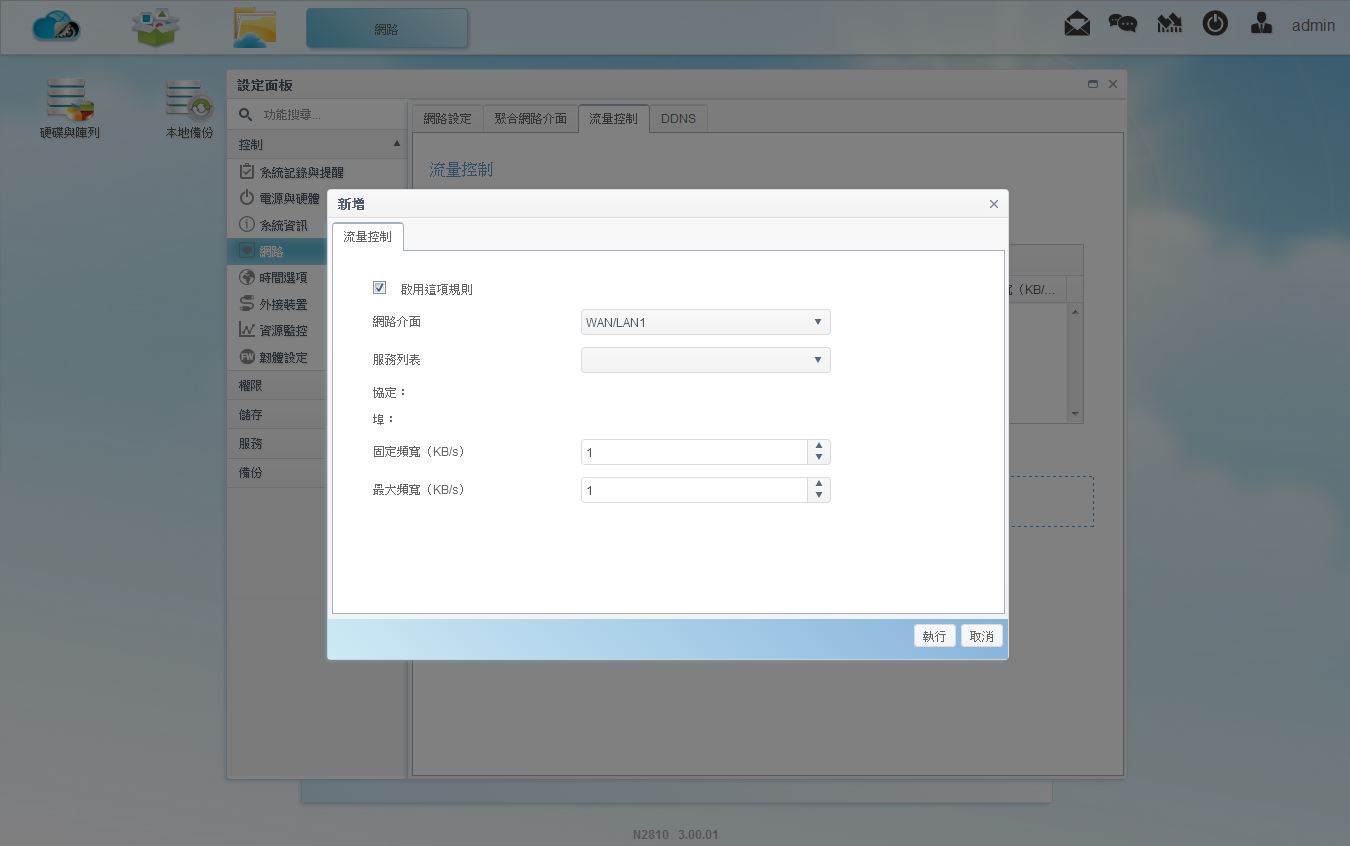
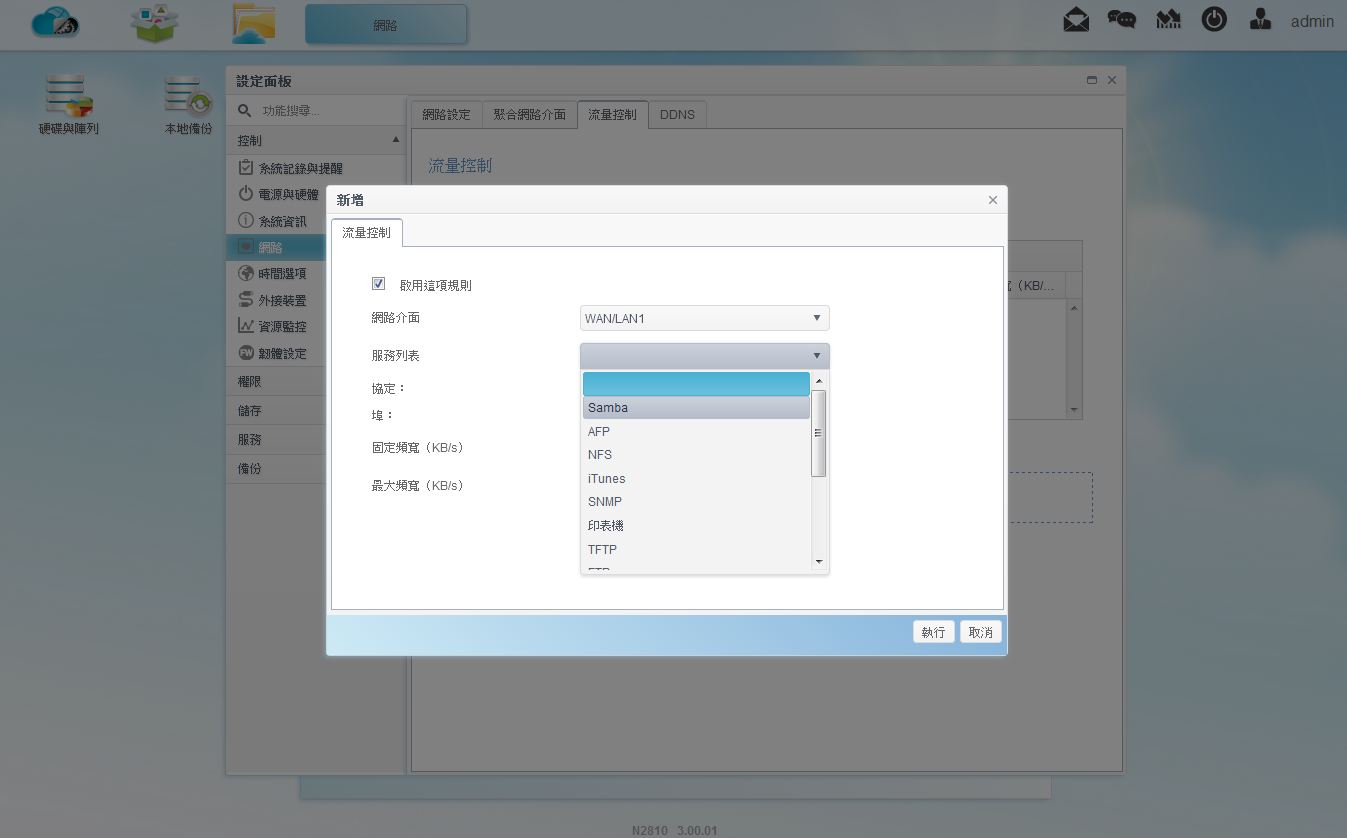
▼网路-流量控制:可针对不同传输服务设定流量控制
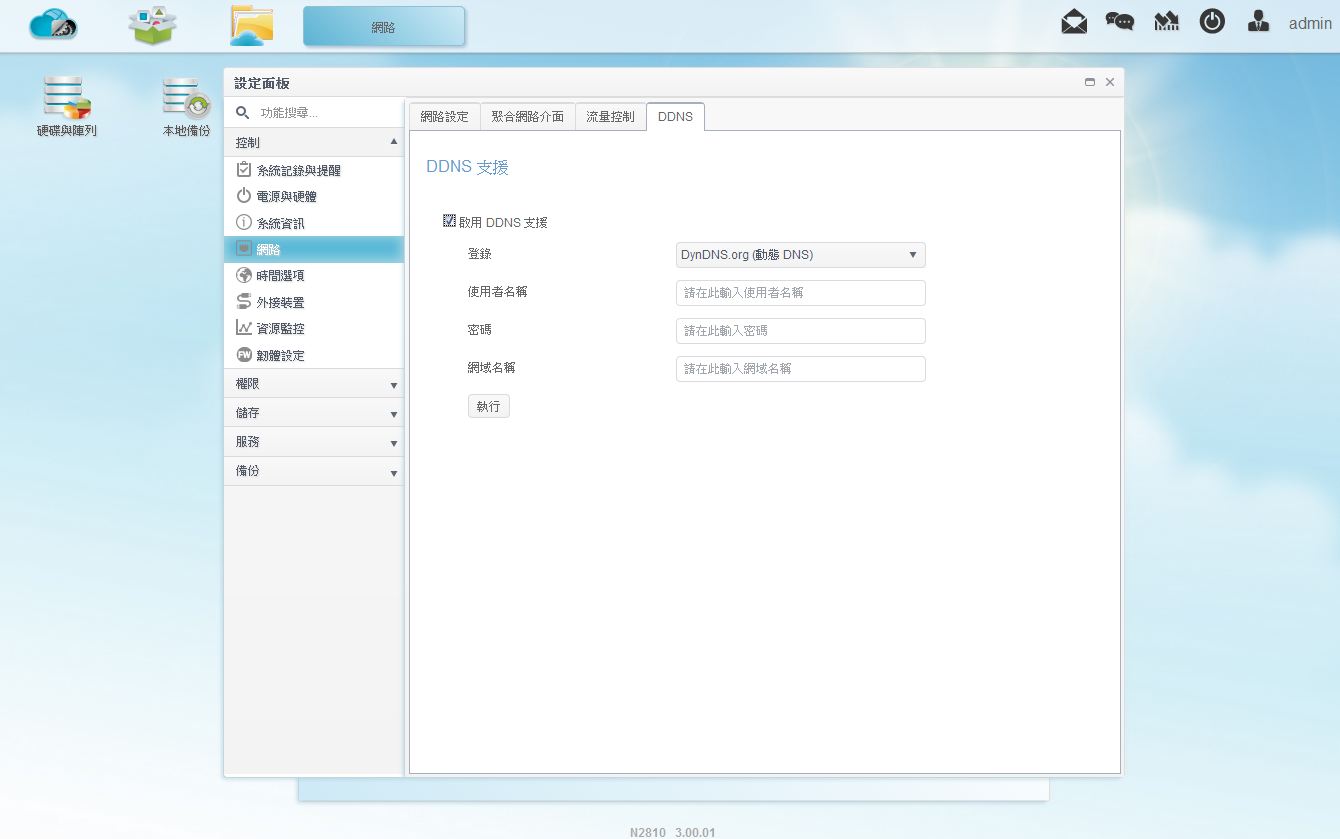
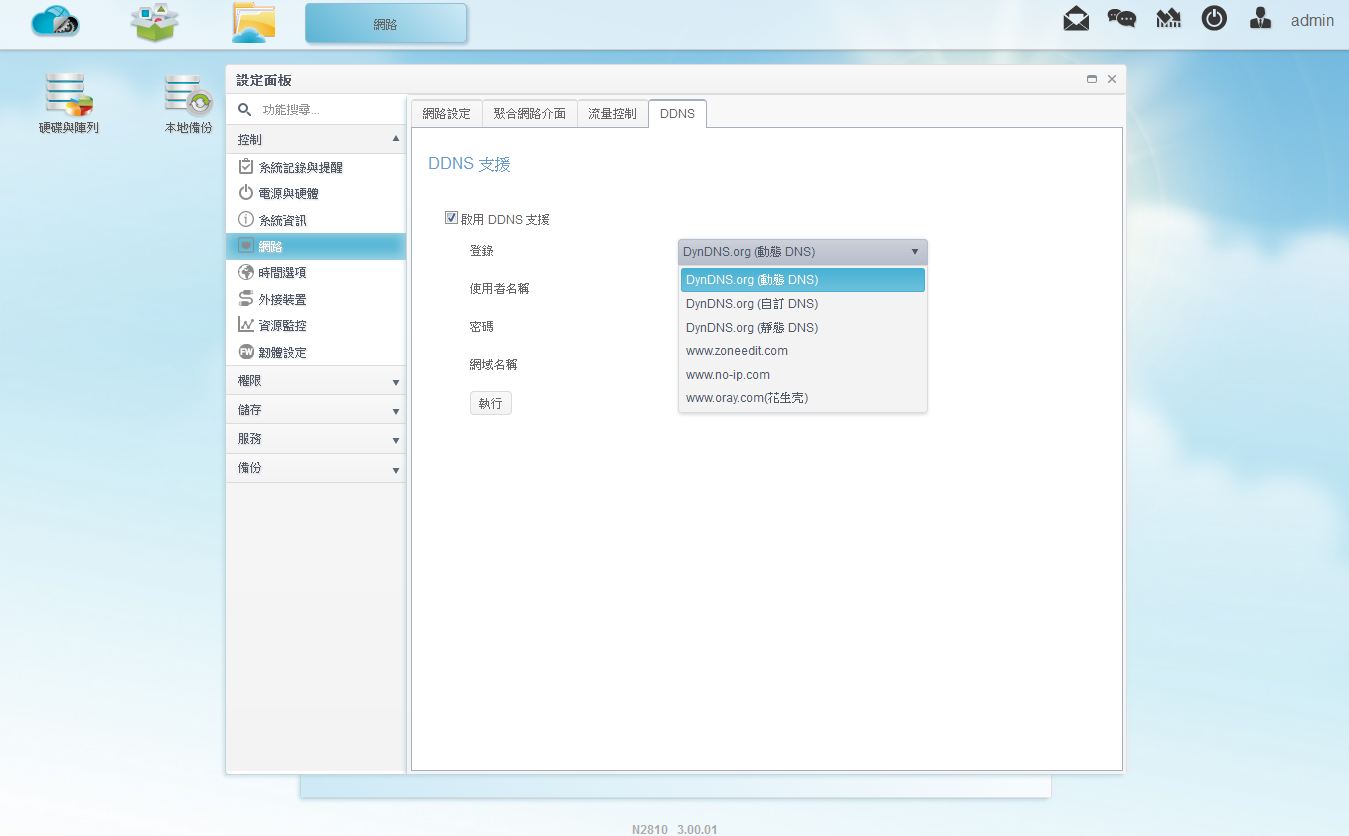
▼网路-网路设定:如有DDNS的使用者可将DDNS设定到NAS内
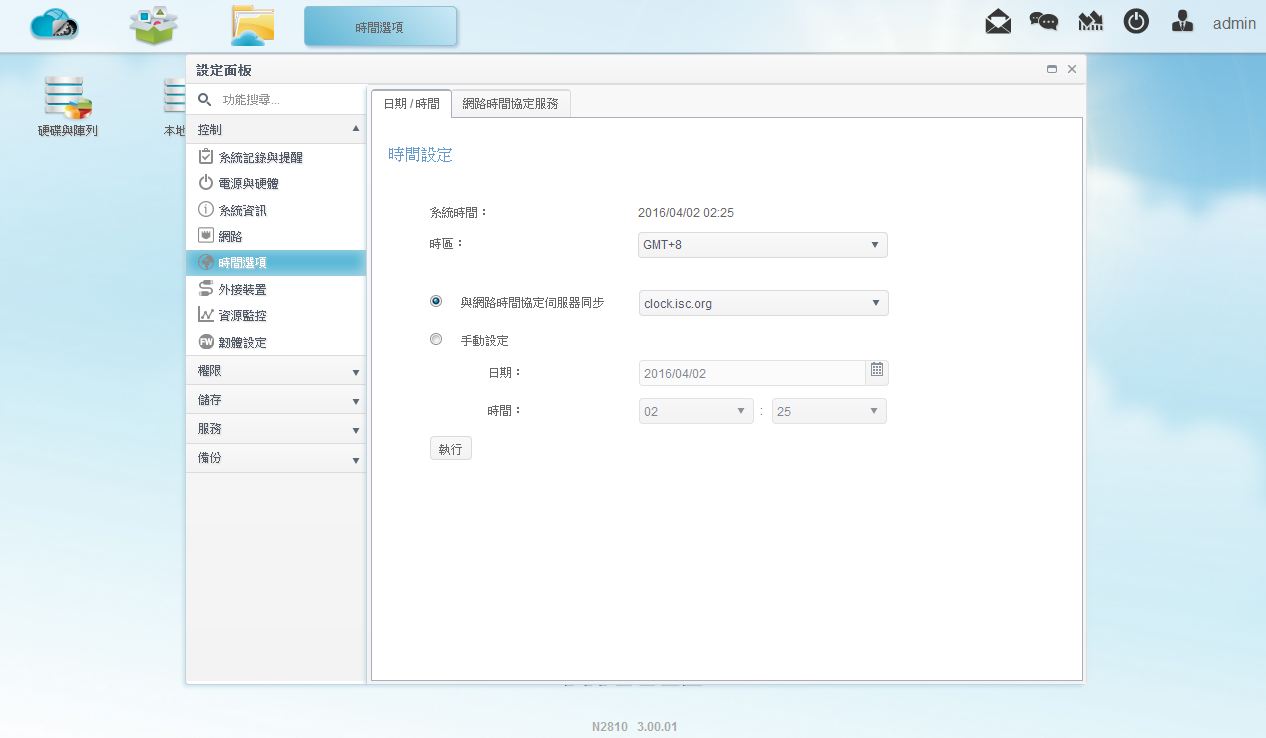
▼时间选项-日期/时间:可设定时区与自动网路伺服器同步设定
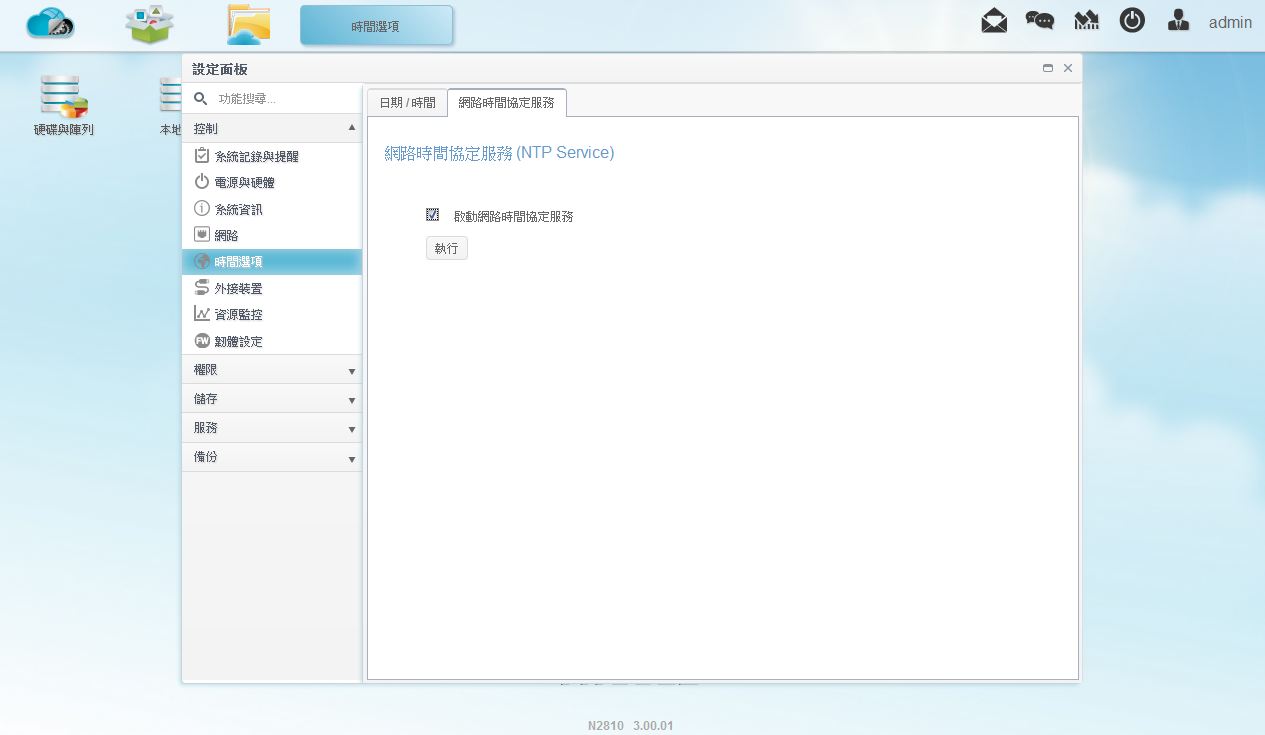
▼时间选项-网路时间协定服务:设定是否开启网路时间协定服务
▼外接装置-外接硬碟:如有安装USB随身碟或硬碟时,可以看到装置容量、名称与韧体

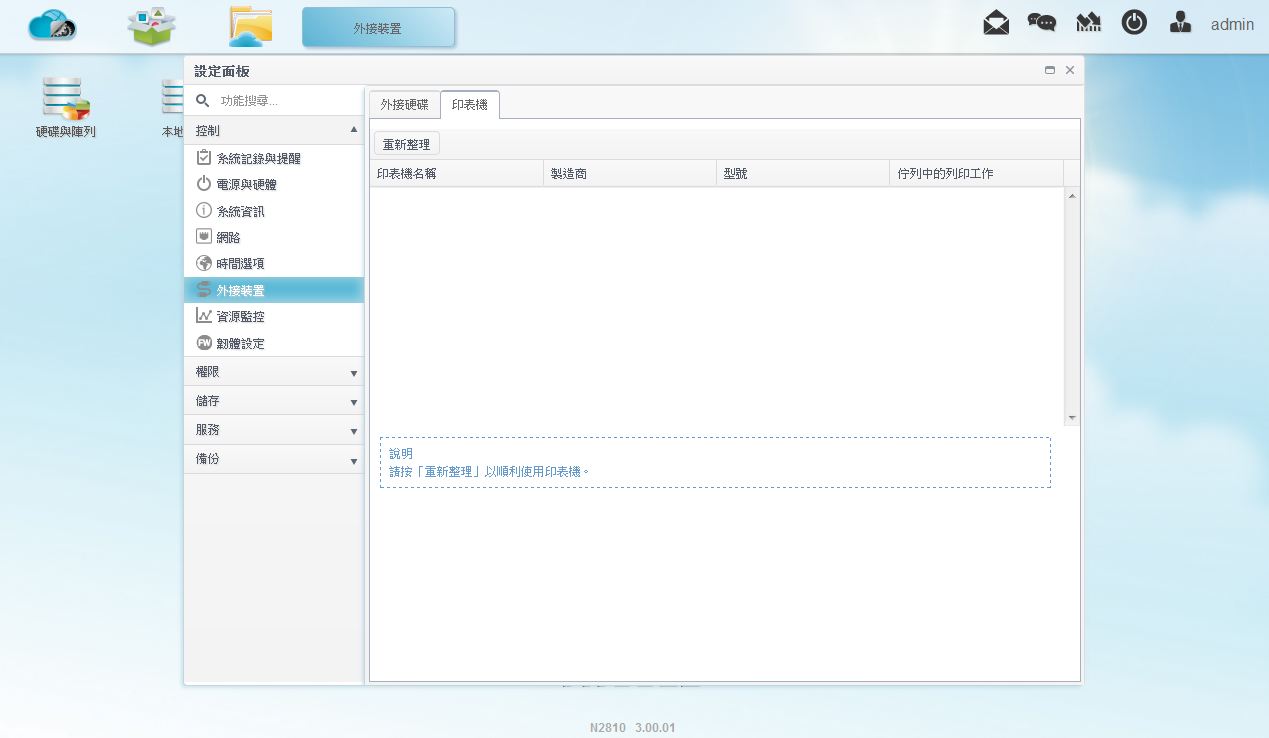
▼外接装置-印表机:如有安装USB印表机时,可以看到装置名称、制造商与型号
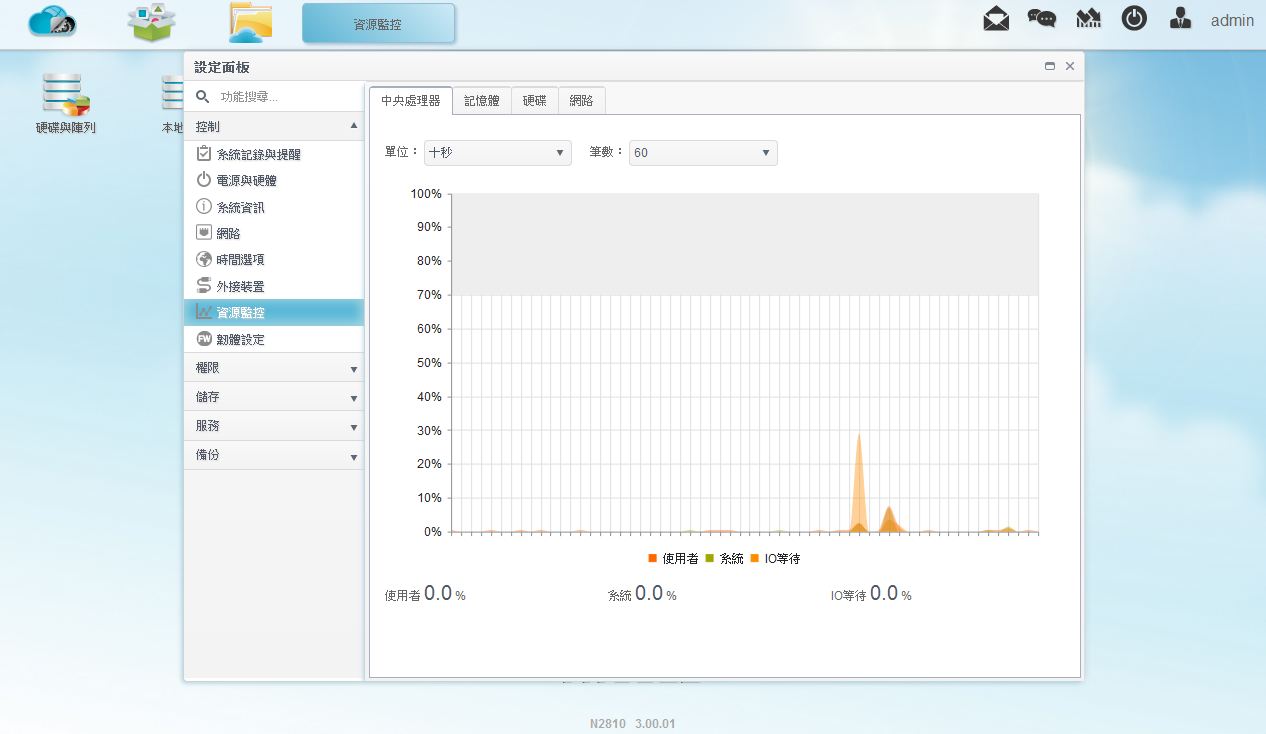
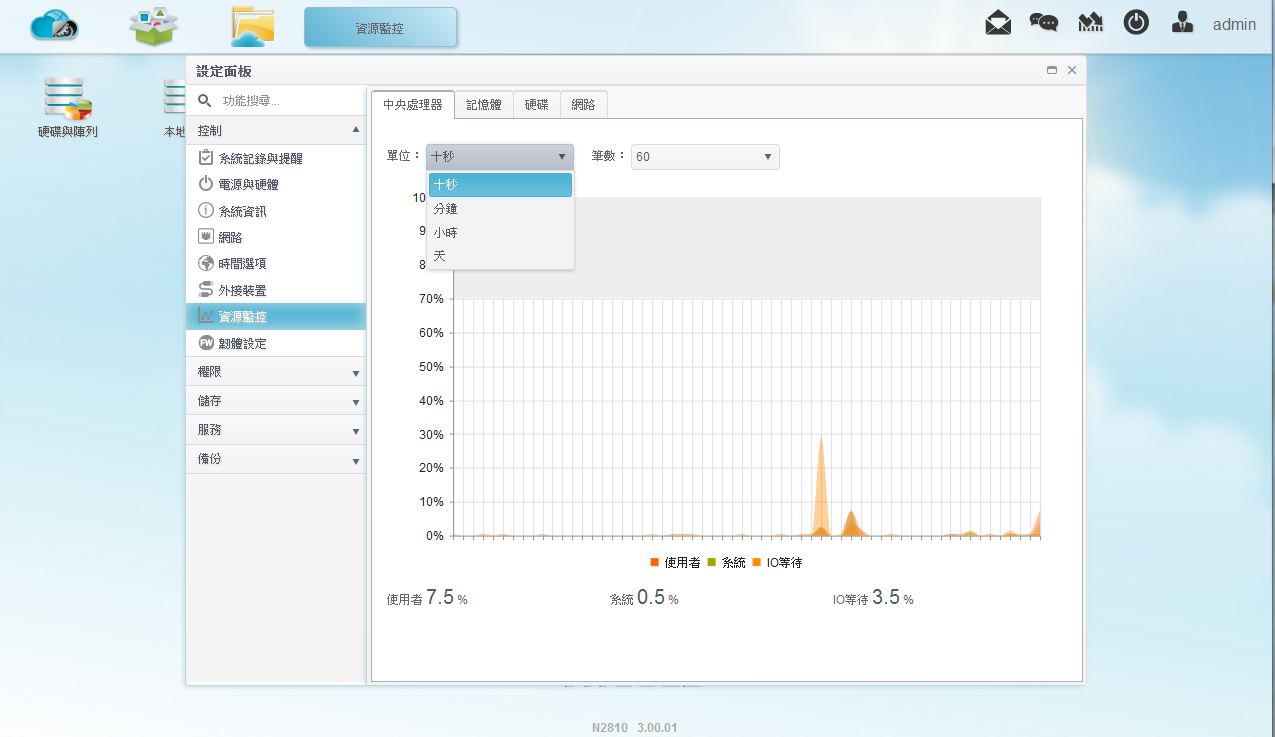
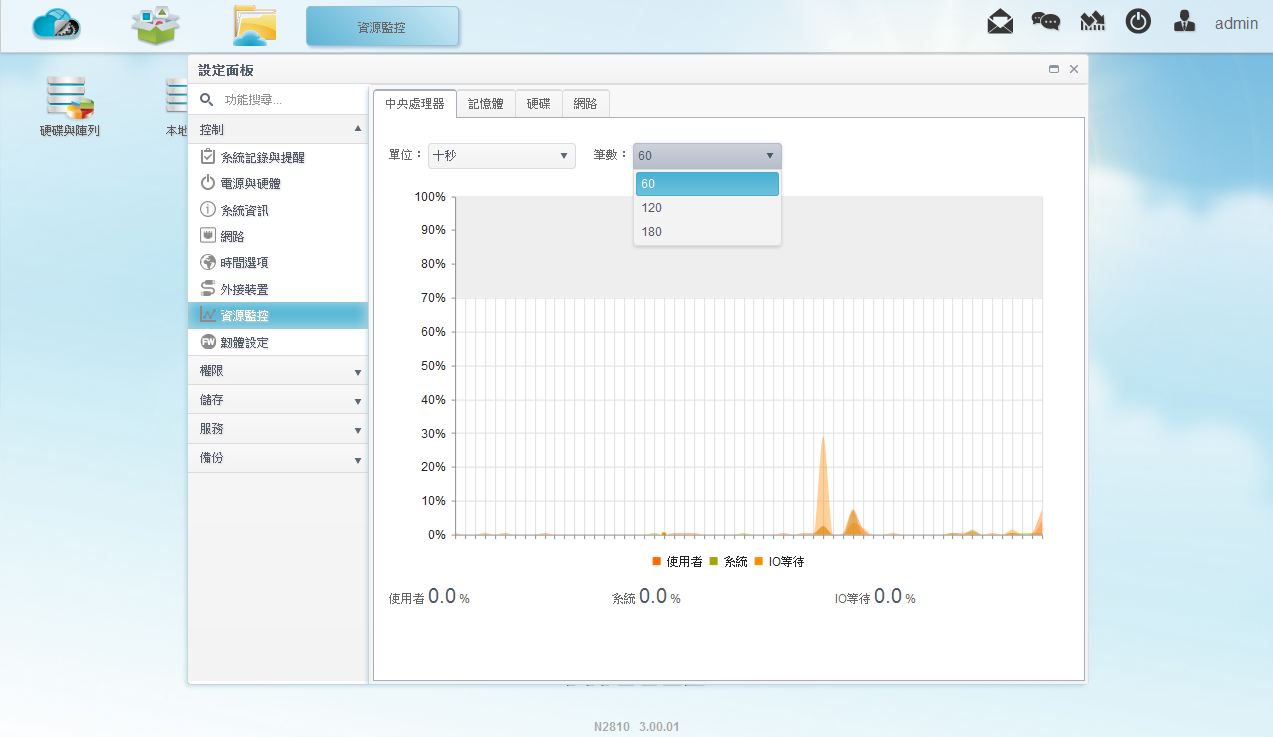
▼资源监控-中央处理器:可查看CPU使用率,并可调整时间轴与资料笔数
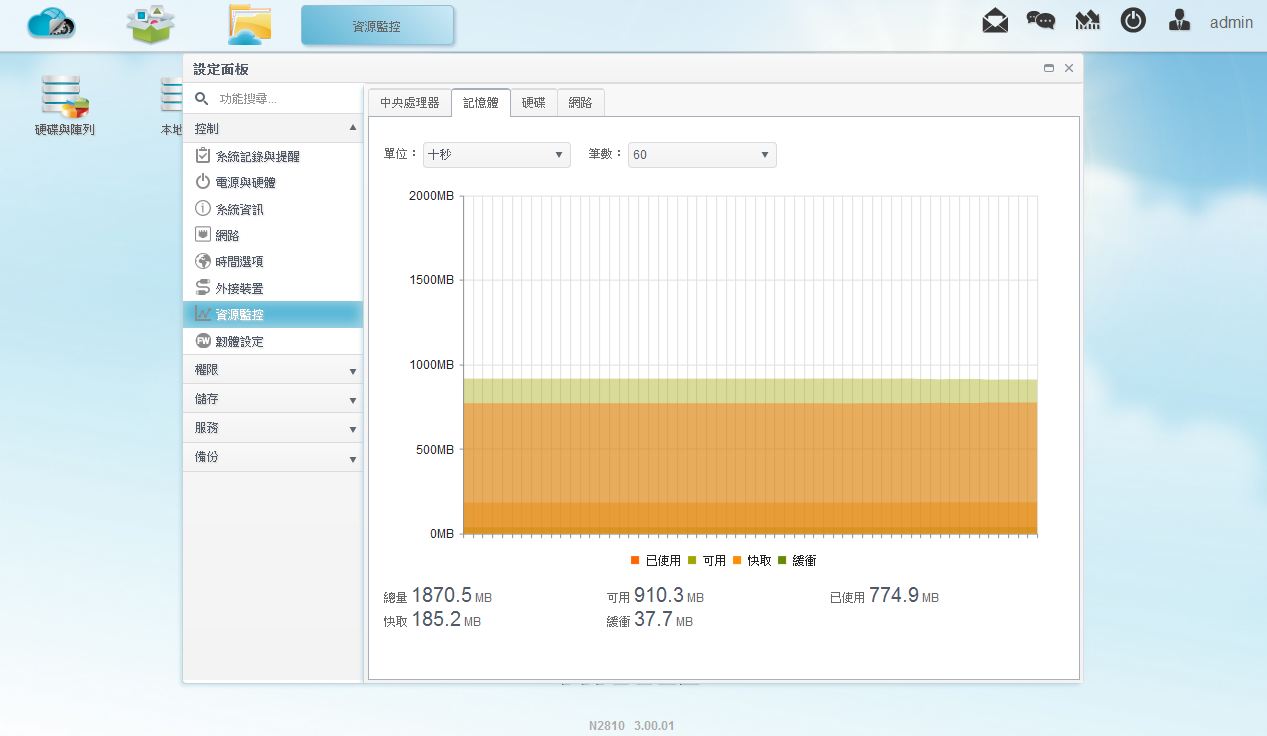
▼资源监控-记忆体:可查看RAM使用率,并可调整时间轴与资料笔数
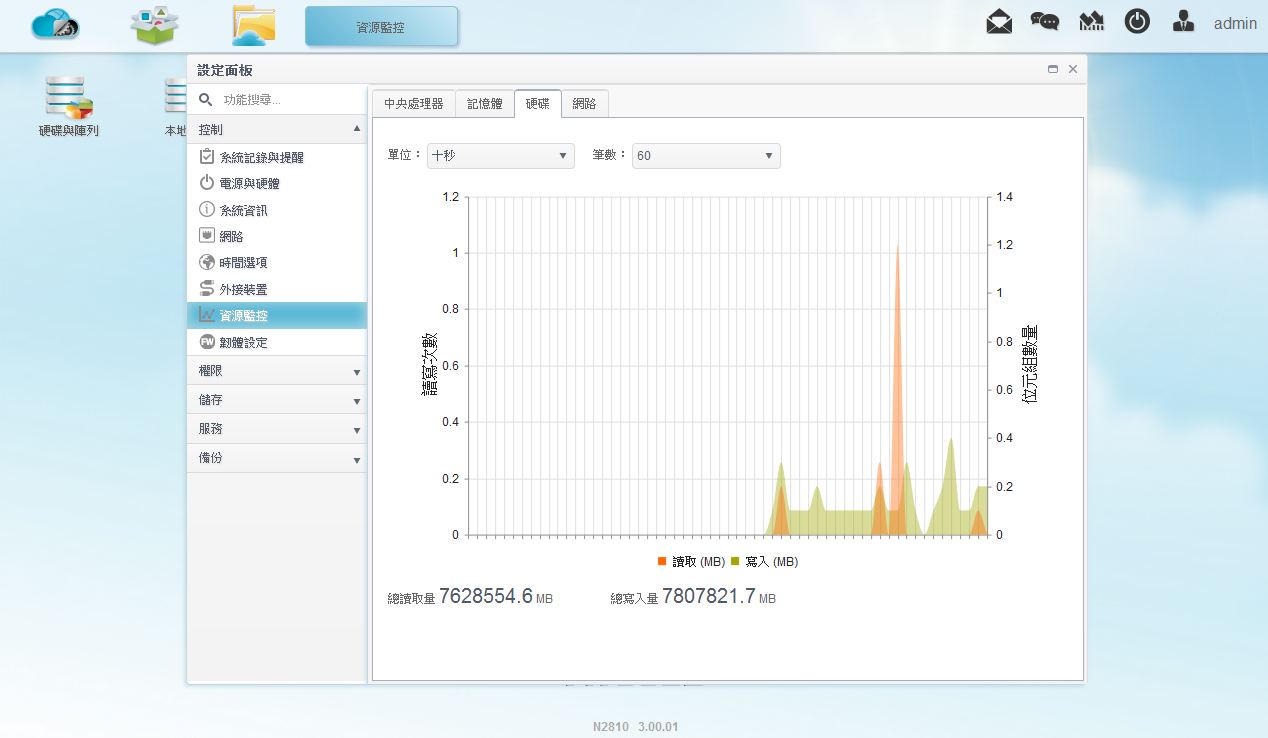
▼资源监控-硬碟:可查看硬碟读写次数,并可调整时间轴与资料笔数
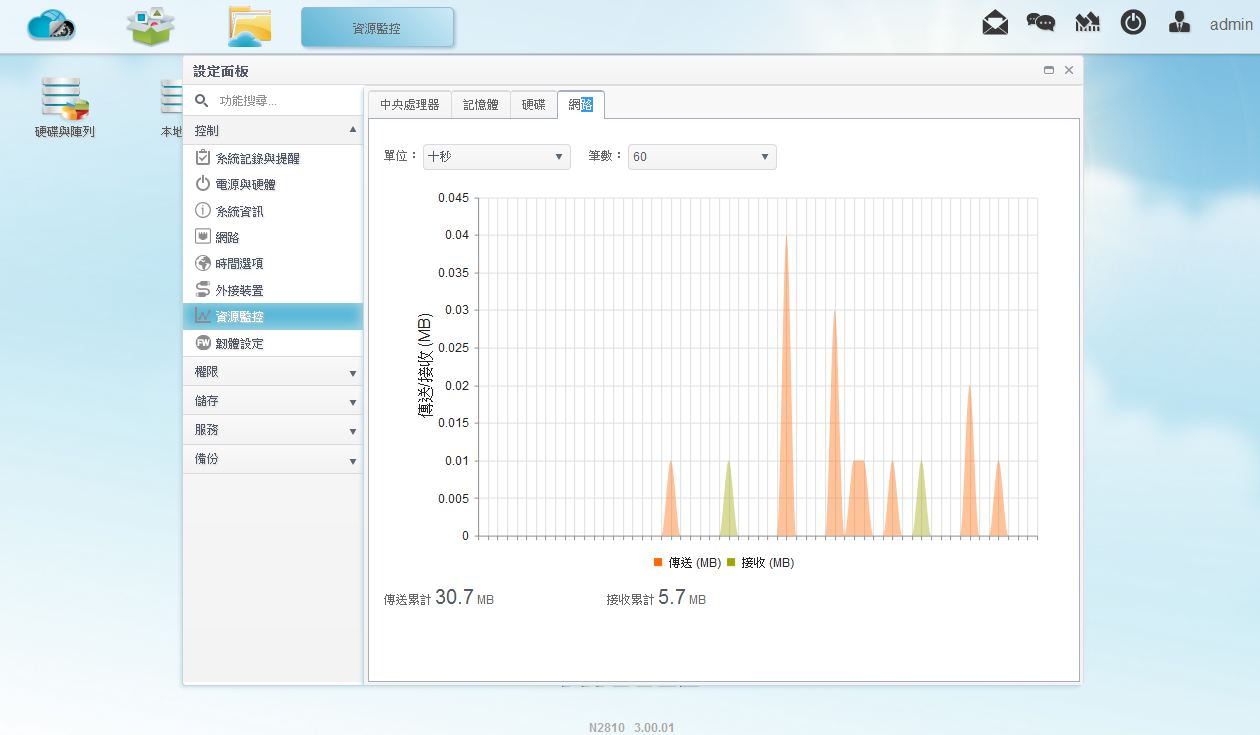
▼资源监控-网路:可查看网路传送与接收使用率,并可调整时间轴与资料笔数
▼韧体设定-韧体设定:可手动更新韧体

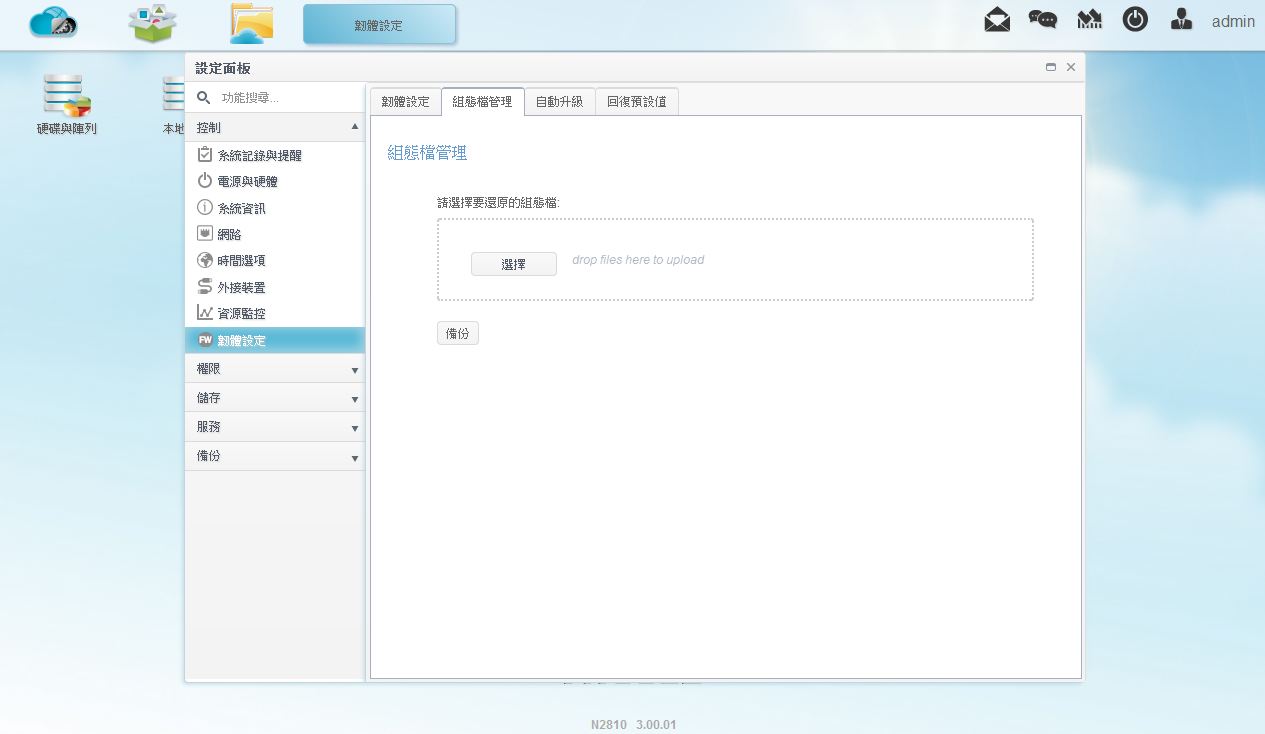
▼韧体设定-组态档管理:可汇入与汇出系统组态档案
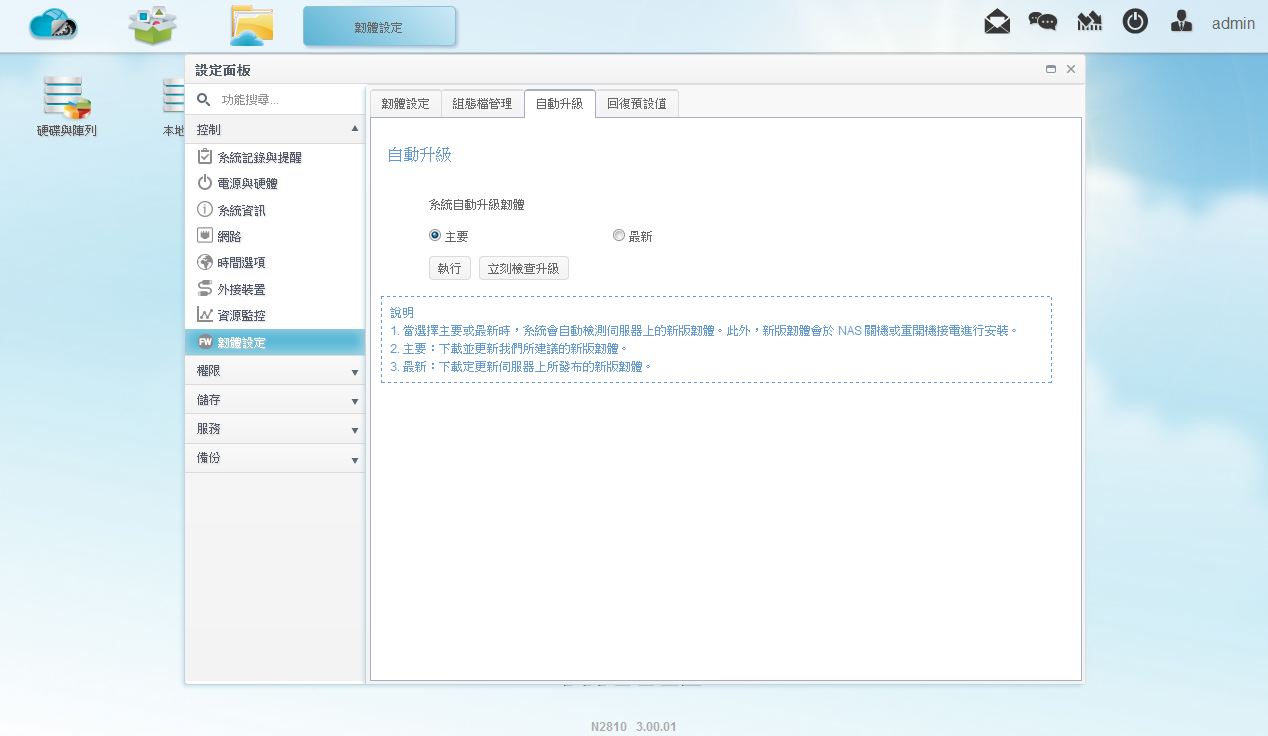
▼韧体设定-自动升级:可设定系统韧体自动升级
▼韧体设定-回复预设值:可回复为出厂预设设定
 权限
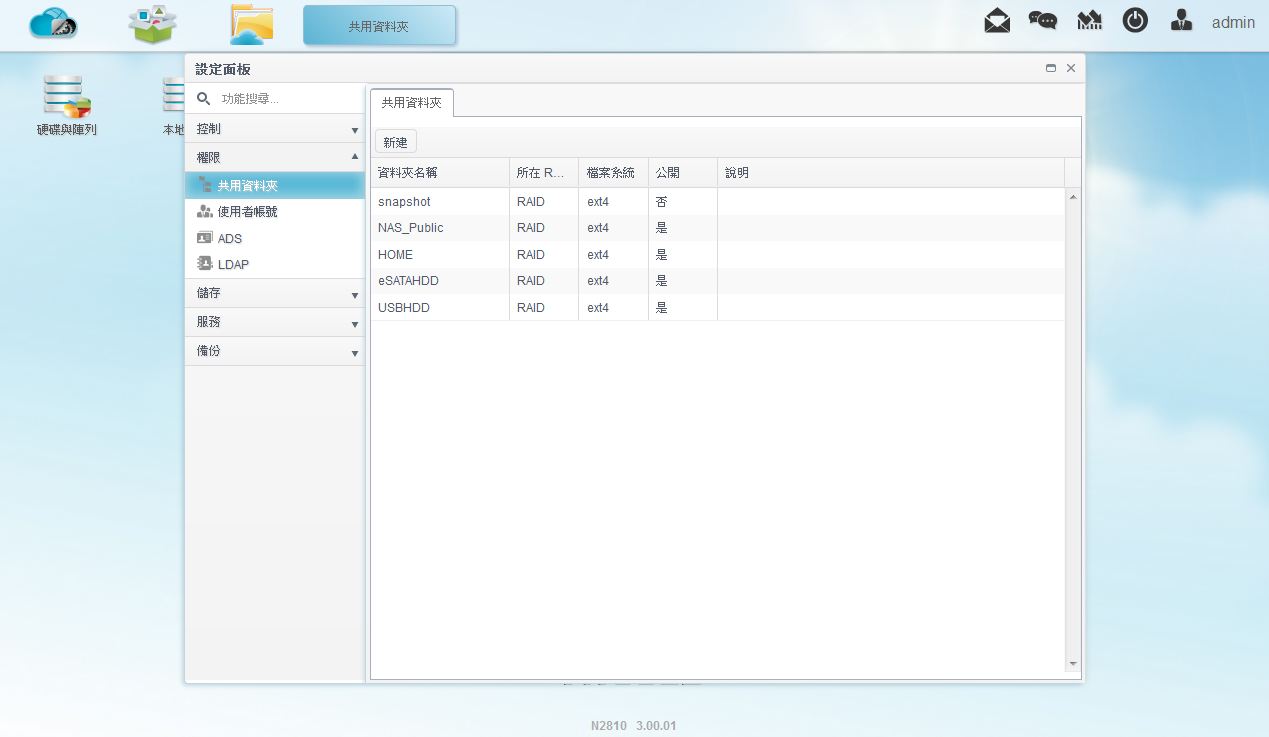
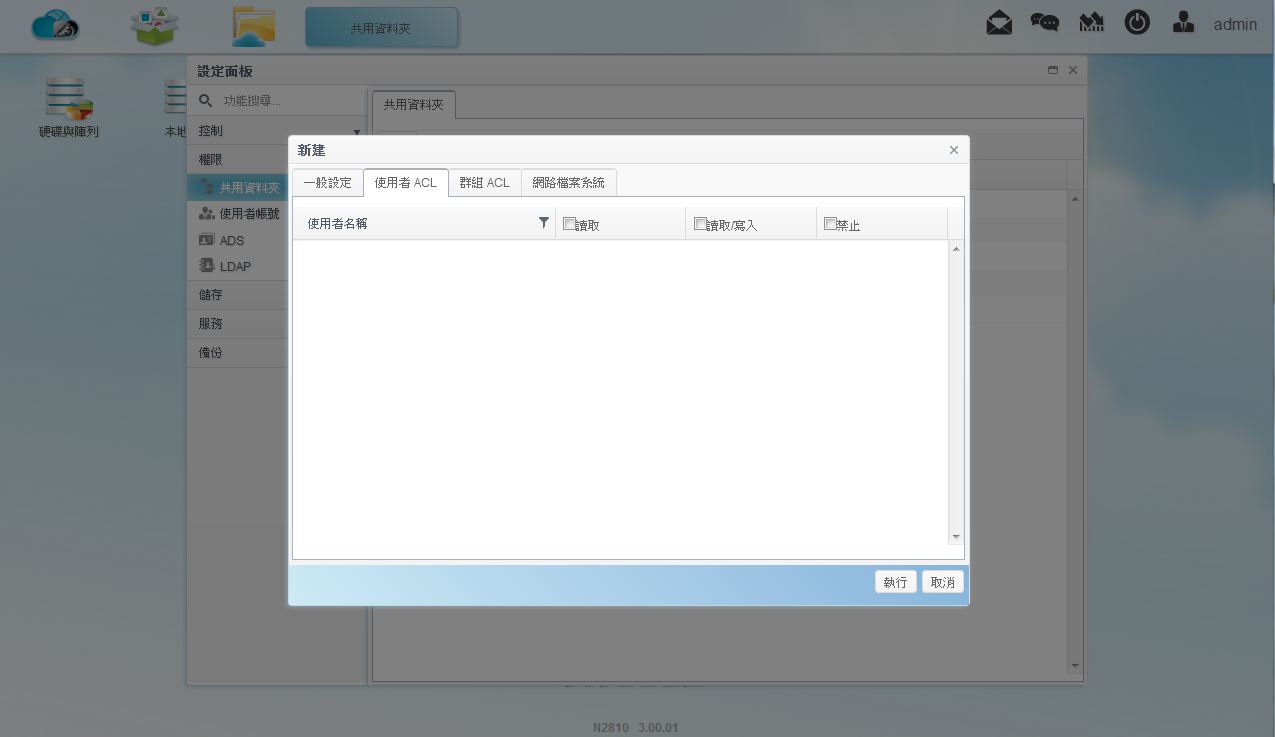
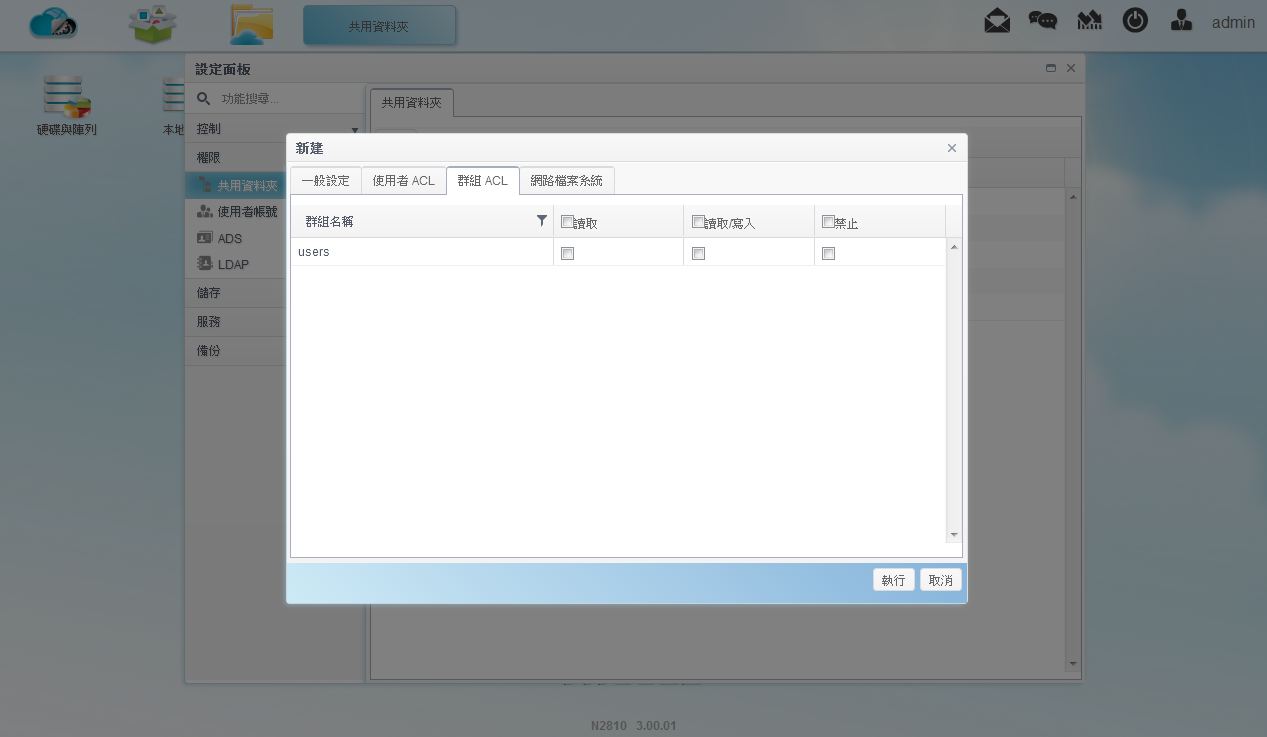
权限▼共用资料夹:可设定资料夹权限是否为共用资料夹,并可设定不同资料夹不同的使用者权限,也可直接设定群组对资料夹的权限
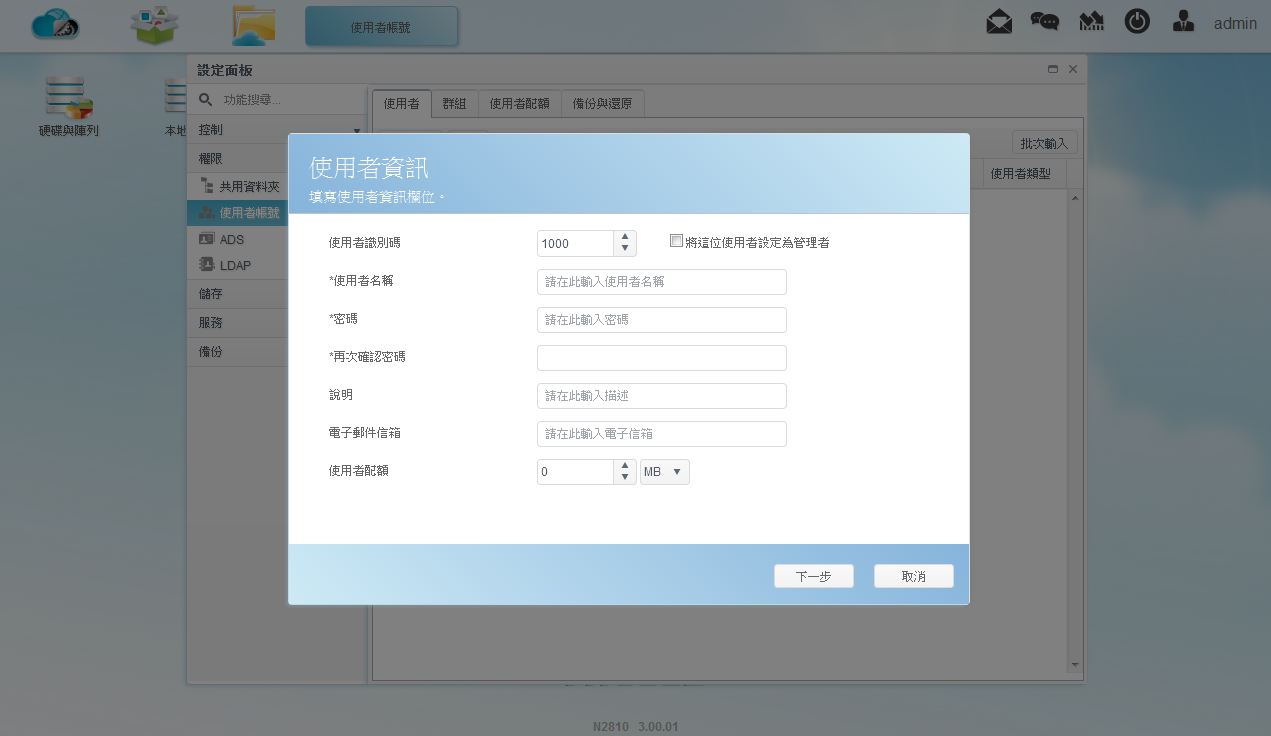
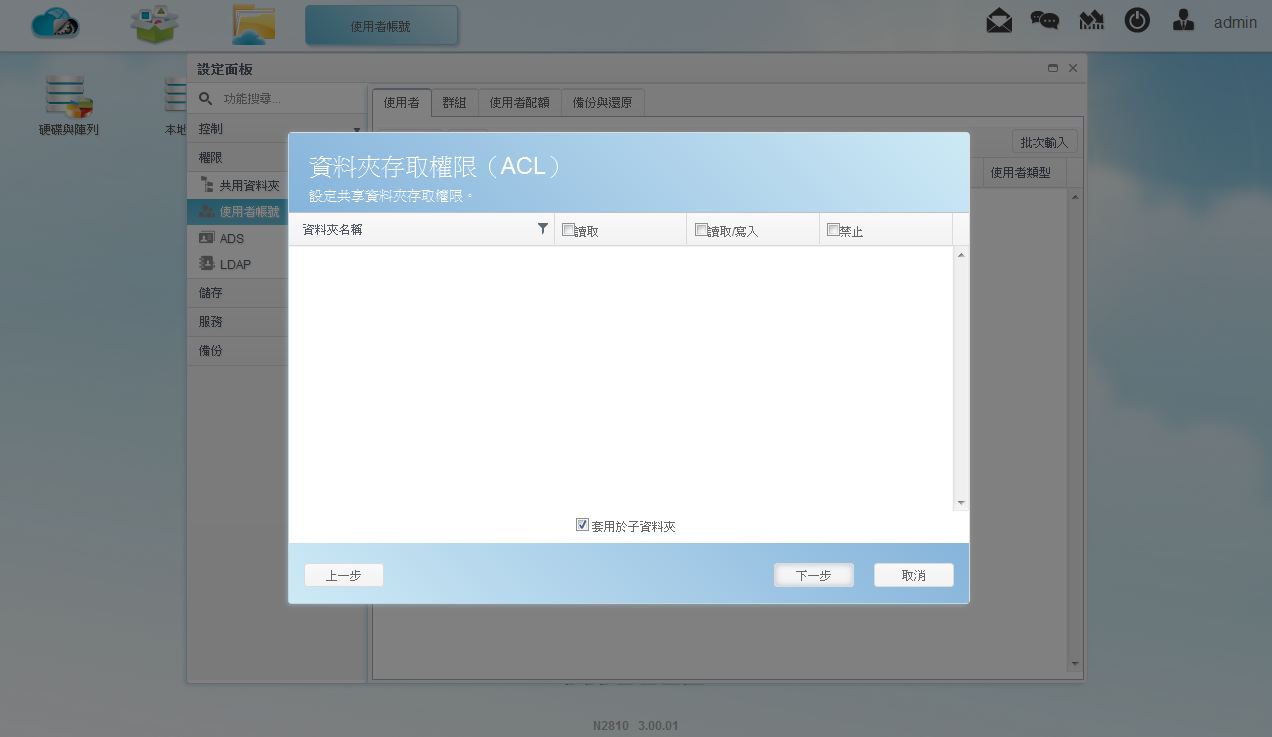
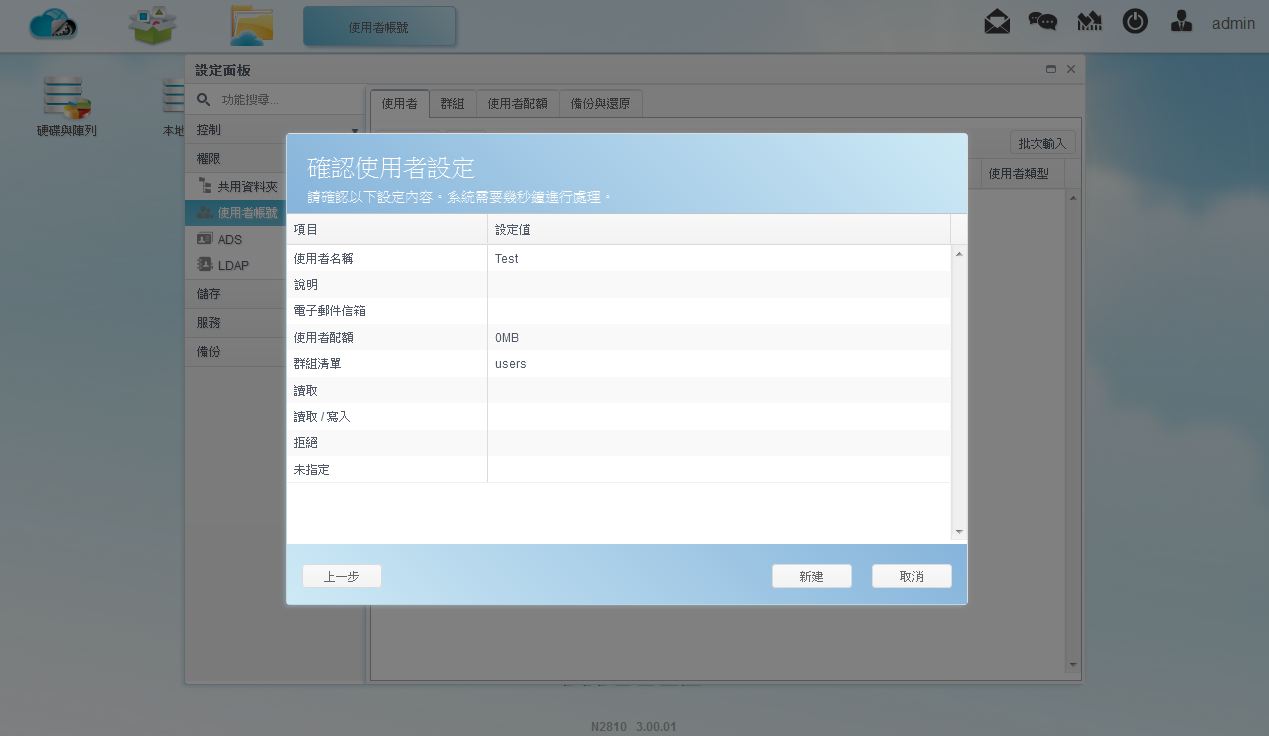
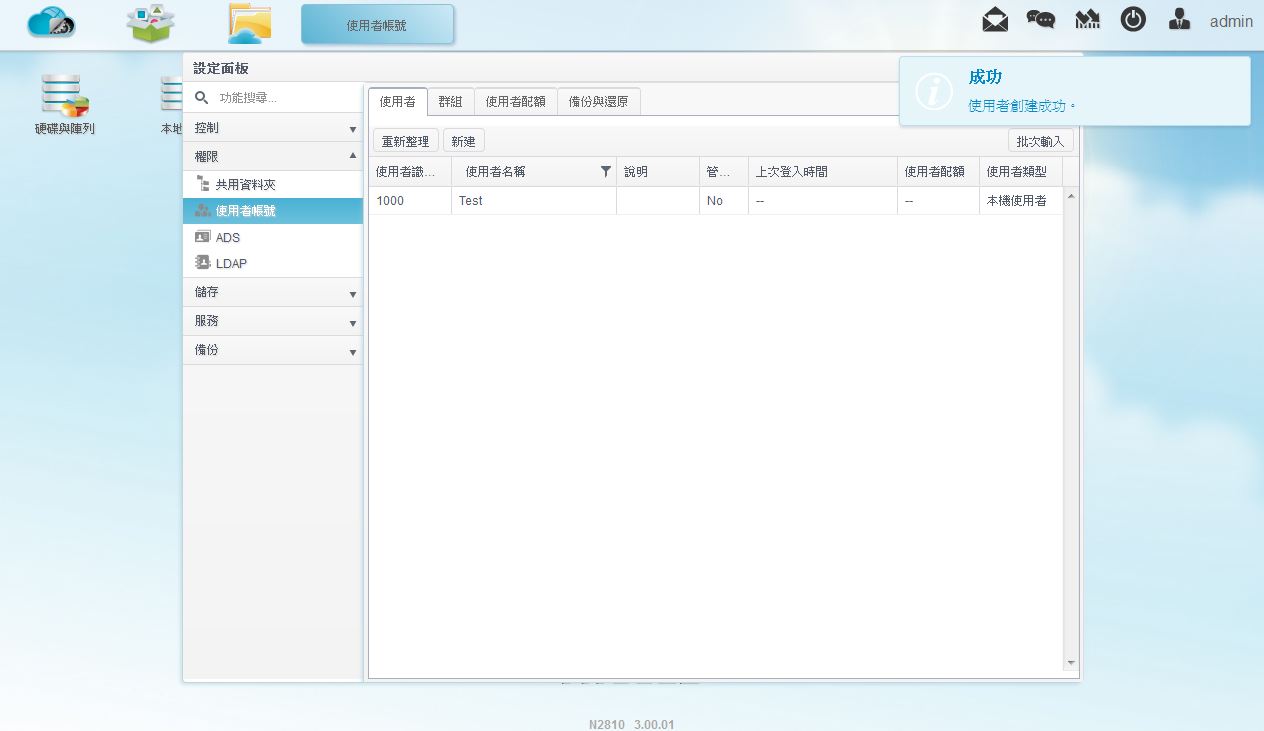
▼使用者帐号-使用者:可新增修改使用者,并可设定使用者权限

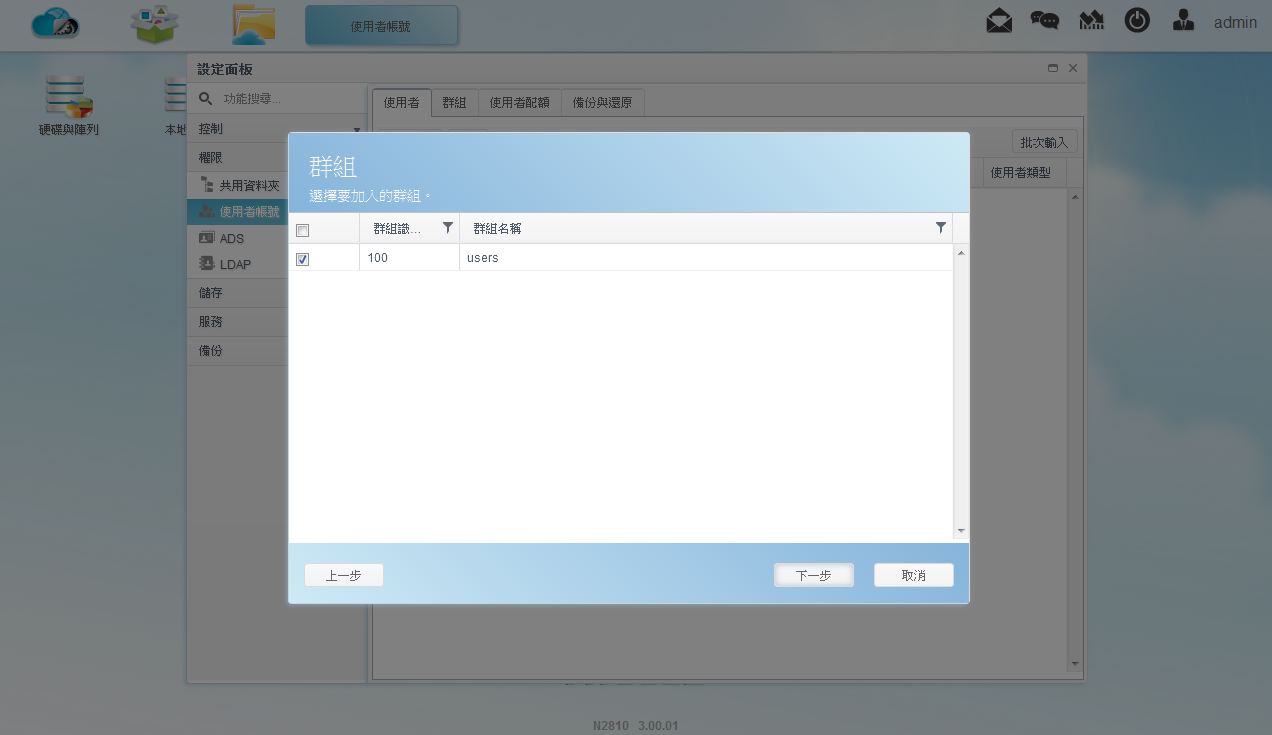
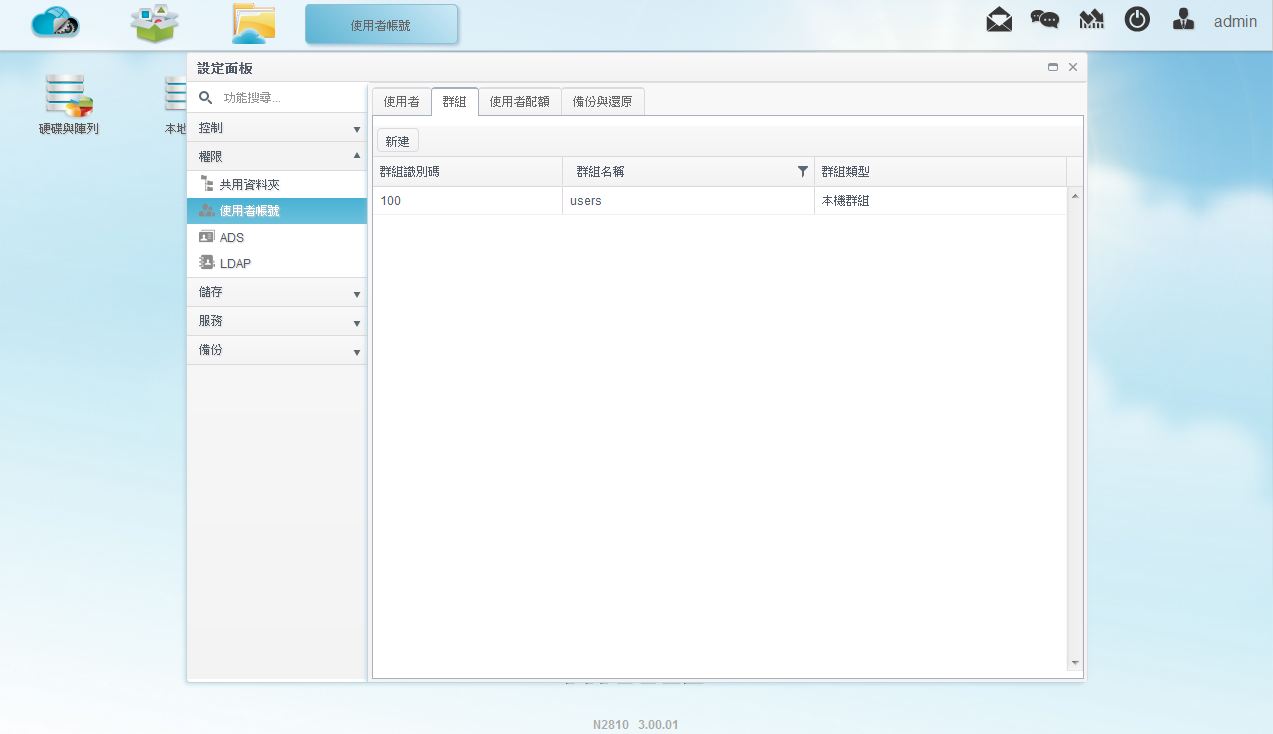
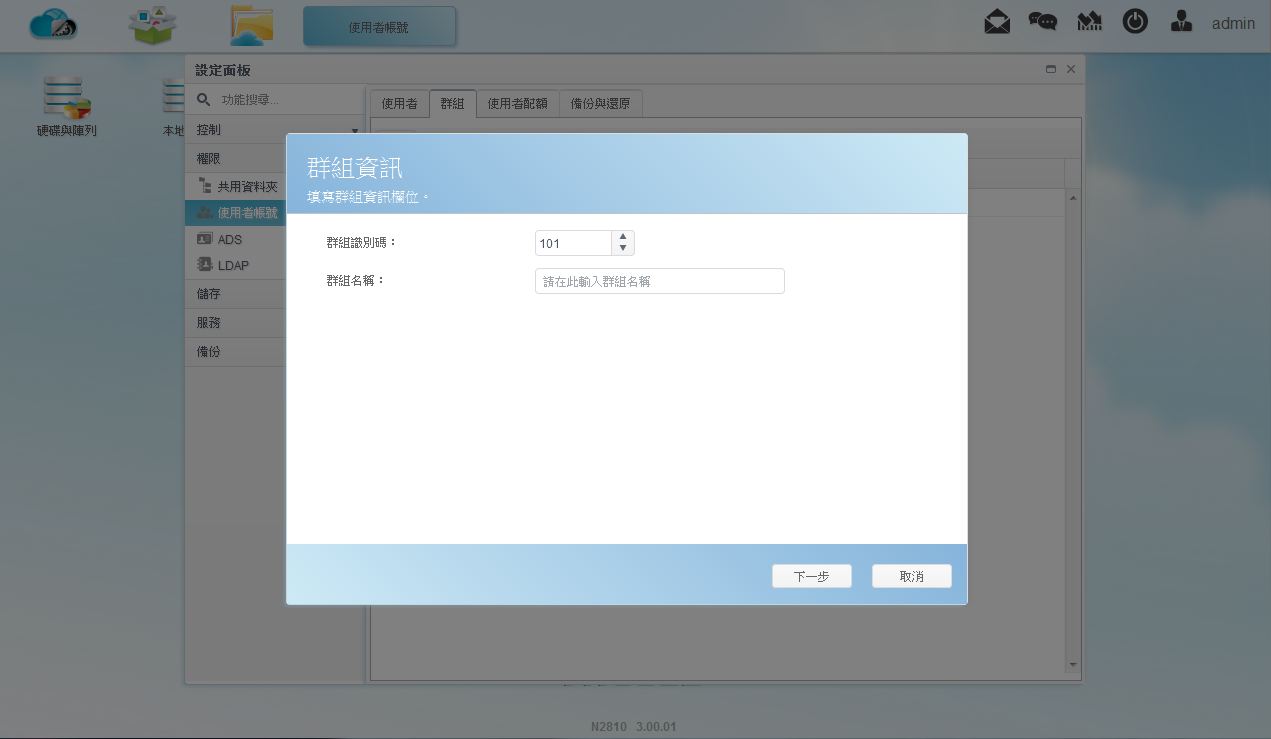
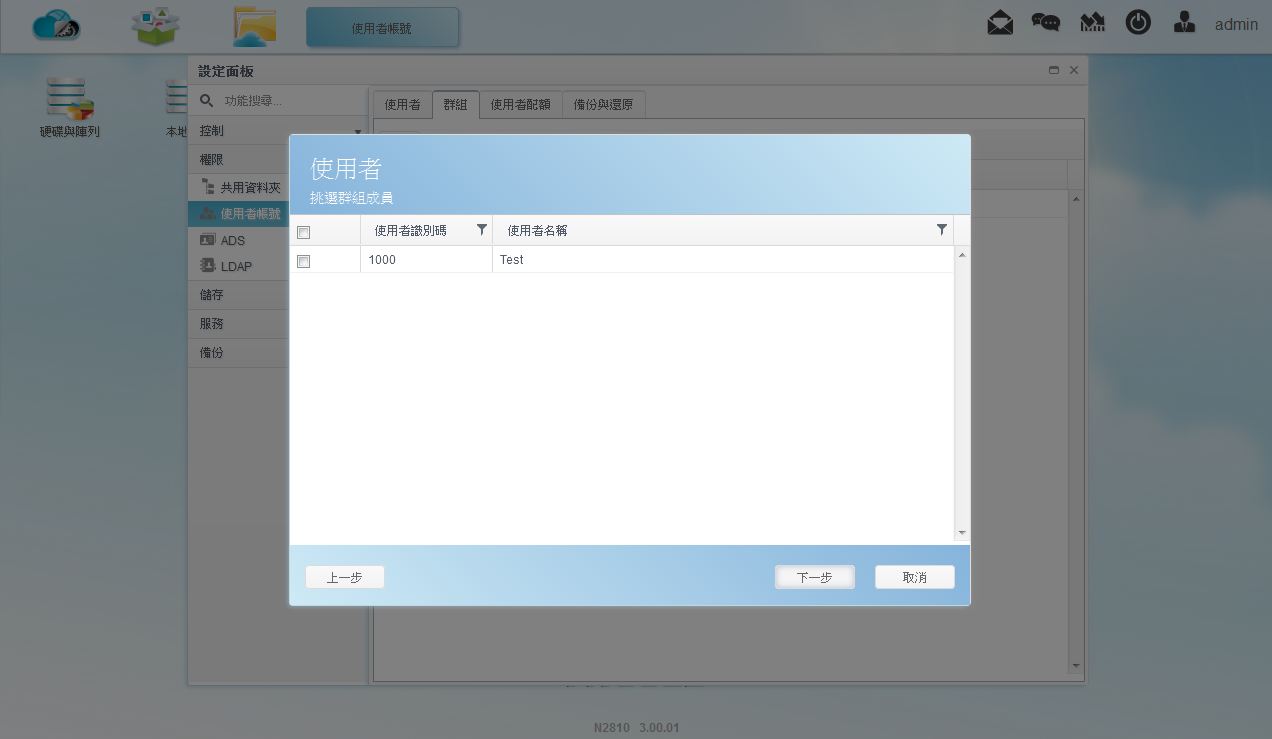
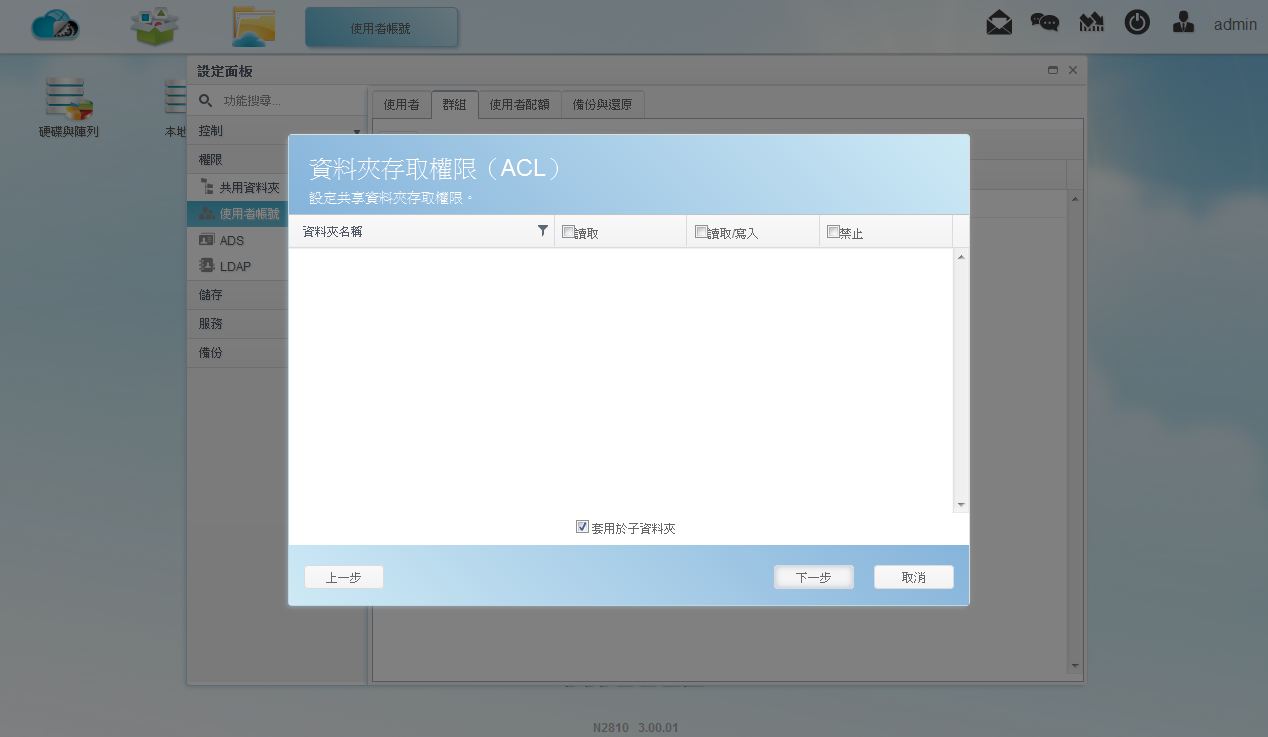
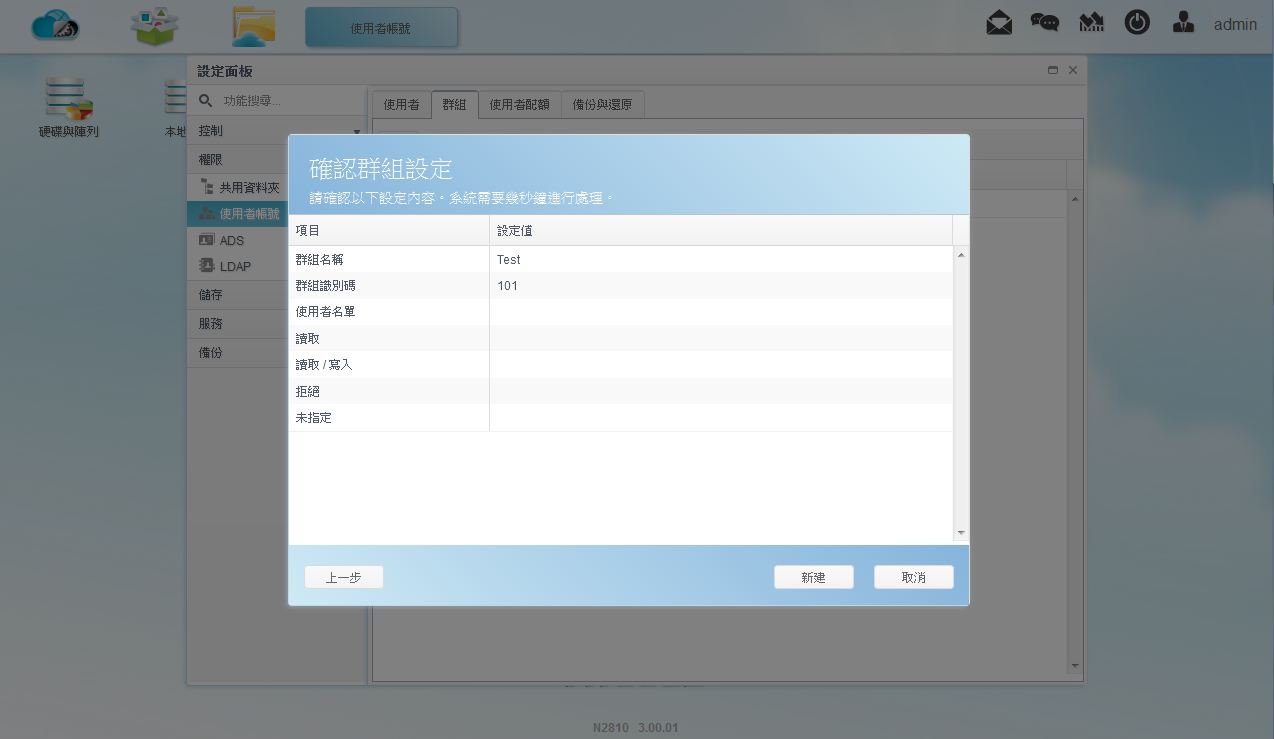
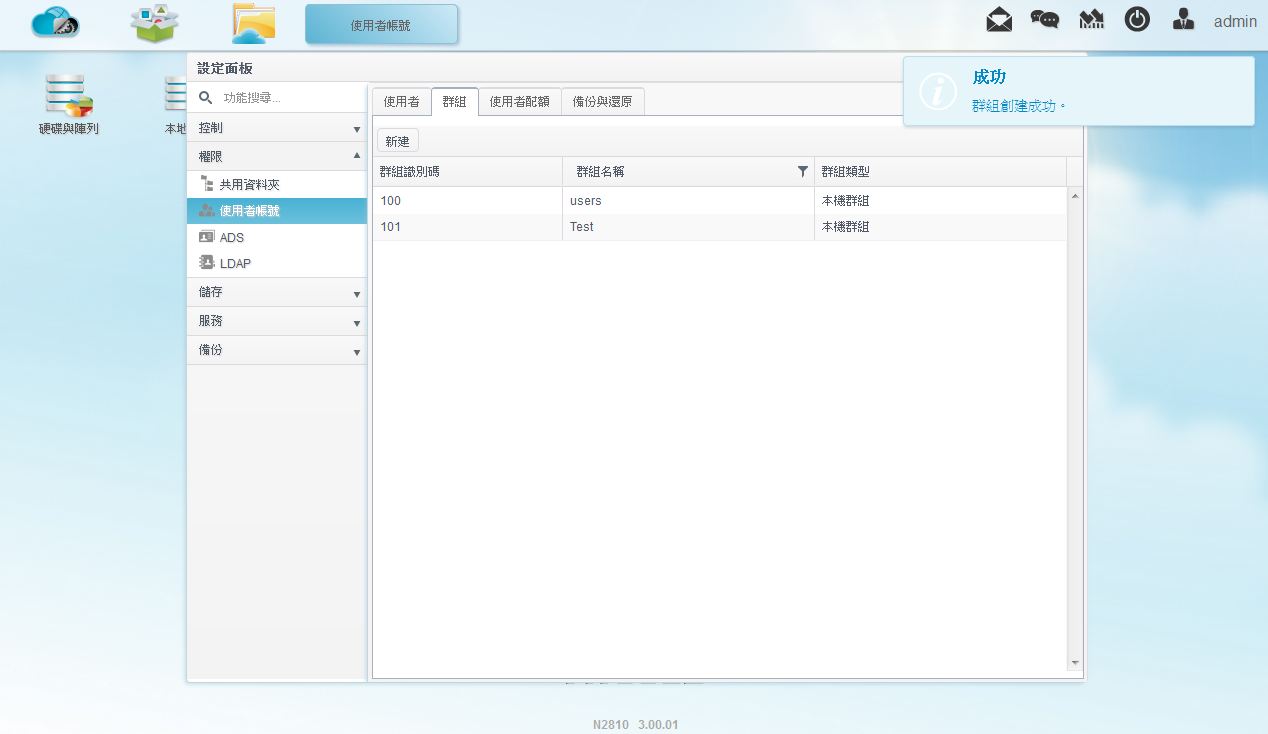
▼使用者帐号-群组:可新增修改群组,并可设定群组权限
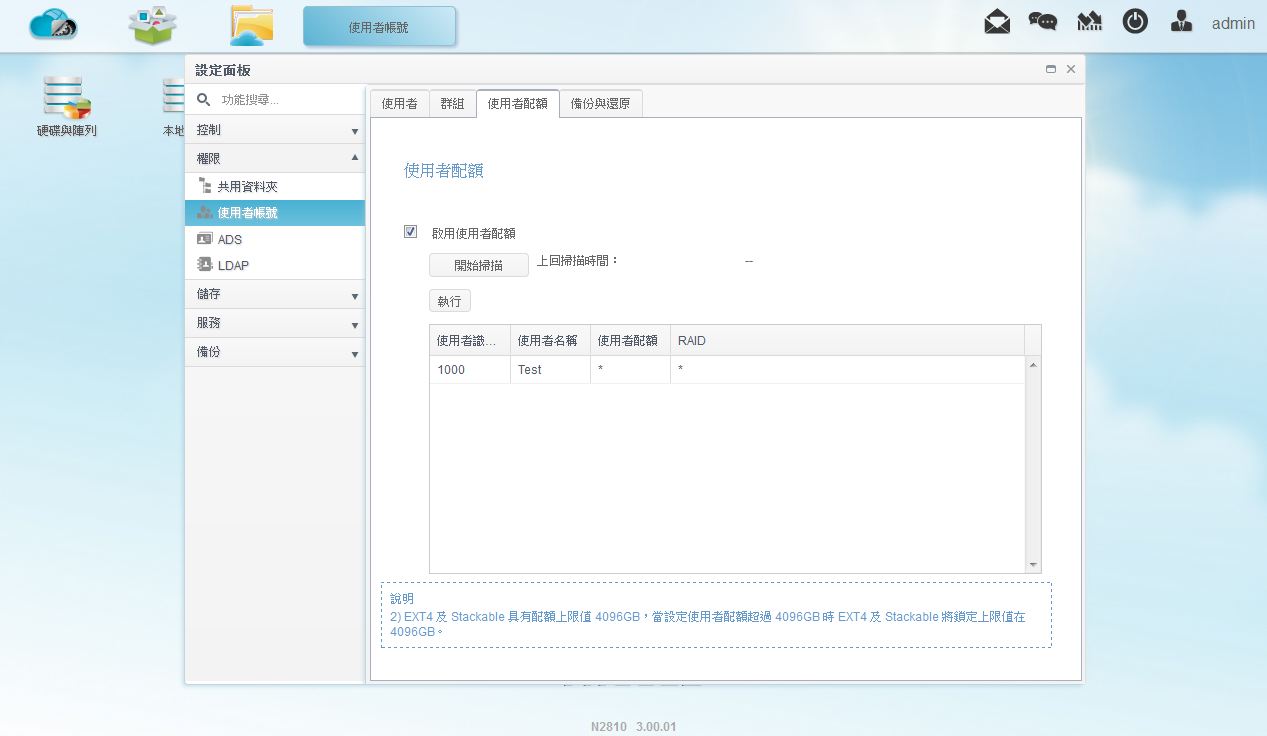
▼使用者帐号-使用者配额:可设定使用者的容量配额
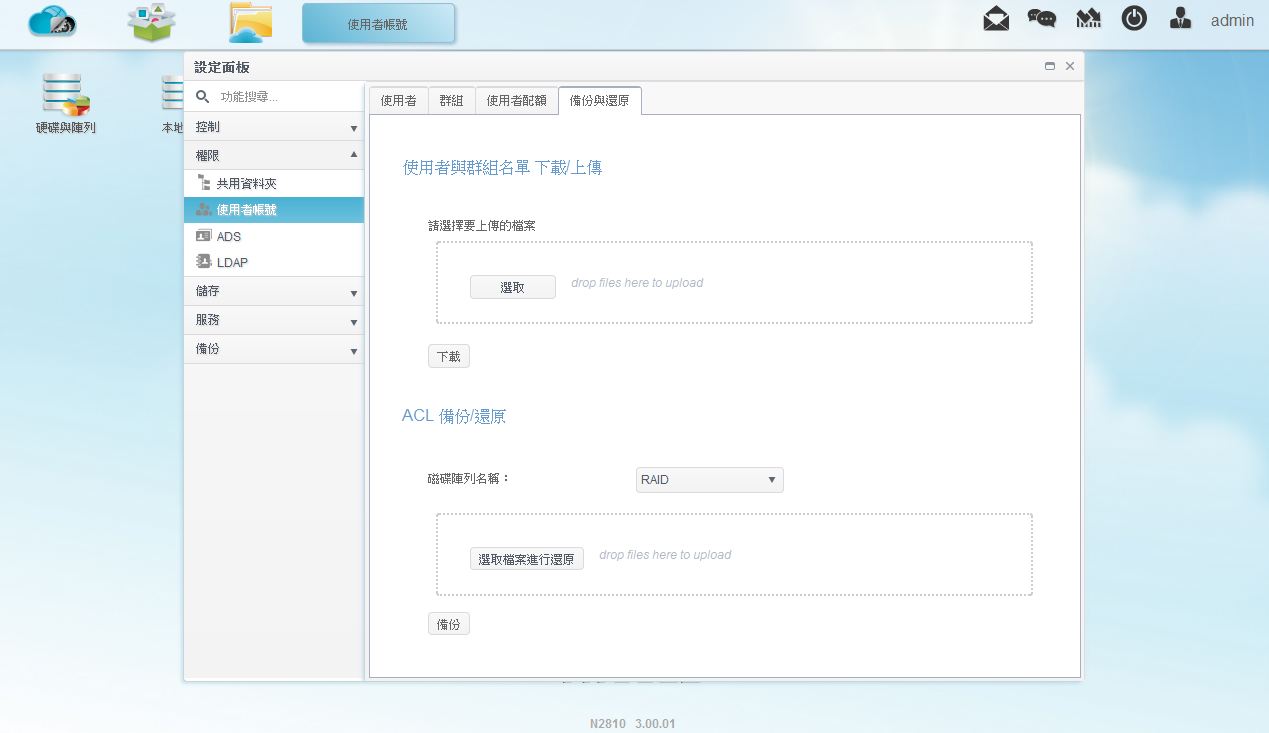
▼使用者帐号-备份与还原:可备份与还原使用者/群组资料
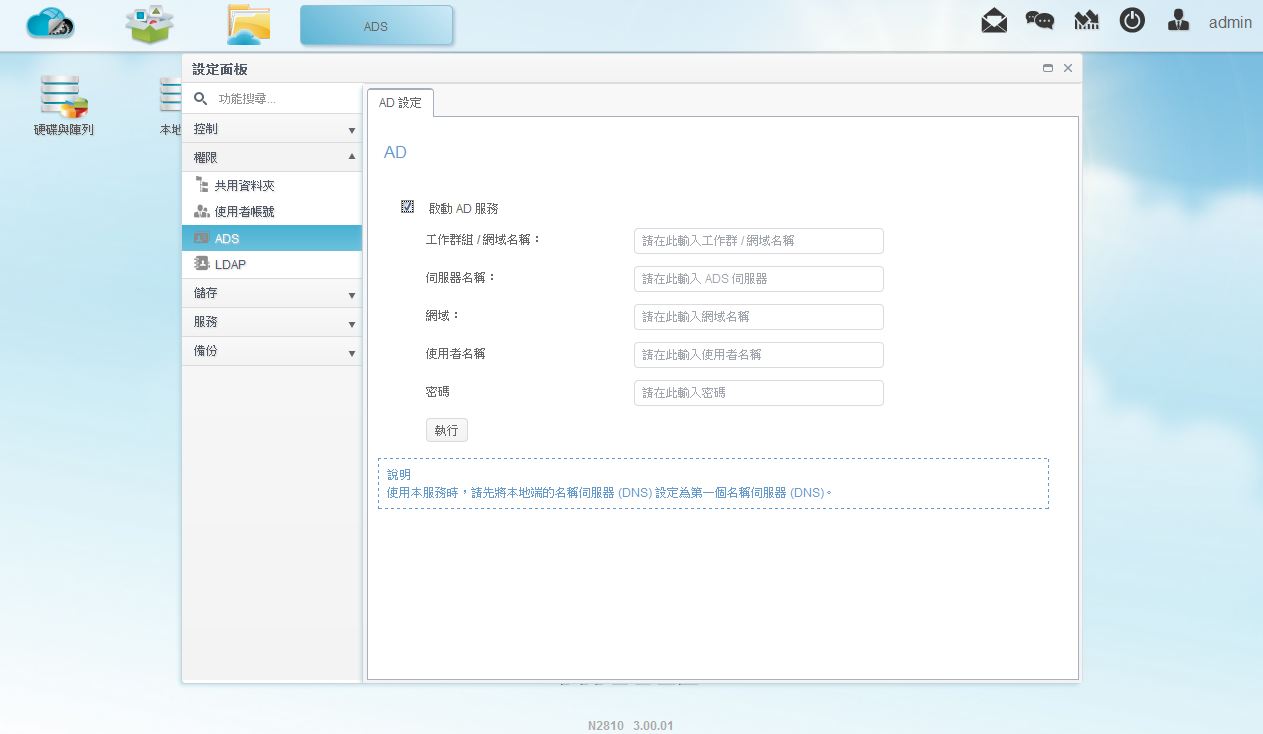
▼使用者帐号-ADS:可设定是否开启Active Directory服务
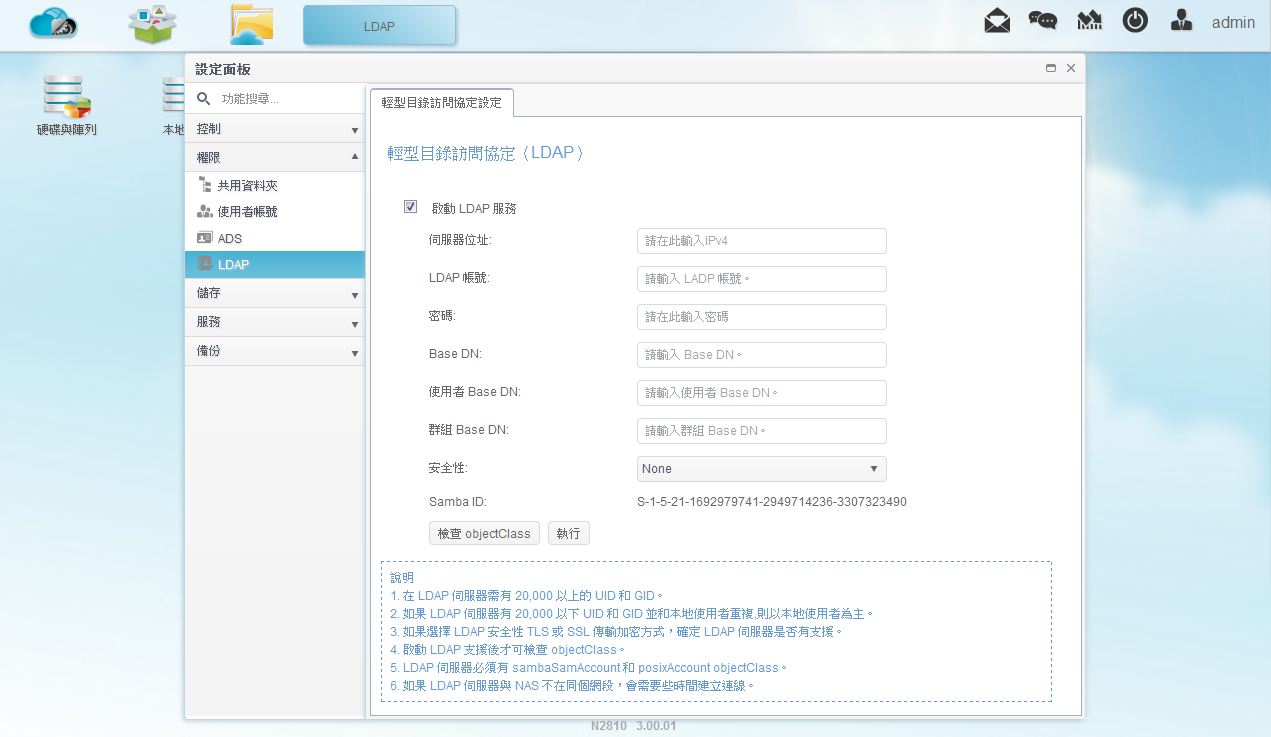
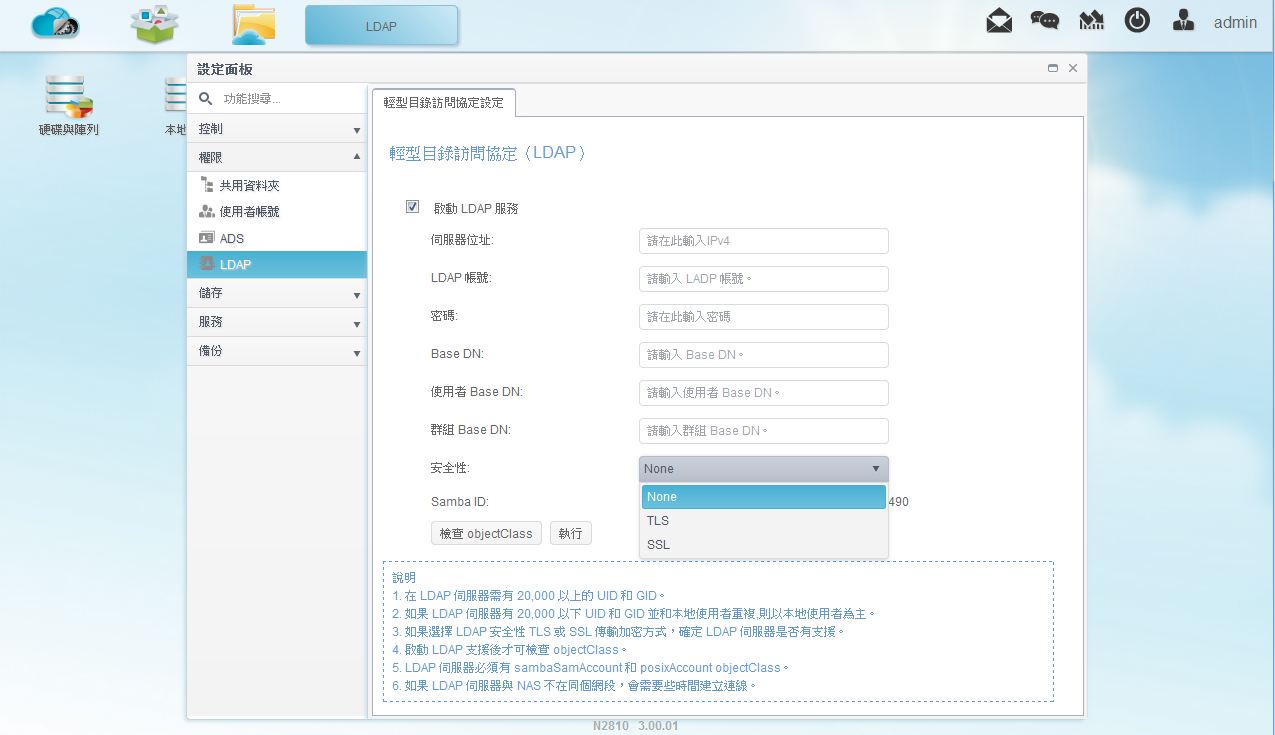
▼使用者帐号-LDAP:可设定是否开启LDAP服务
 储存
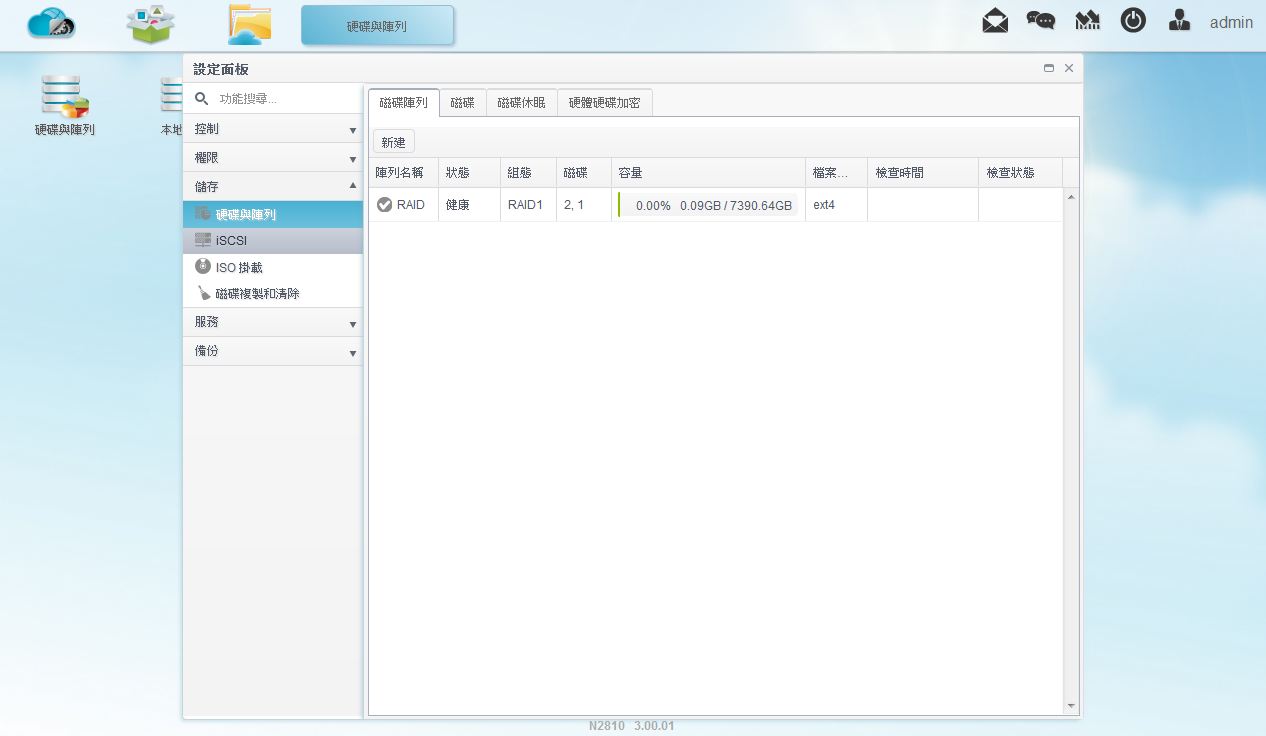
储存▼硬碟与阵列-磁碟阵列:可查看目前磁碟阵列状态与新增磁碟阵列
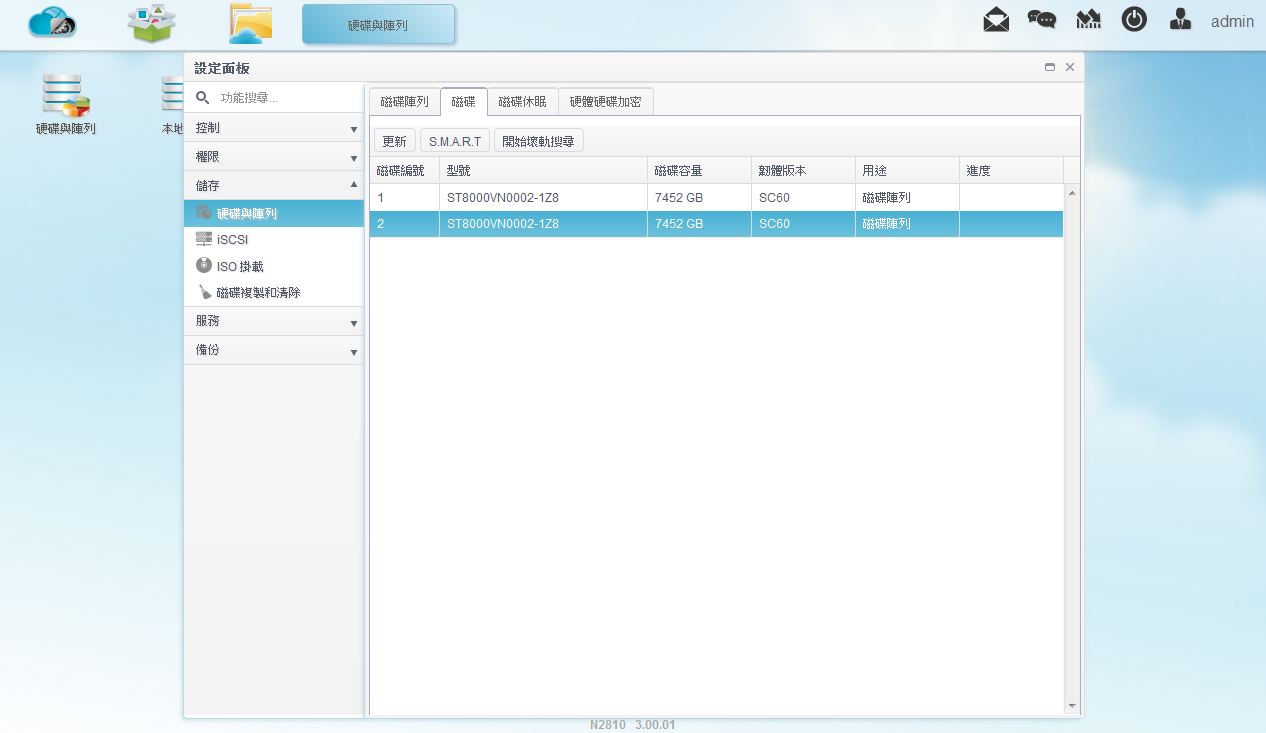
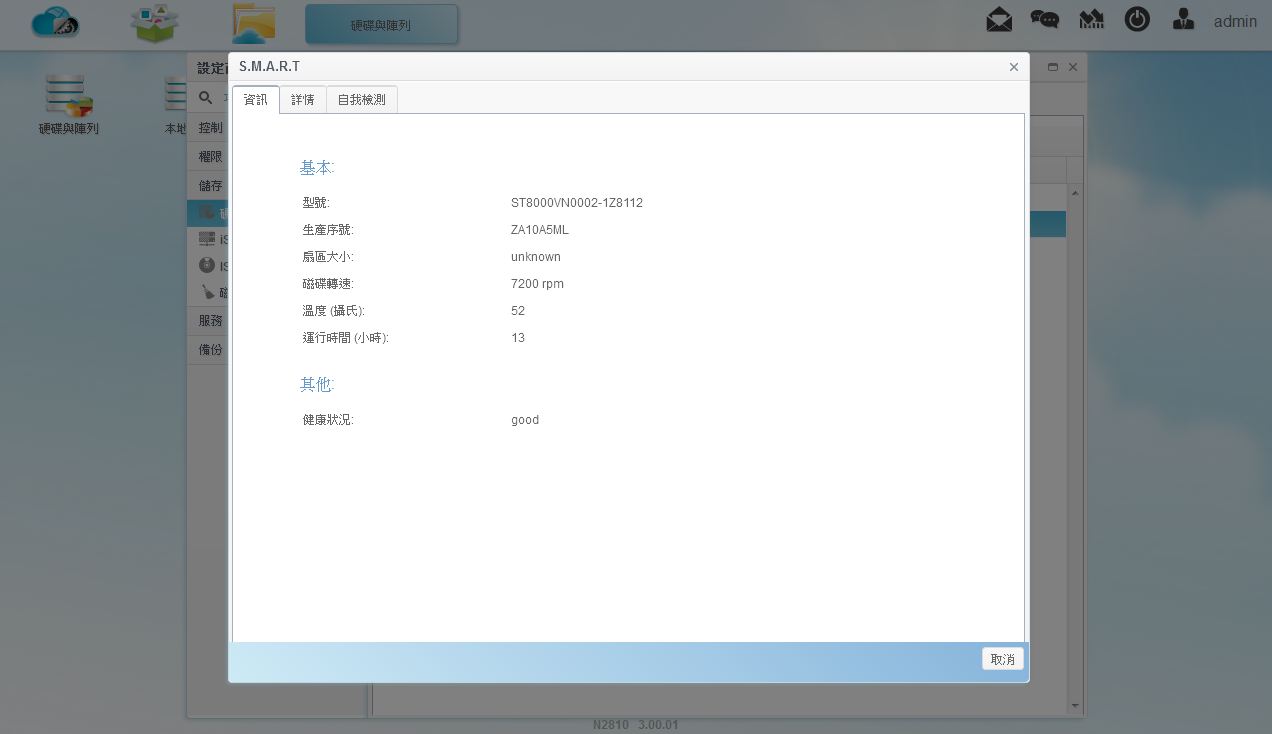
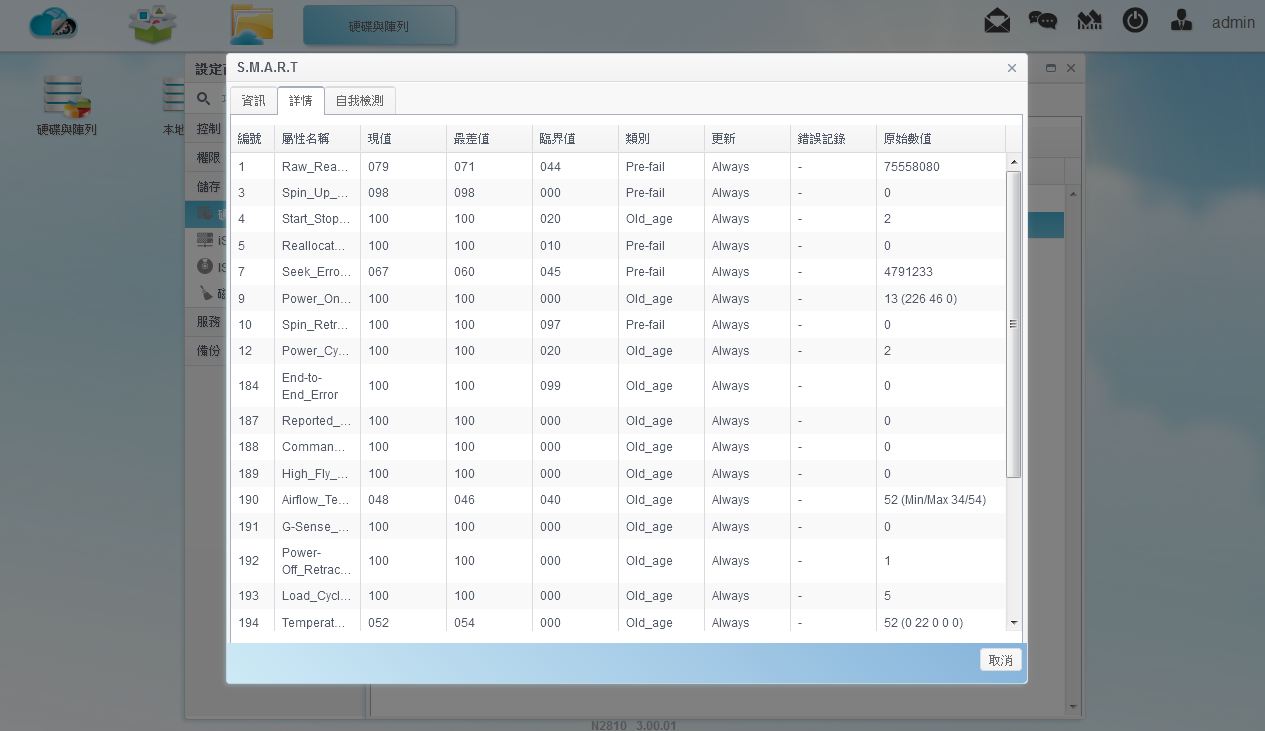
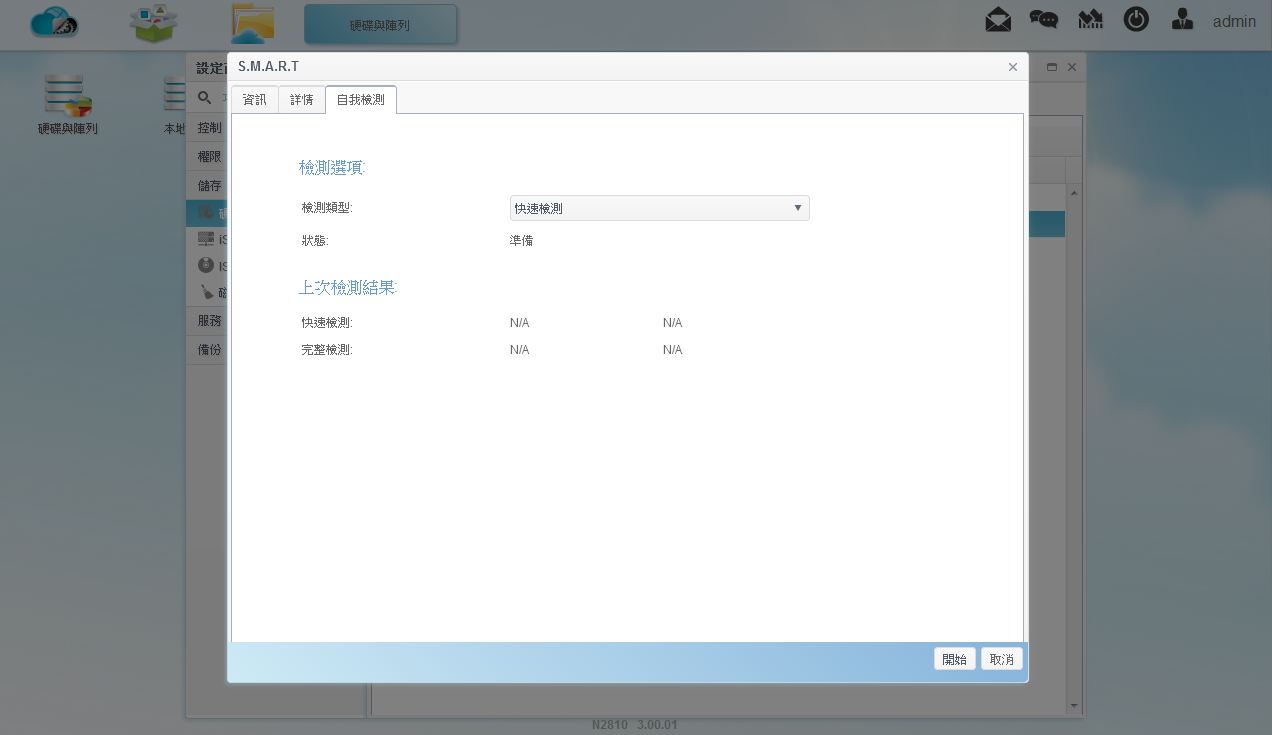
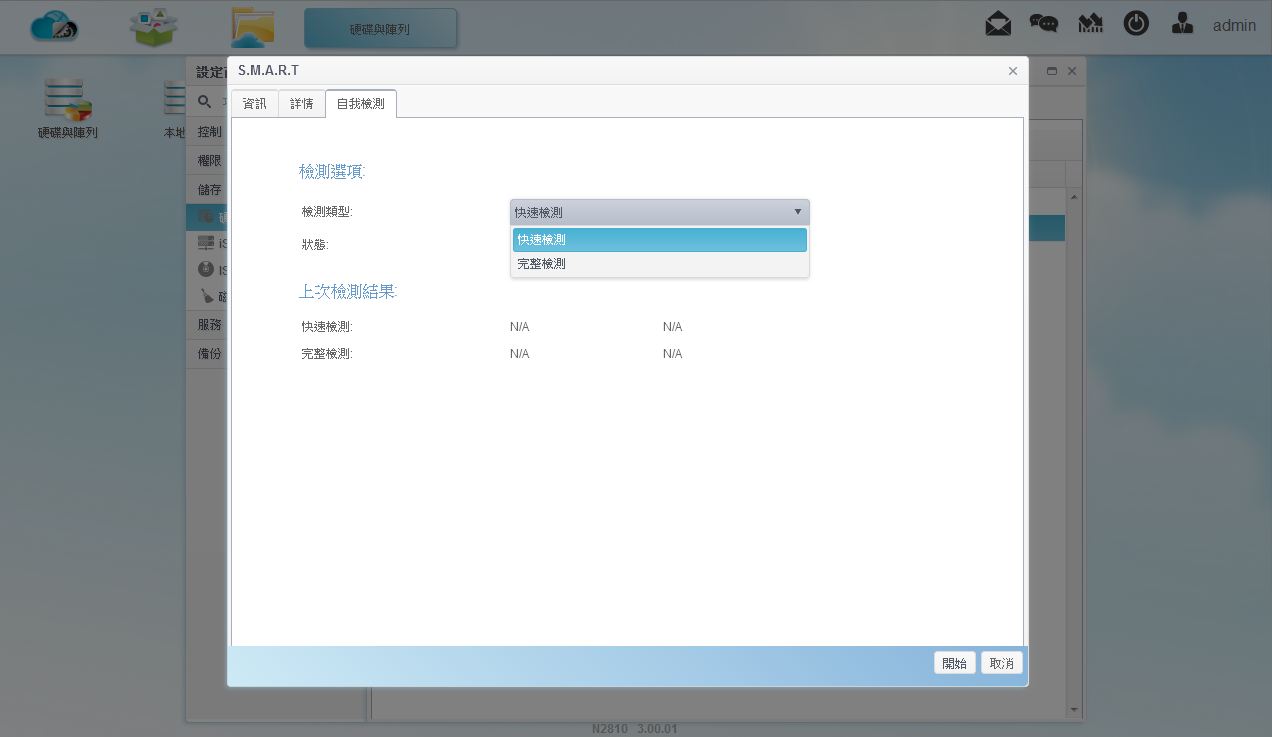
▼硬碟与阵列-磁碟:可查看目前硬碟的型号、容量、韧体版本,还可查看硬碟SMART资料与硬碟坏轨检测
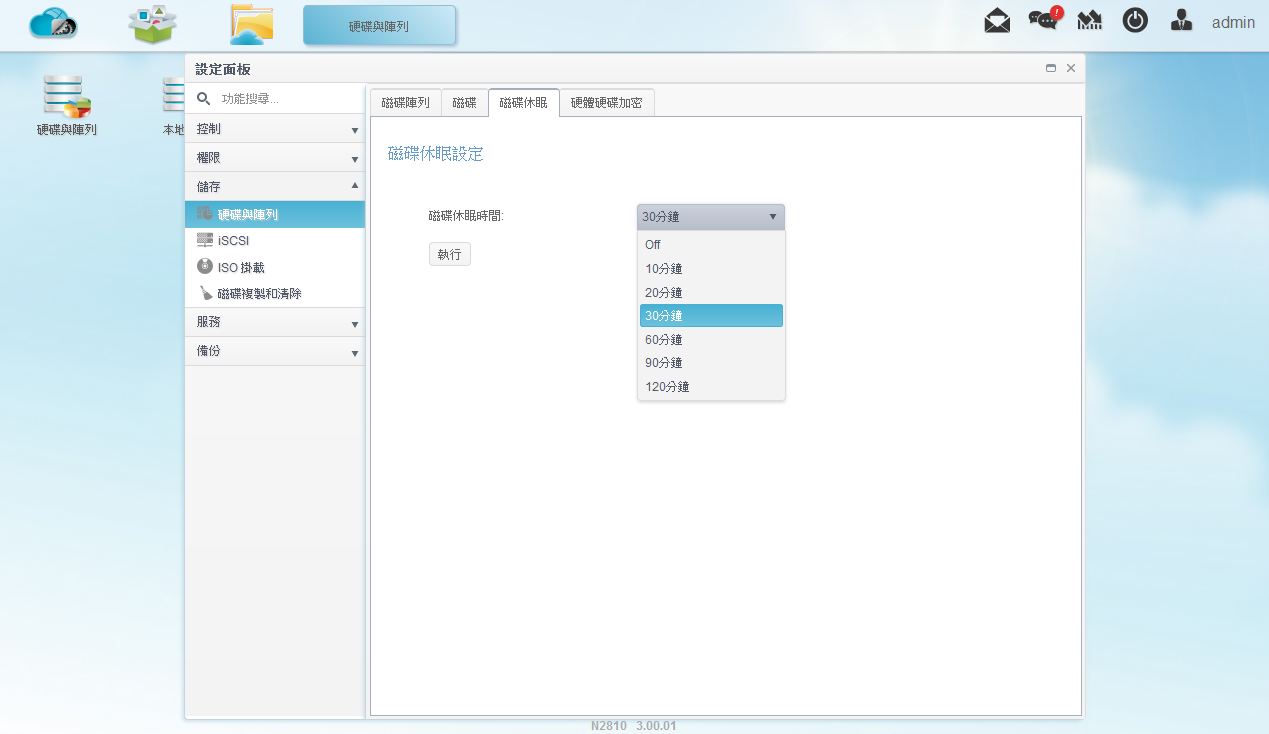
▼硬碟与阵列-磁碟休眠:可设定硬碟休眠时间
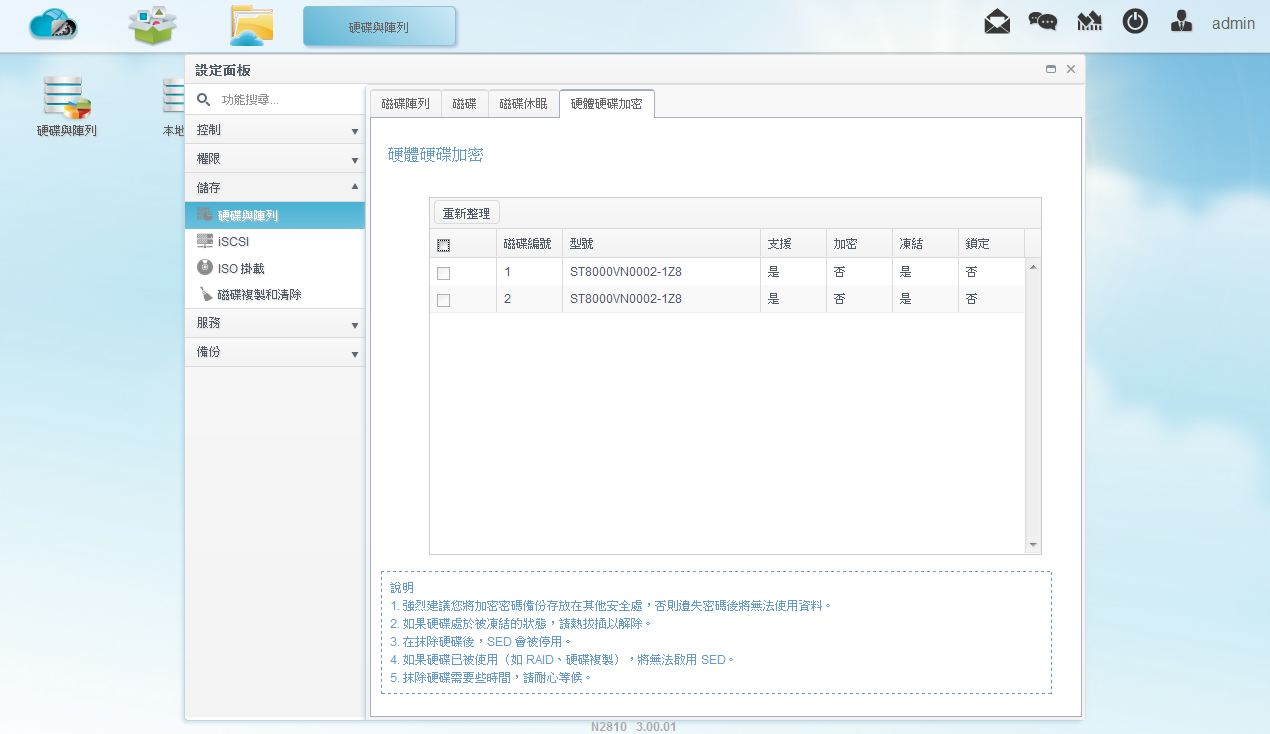
▼硬碟与阵列-硬体硬碟加密:可将硬碟做加密的动作
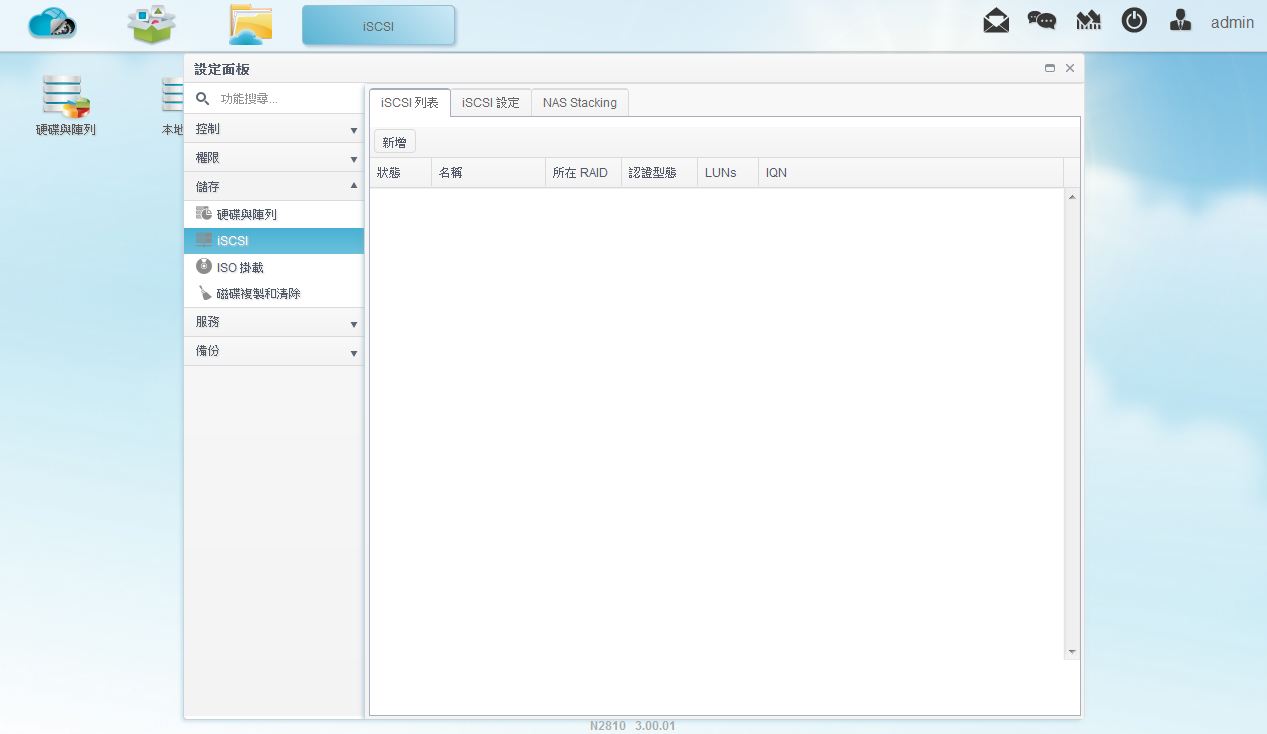
▼iSCSI-iSCSI列表:可查看目前已有的iSCSI设定,并可新增iSCSI
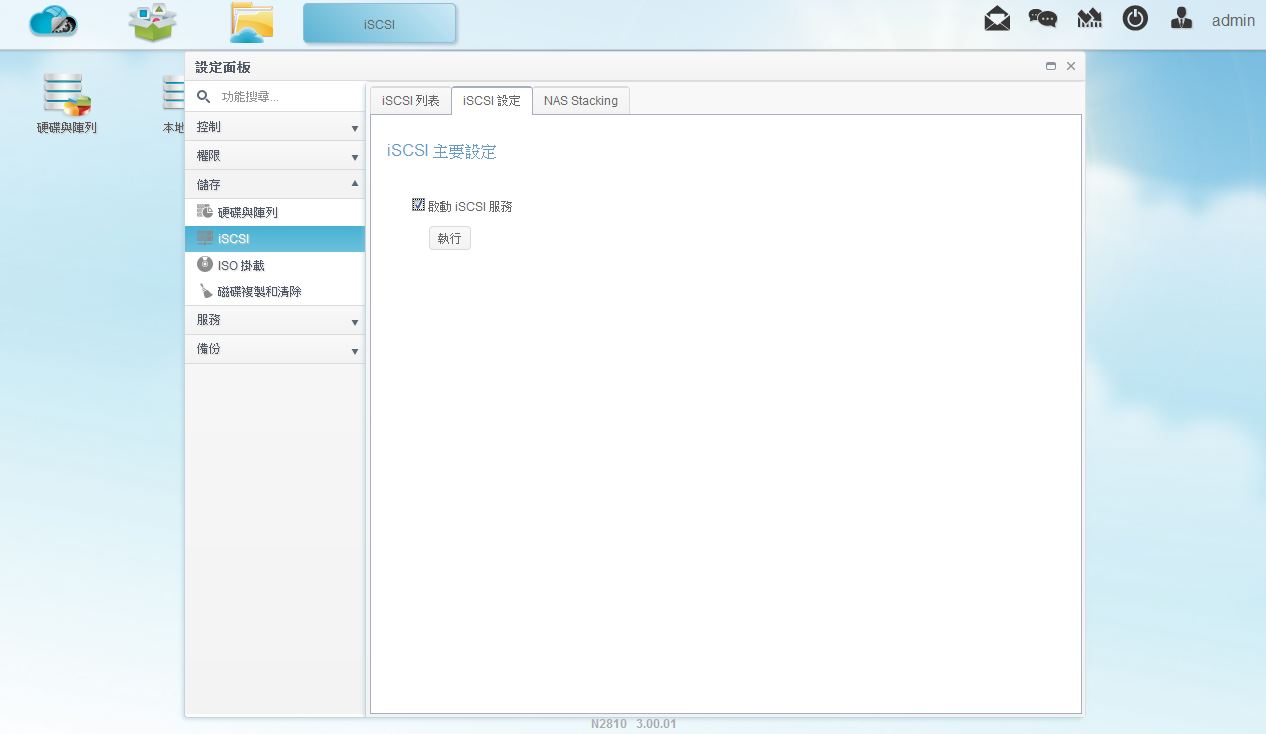
▼iSCSI-iSCSI设定:设定是否开启iSCSI功能
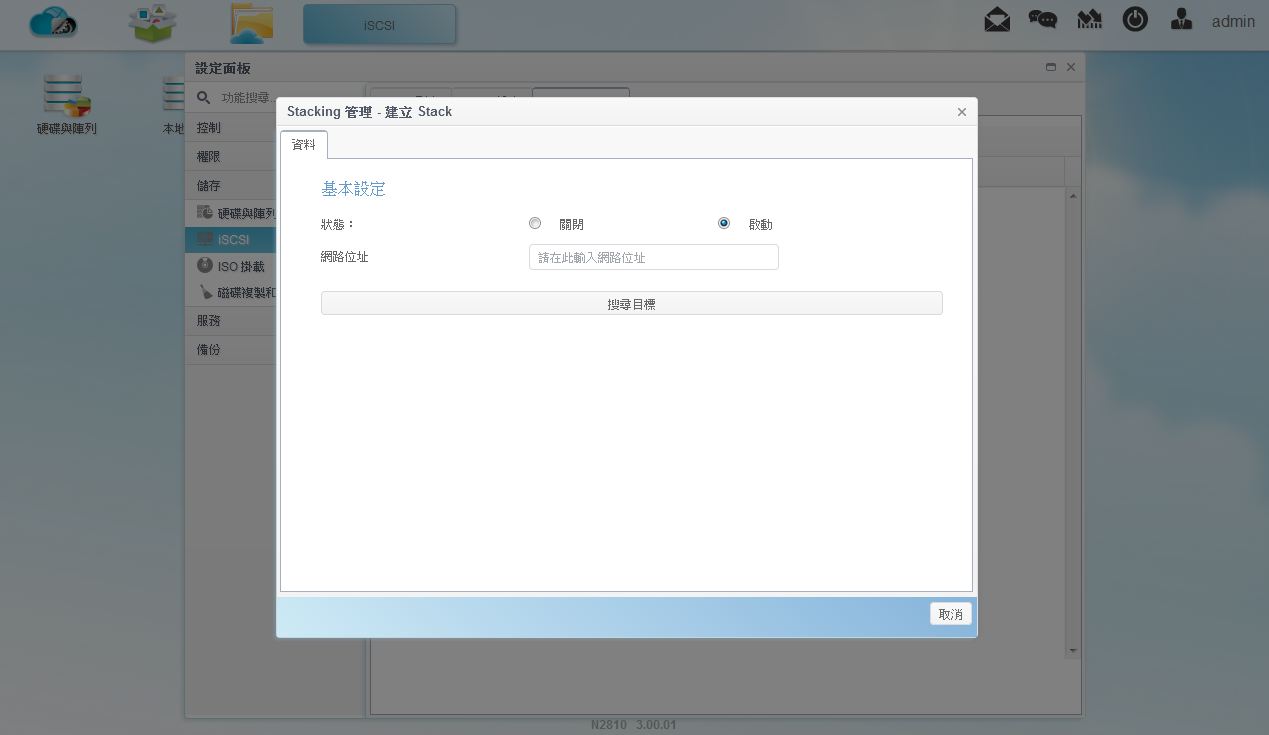
▼iSCSI-NAS stacking:可新增是否开启NAS stacking功能

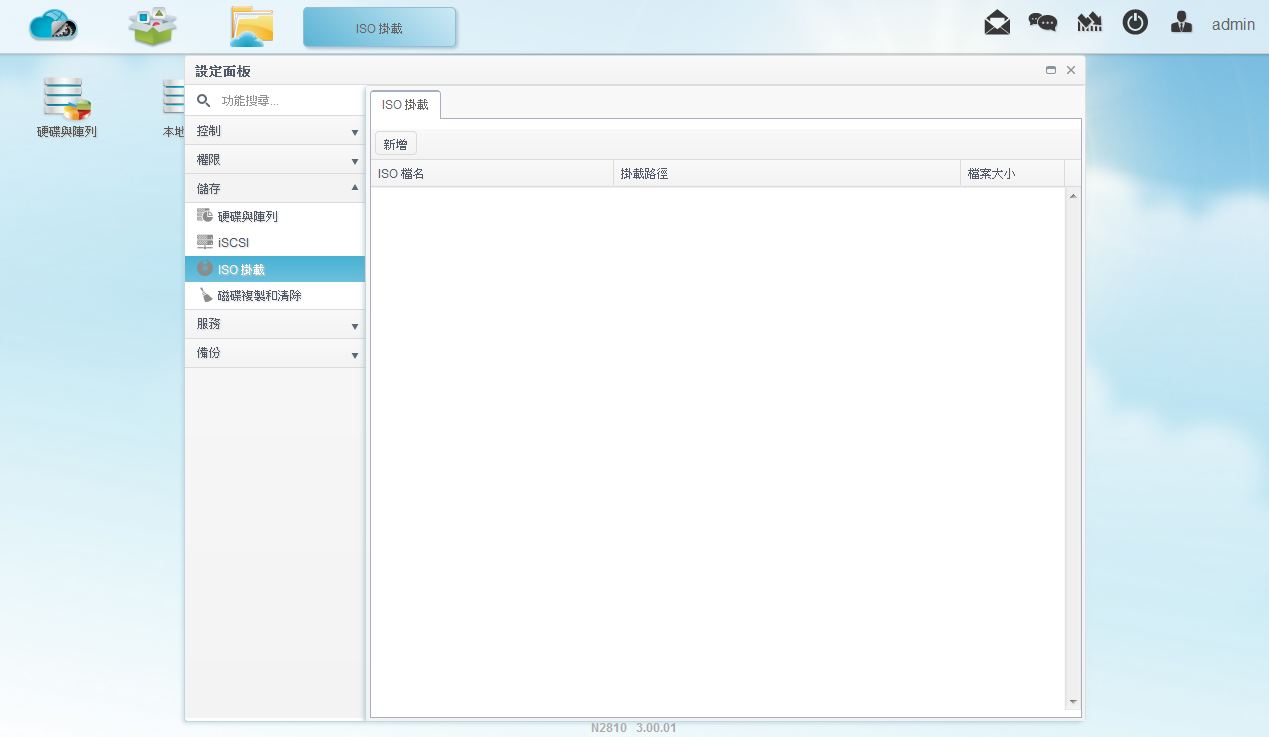
▼ISO挂载:可挂载NAS内的ISO档案,让使用者可直接在NAS开启ISO映像档
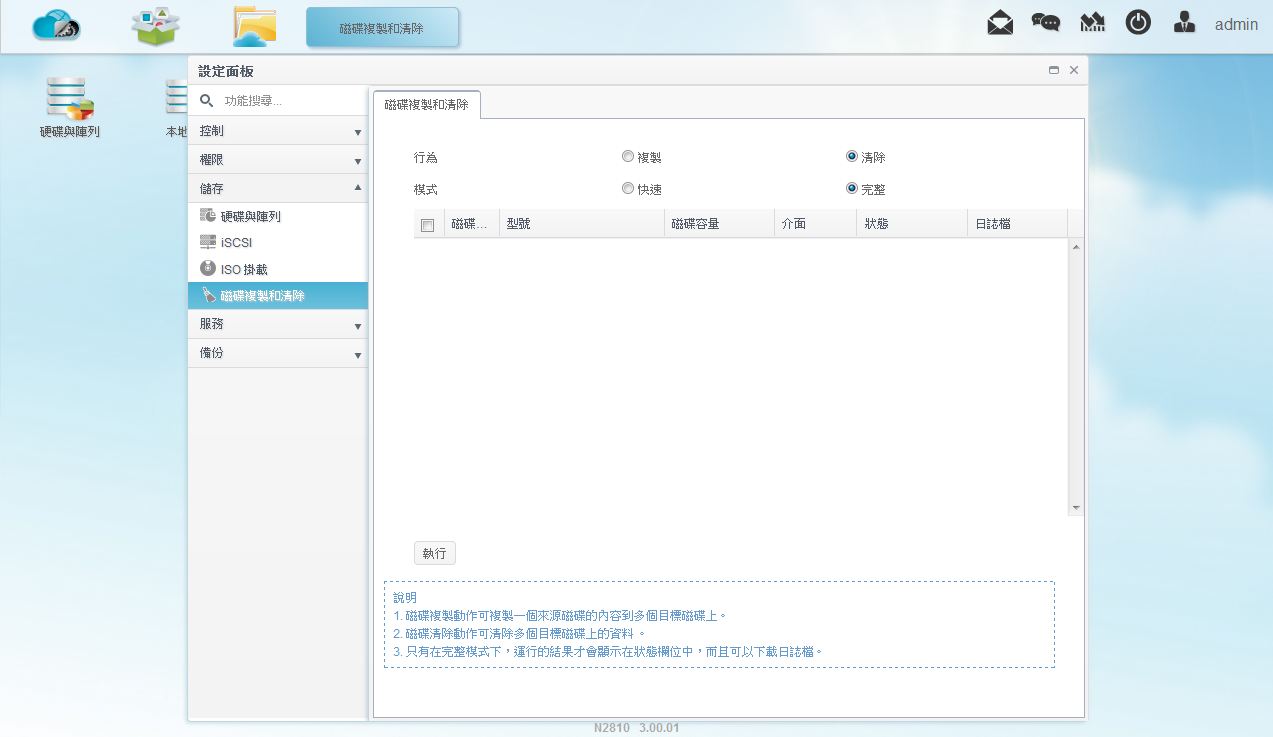
▼磁碟复制与清除:可清除与复制NAS内的硬碟资料
 服务
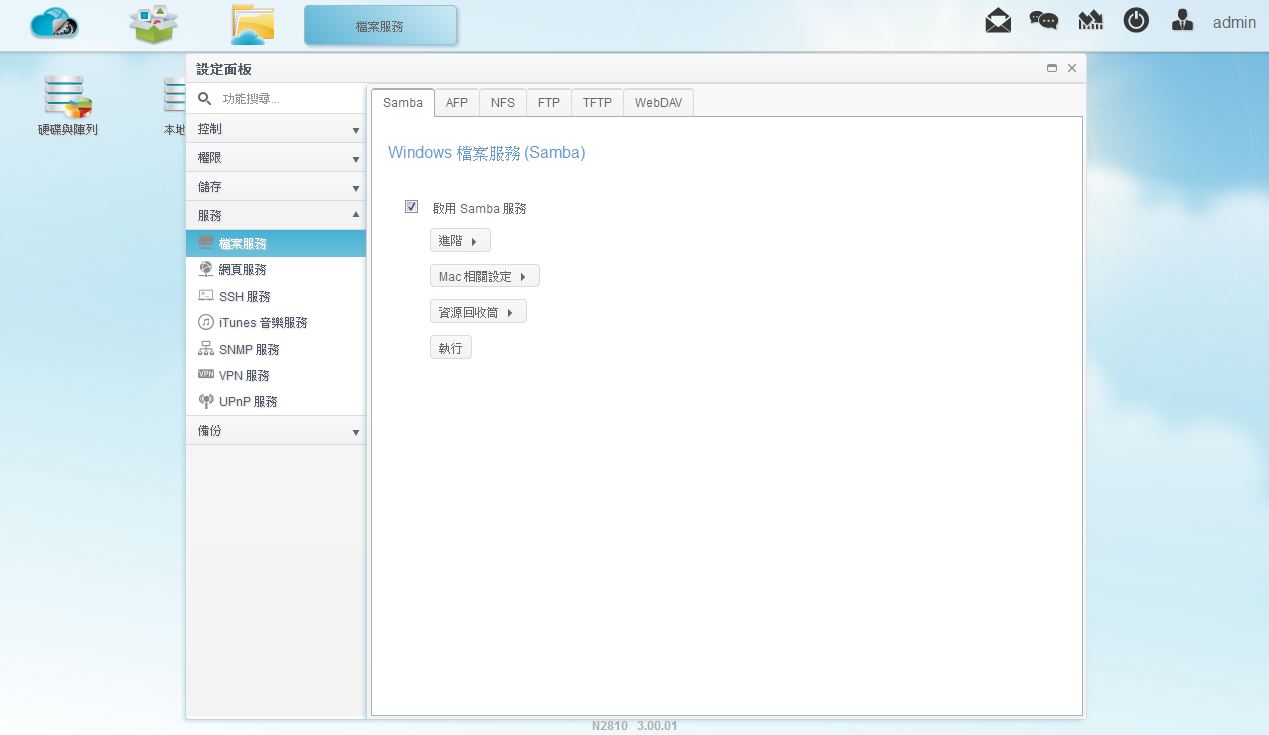
服务▼档案服务-Samba:可设定是否开启Samba服务
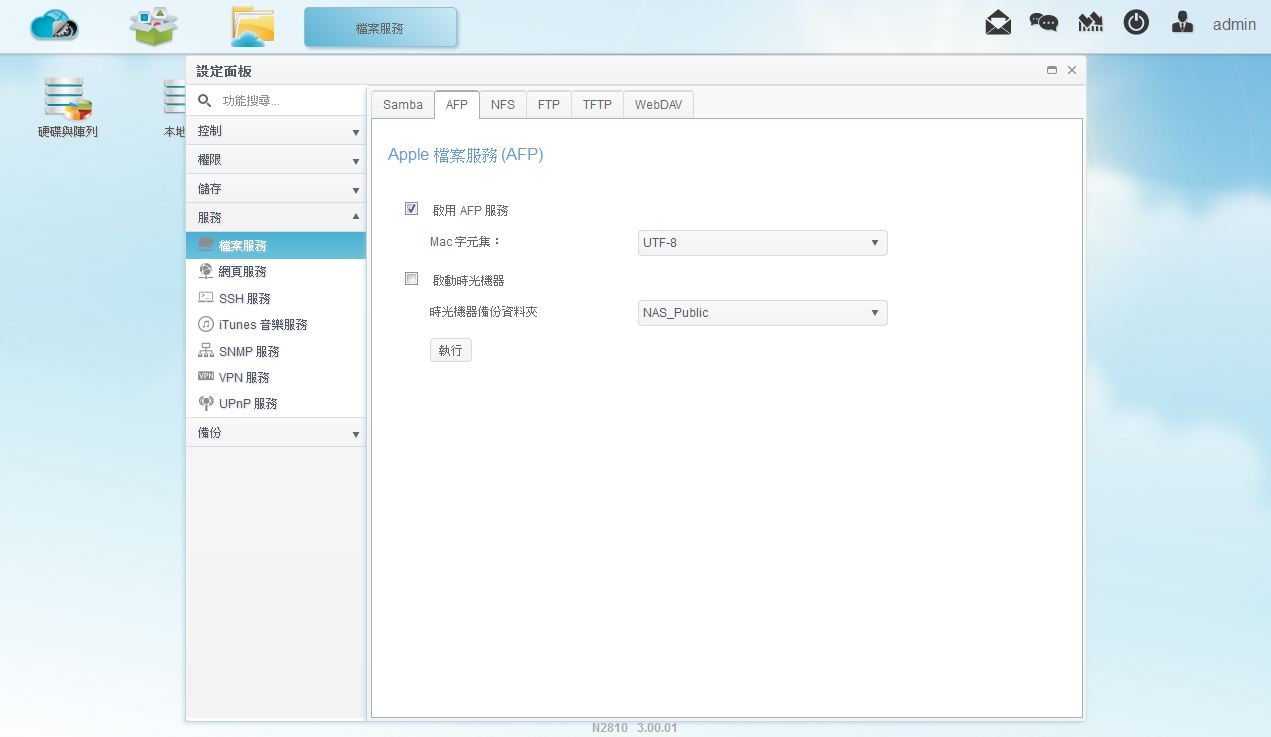
▼档案服务-AFP:可设定是否开启AFP服务
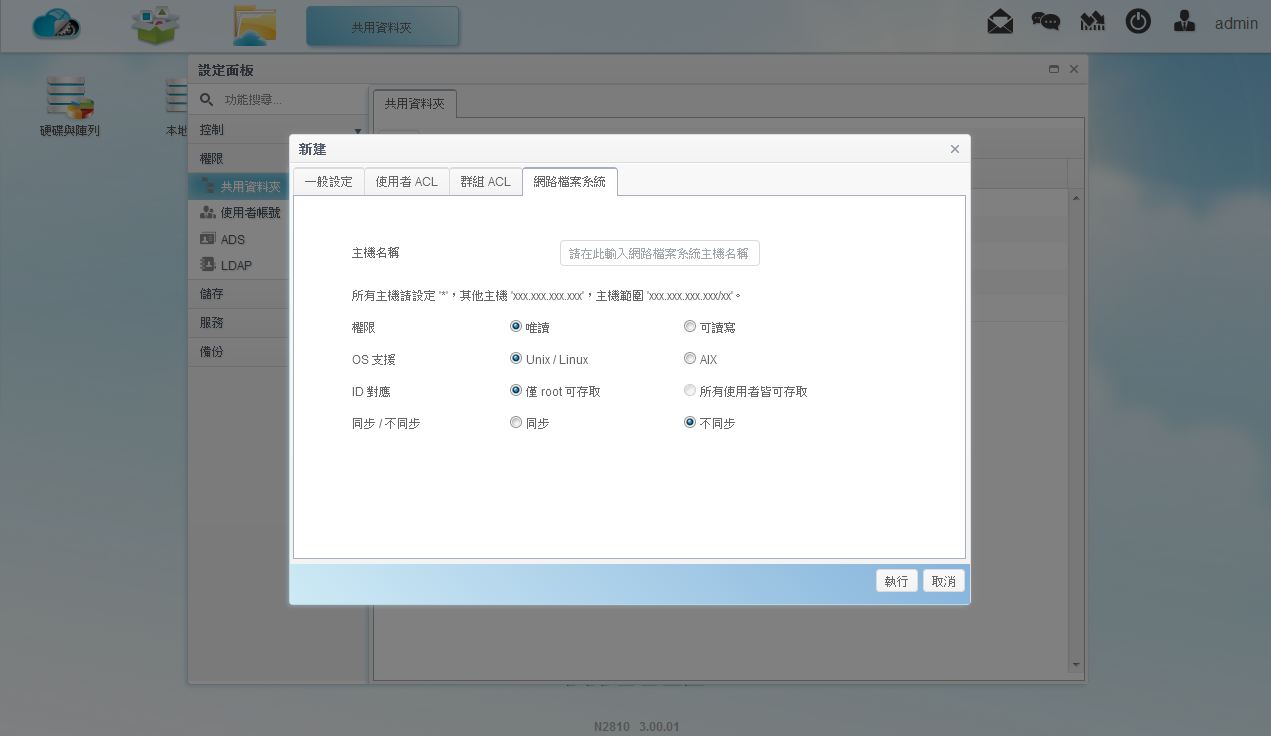
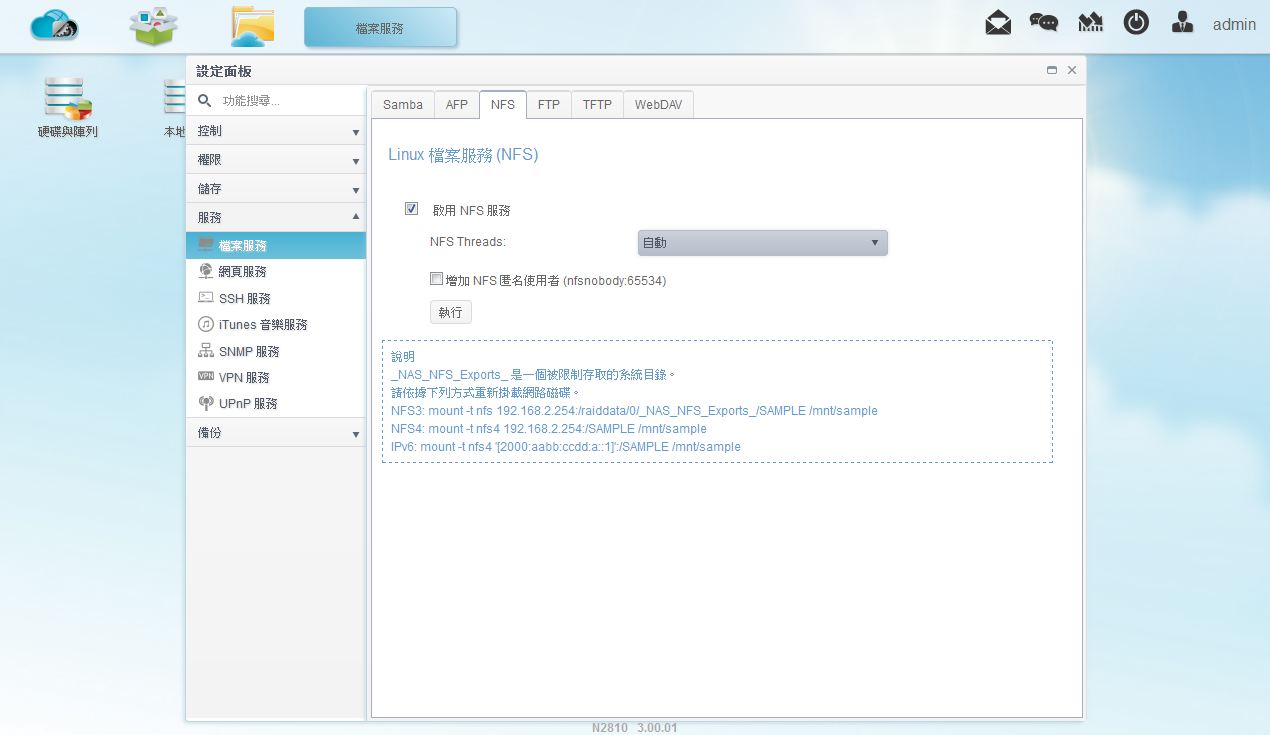
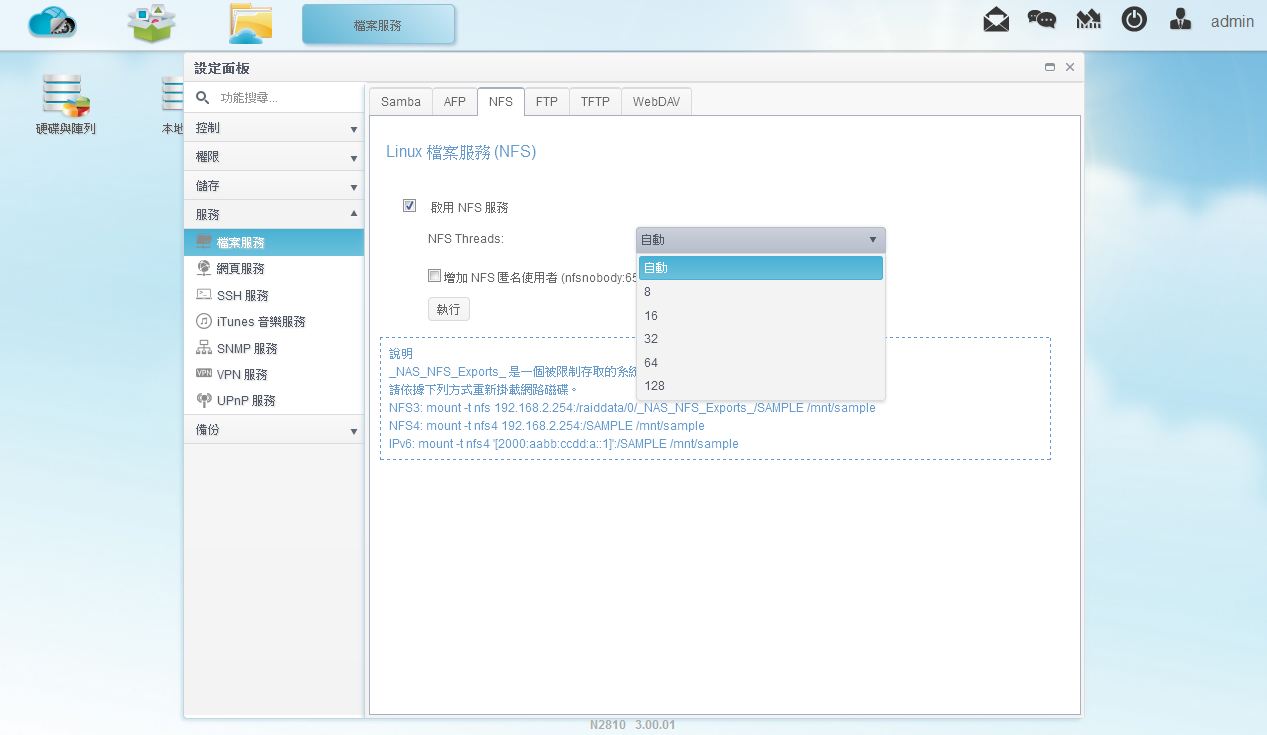
▼档案服务-NFS:可设定是否开启NFS服务
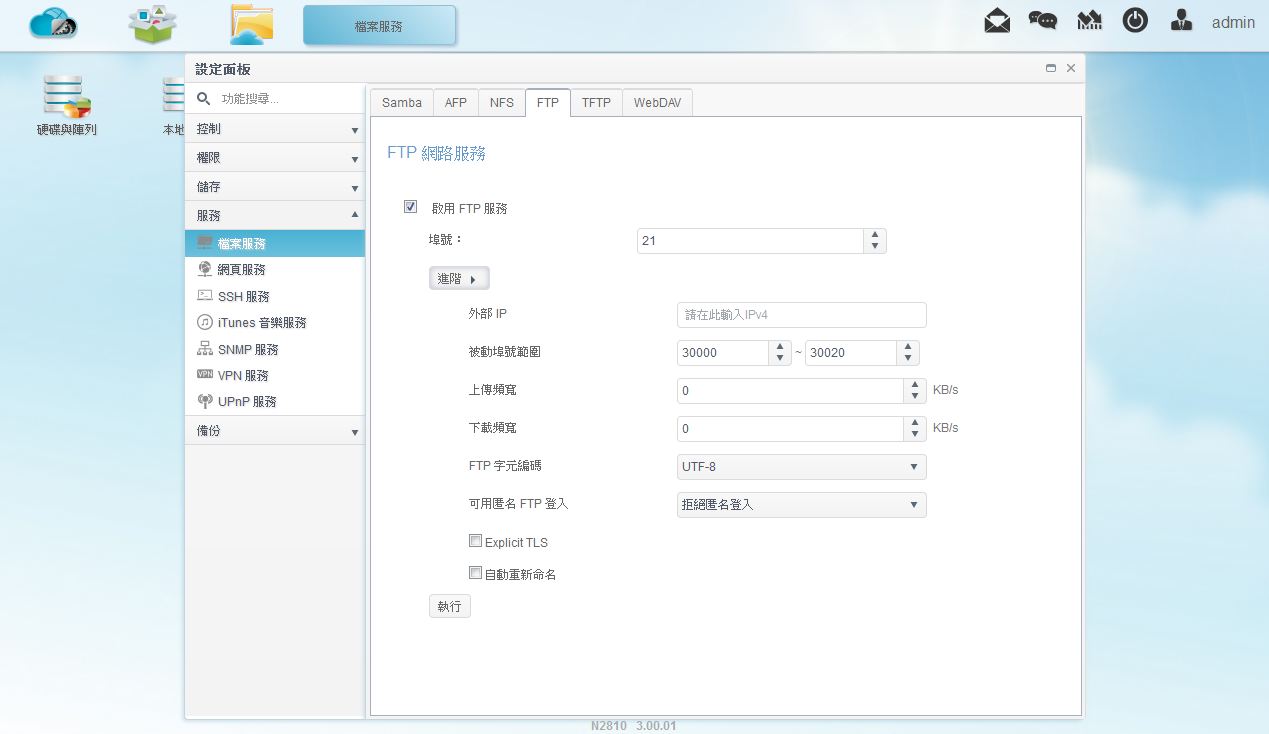
▼档案服务-FTP:可设定是否开启FTP服务
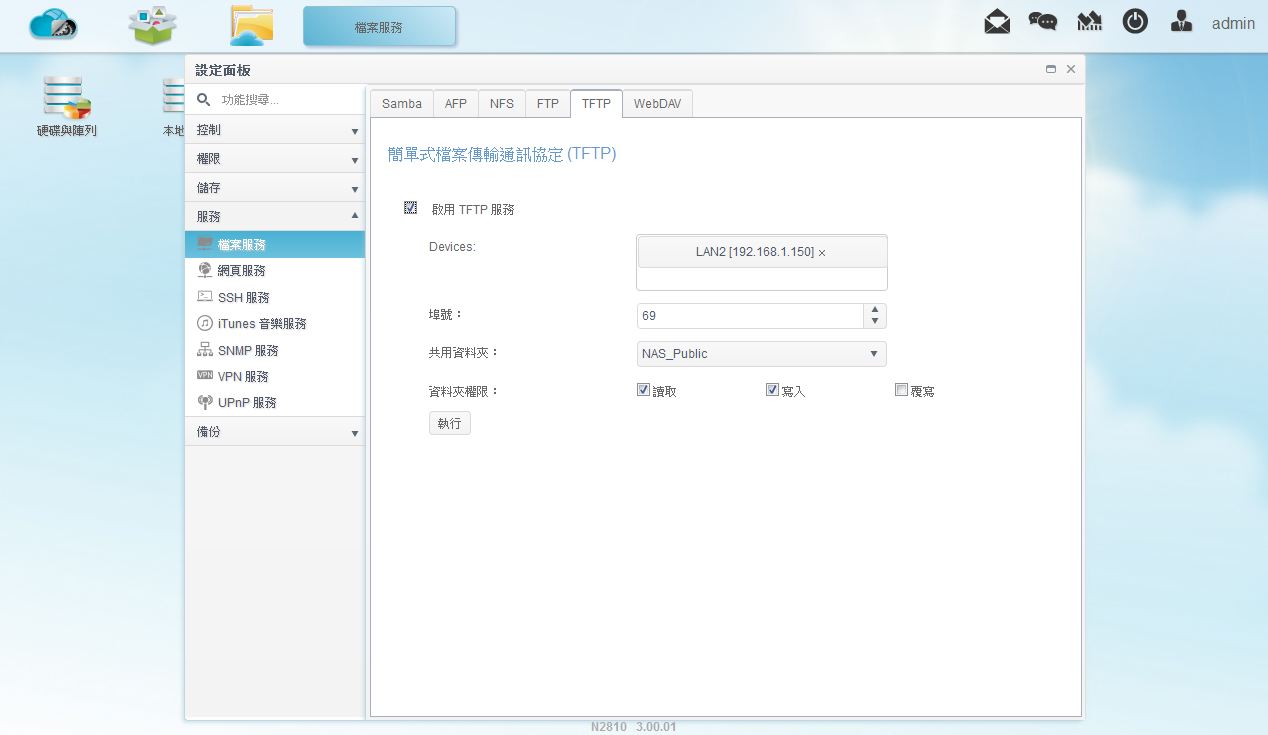
▼档案服务- TFTP:可设定是否开启TFTP服务
▼档案服务-WebDAV:可设定是否开启WebDAV服务

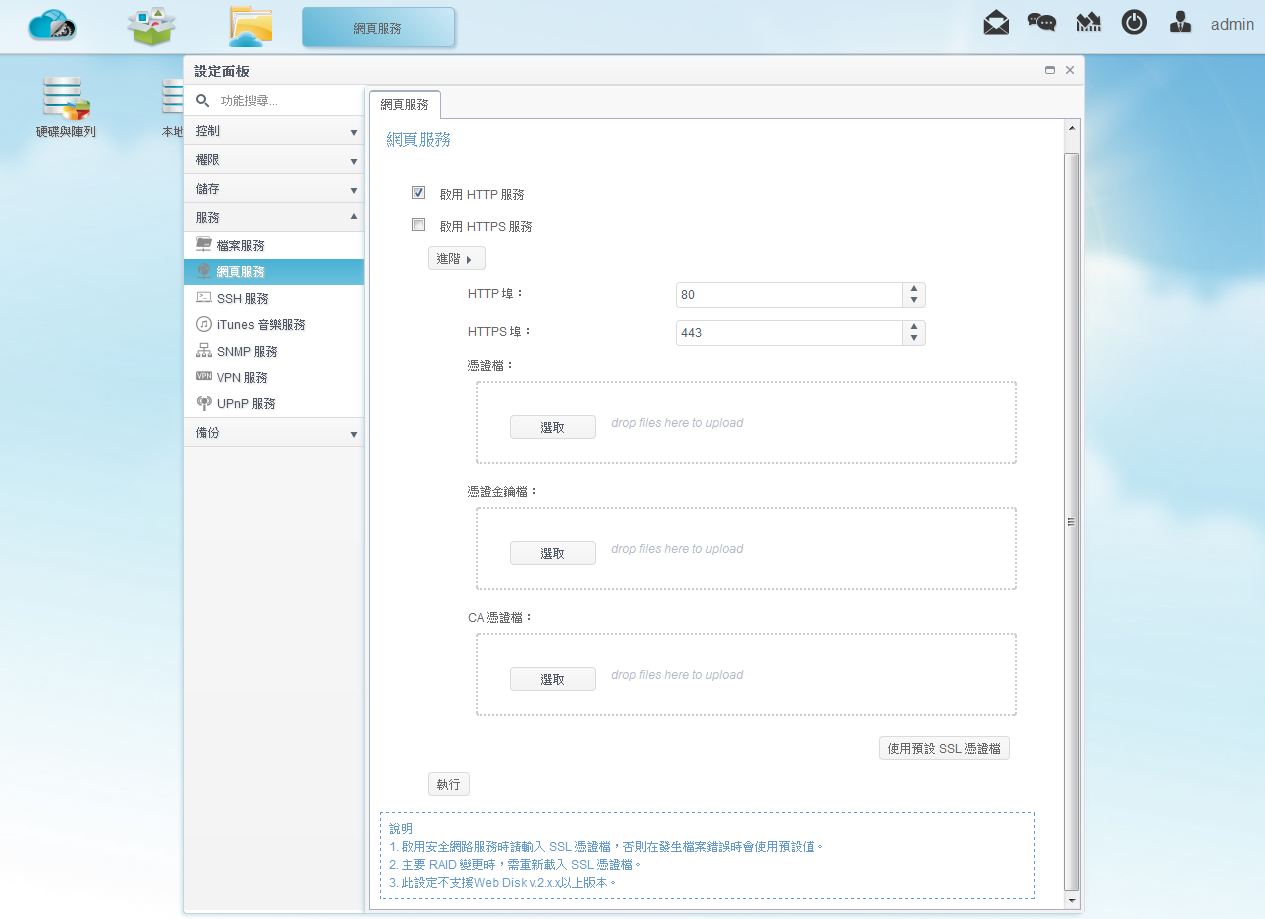
▼网页服务:可设定是否开启网页HTTP与HTTPS服务
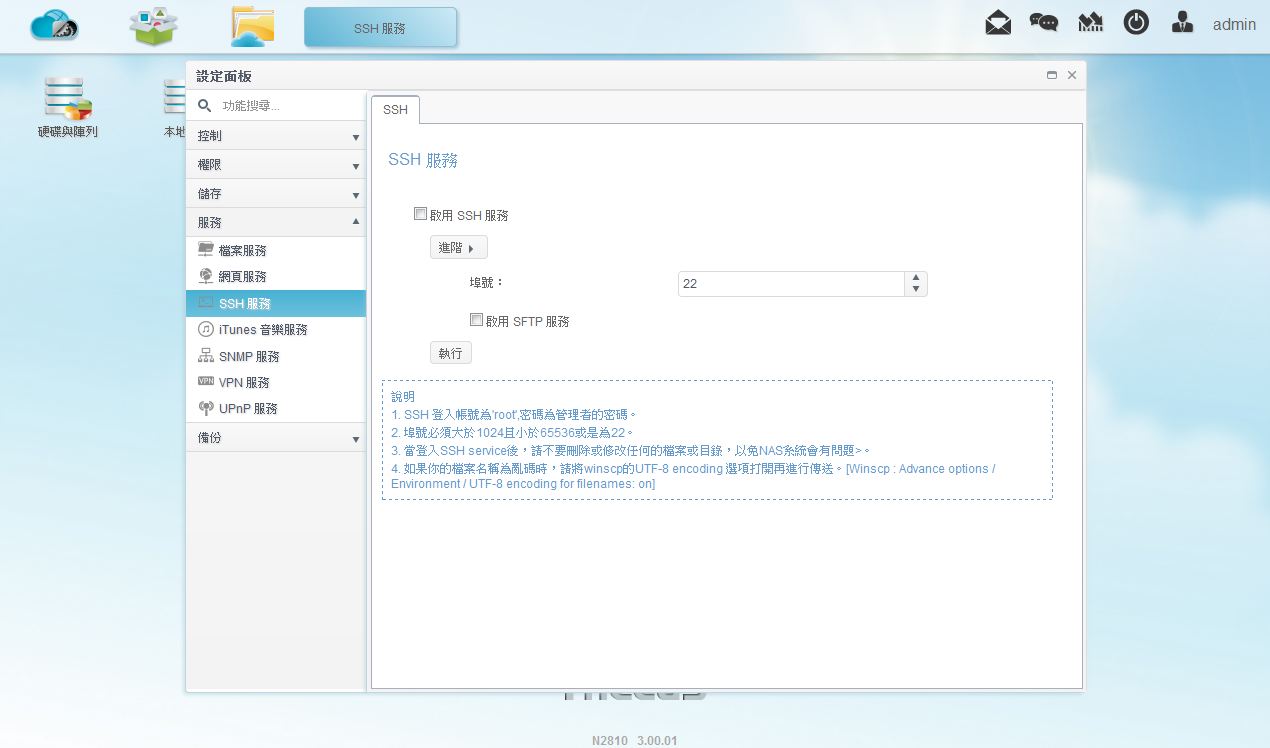
▼SSH服务:可设定是否开启SSH服务
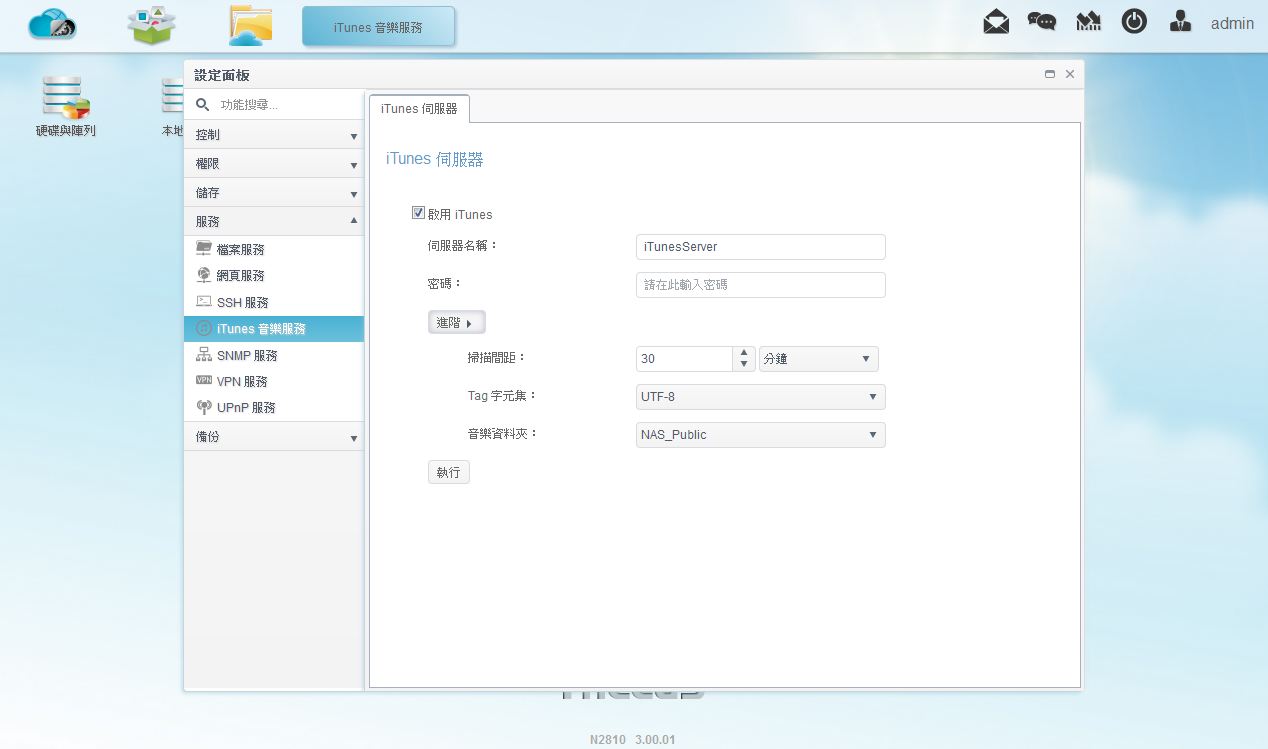
▼iTunes音乐服务:可设定是否开启iTunes音乐服务
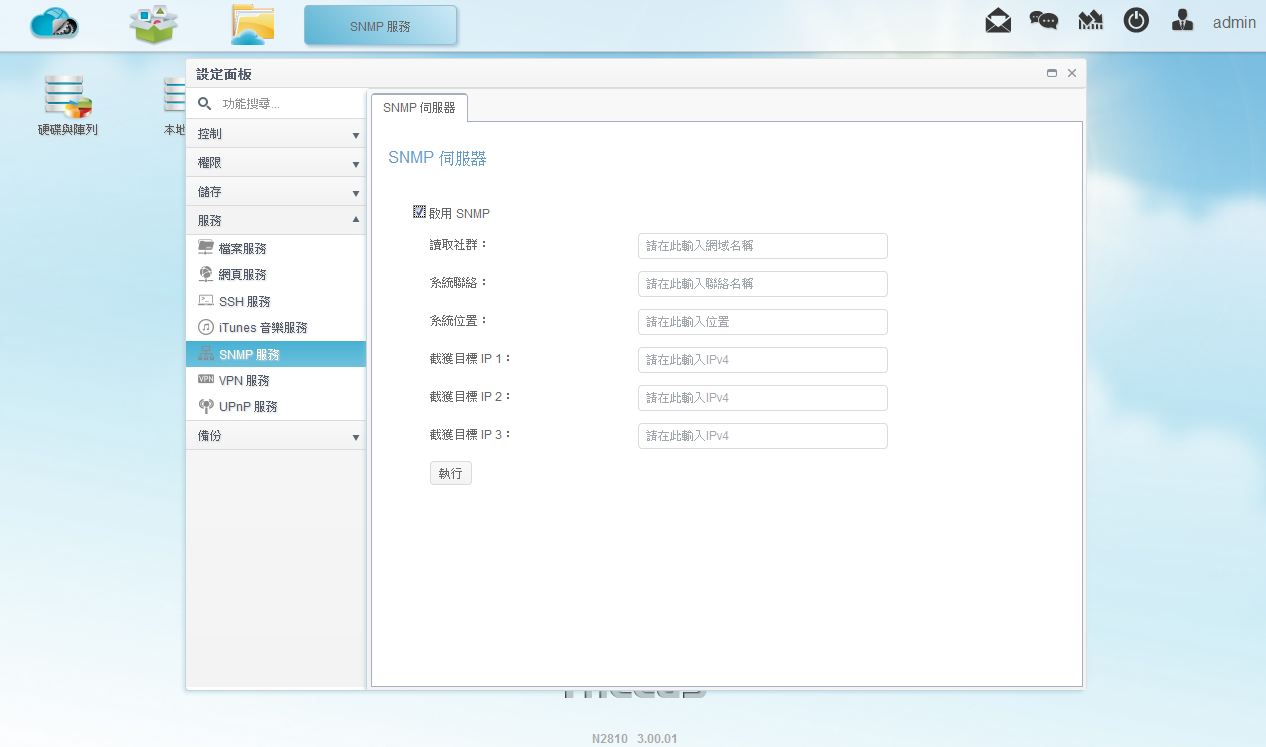
▼SNMP服务:可设定是否开启SNMP服务
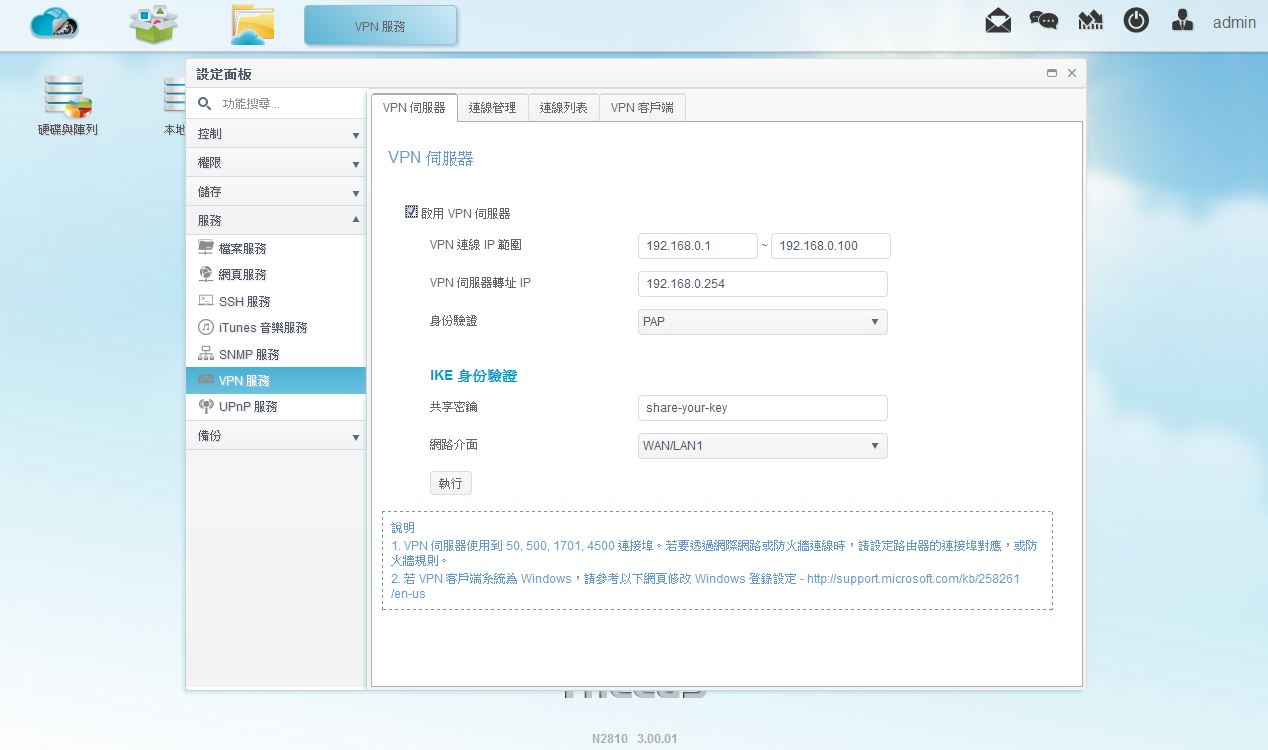
▼VPN服务-VPN伺服器:可设定是否开启VPN伺服器功能
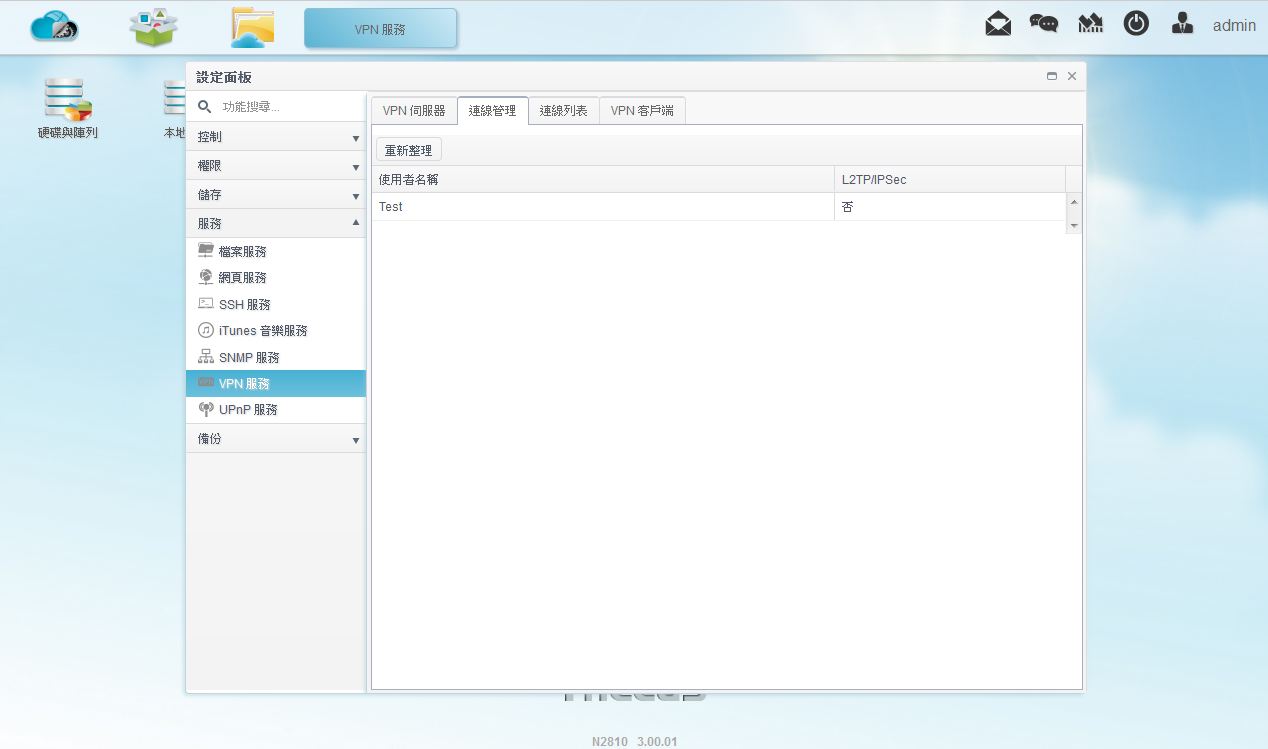
▼VPN服务-连线管理:可设定目前NAS内使用者是否可使用VPN功能
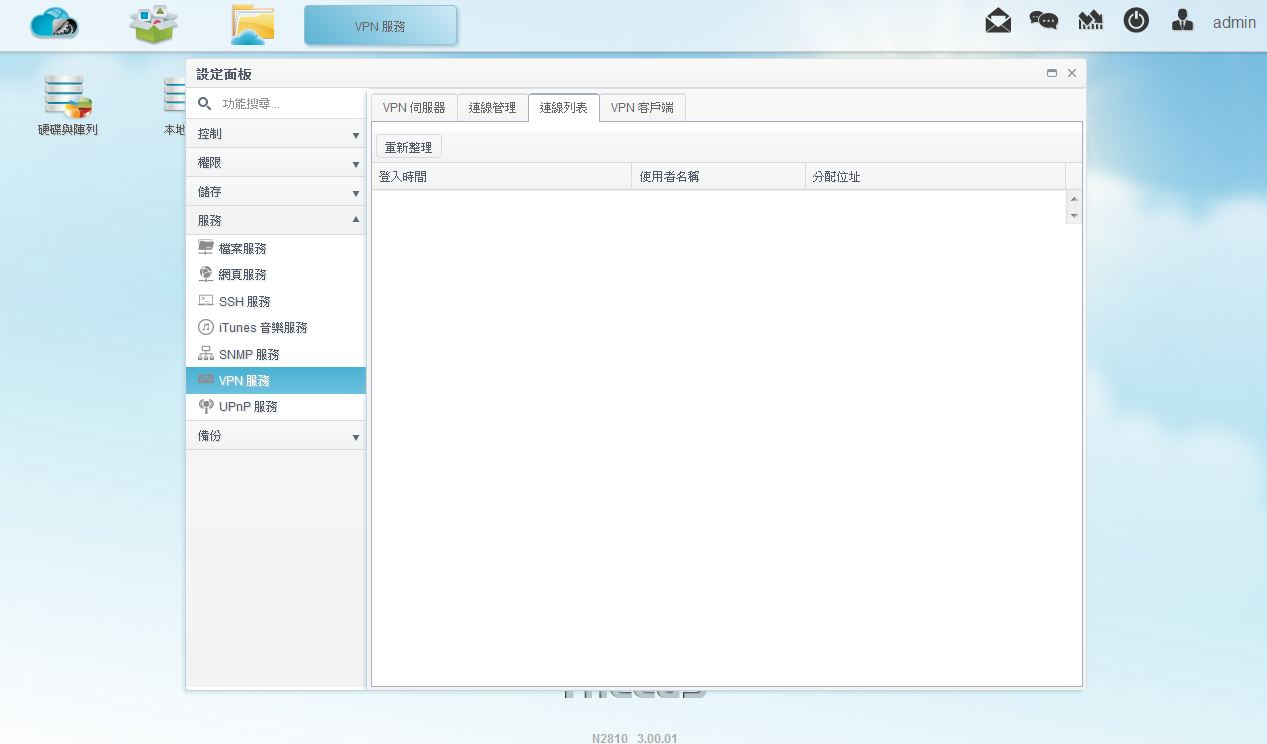
▼VPN服务-连线列表:可查看已连线的VPN使用者
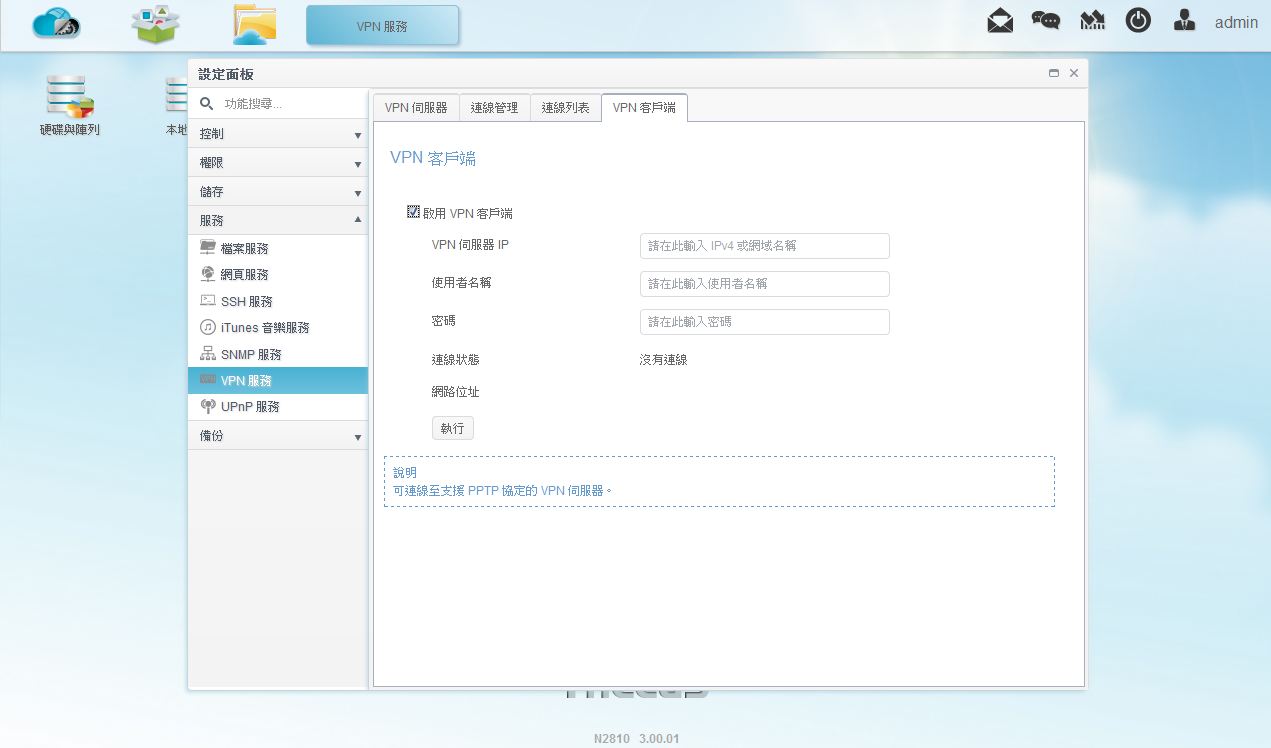
▼VPN服务-VPN客户端:如有使用VPN则可以直接做连线设定
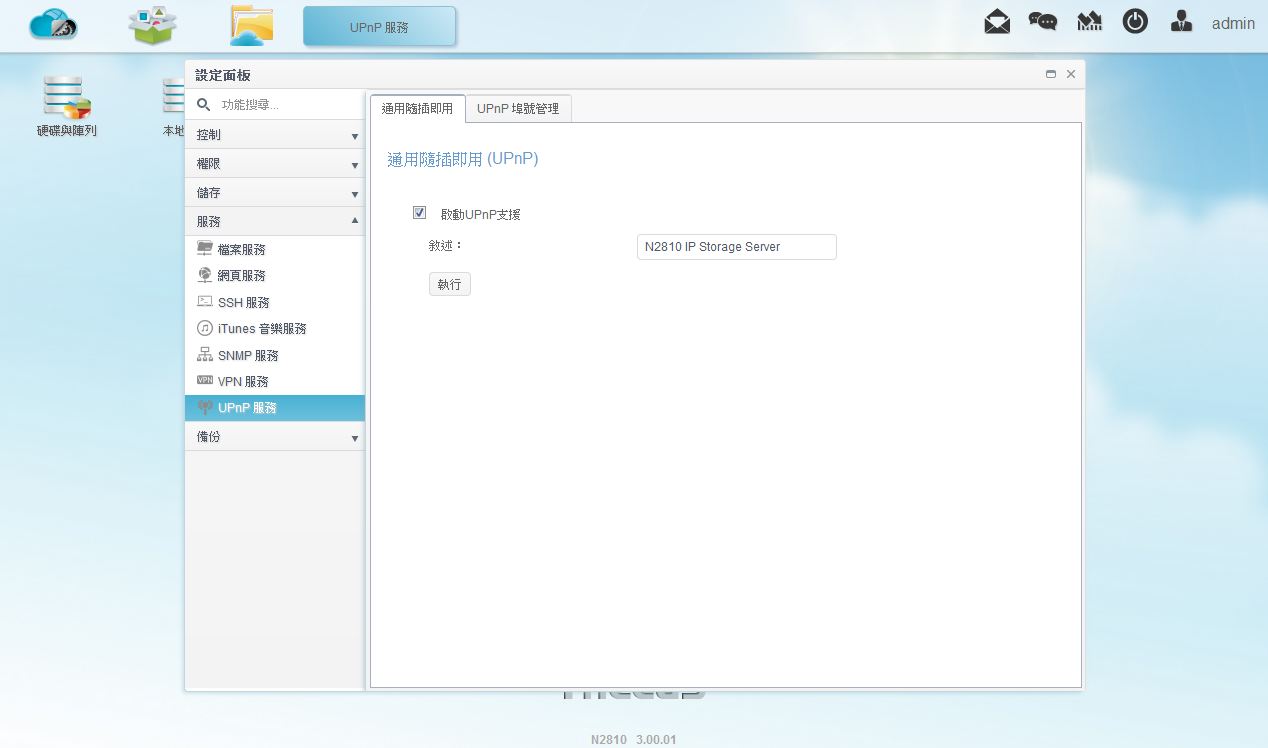
▼UPnP服务-通用随插即用:设定是否开启UPnP支援
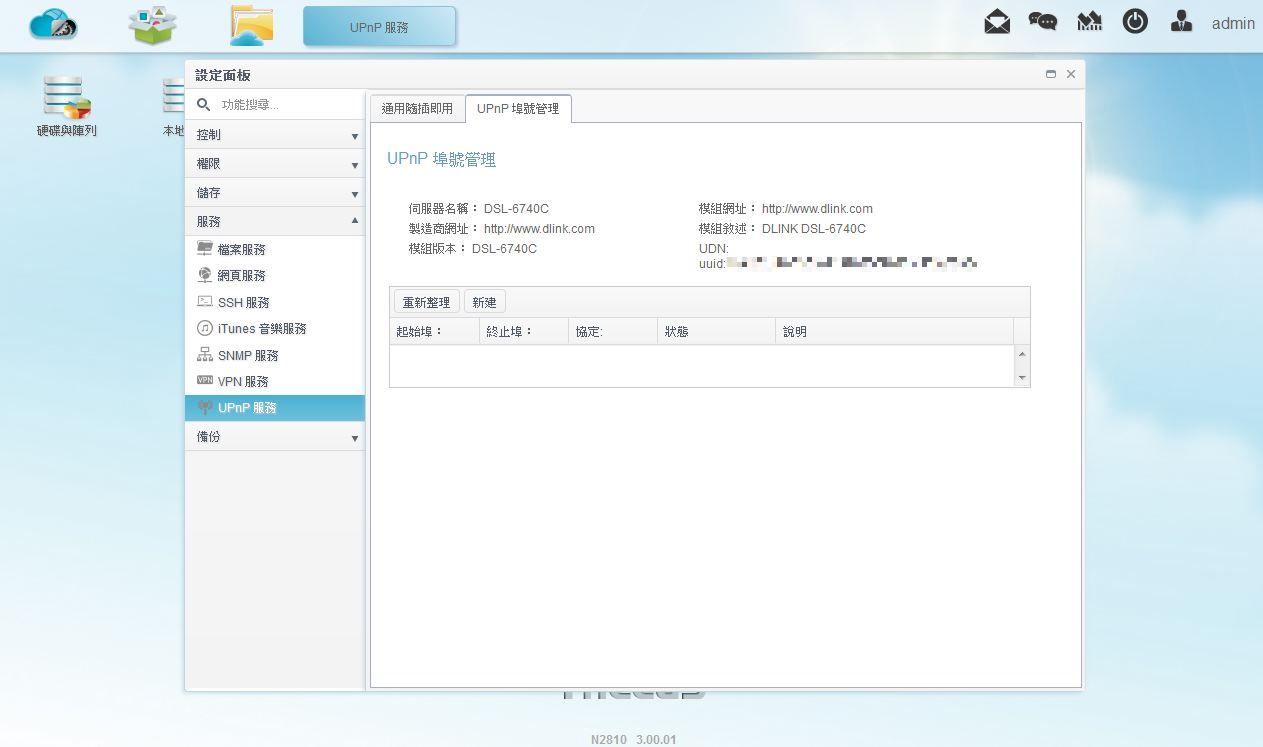
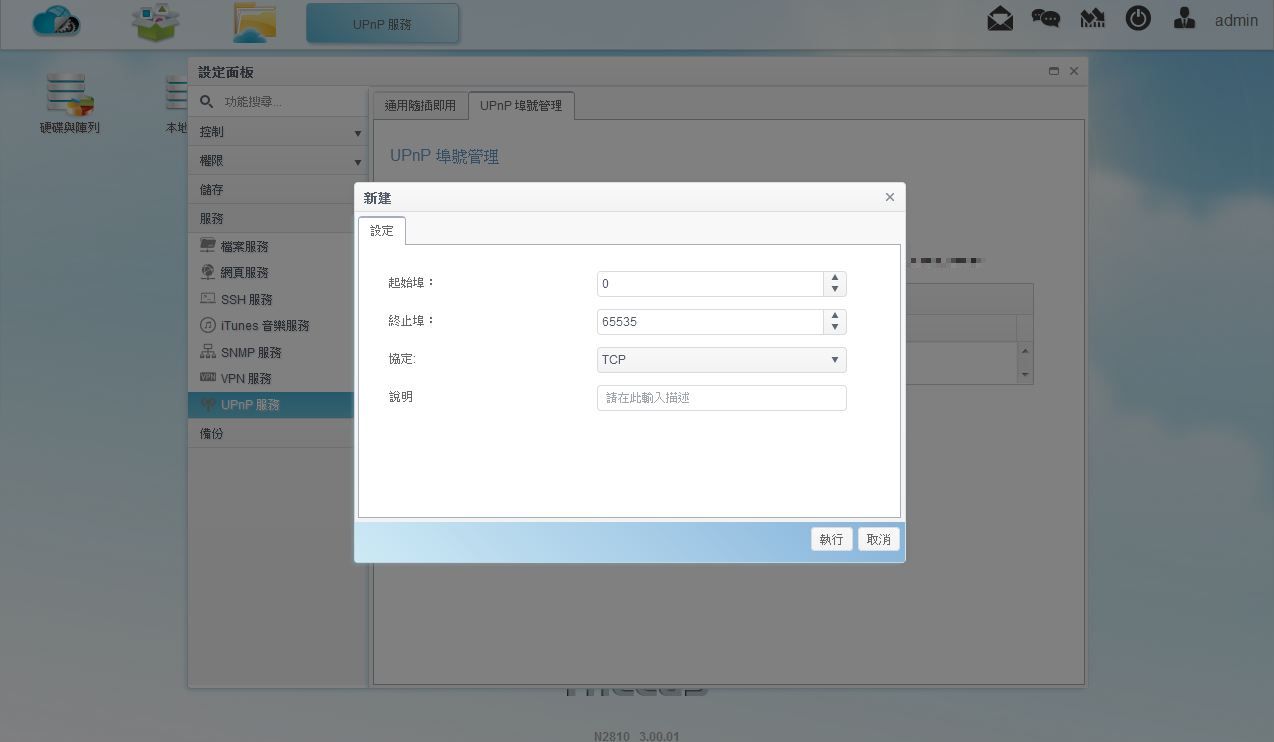
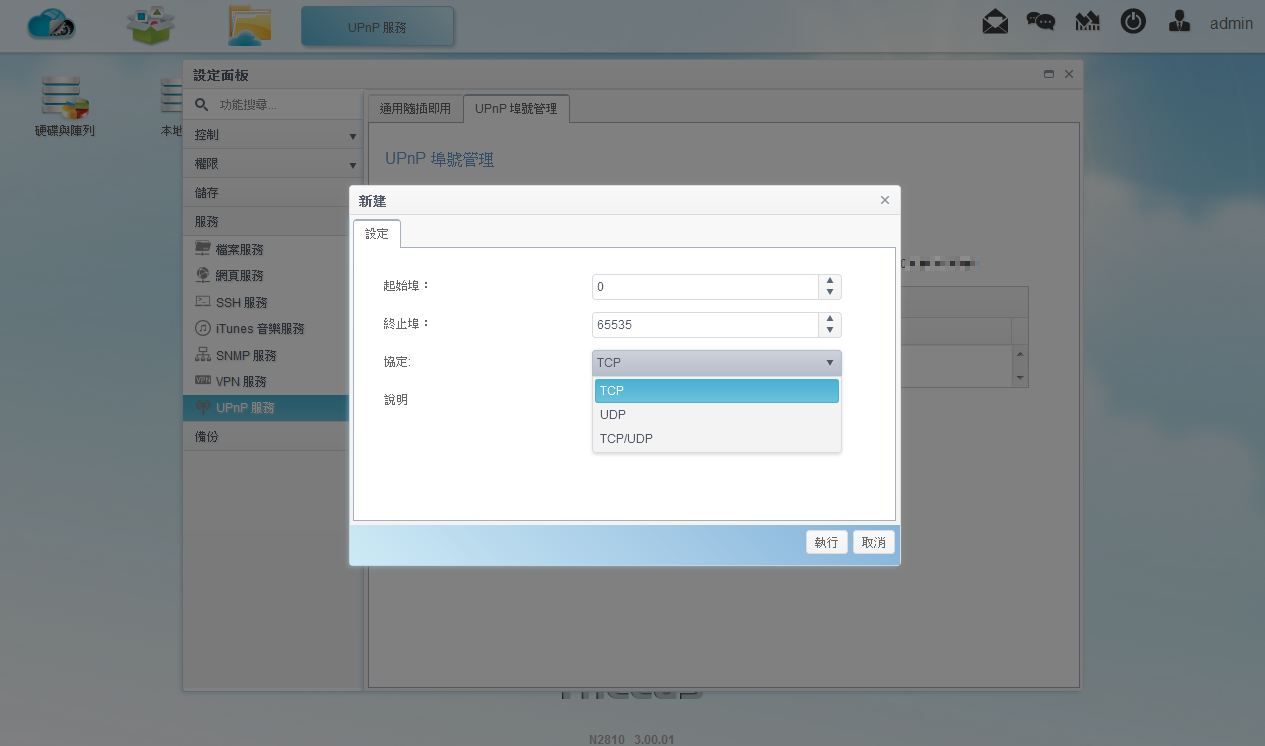
▼UPnP服务-UPnP埠号管理:设定UPnP埠号管理
 备份
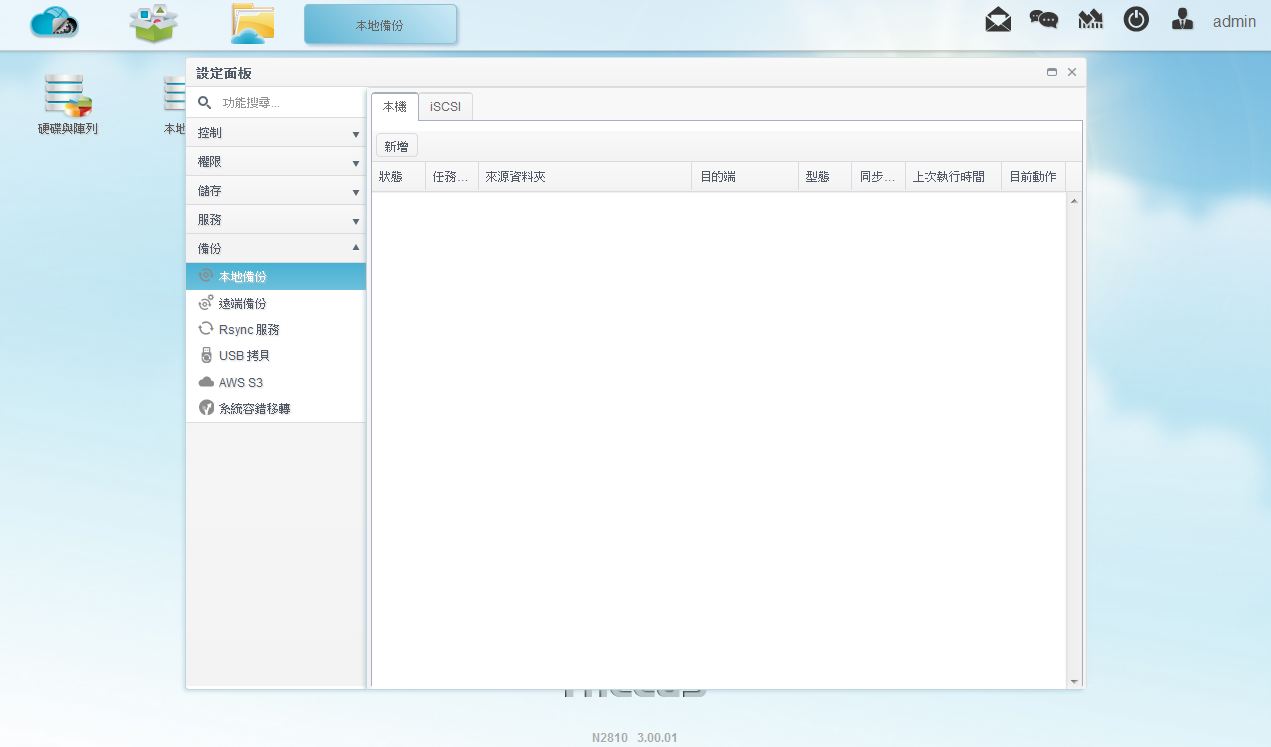
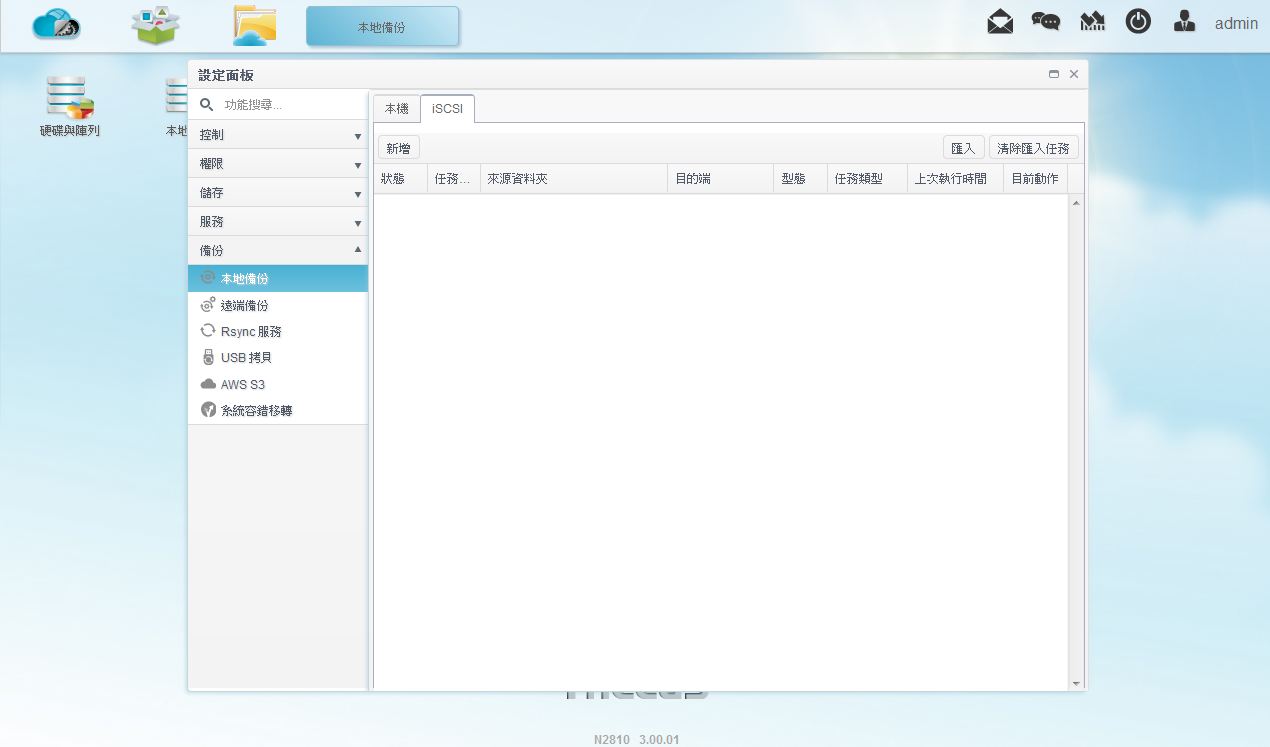
备份▼本地备份:可做本机与iSCSI本地备份
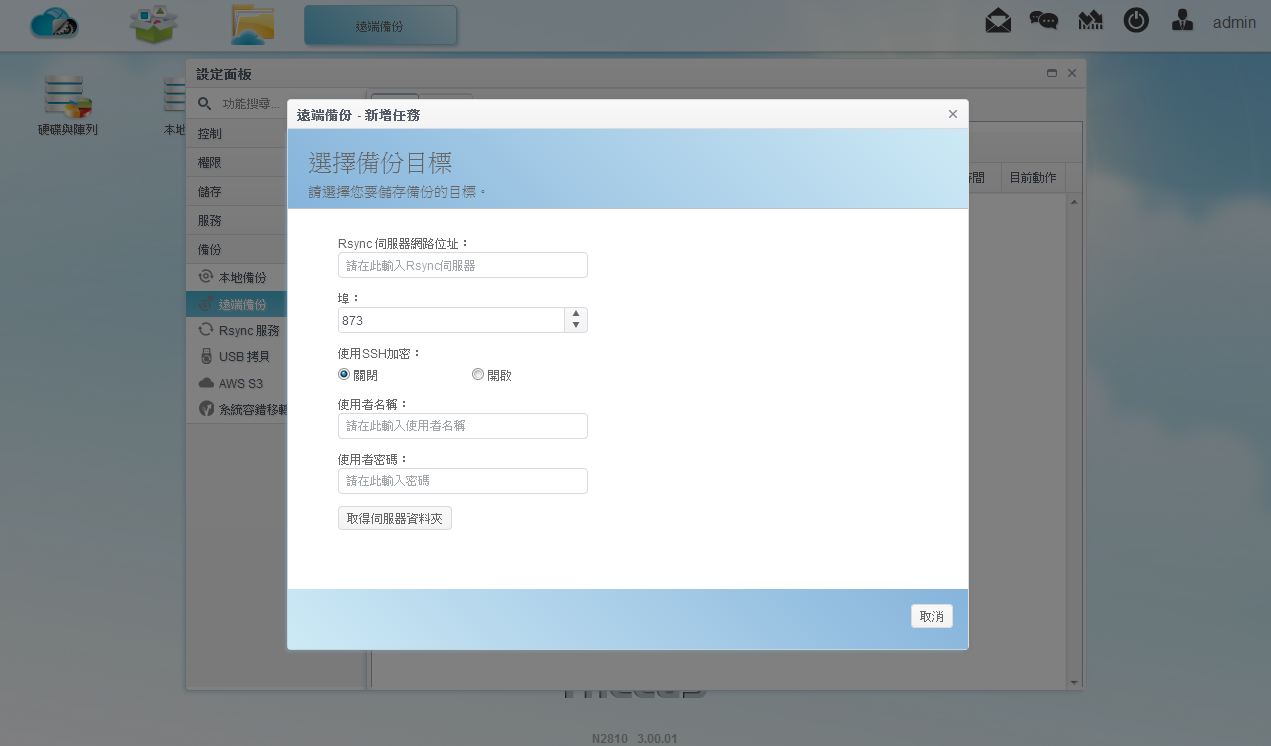
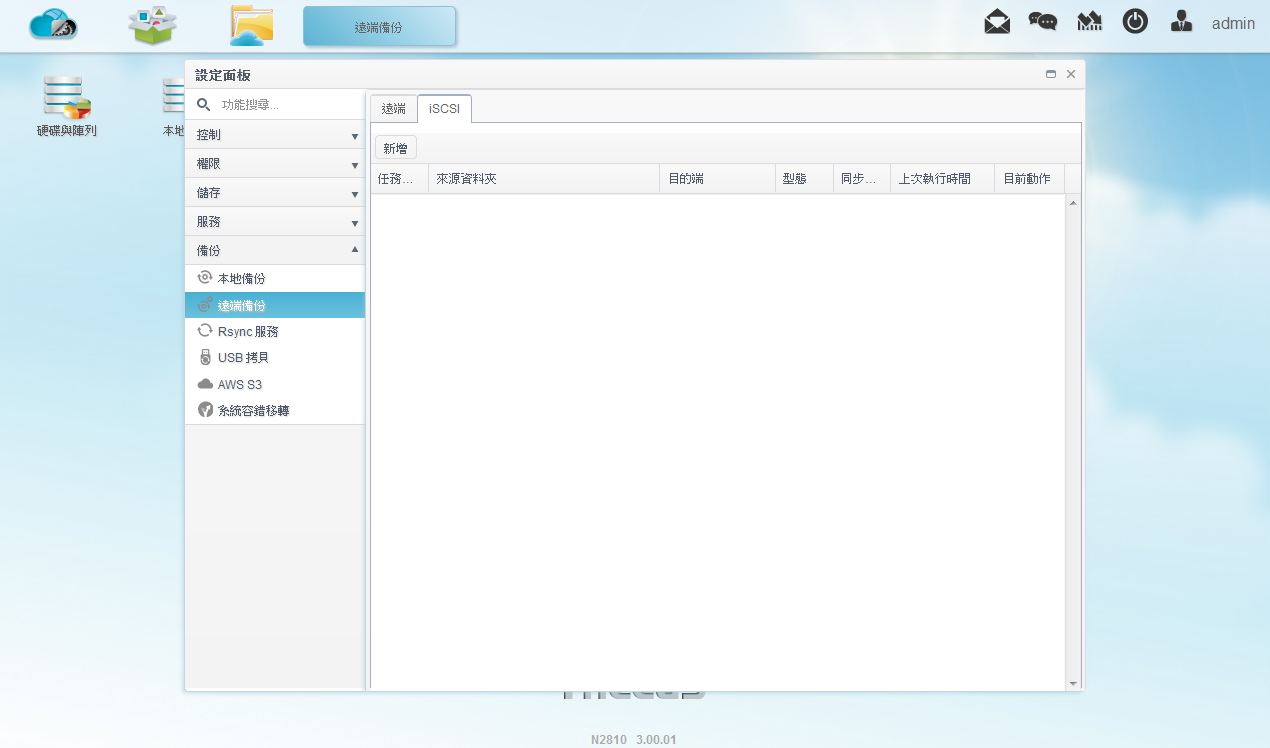
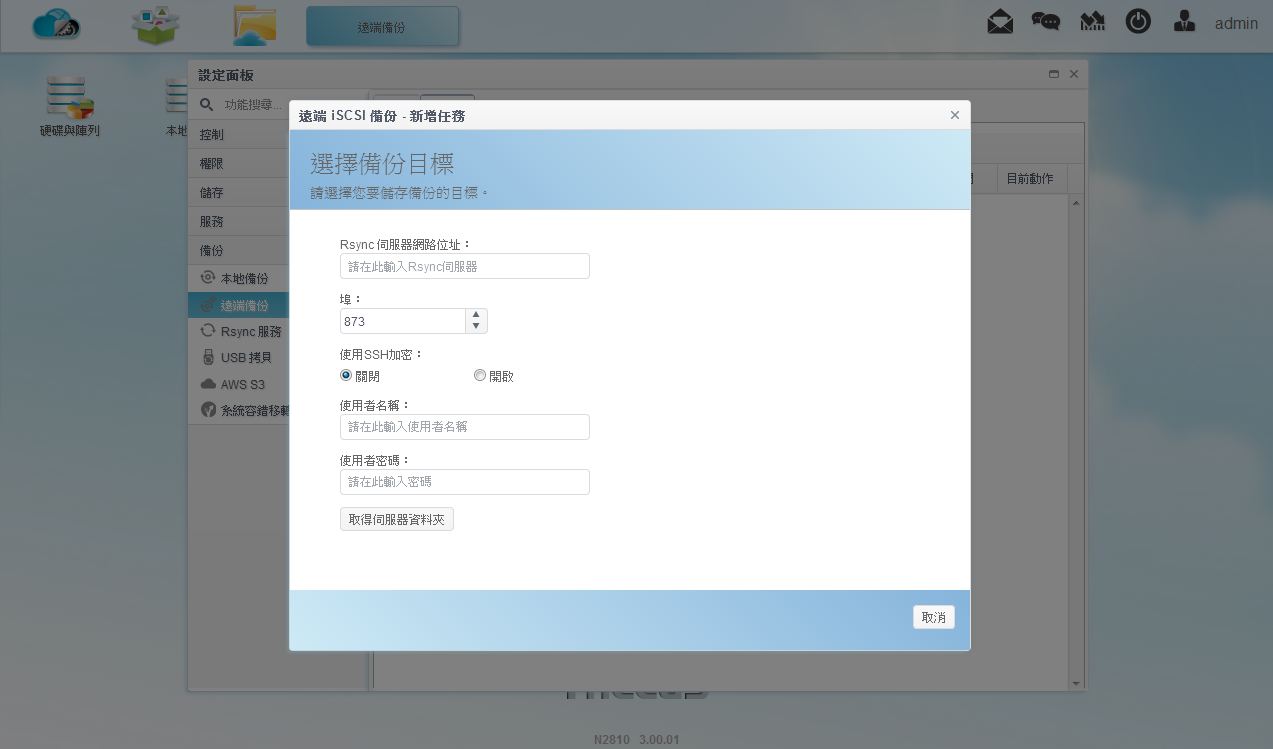
▼远端备份:可做本机与iSCSI远端备份

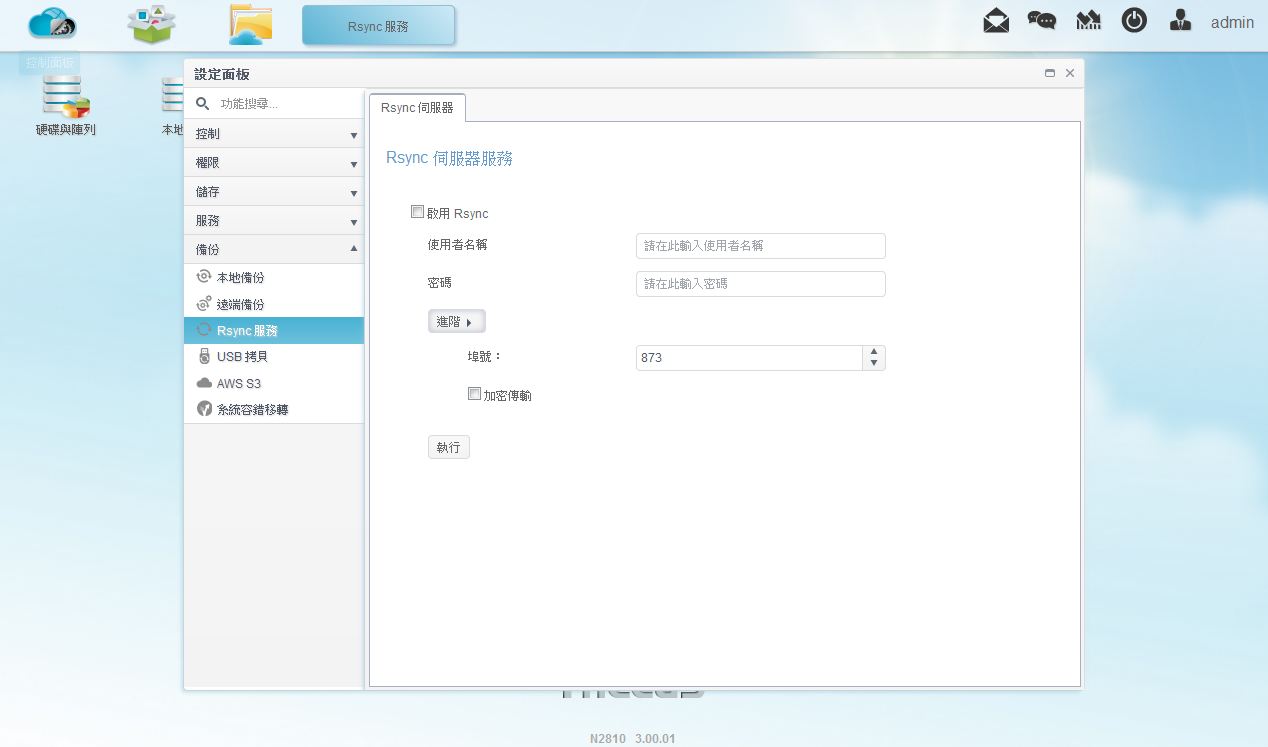
▼Rsync 服务:设定Rsync是否开启与细项设定
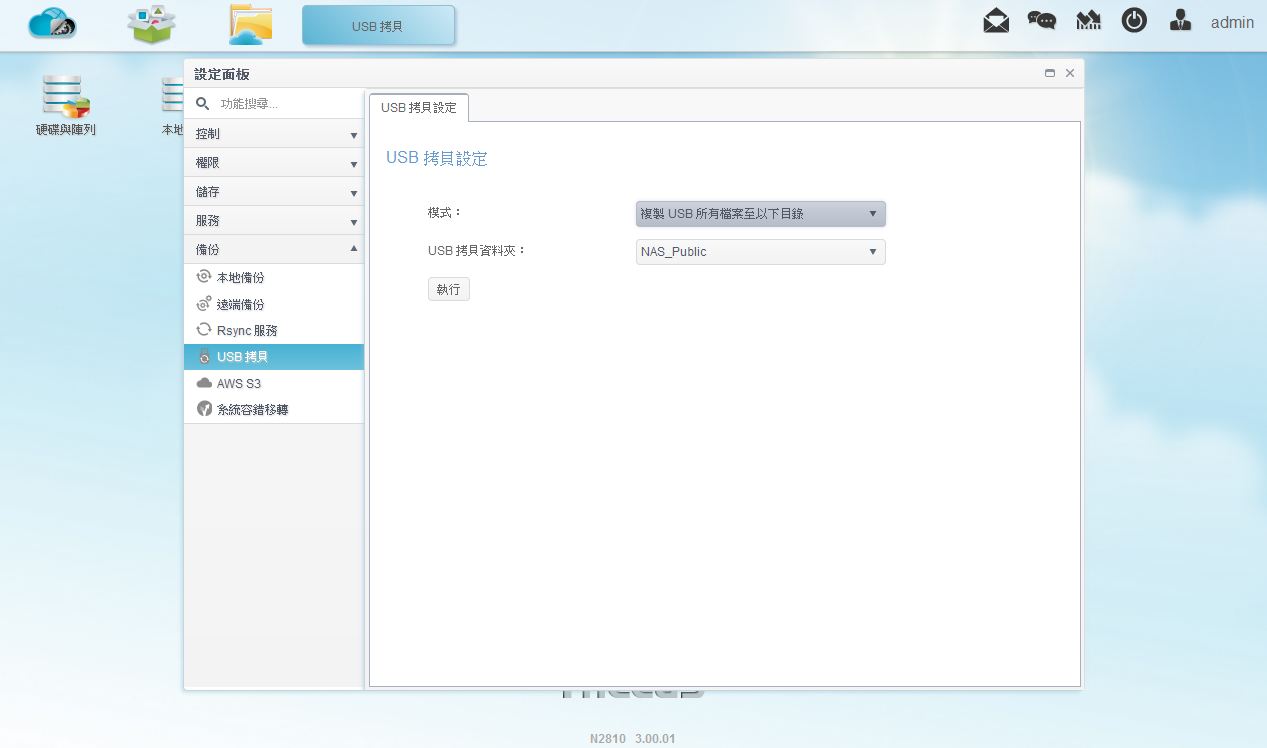
▼USB拷贝:可将USB内资料复制到NAS内
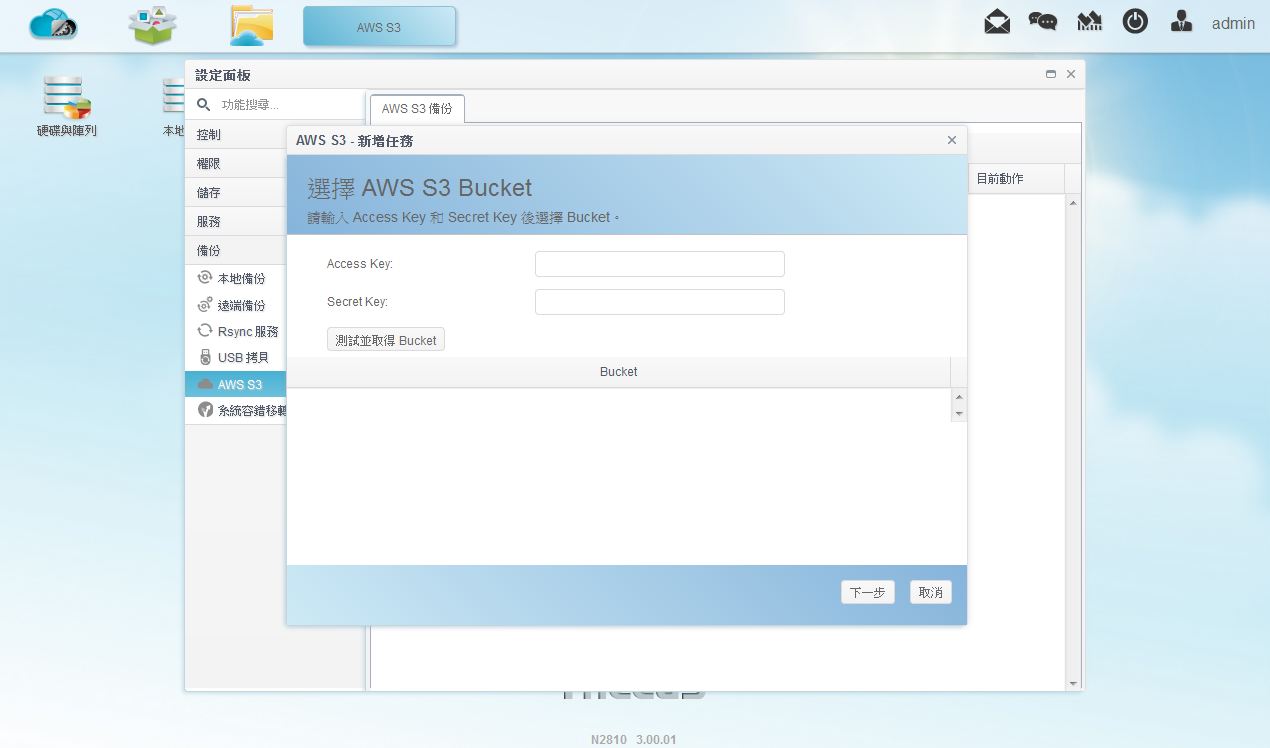
▼AWS S3:可备份与还原资料至Amazon S3云端空间

▼系统容错转移:可设定该NAS为主要装置或是备援装置,让其中有一台NAS故障时可将系统立即转移做无间断服务

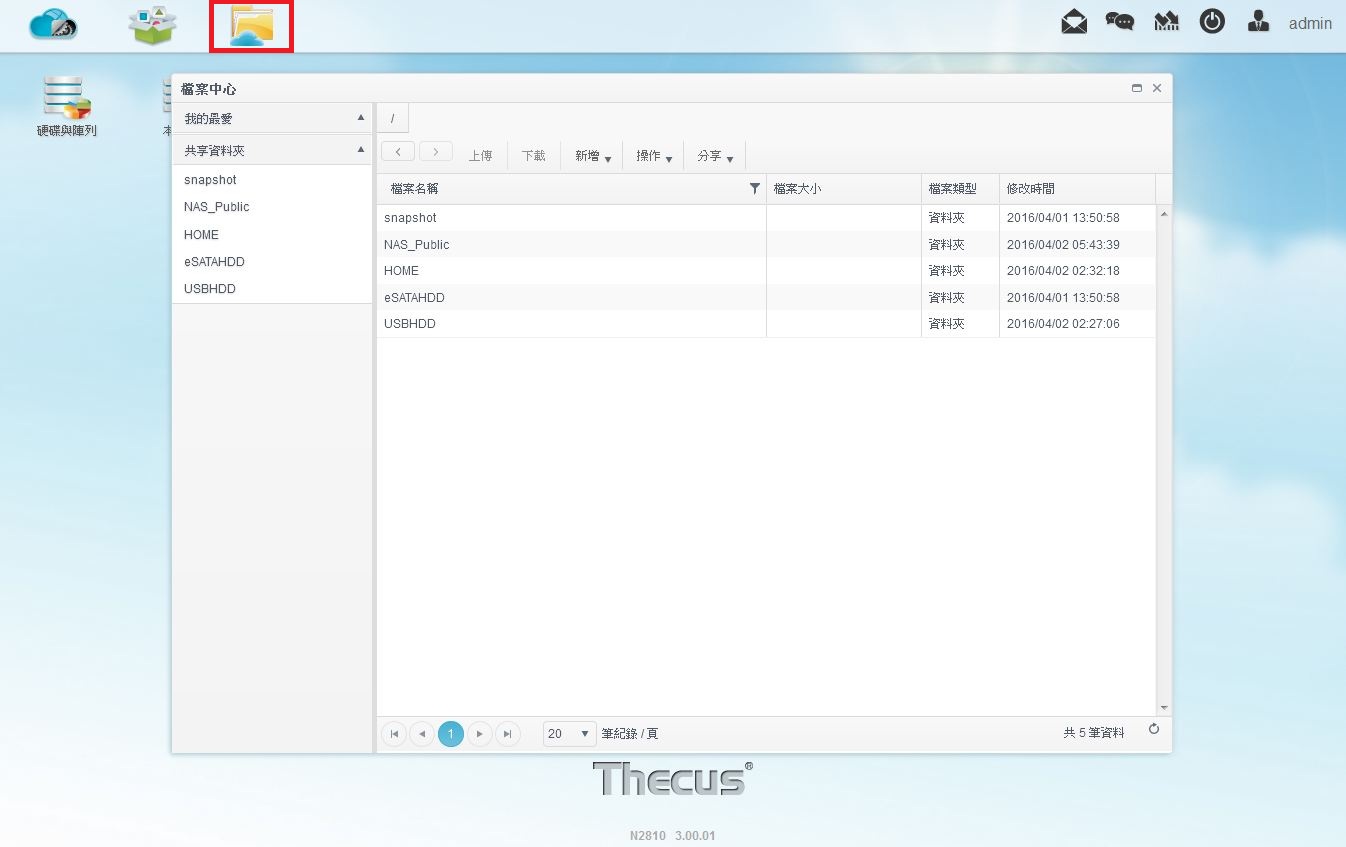
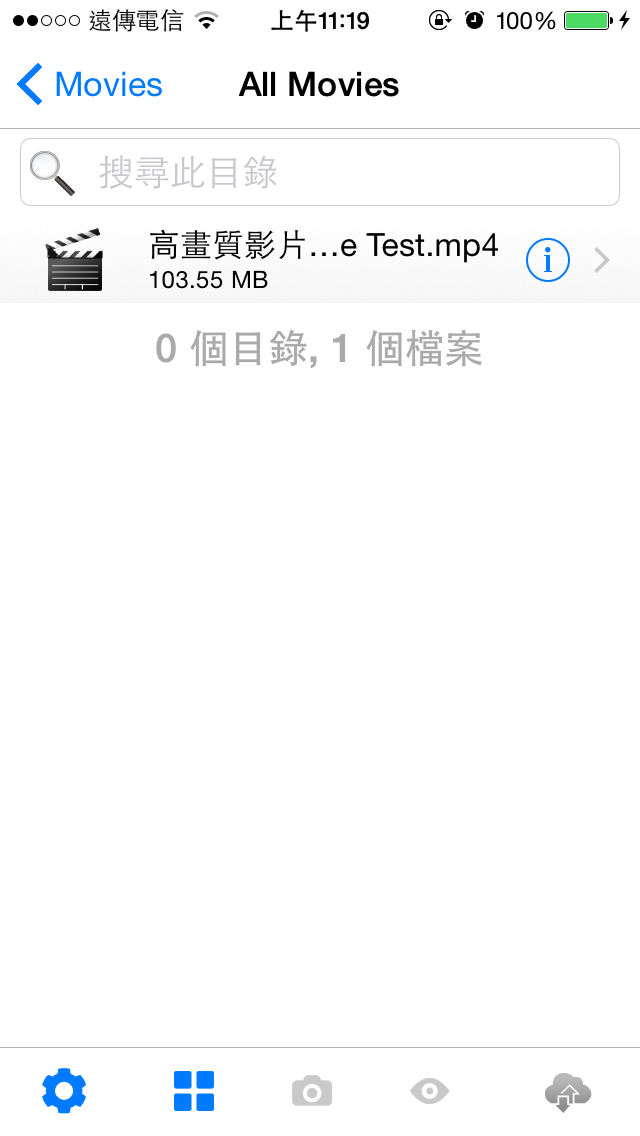
 档案中心
档案中心档案中心就像Windows档案总管一样,可以浏览资料与档案的剪下、贴上、复制…等功能
▼档案中心介面一览
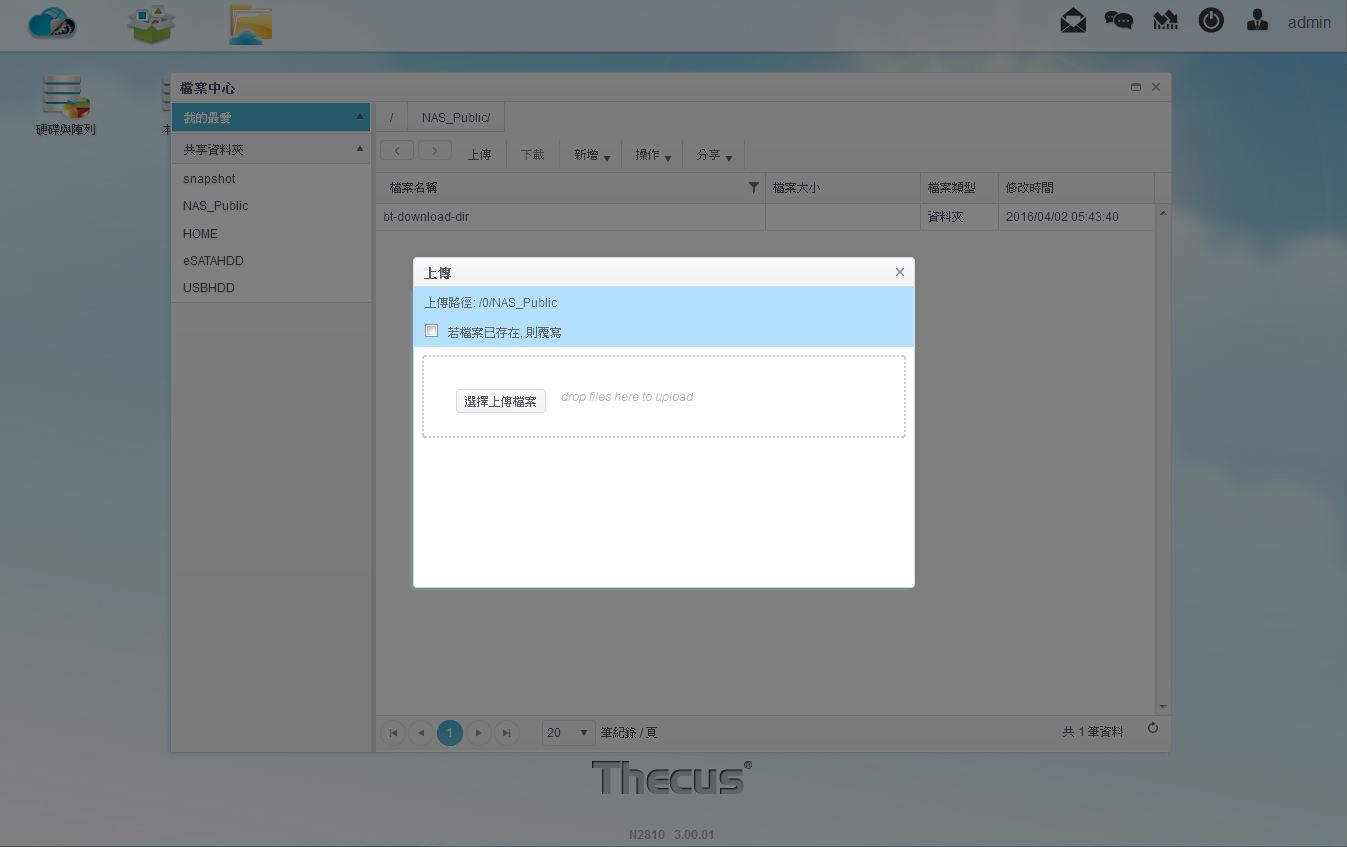
▼可直接上传档案到NAS内
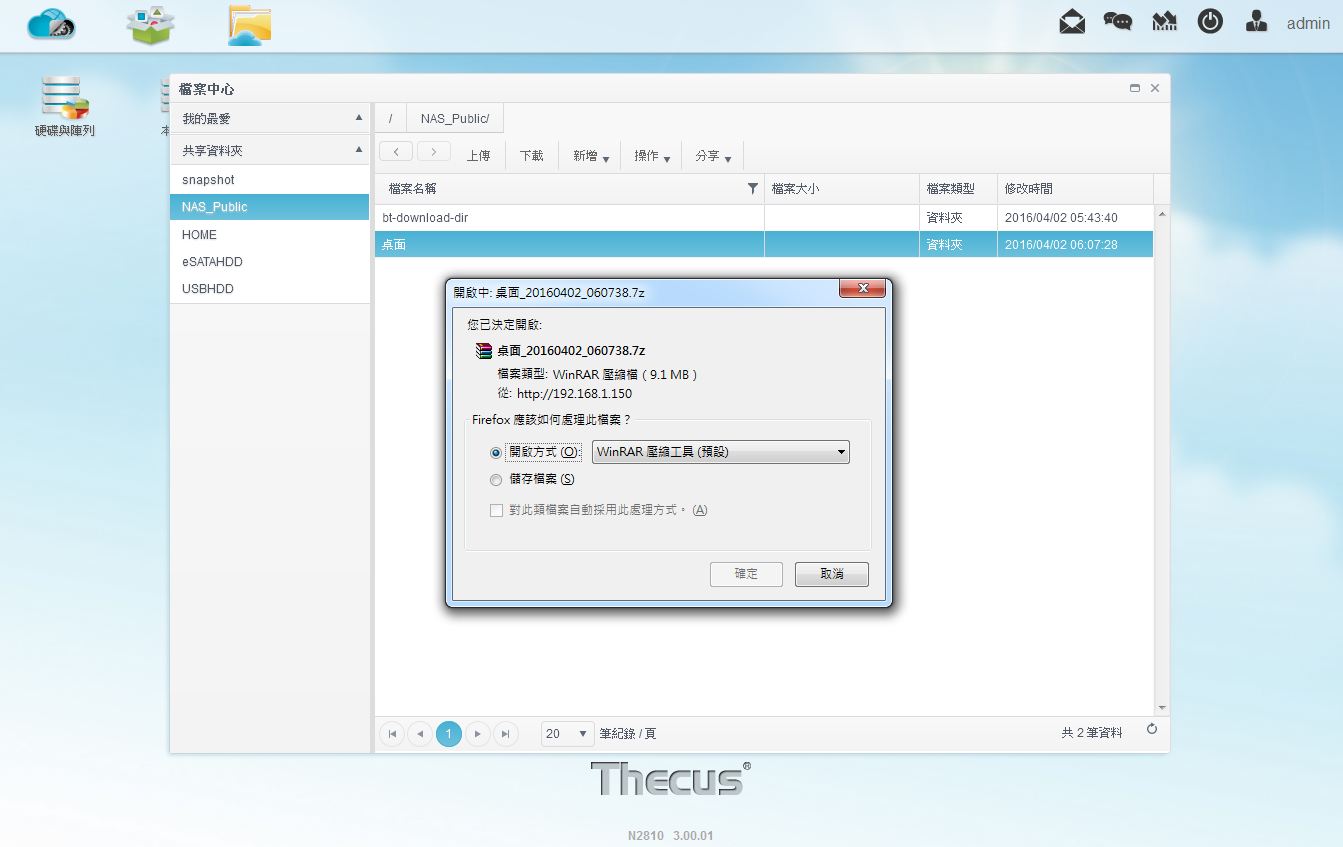
▼可直接下载NAS内档案到电脑中
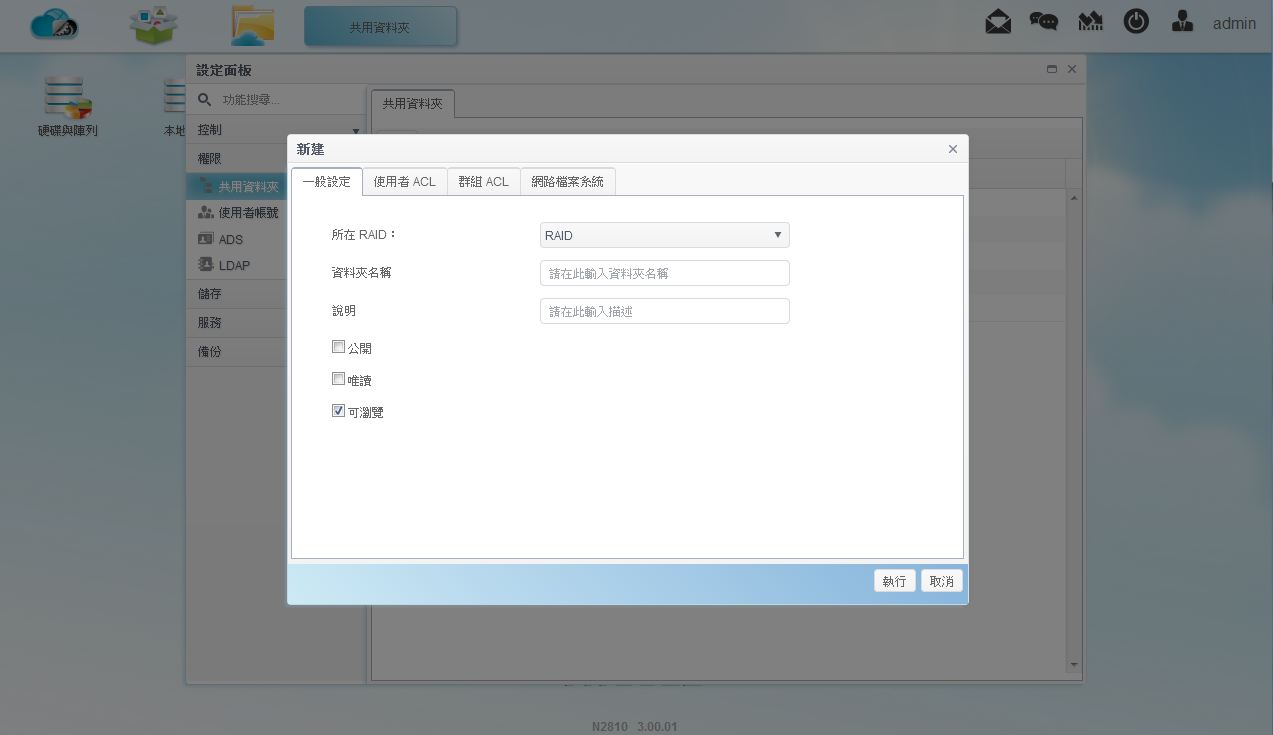
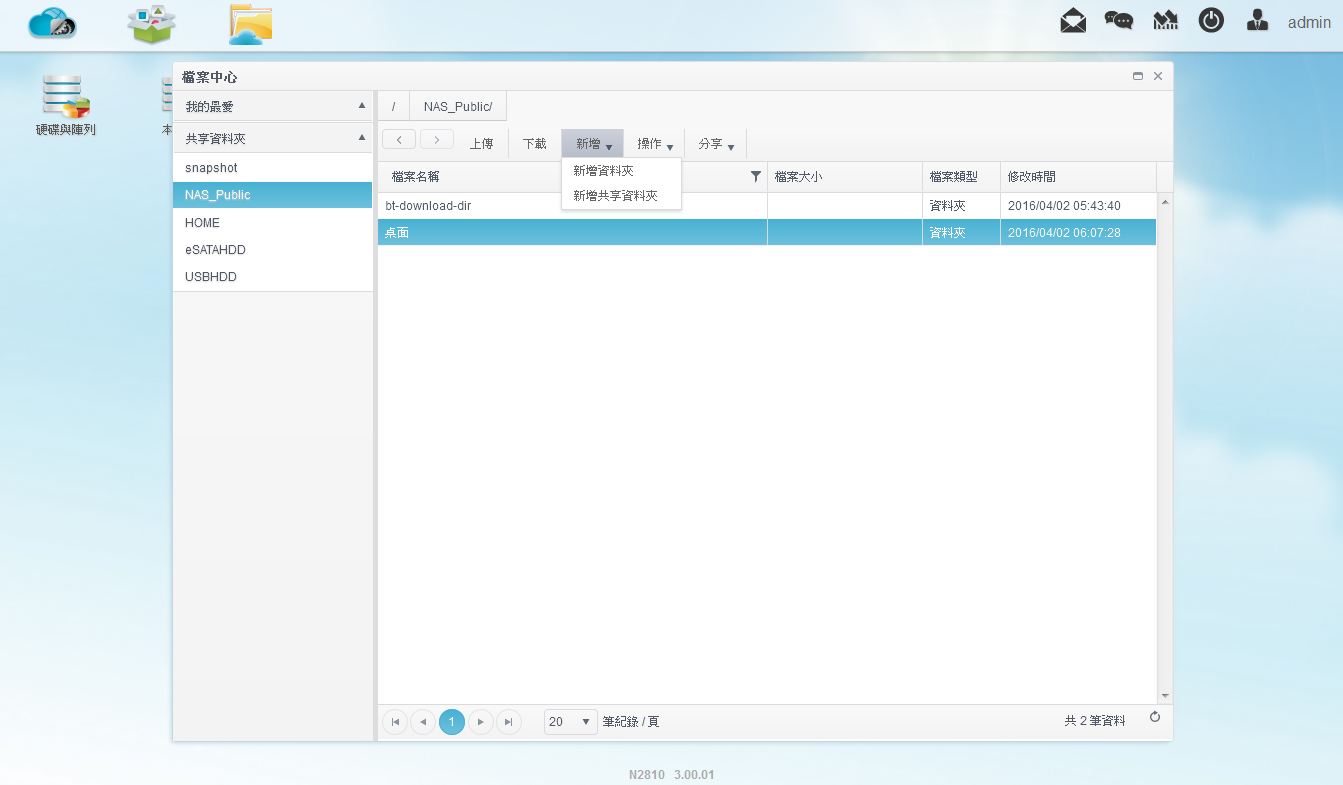
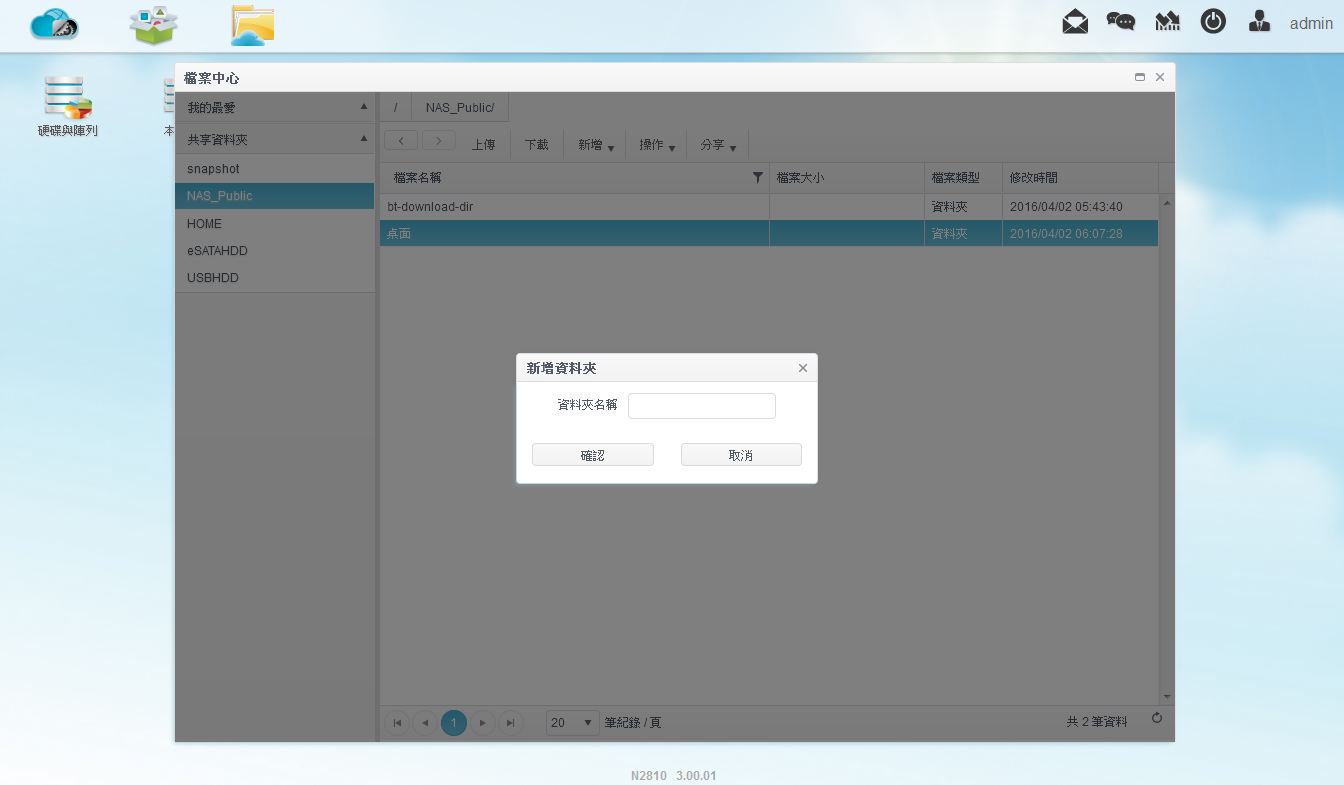
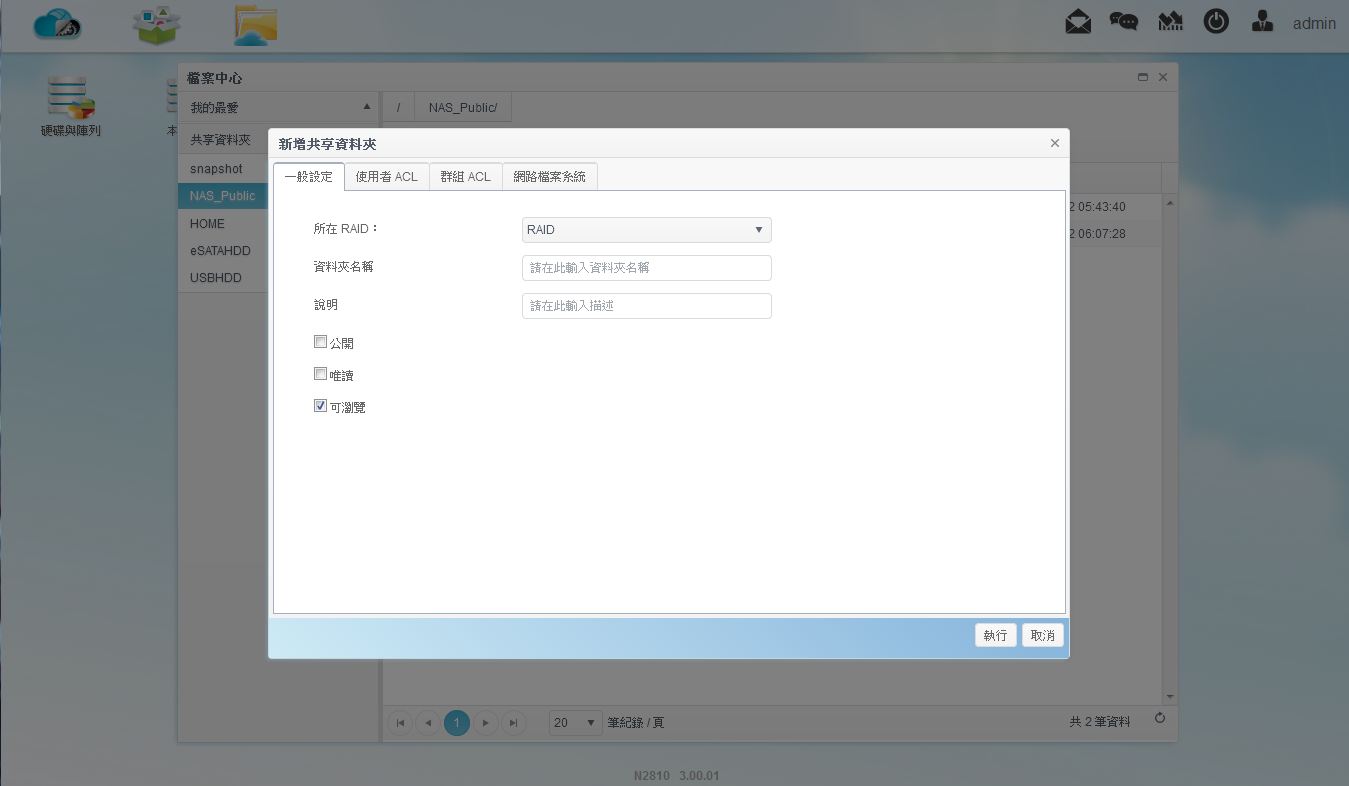
▼可新增资料夹,并可设定共享资料权限
▼可做档案基本功能,如复制、剪下、删除、重新命名….等

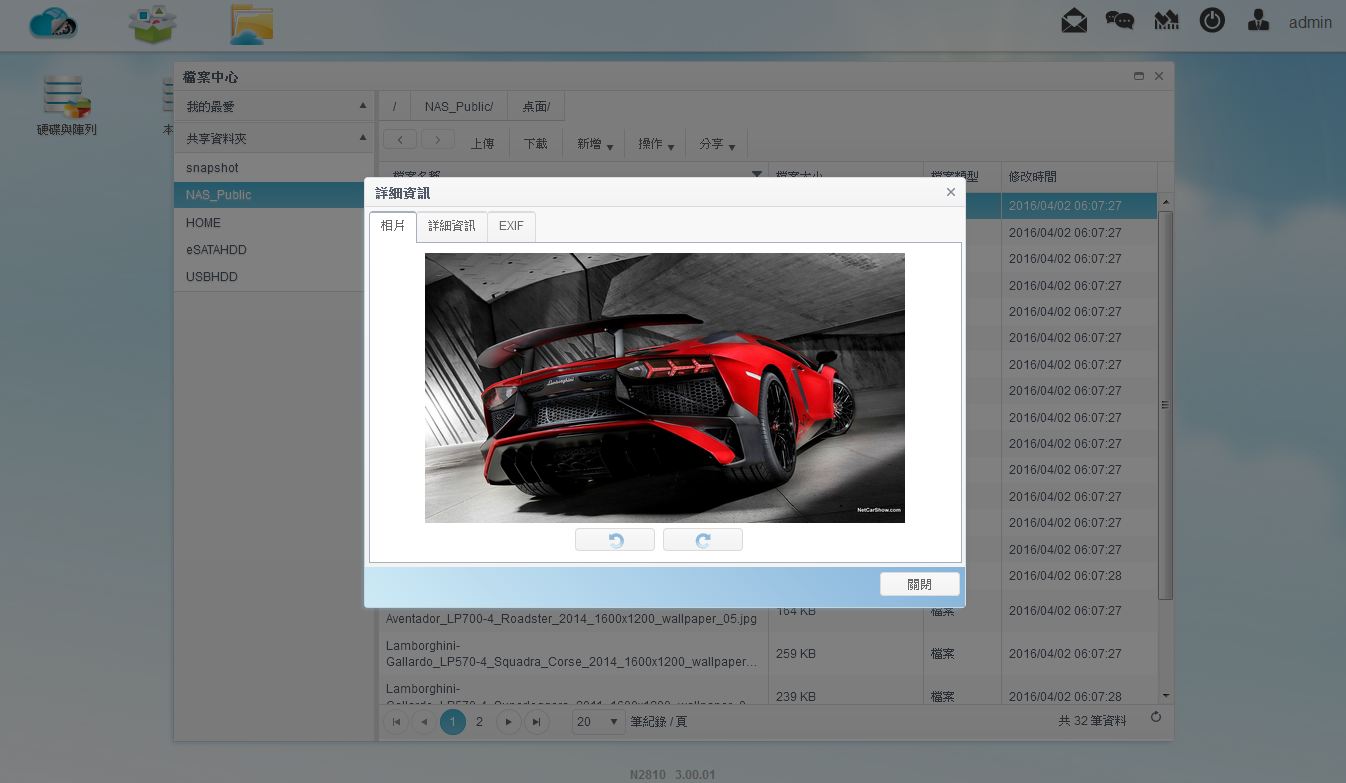
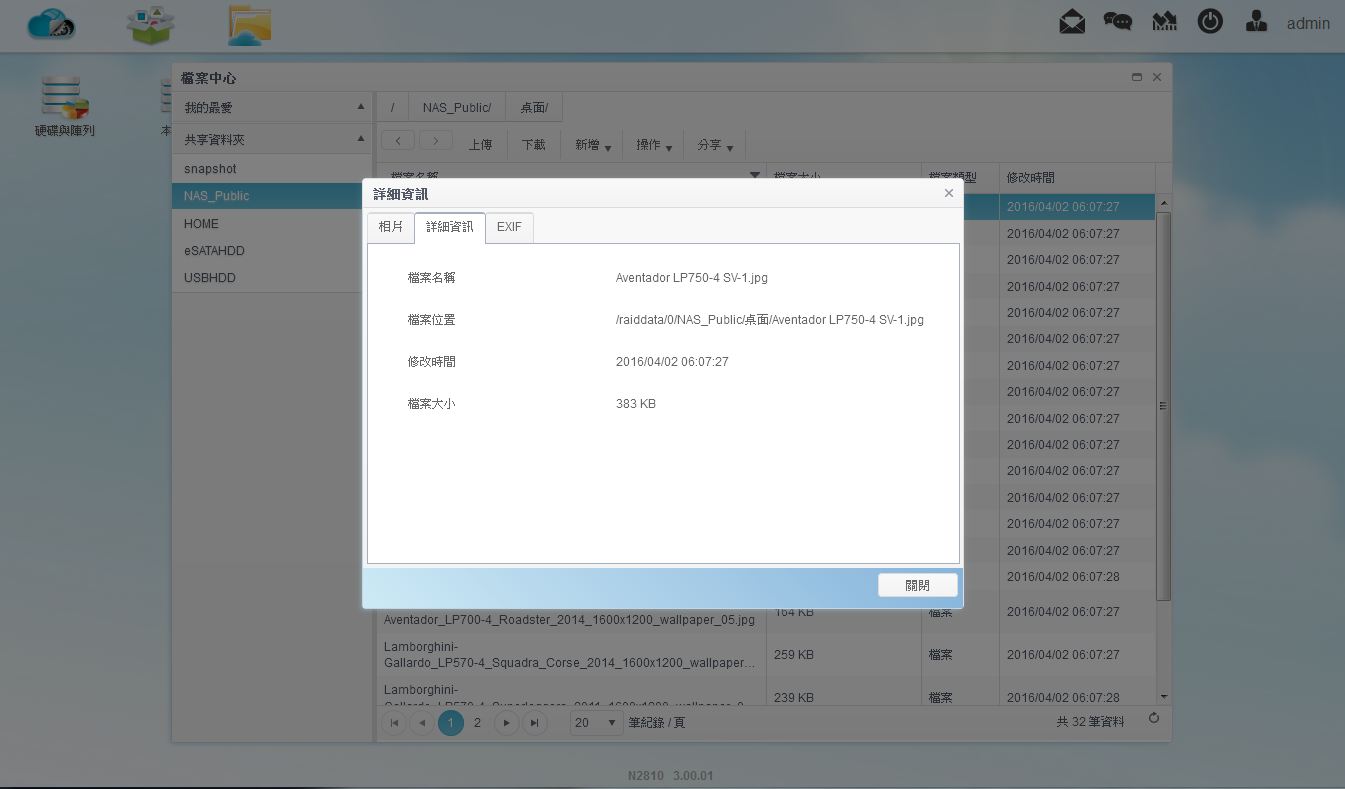
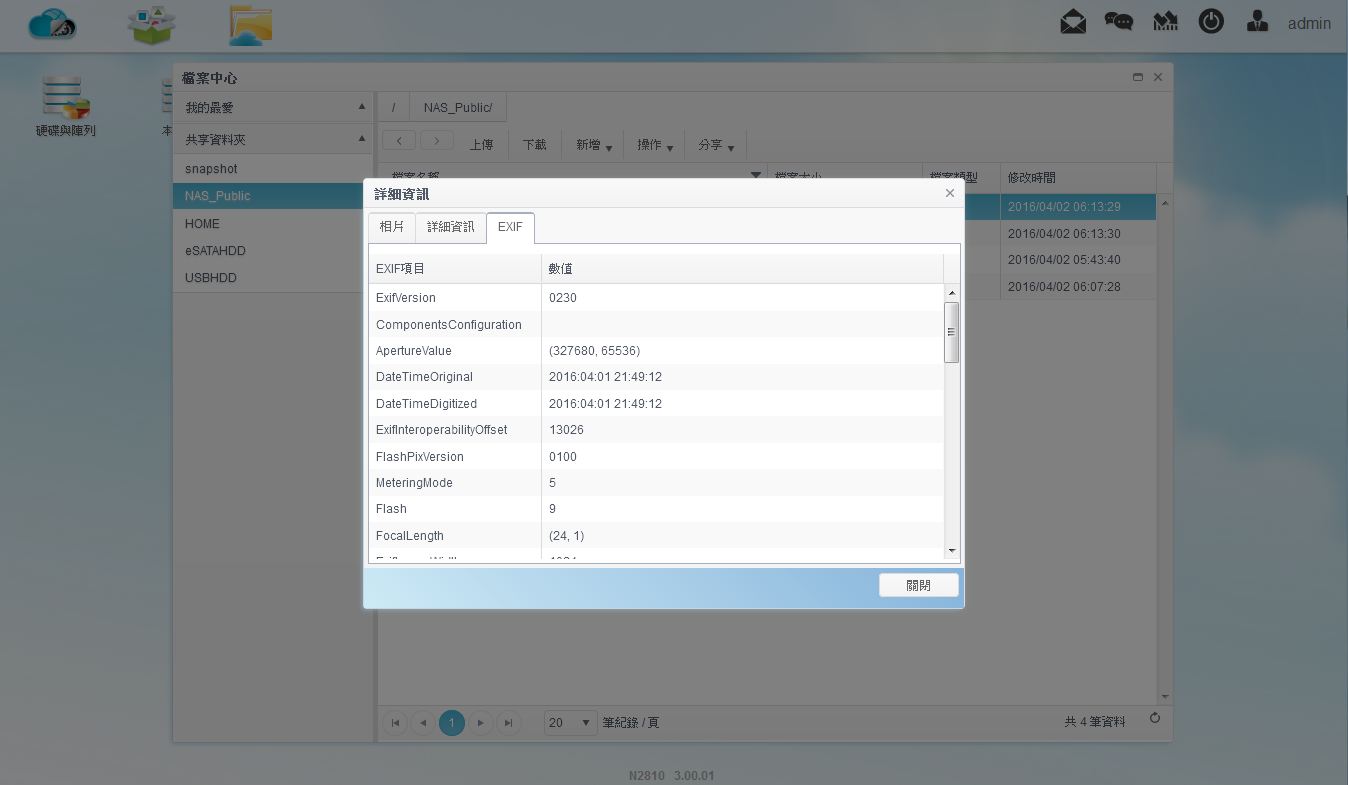
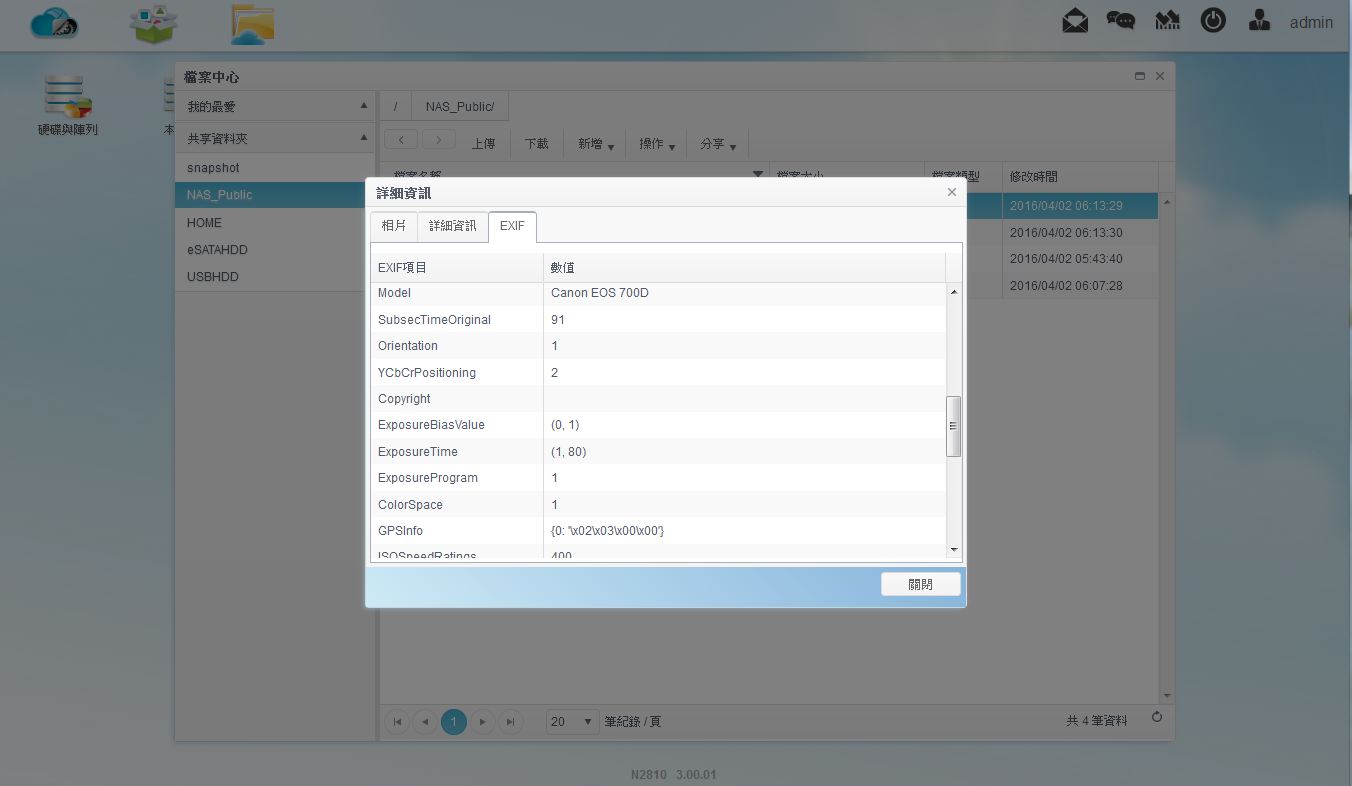
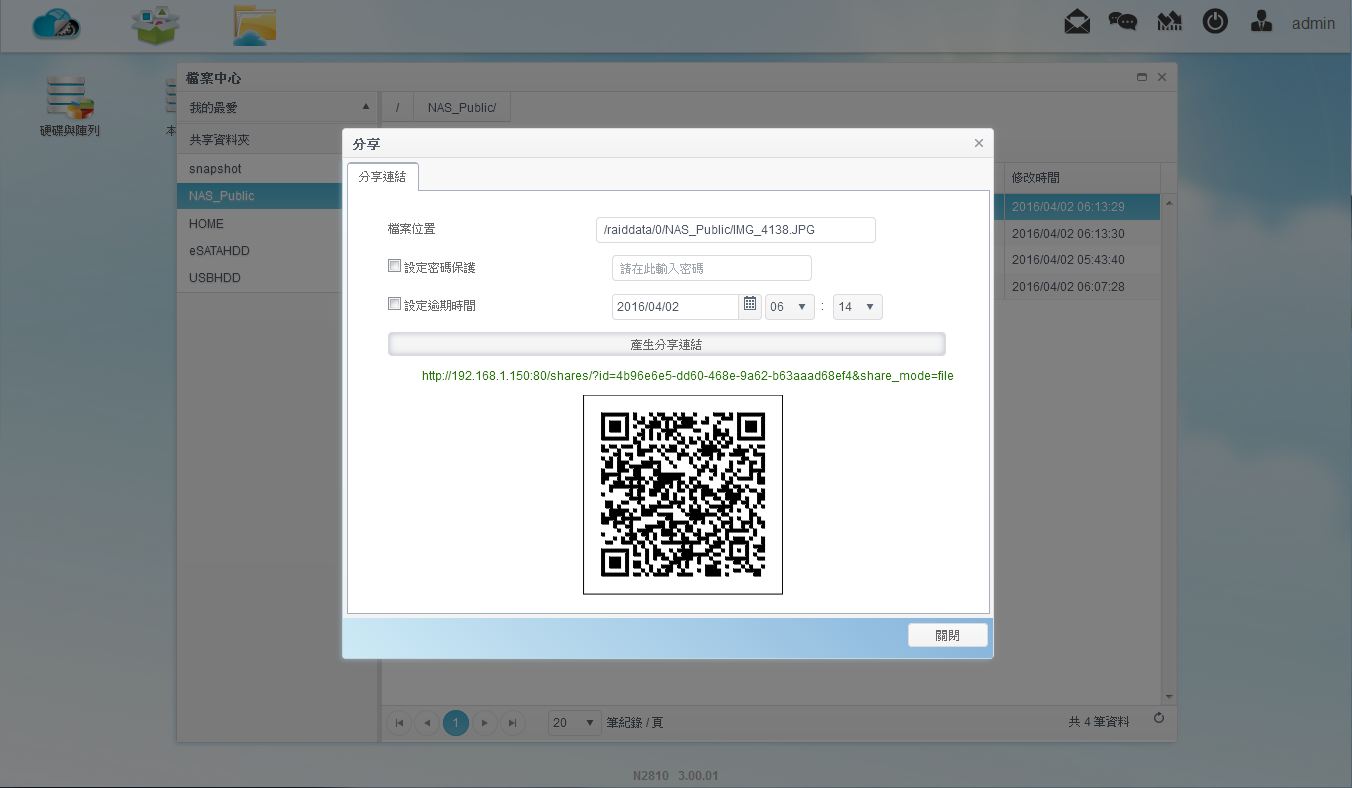
▼点选详细资料若为照片档可直接预览,且可以看到照片内的详细EXIF资讯
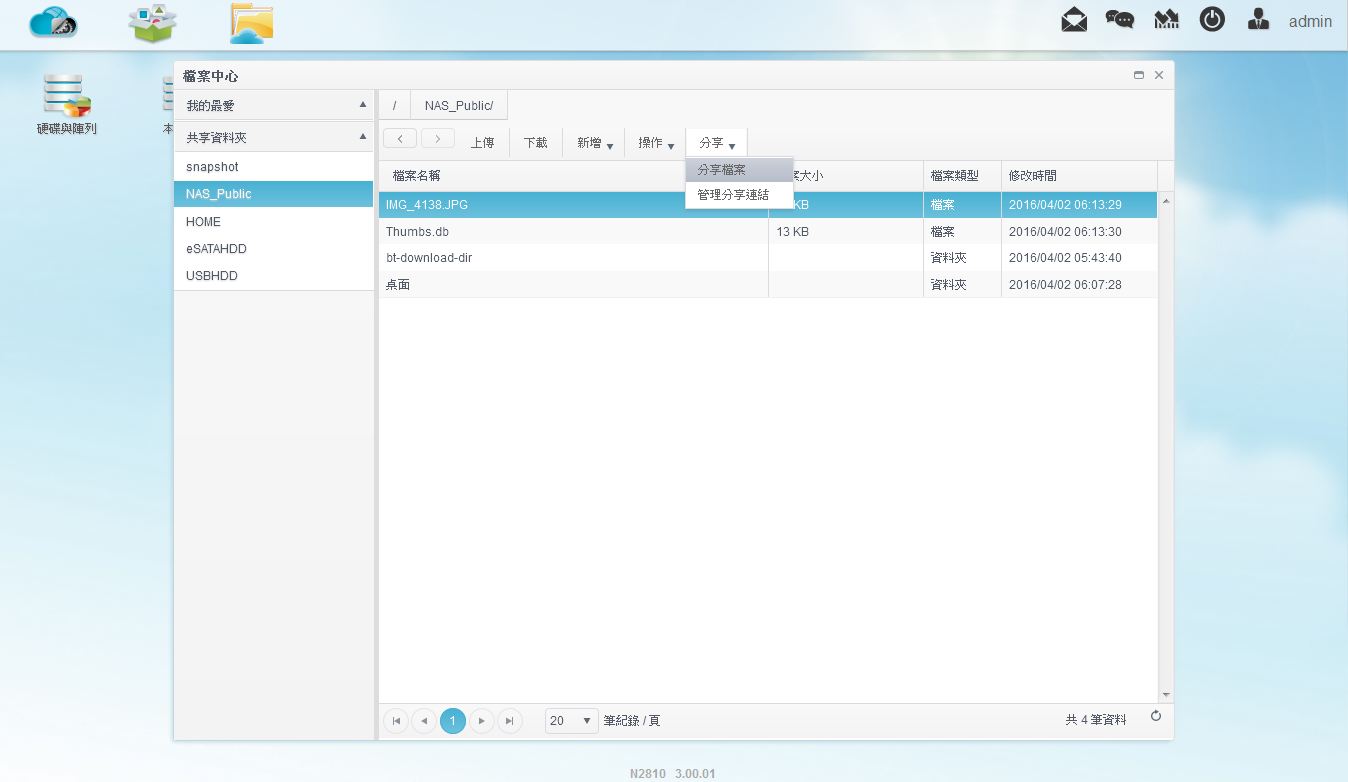
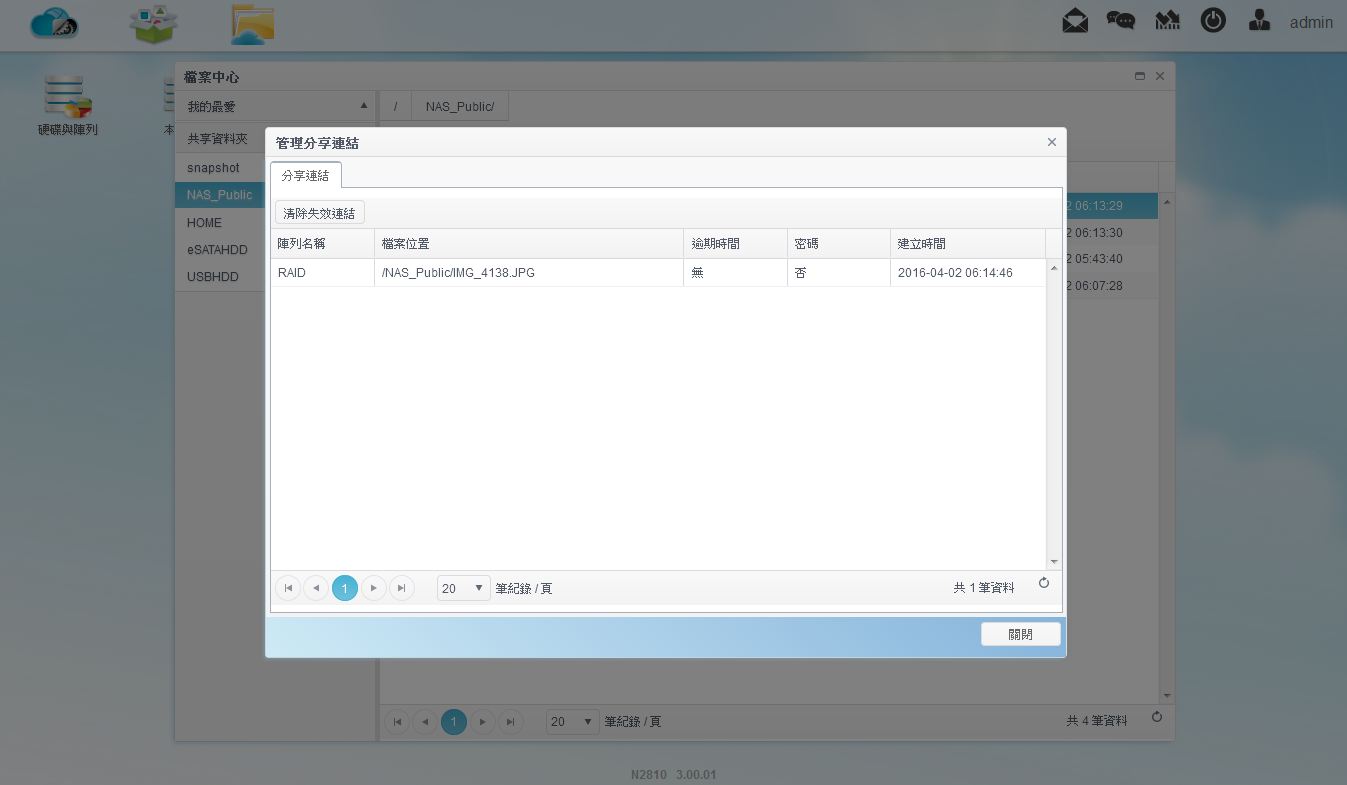
▼可直接分享档案,会形成一串网址与QR Code,且可针对分享网址做管理
 RAID设定与网路传输效能测试
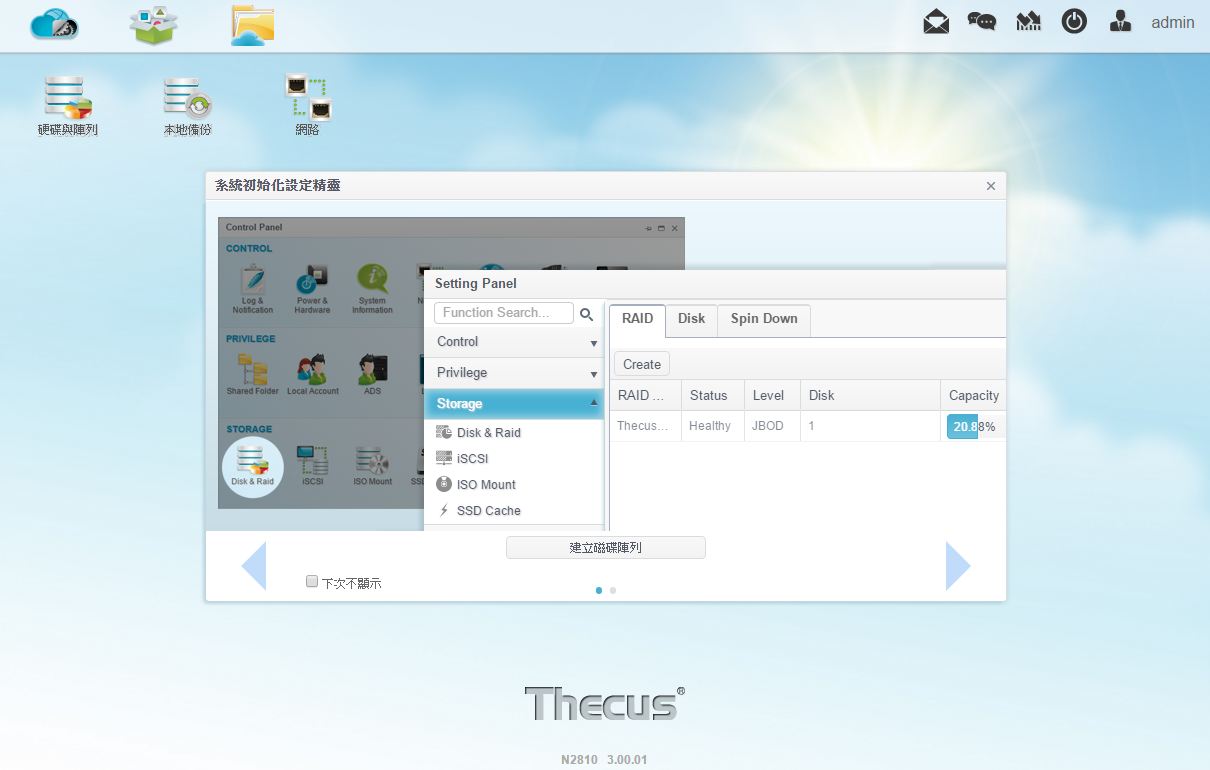
▼进入NAS内,若尚未设定RAID,则会提醒要建立RAID
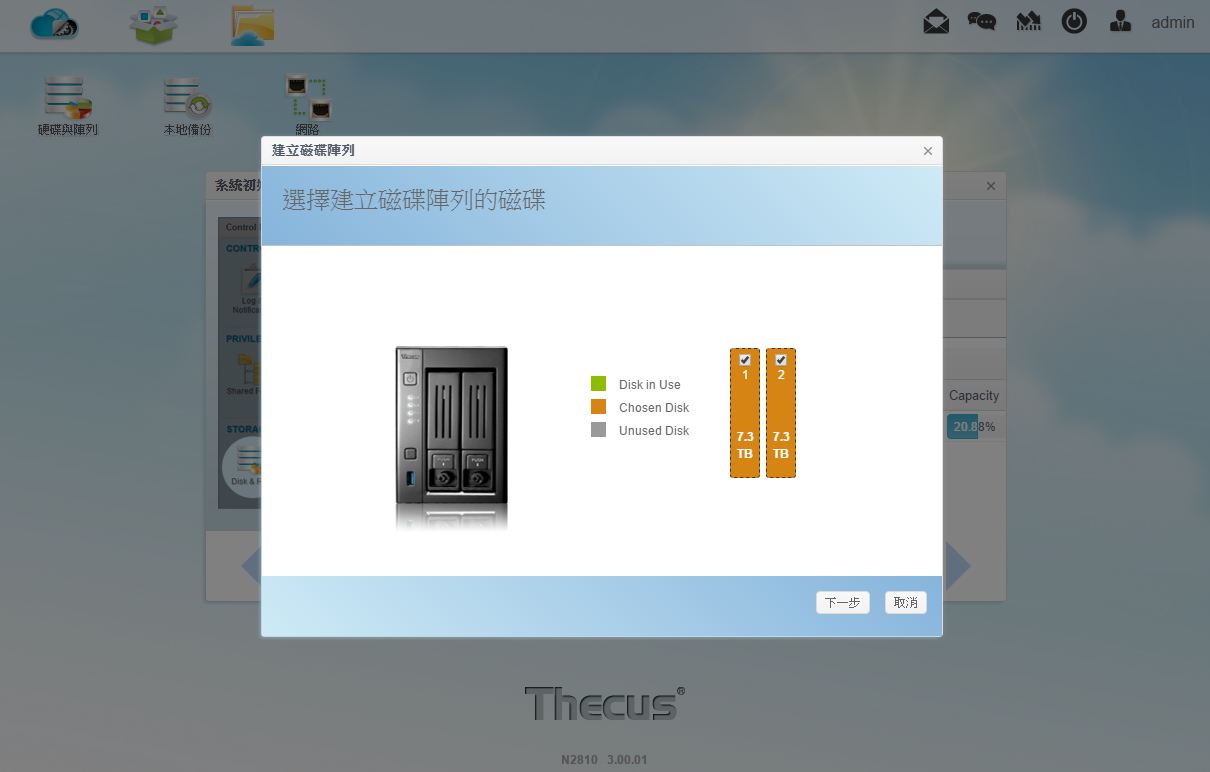
▼可看到硬碟容量并选择要使用的硬碟
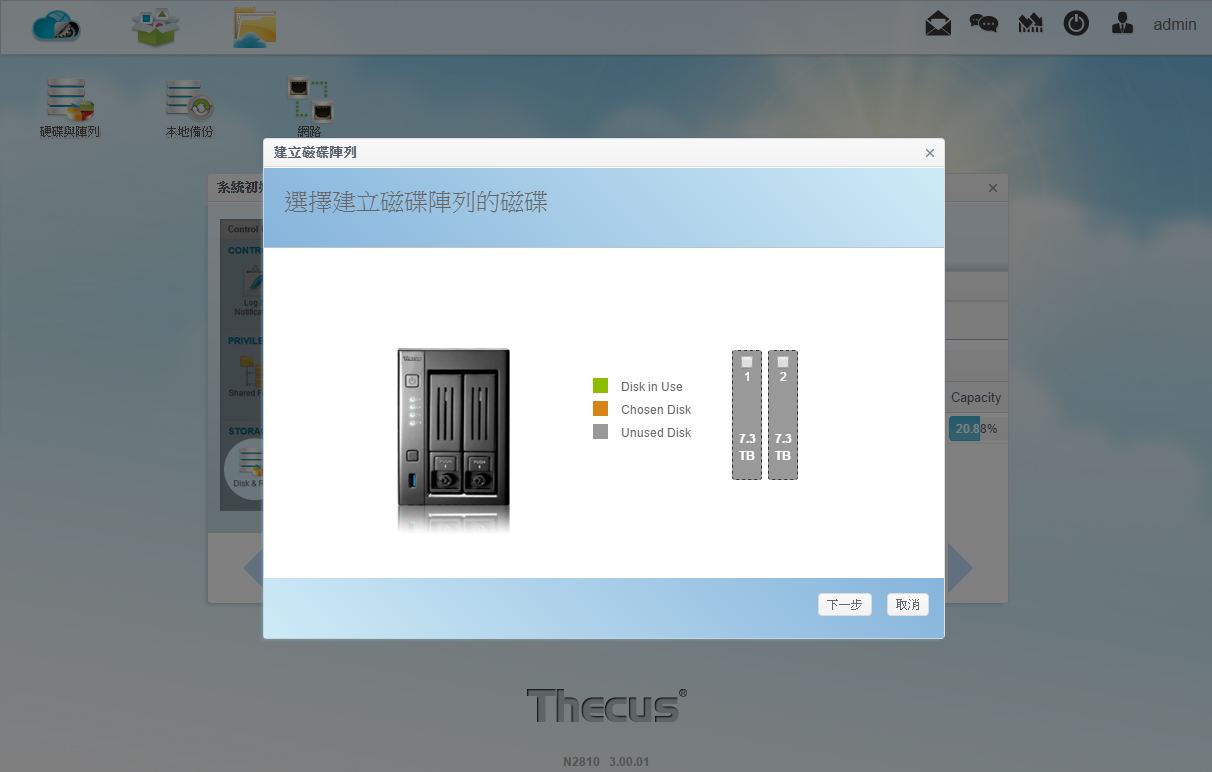
▼勾选硬碟
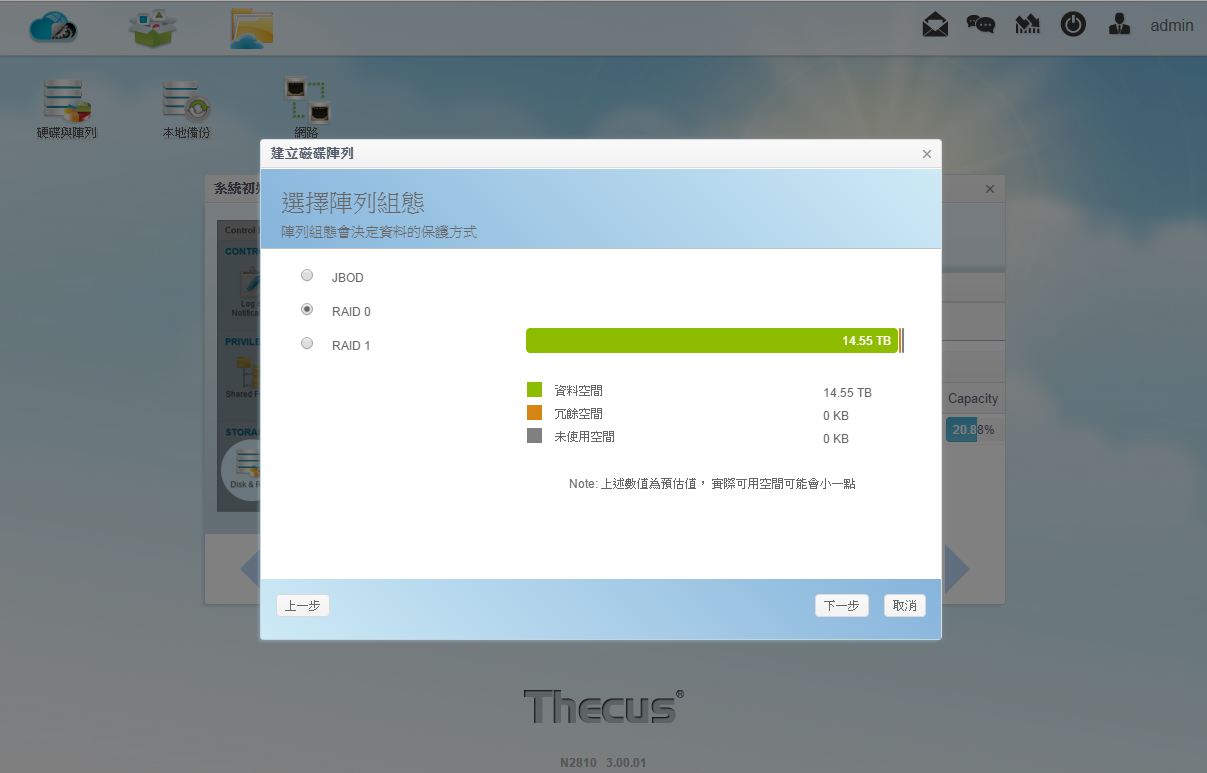
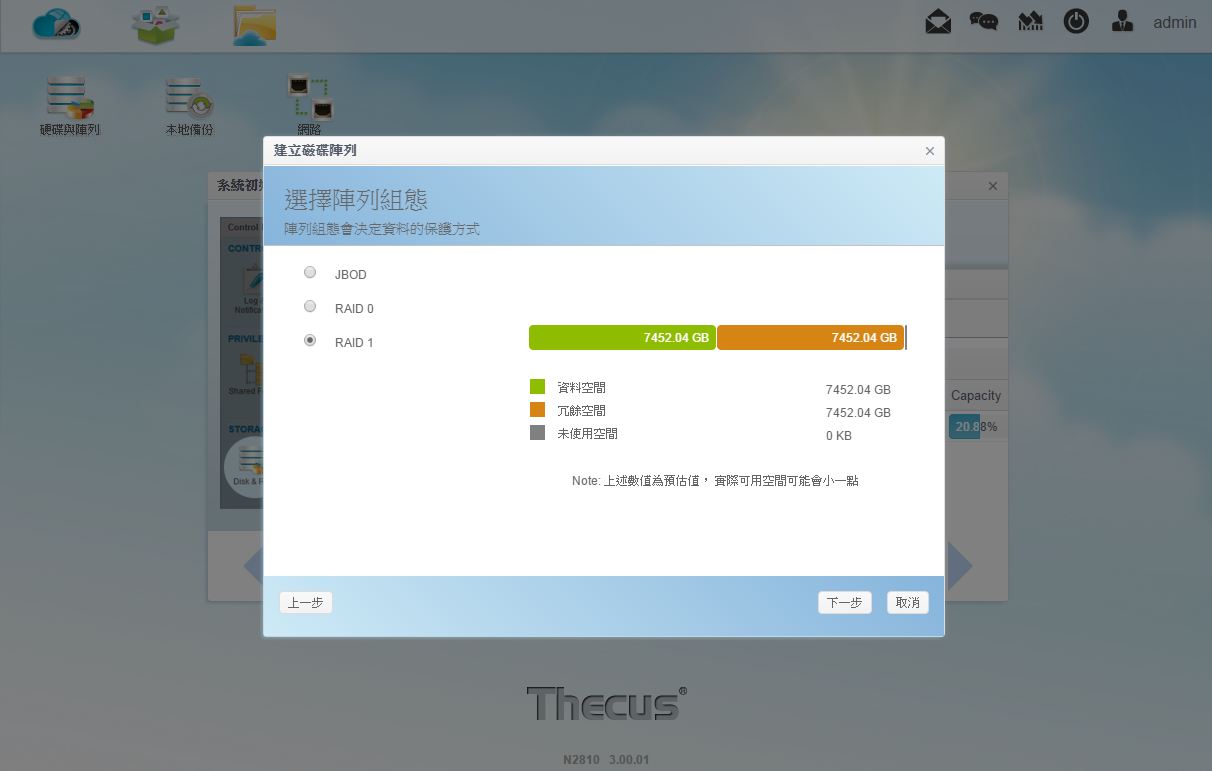
▼RAID模式选择,并可以看到各种模式可使用的容量

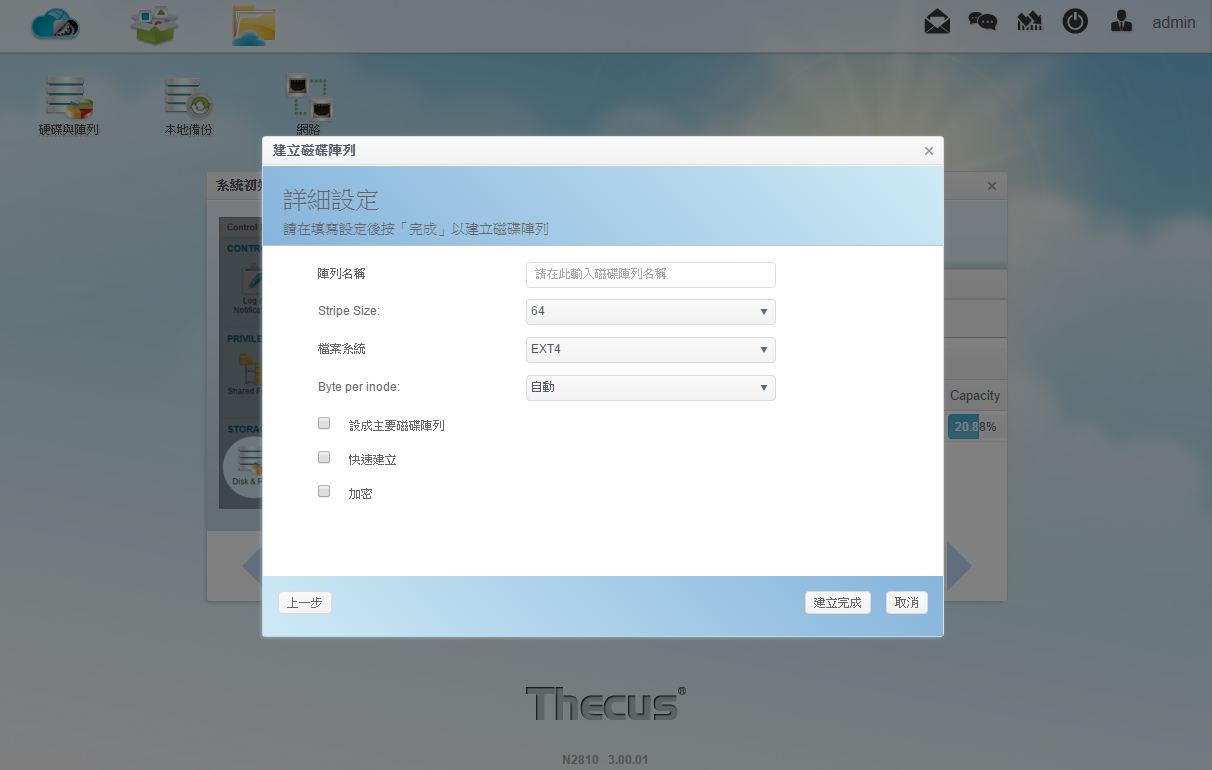
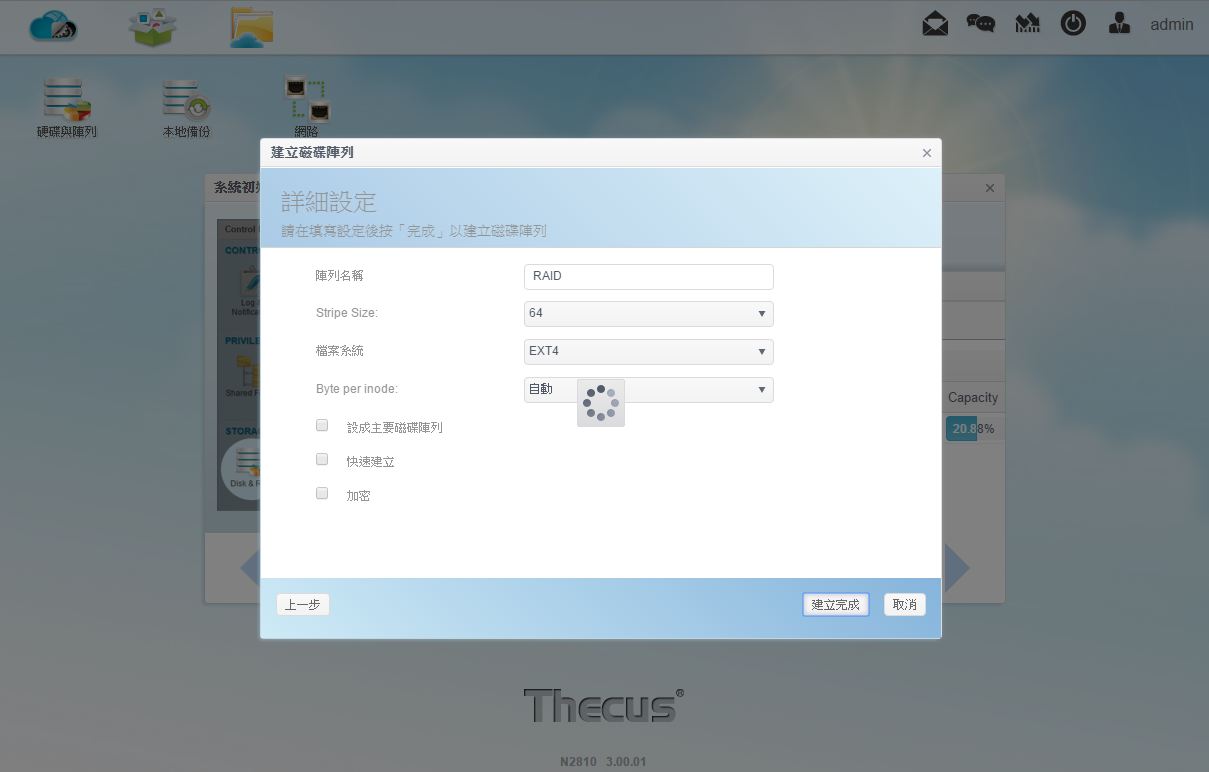
▼RAID名称、格式与细项设定
▼RAID设定套用中
▼RAID建立完成

▼RAID Build完成
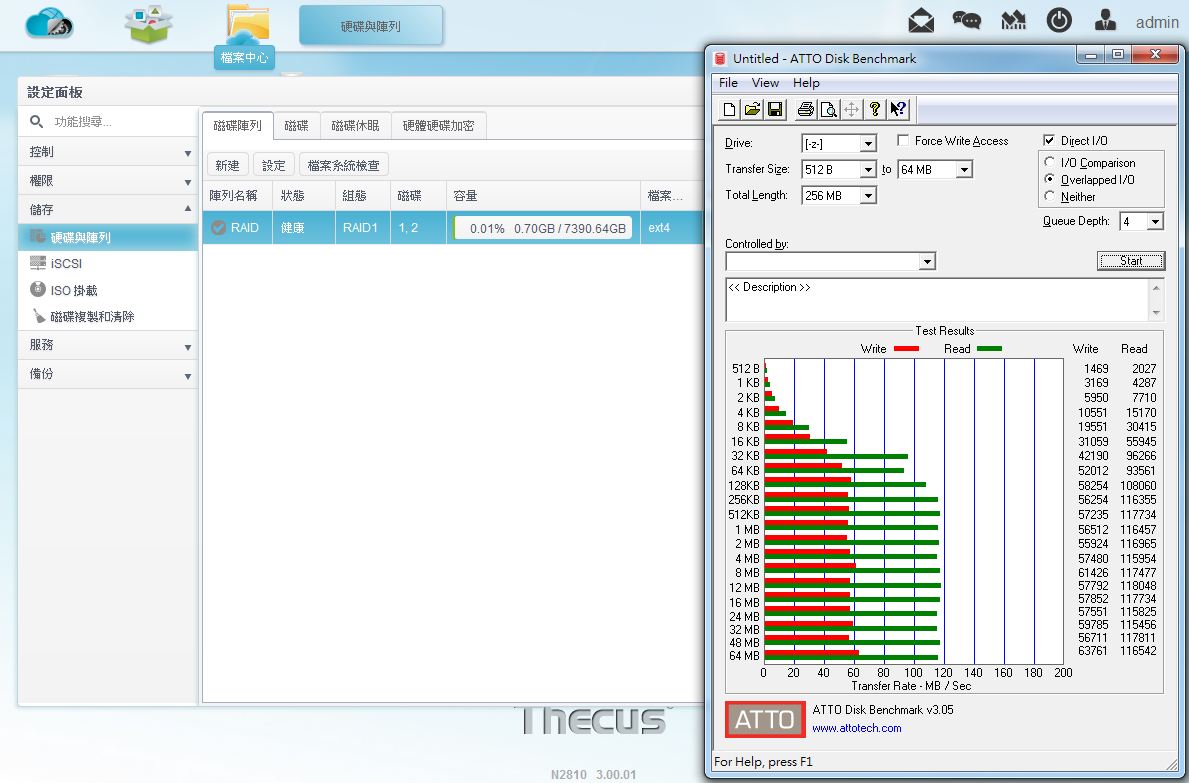
▼ATTO Disk Benchmark(RAID1)
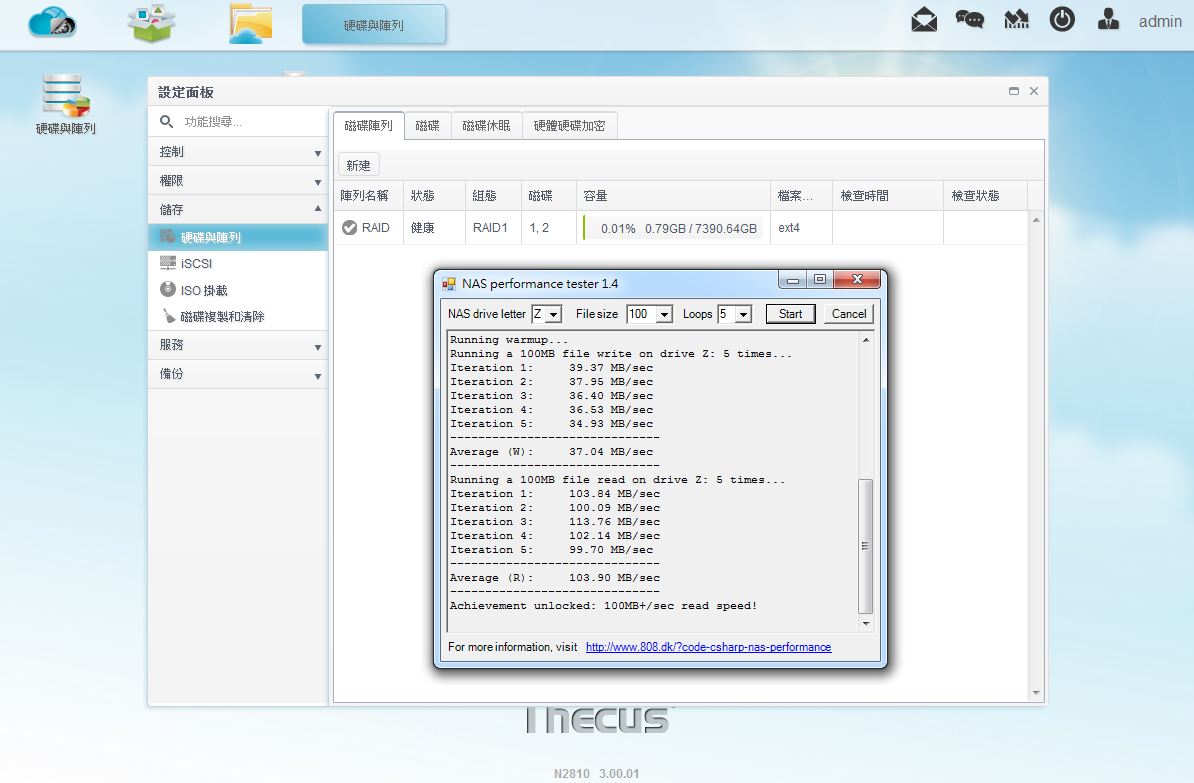
▼NAS performance tester 100MB(RAID1)
▼NAS performance tester 400MB(RAID1)

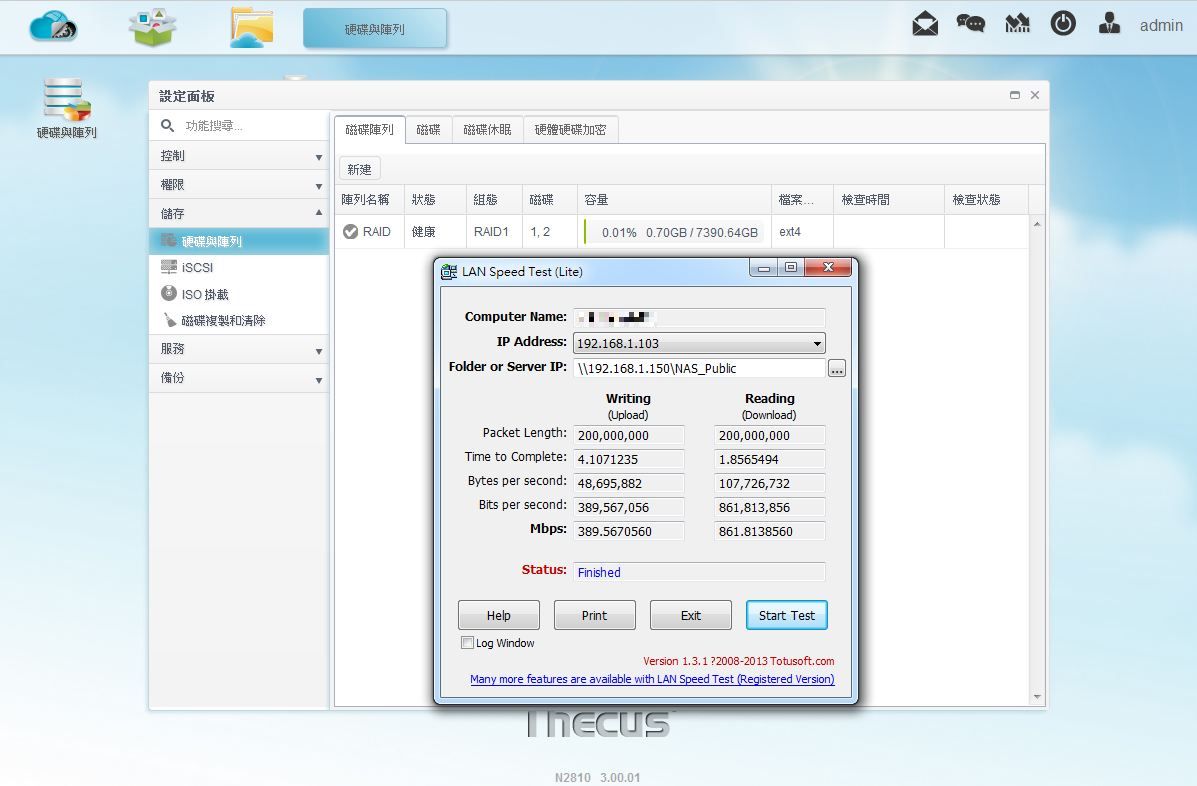
▼LAN Speed Test 200MB(RAID1)
▼LAN Speed Test 2000MB(RAID1)
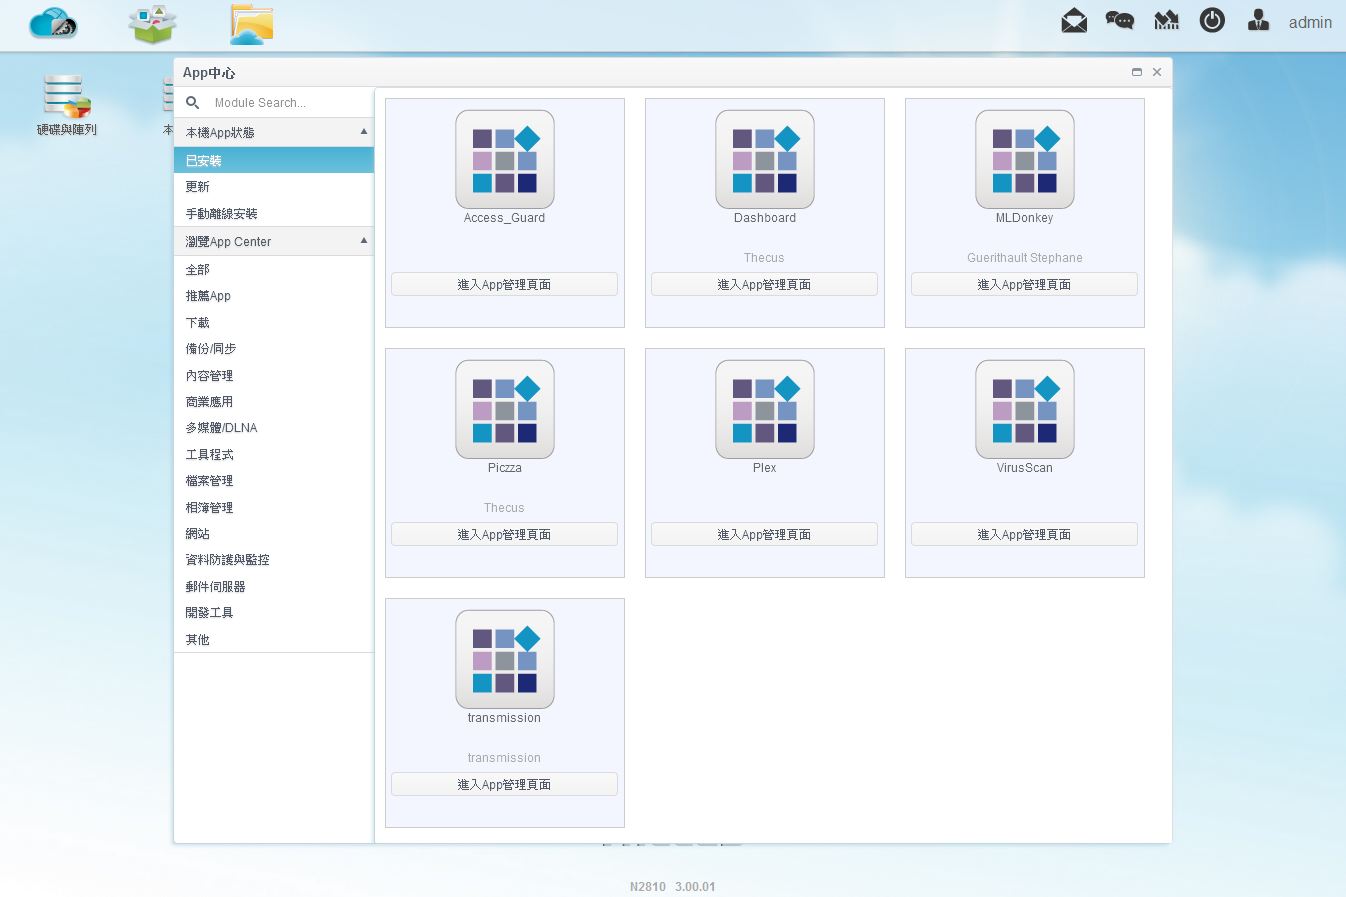
 Thecus N2810 App安装介绍
N2810 App部分可自行手动安装也可在分类中选取想使用的App软体,可安装App让NAS功能更加强大,应用更加广泛
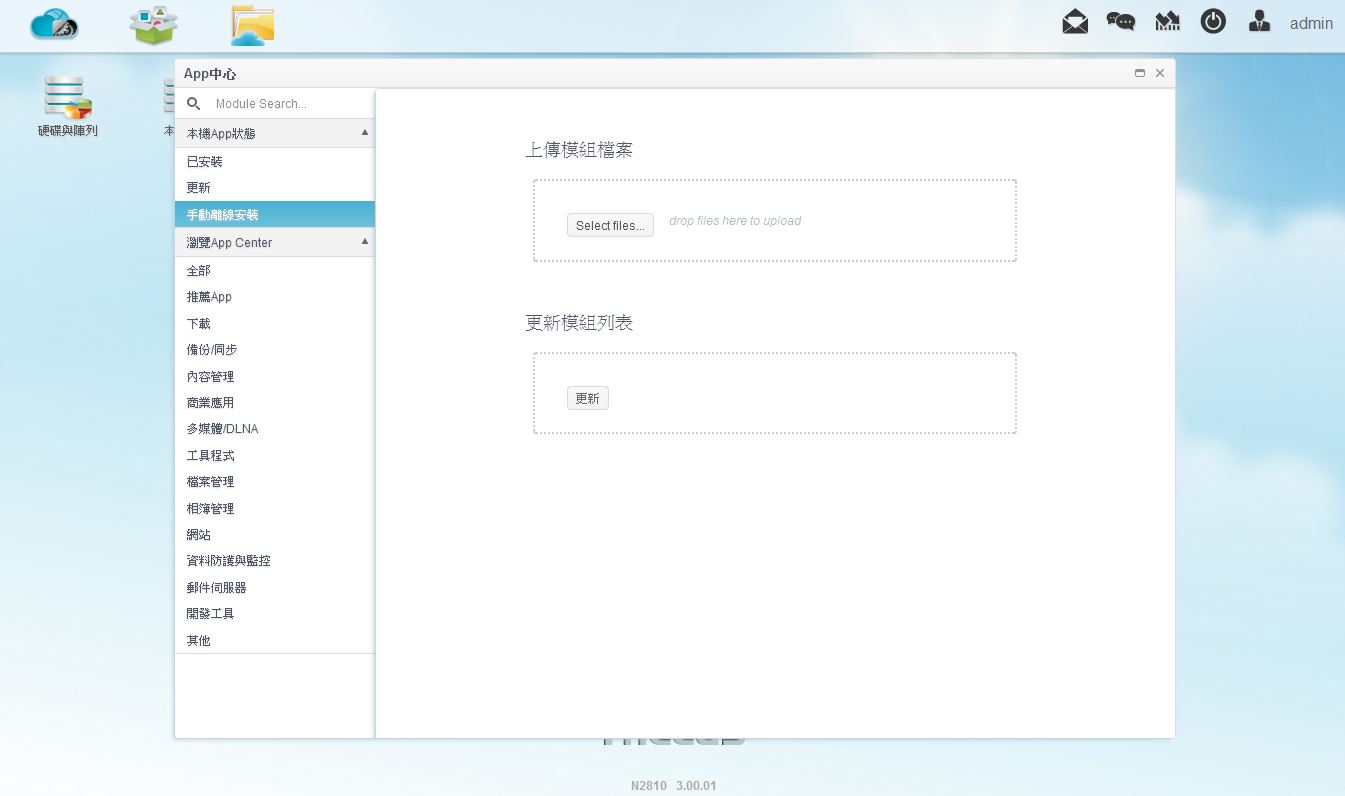
▼网页中也可以下载App做手动安装
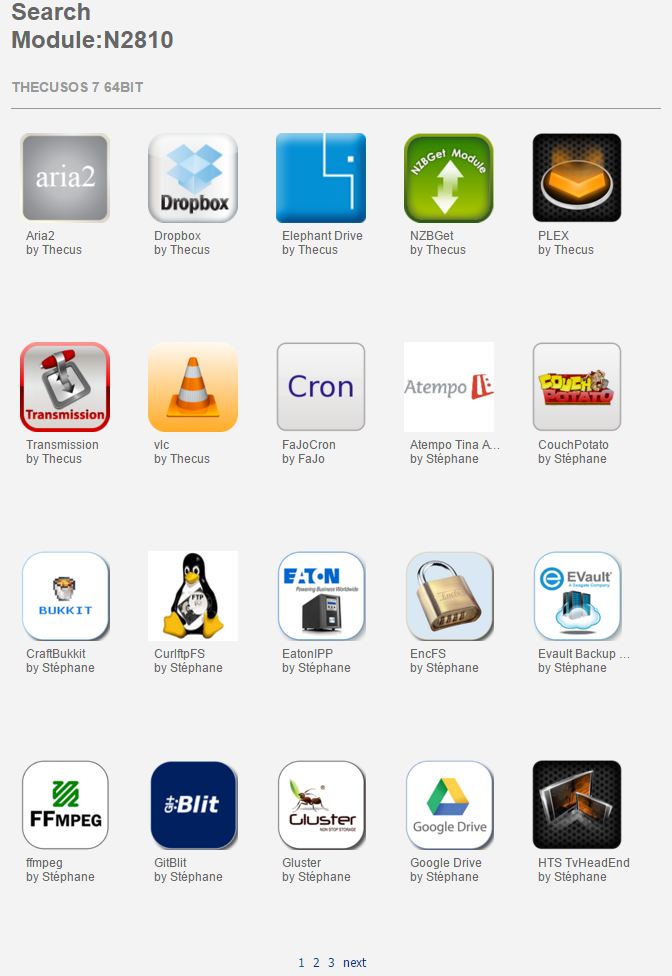
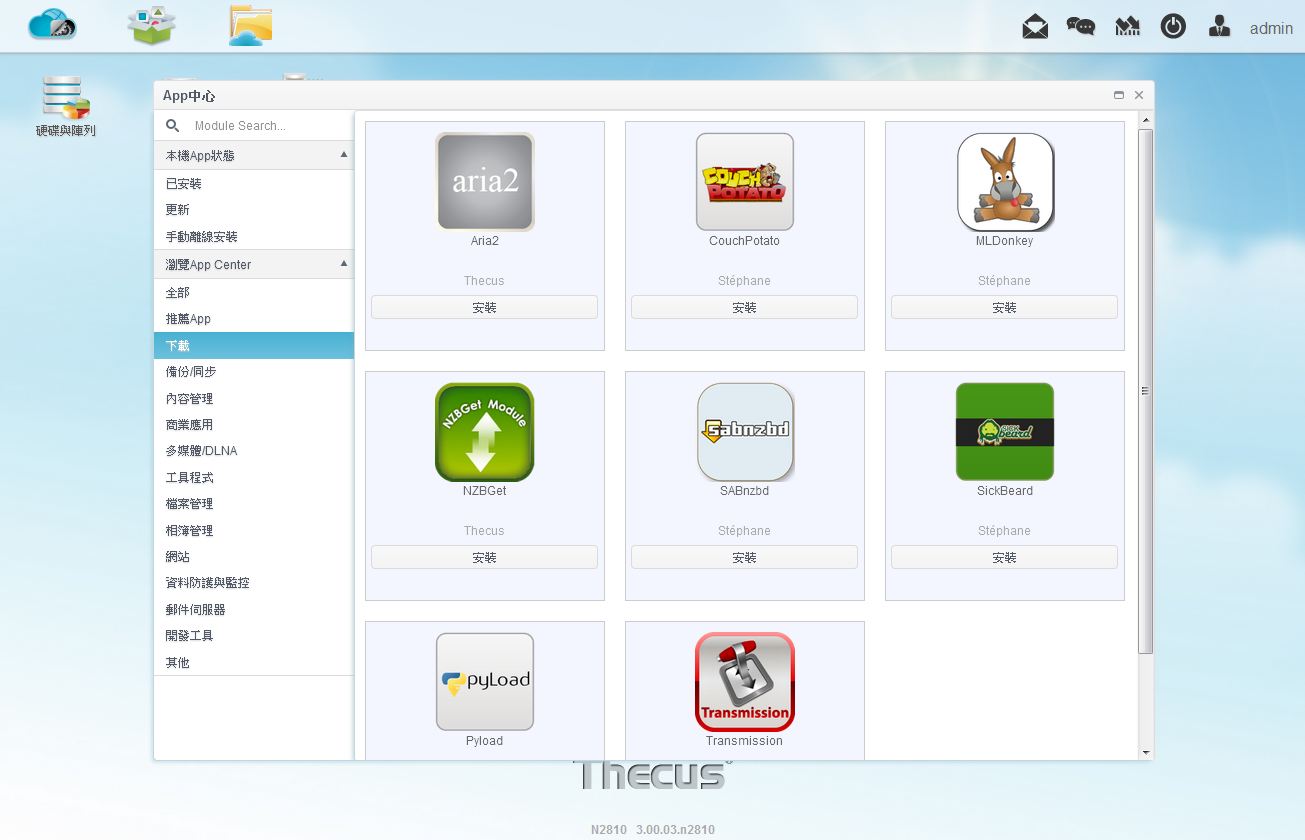
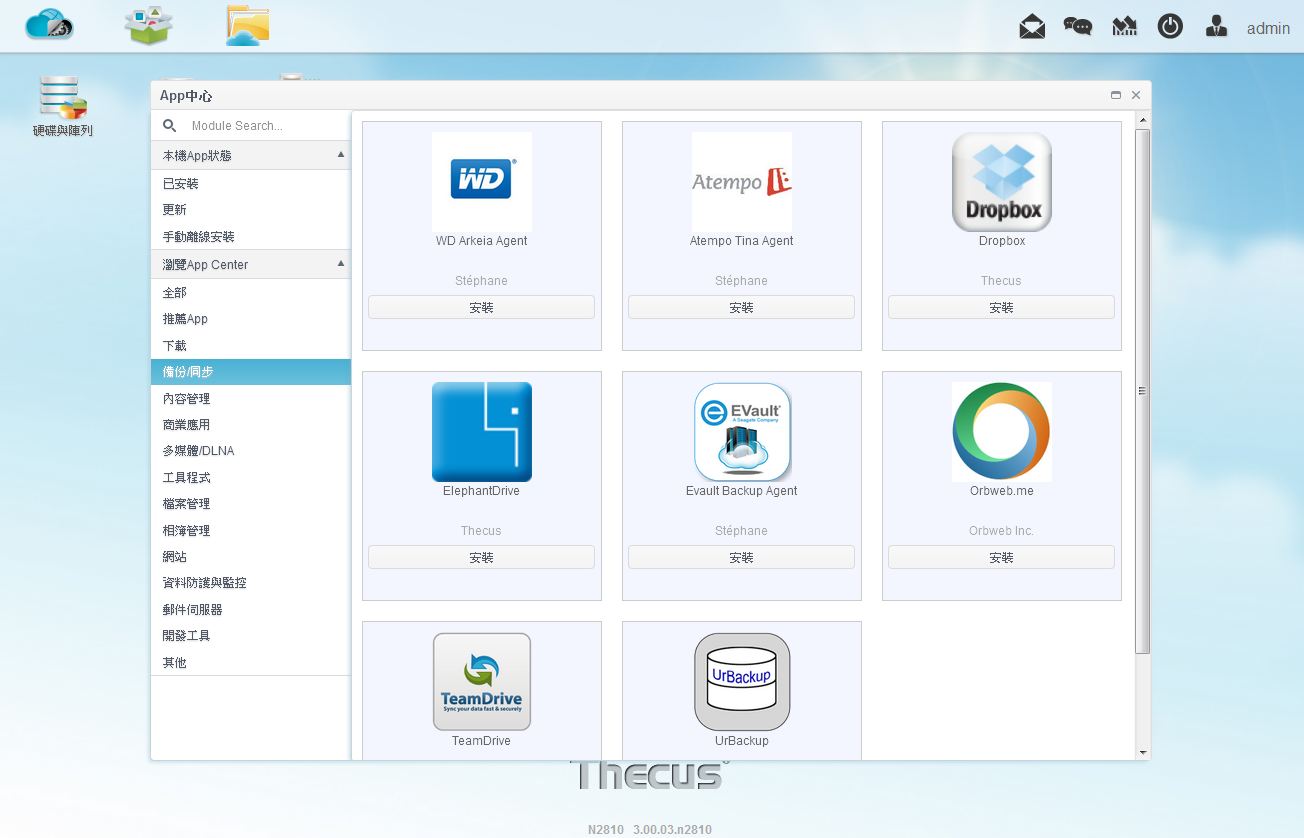
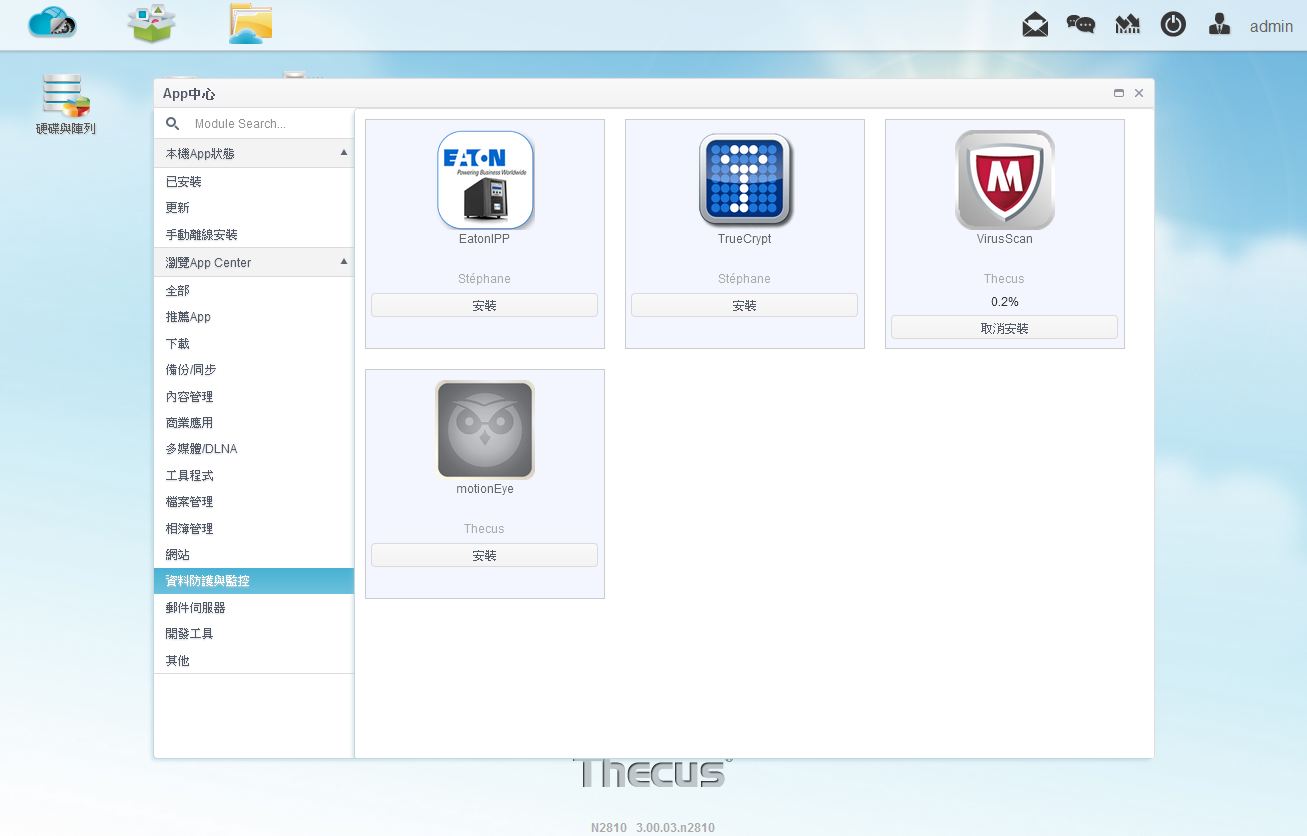
▼App已做好分类,使用者可依据不同需求并从分类中寻找
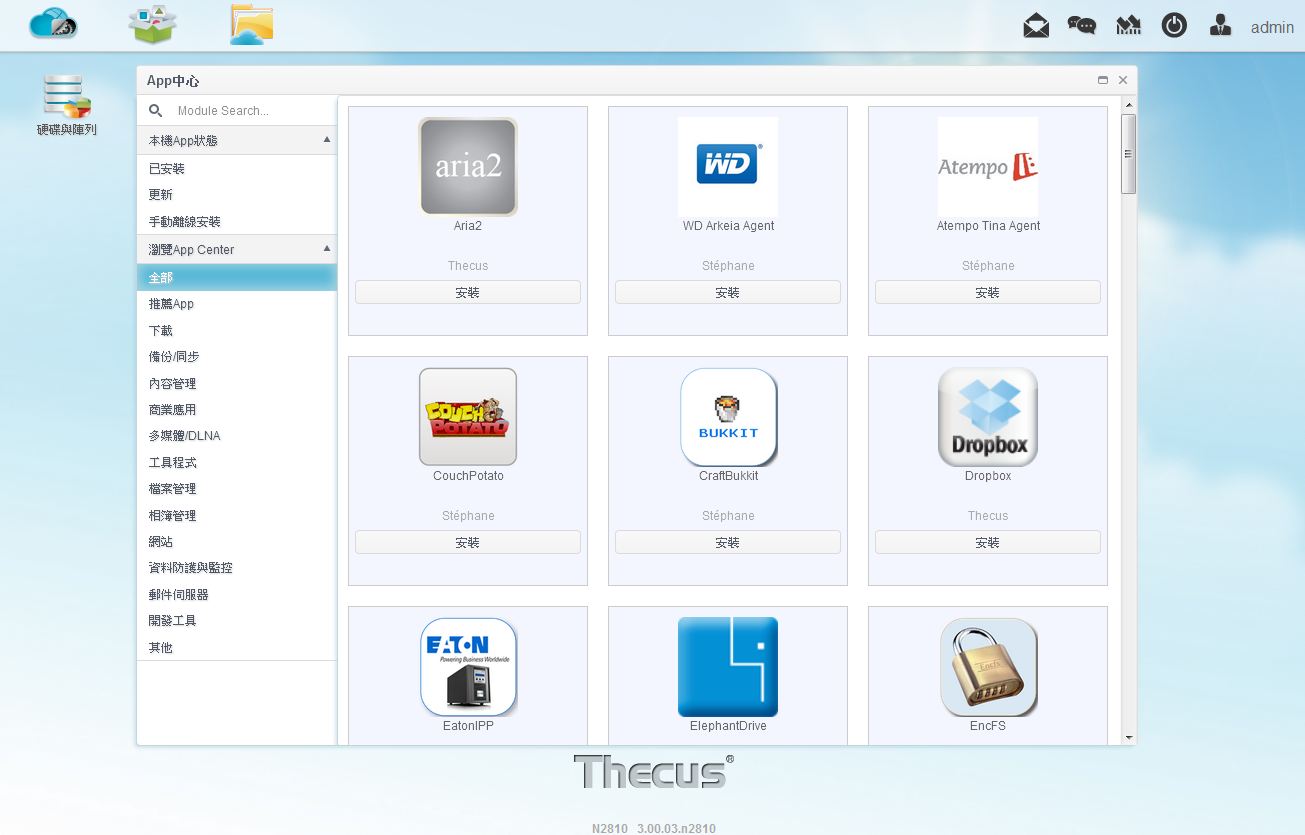

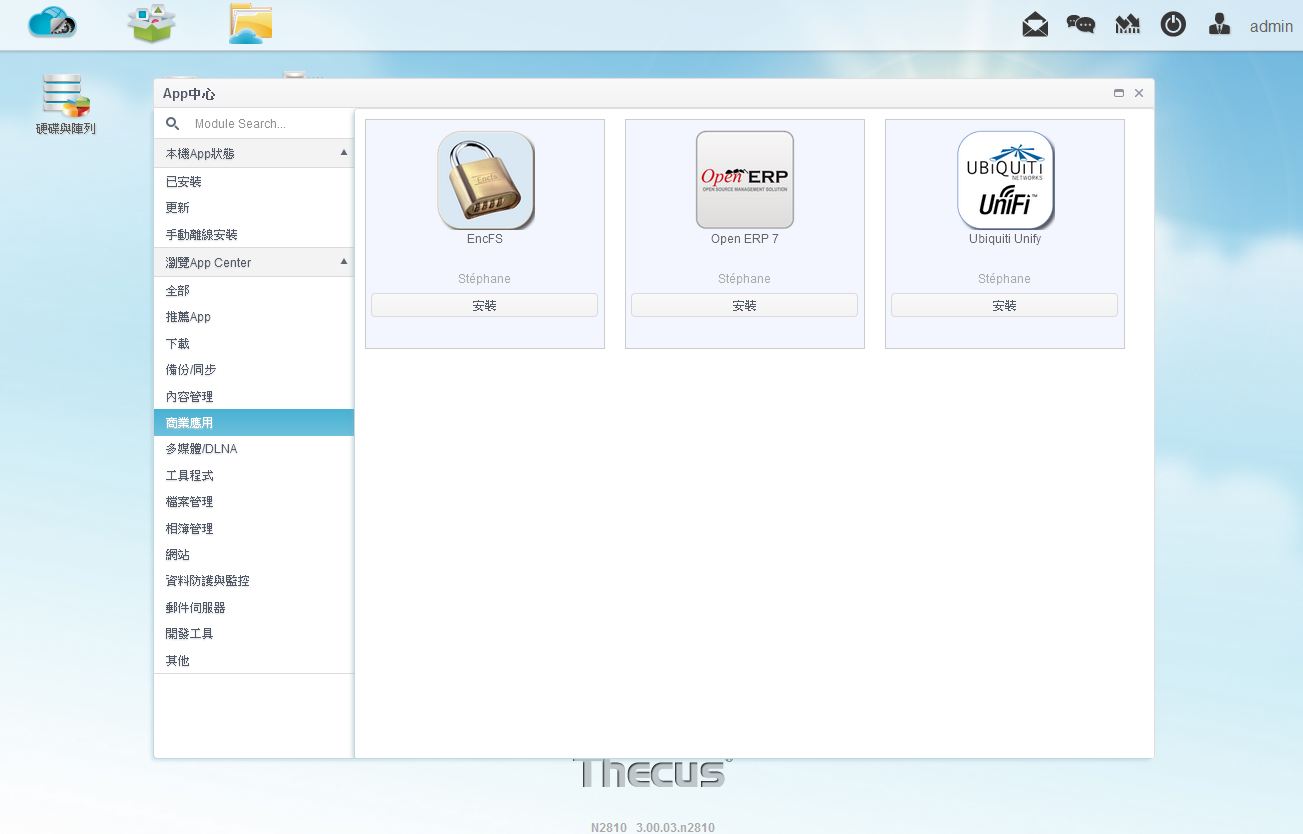

▼若采用自动安装则直接点选安装,就会看到安装进度
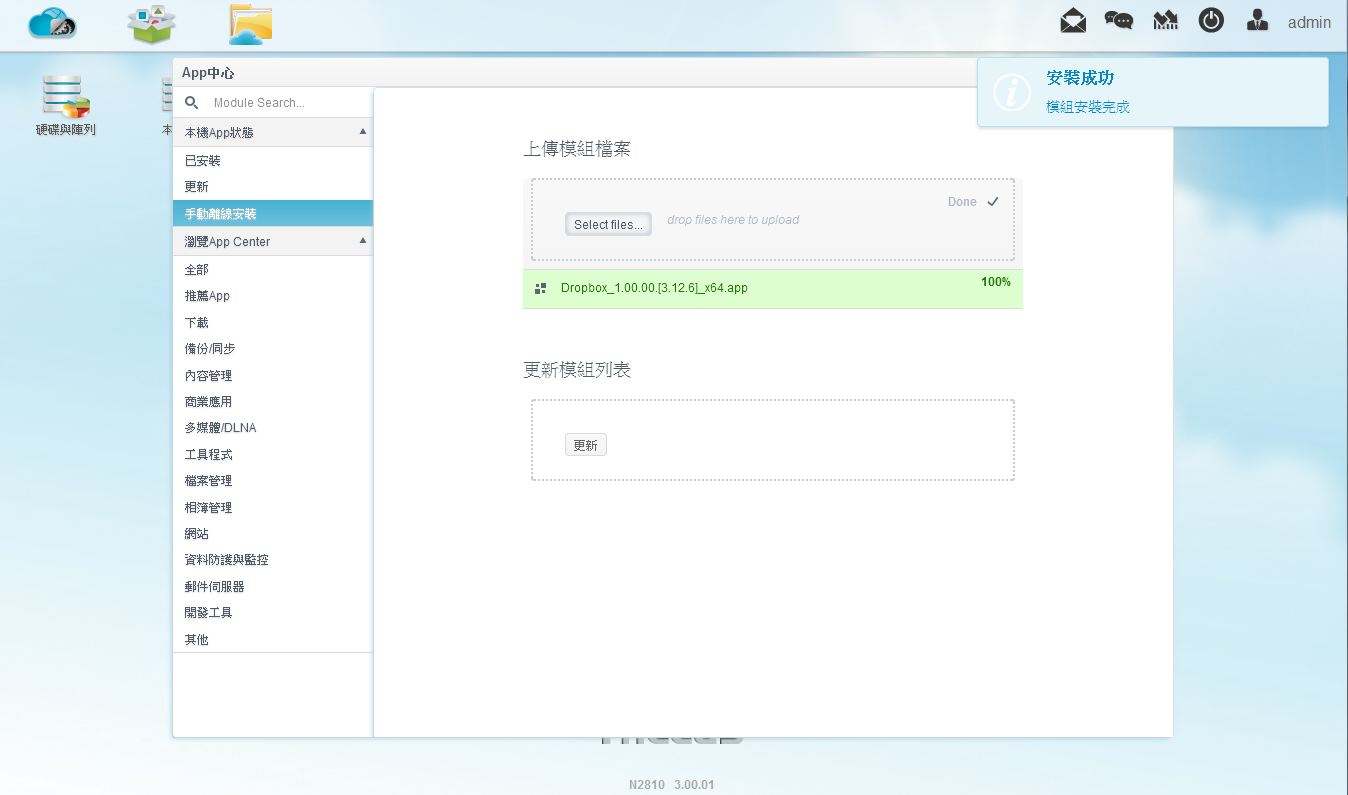
▼手动安装App部分则是将App软体下载至电脑上,在上传到NAS中做安装
▼App安装中

▼App安装完成
▼查看已安装的App软体
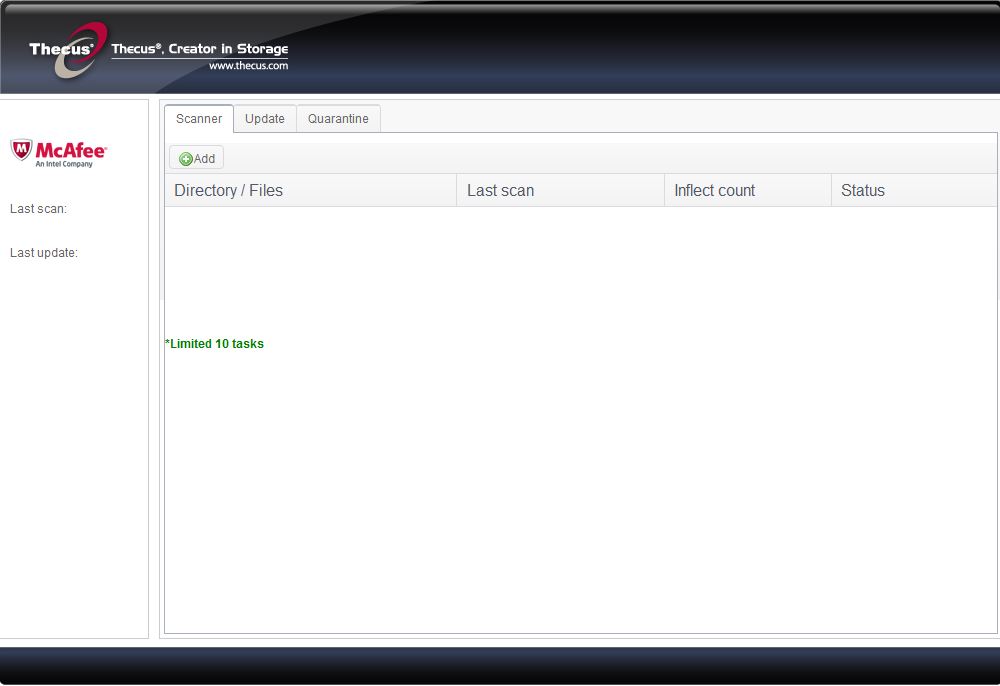
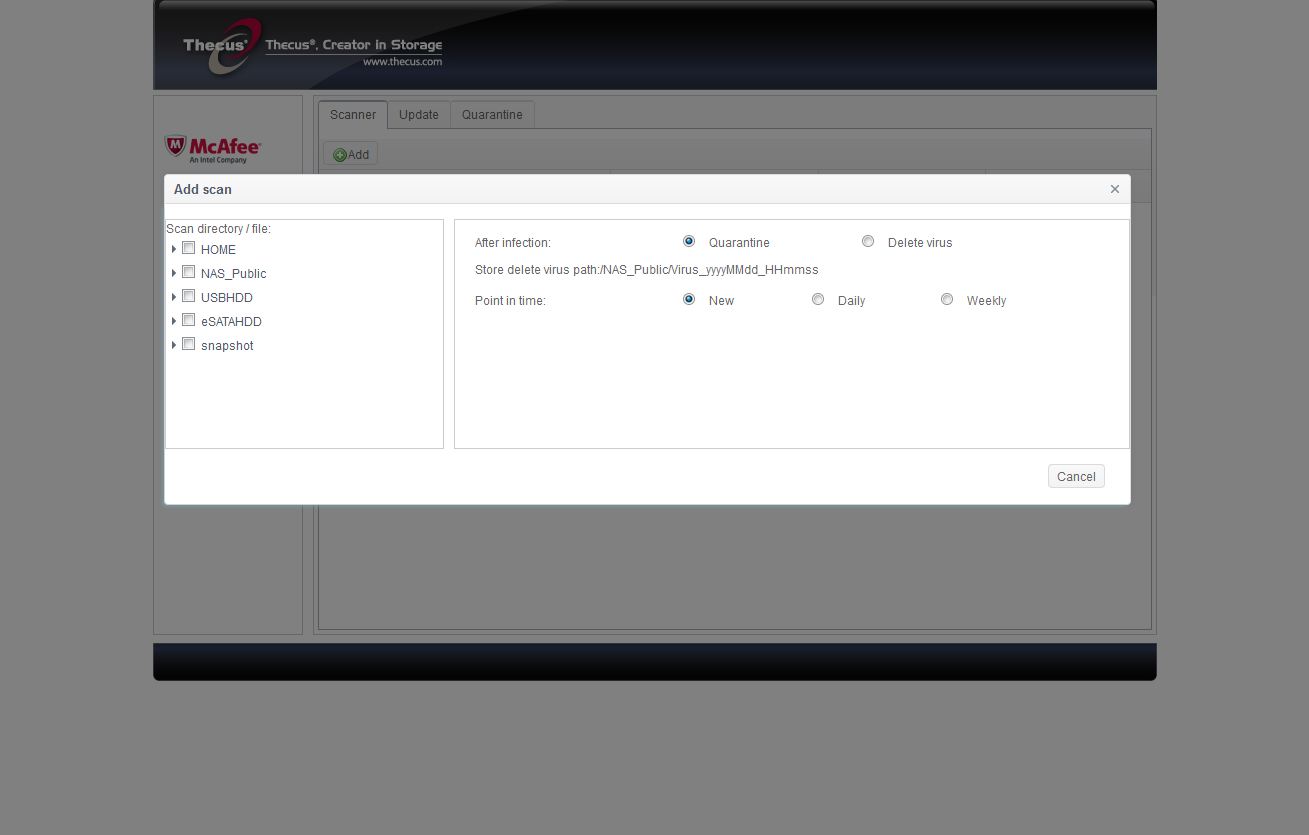
 Thecus N2810应用与备份介绍防毒软体-McAfee
防毒软体在NAS内是非常重要的脚色,可以确保进入NAS内的资料是没有病毒的,避免NAS也深受病毒的侵害
▼McAfee软体介面
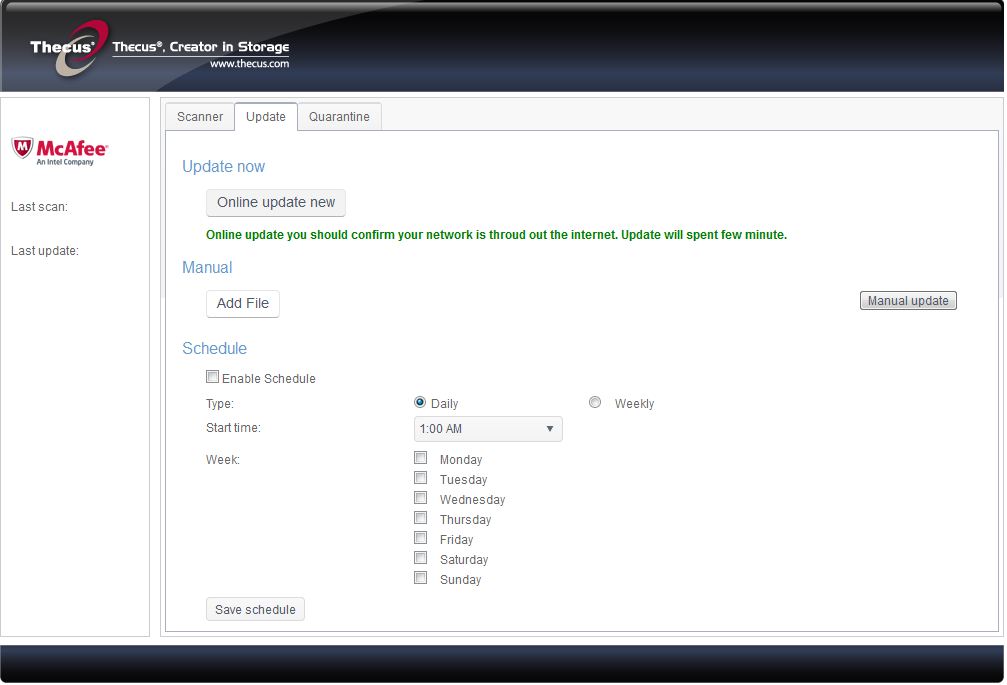
▼更新功能
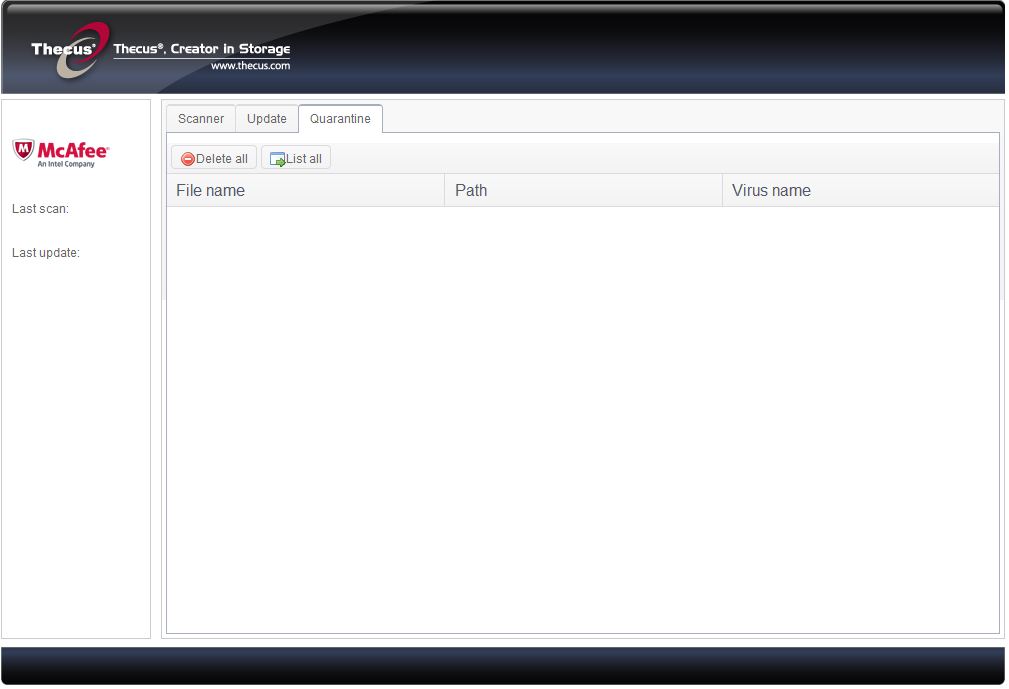
▼病毒隔离区
▼新增扫描任务,点选资料夹或档案,并可设定自动扫描频率
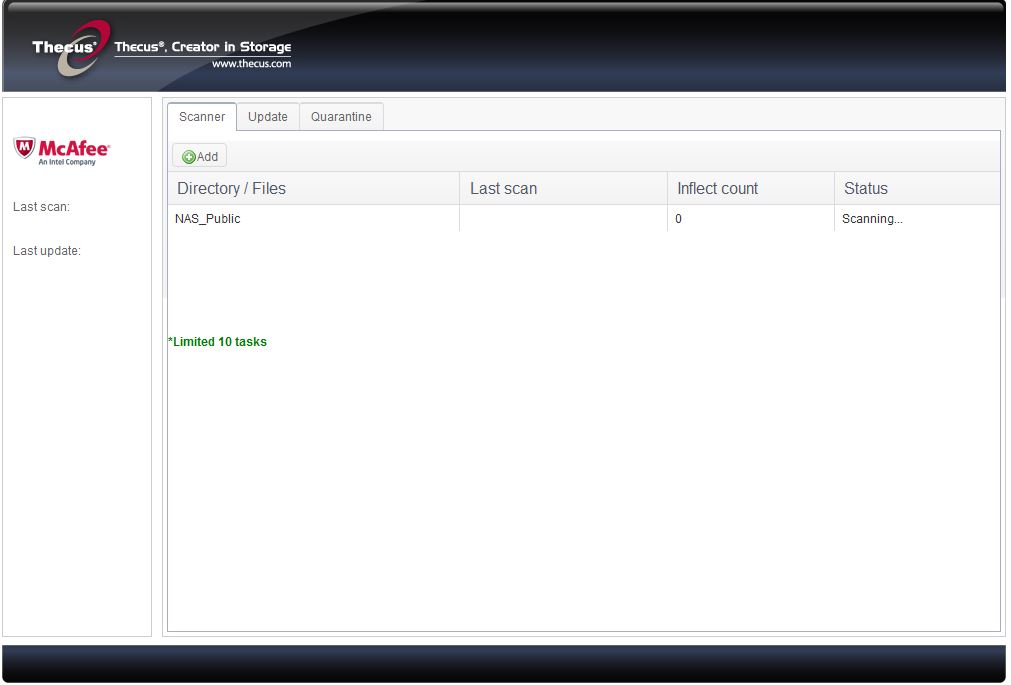
▼病毒扫描中
▼扫描完成
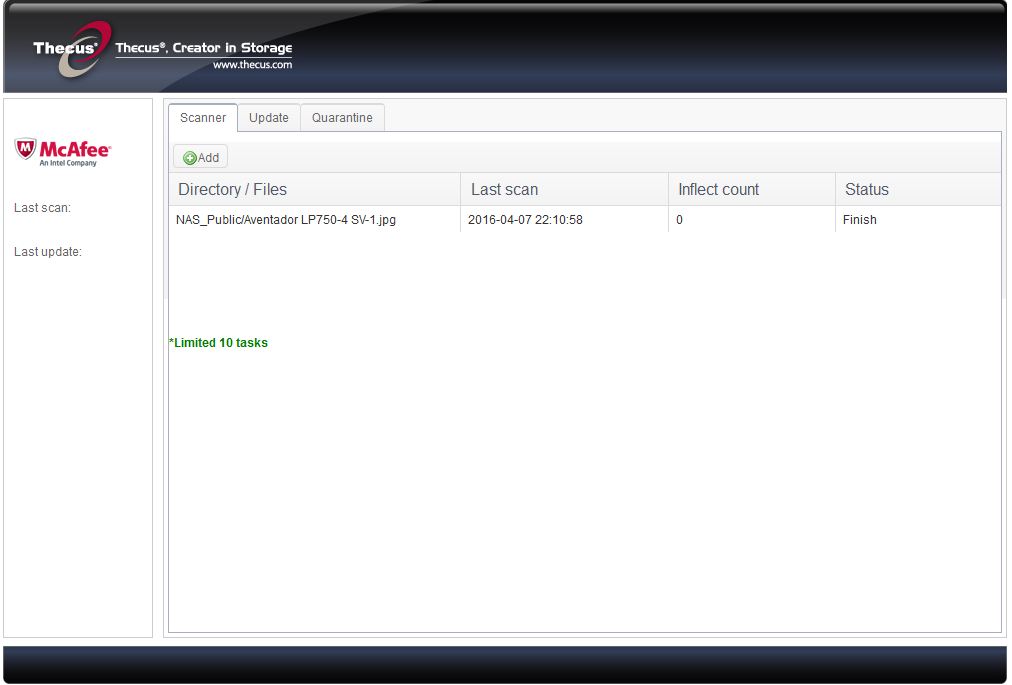
操作介面简单,相当容易上手,让使用者可以安安心心将资料存放在NAS内
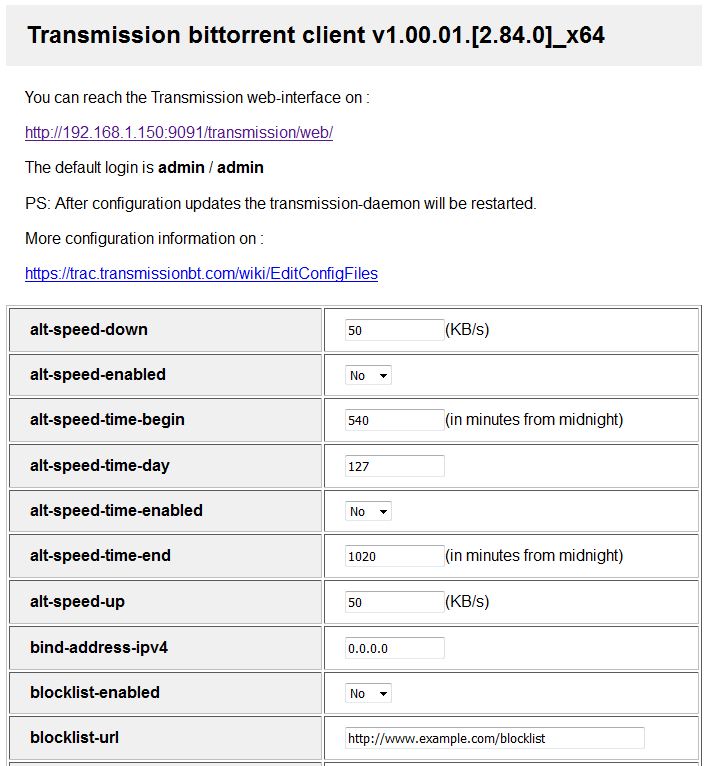
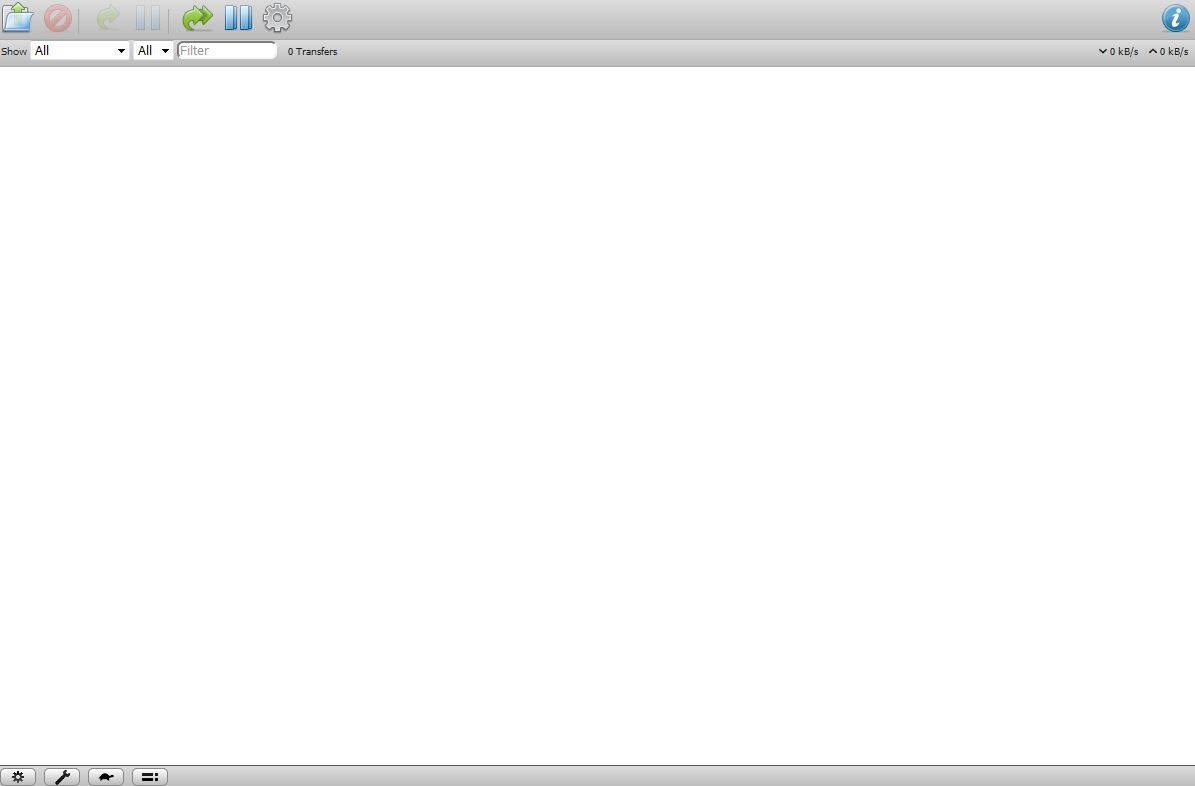
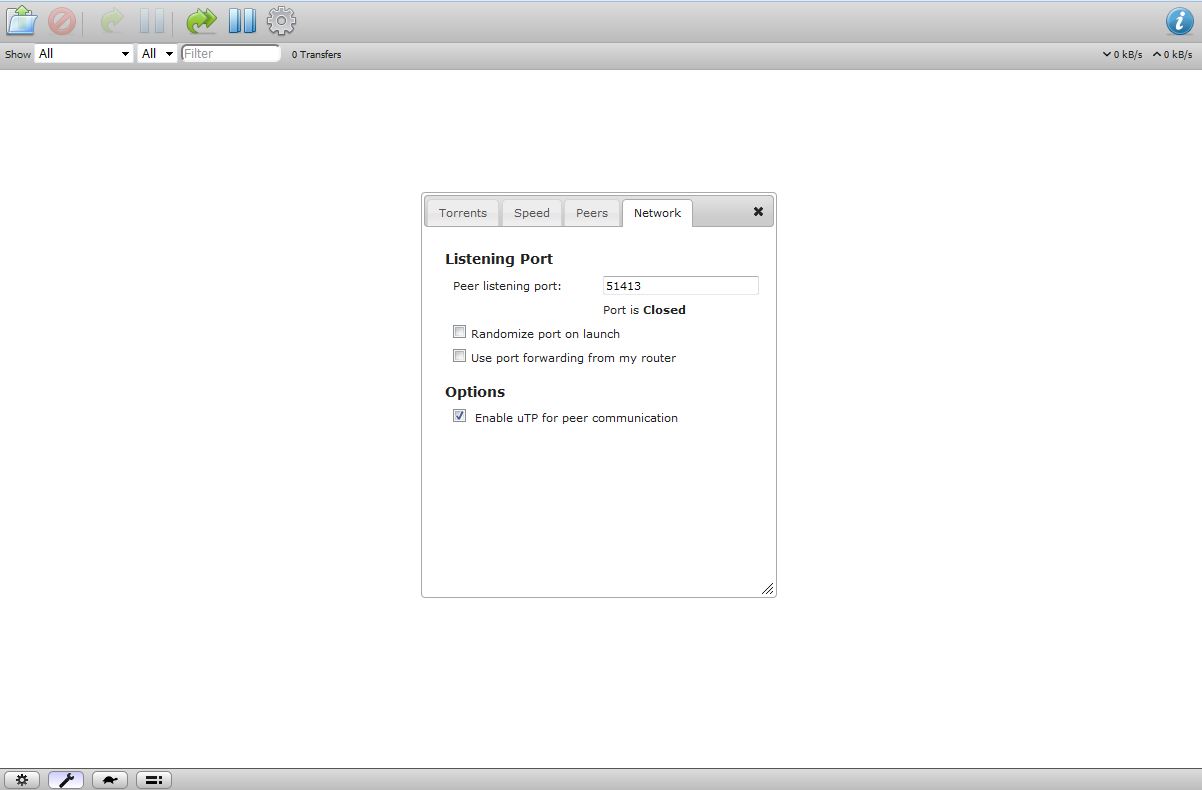
BT下载-Transmission 很多人包括小弟在内,应该都有下载BT的习惯,大部分的人都是组一台动物机来下载,但在怎么省电还是不比一台NAS来的省电与方便,N2810同样可以安装软体即可直接下载BT
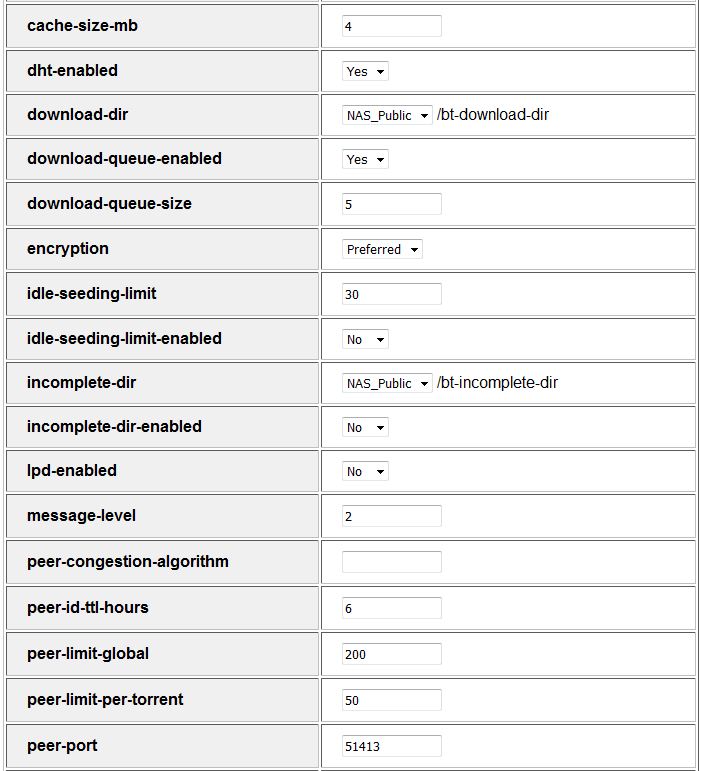
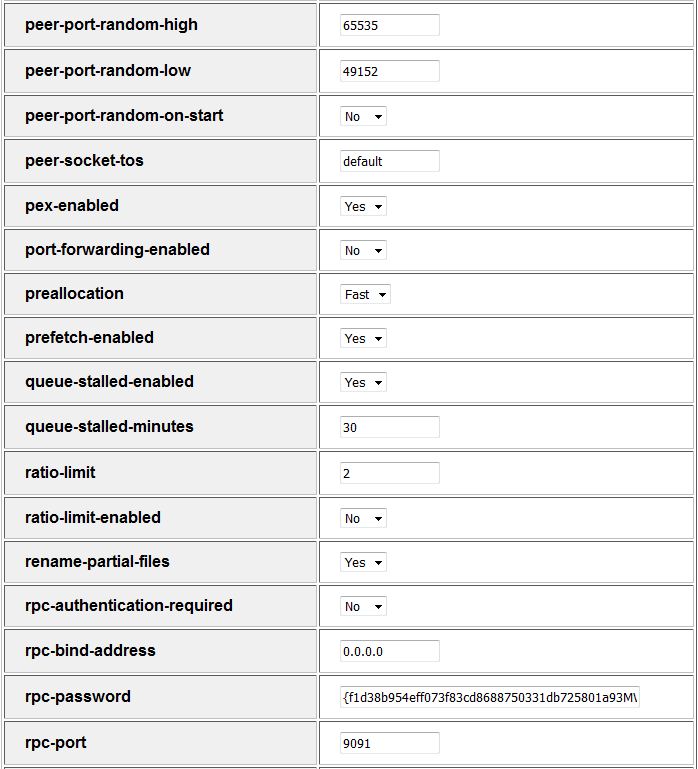
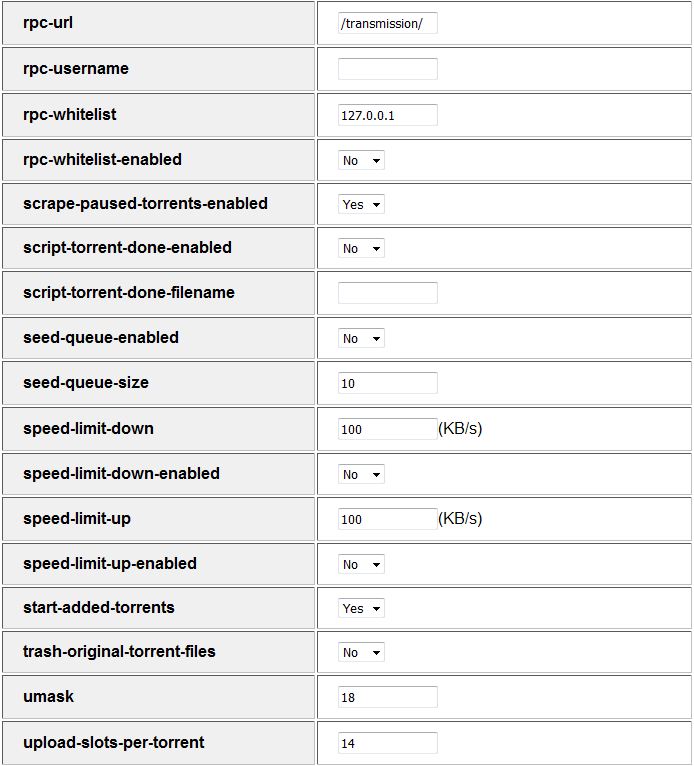
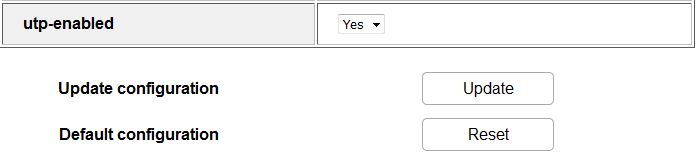
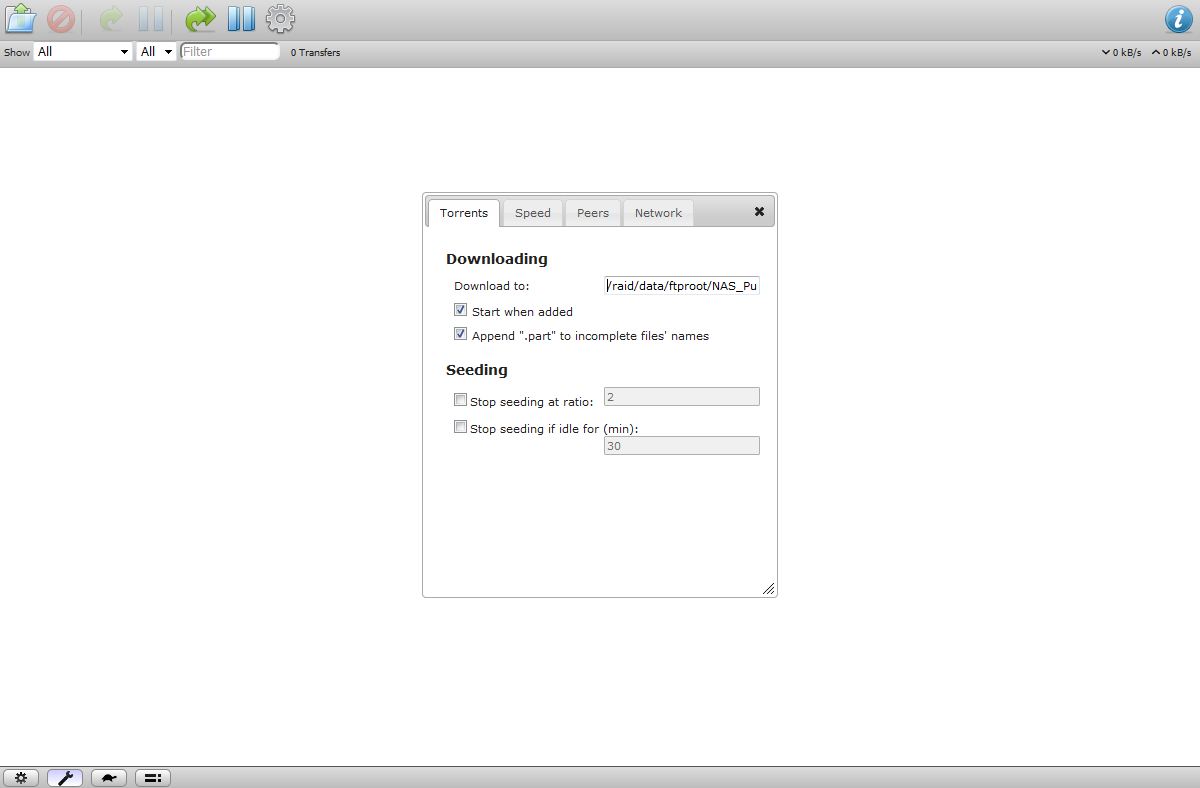
▼Transmission 软体设定选项
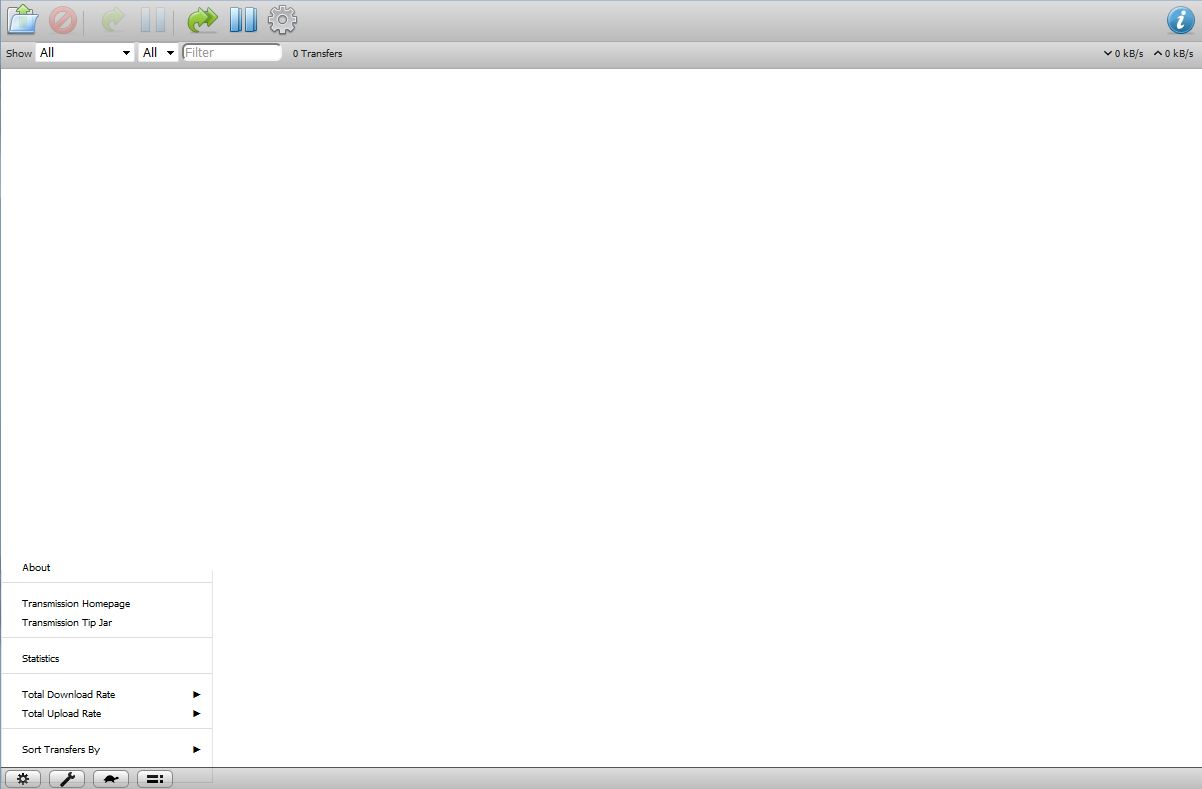
▼Transmission软体介面
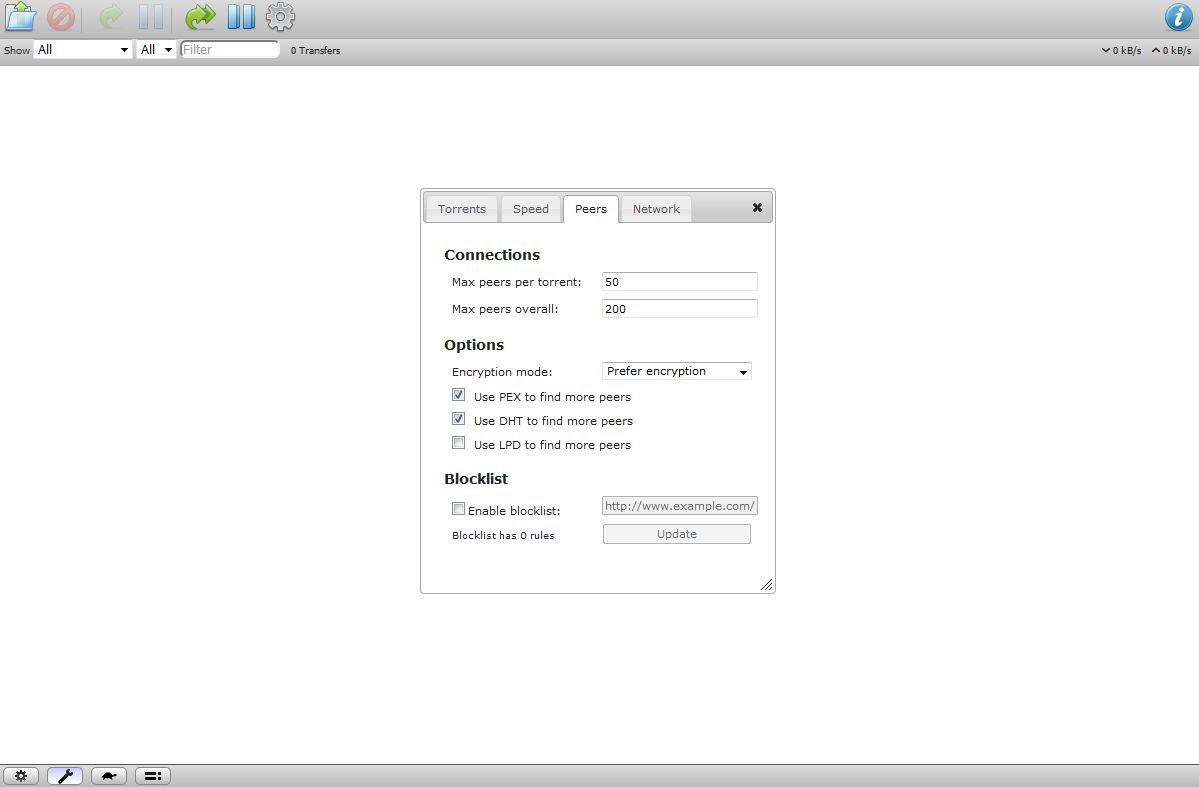
▼Transmission传输设定
▼Transmission软体设定

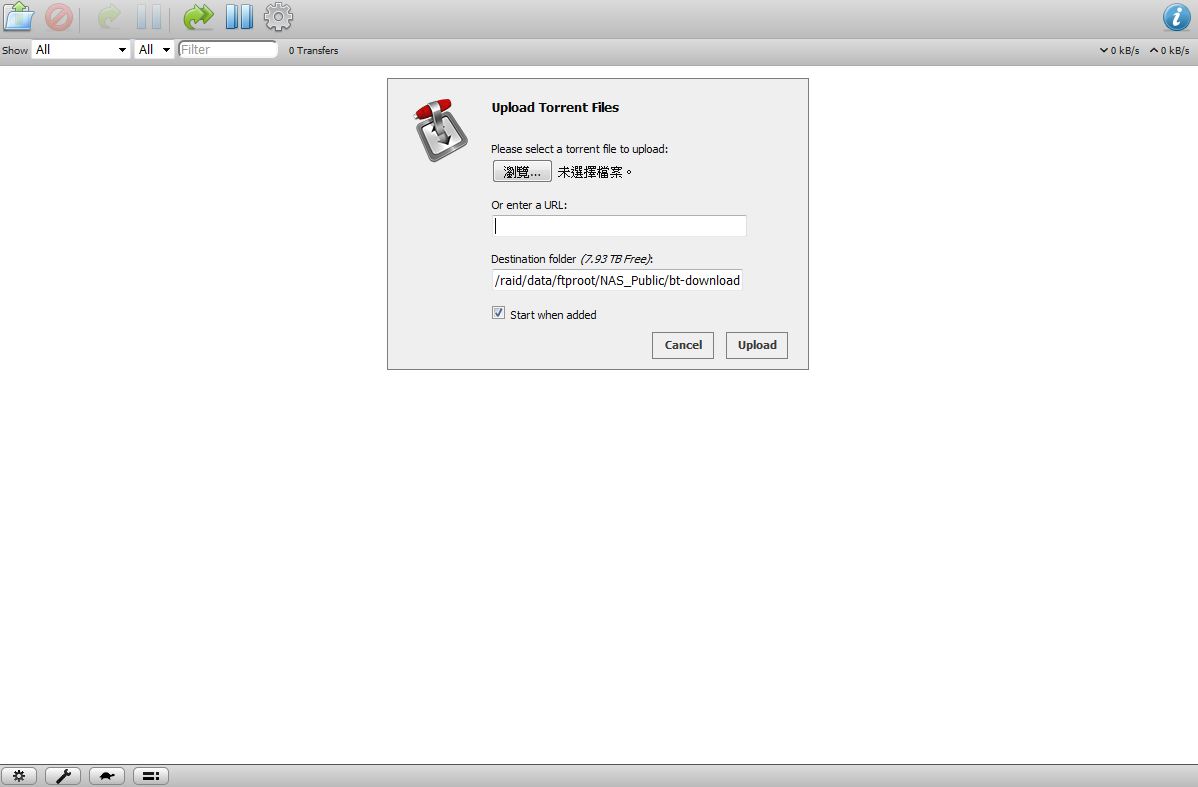
▼可直接贴上网址或是汇入种子档案
BT下载操作简单,可以完全取代动物机的工作,省下长期挂机的电费!!
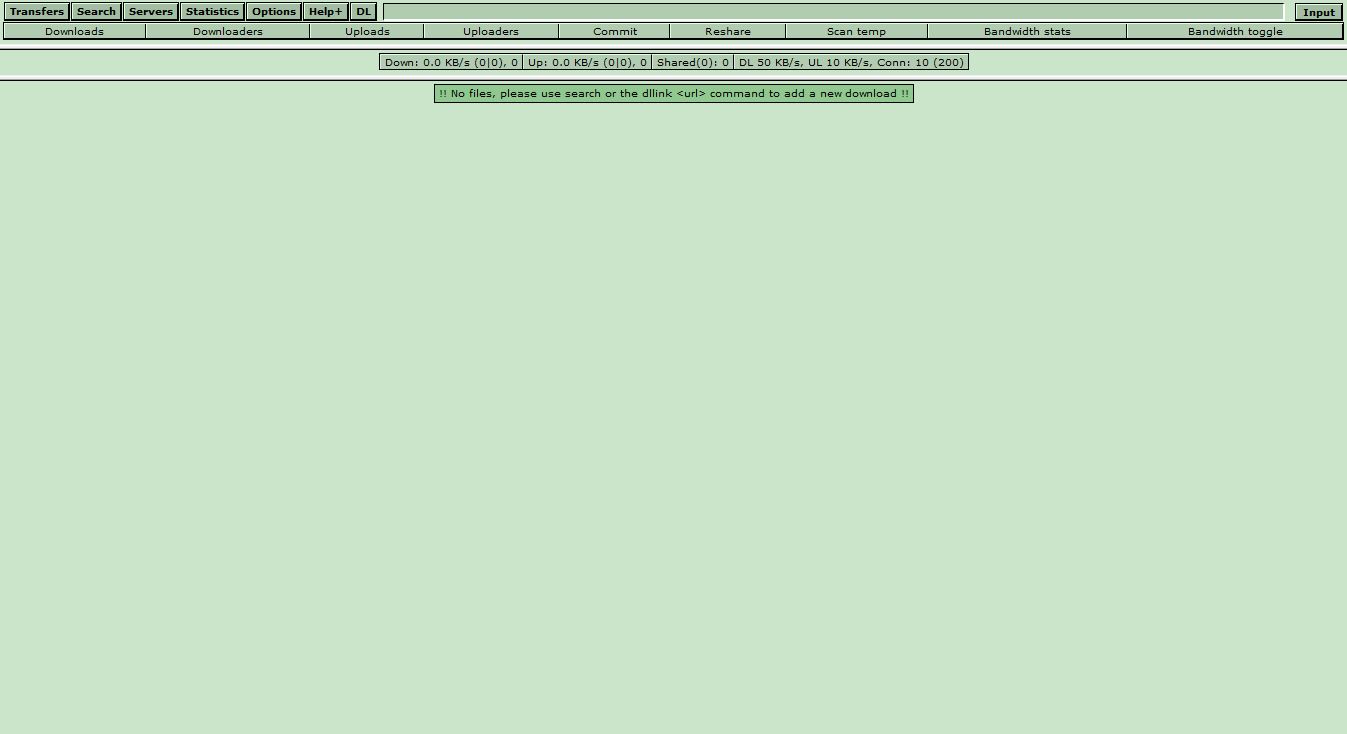
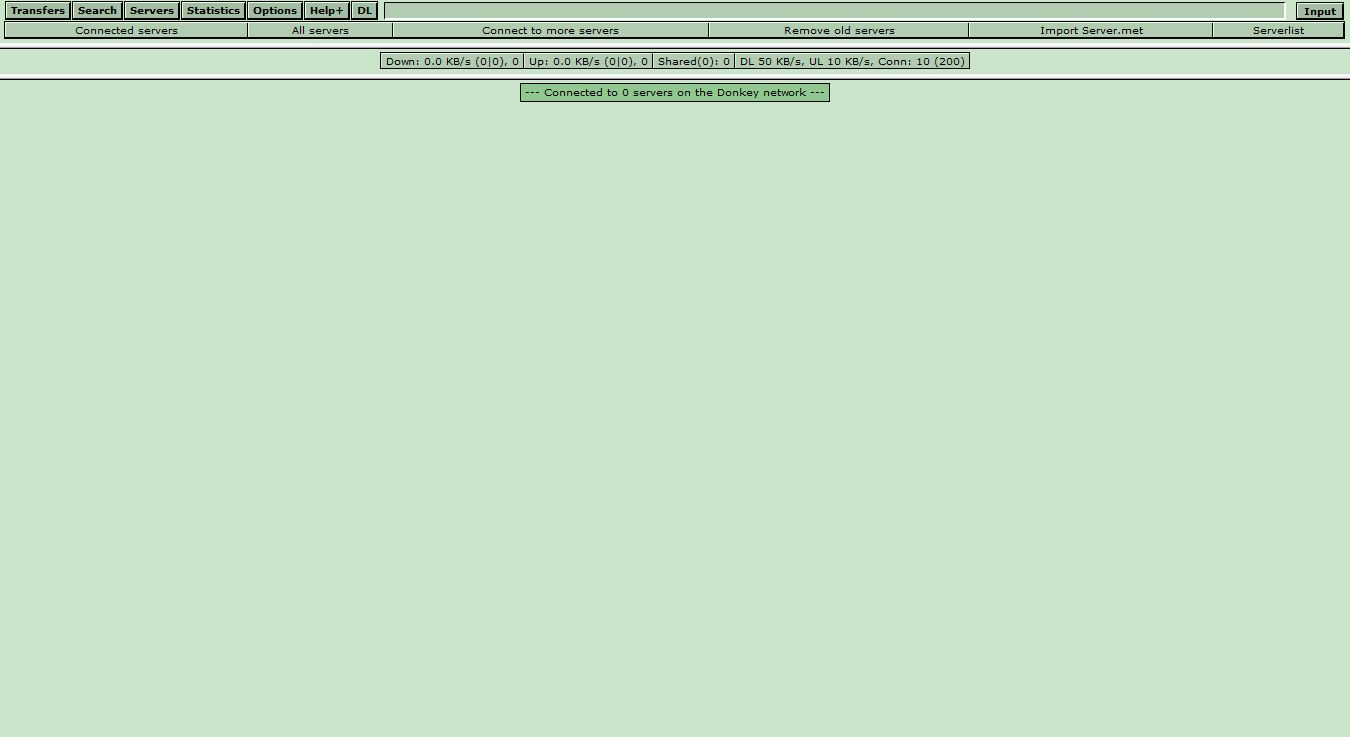
eMule电驴-MLDonkey除了BT之外,很多人也有使用eMule,N2810可安装第三方软体MLDonkey就可以直接做下载了!!
▼下载与上传页面一览
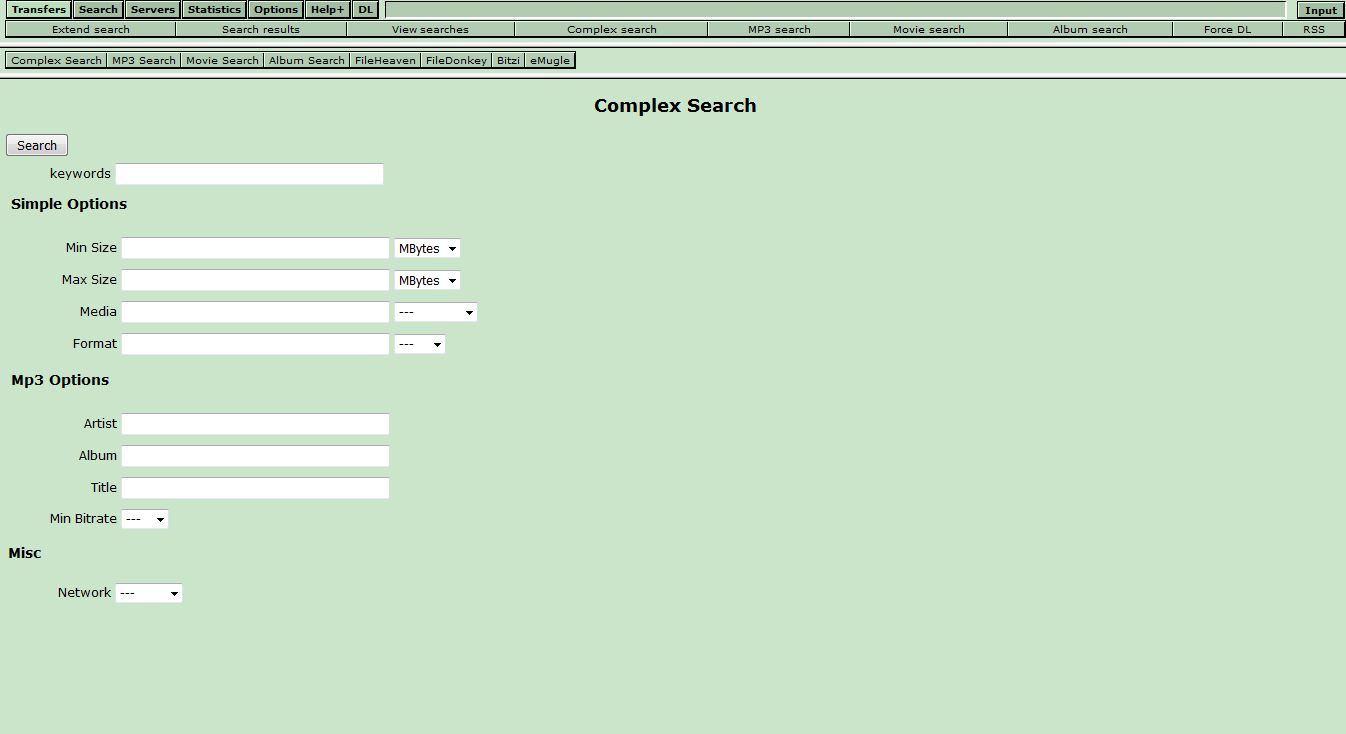
▼搜寻页面
▼伺服器连线页面
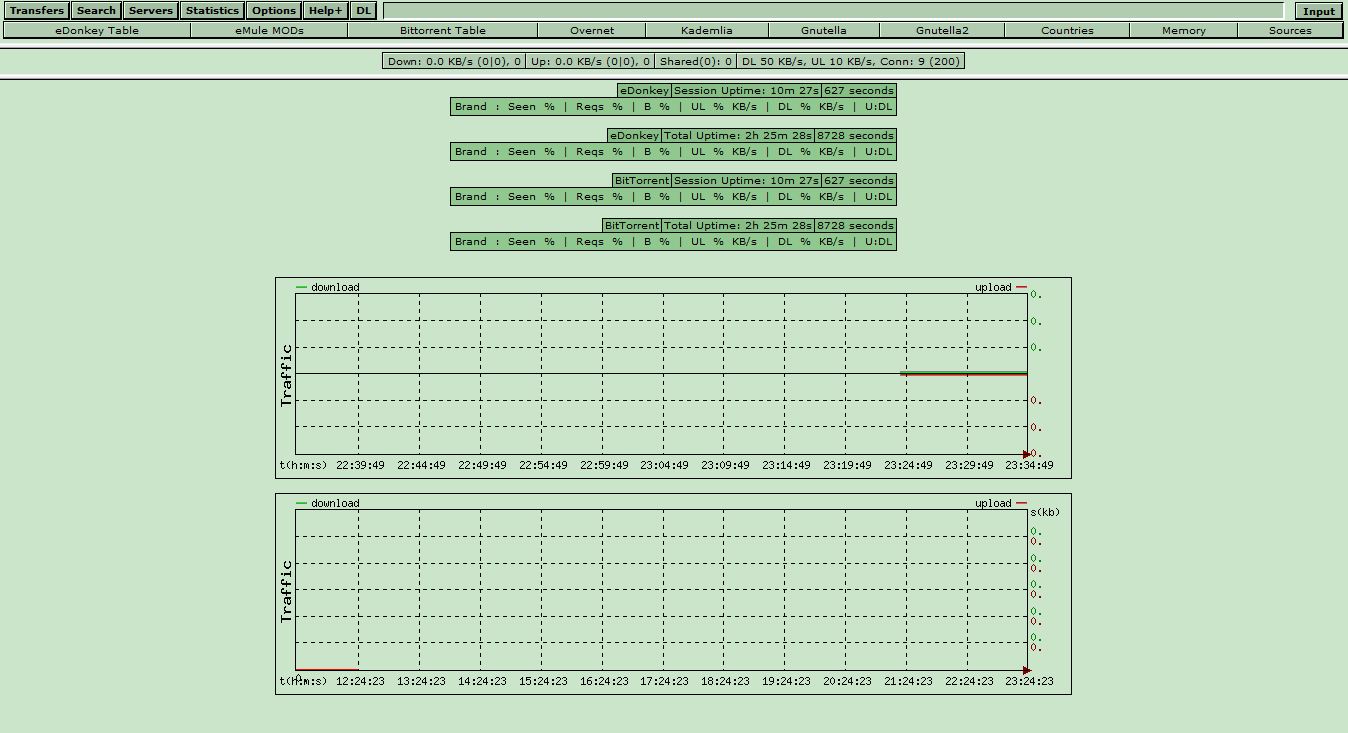
▼网路上传与下载情形统计
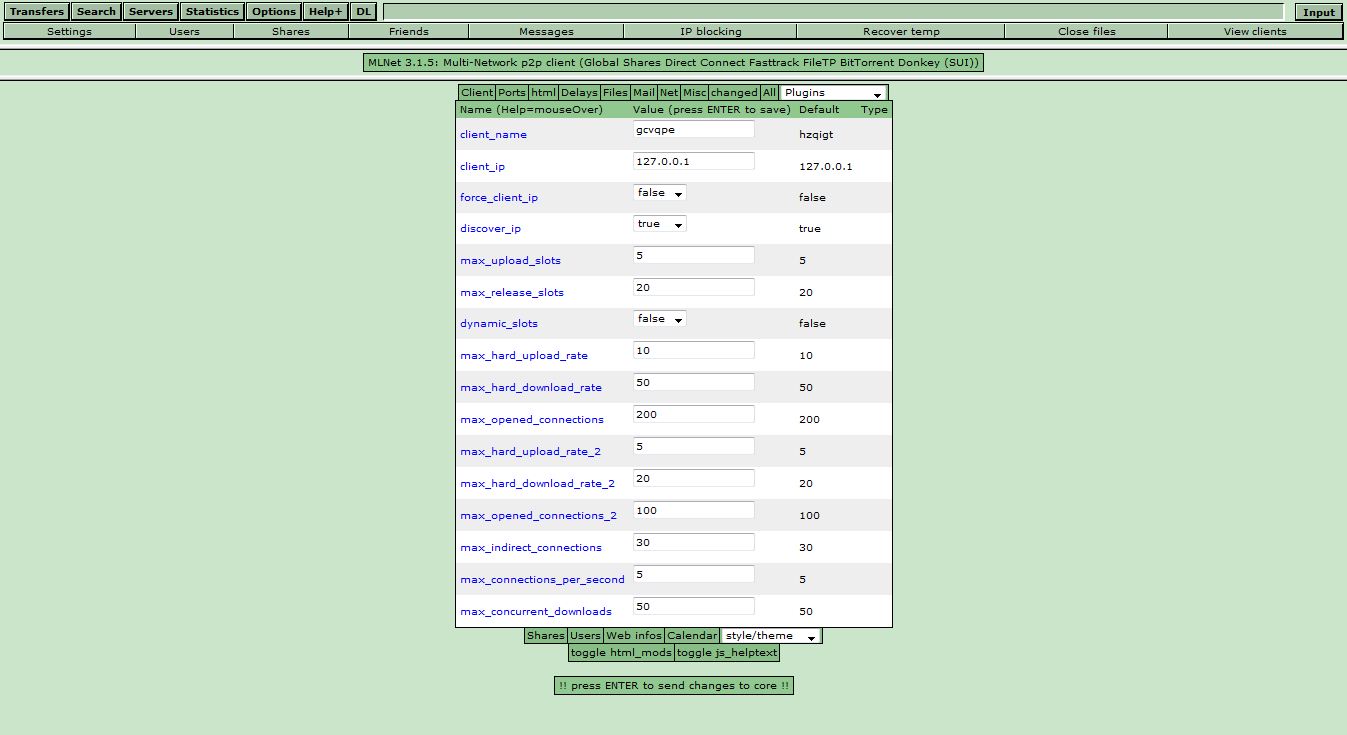
▼设定页面
操作简单相当容易上手,一台NAS可以将各种P2P的下载搞定,可以省下电费,而且下载完毕的档案可以直接线上浏览或直接用行动装置检验档案!!
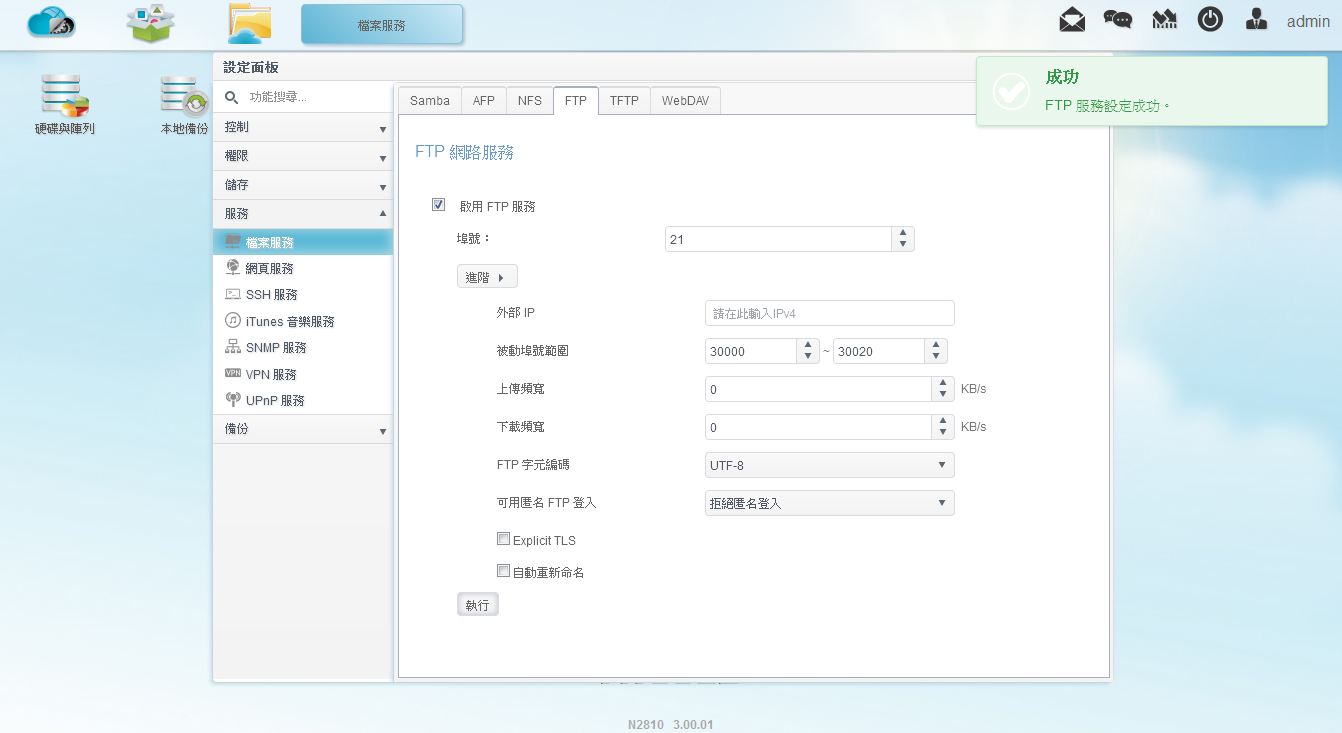
FTP架设相信很多人都会有架设FTP的习惯,这样出门在外或是要Share好料的给好朋友们,或是要让朋友的好料也分享给你,这时候FTP就相当好用了,上面架设FTP也相当容易,就让我们来看看吧^^
▼到FTP设定页面将Port与其他细项设定好
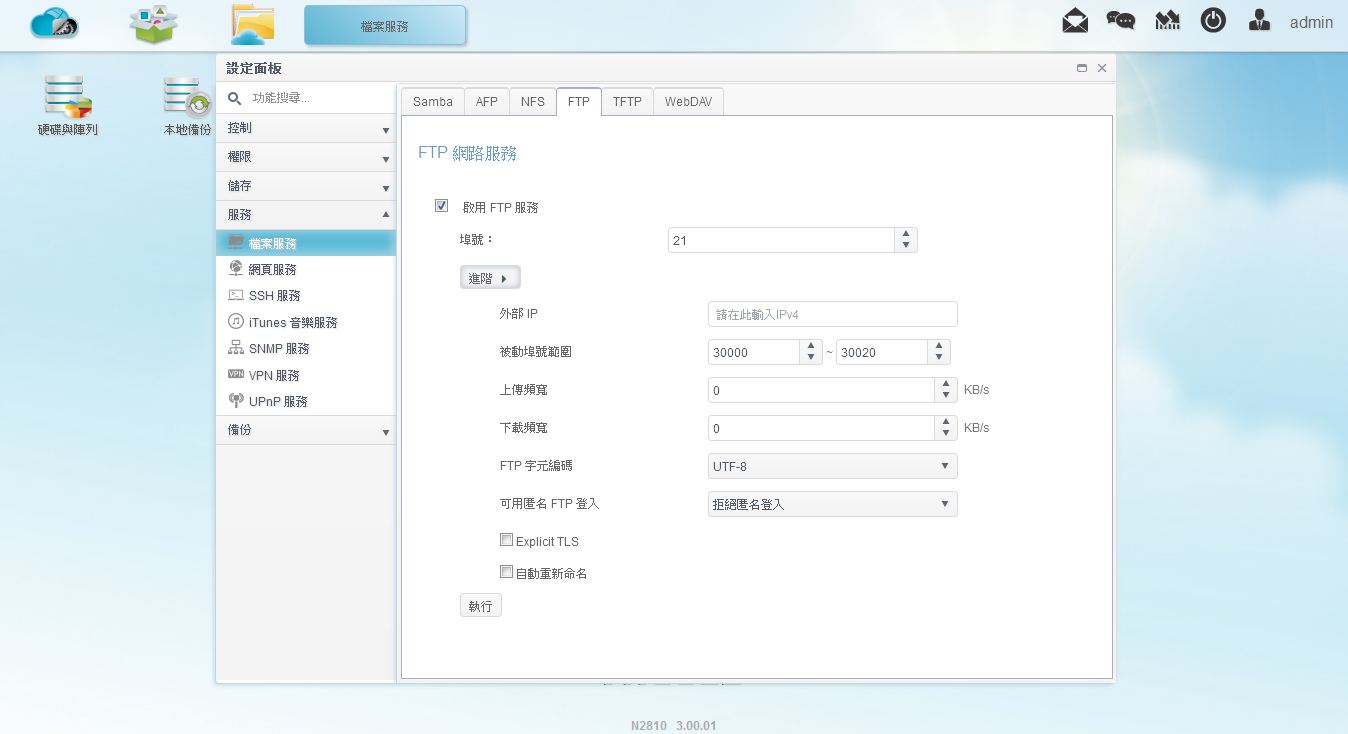
▼确定FTP功能已开启
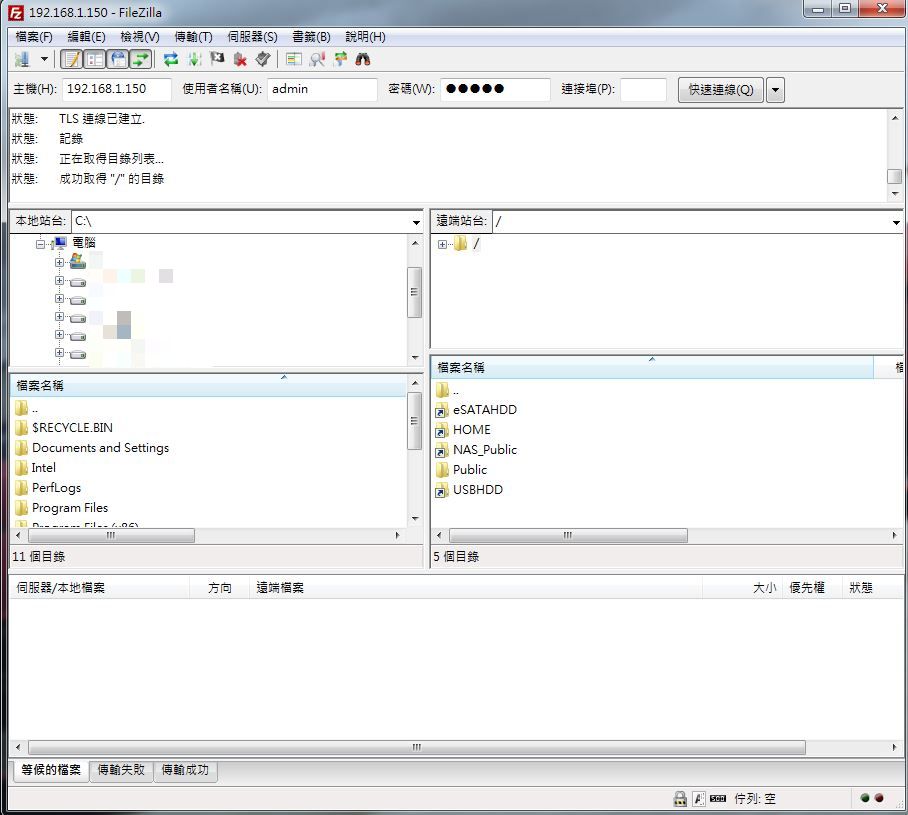
▼马上测试是否可连线
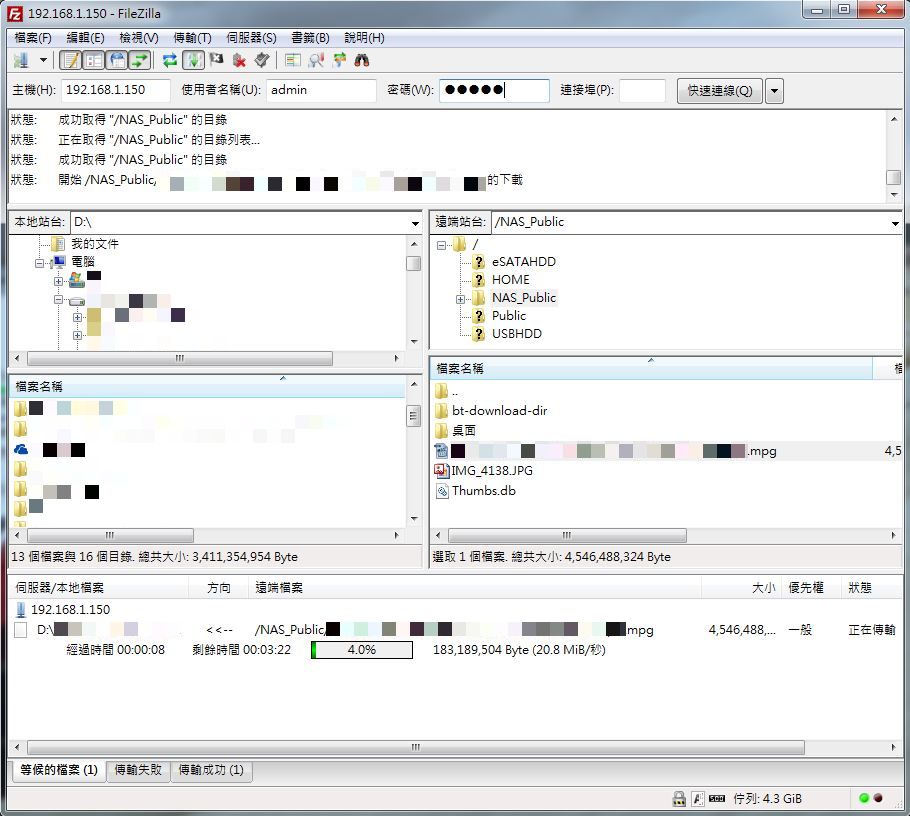
▼测试下载档案
▼测试上传档案
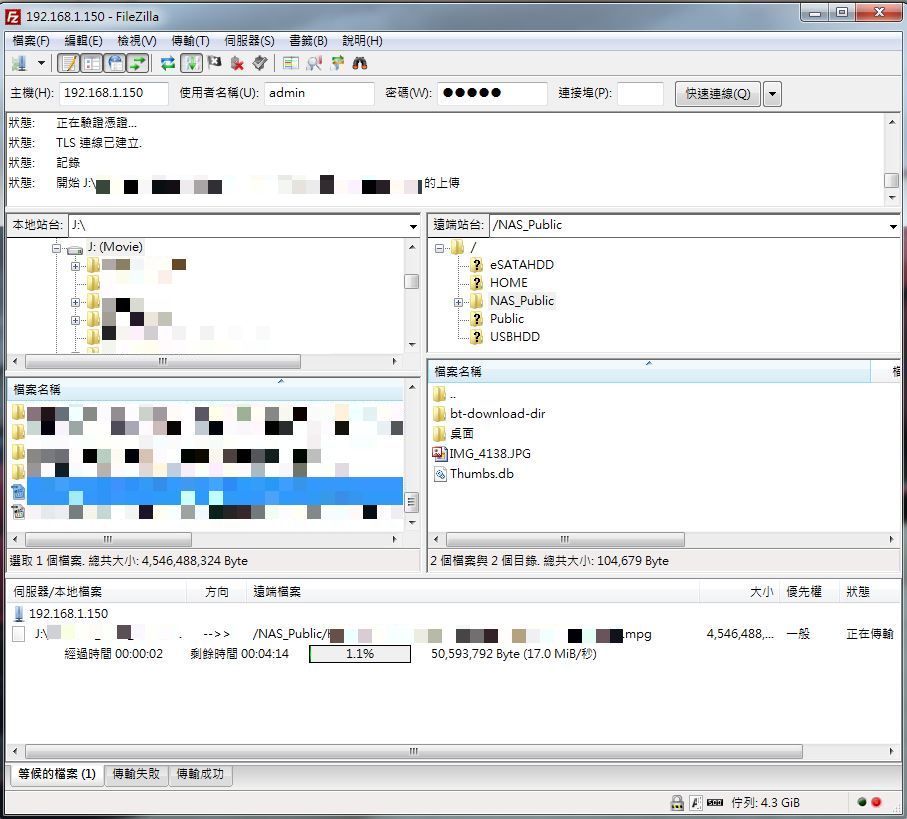
就是这么简单的手续,轻轻松松将FTP架设完成,速度上也相当不错,以前FTP要用软体还要经过繁杂的设定,现在有N2810轻松点选几个设定,2分钟内就搞定!!
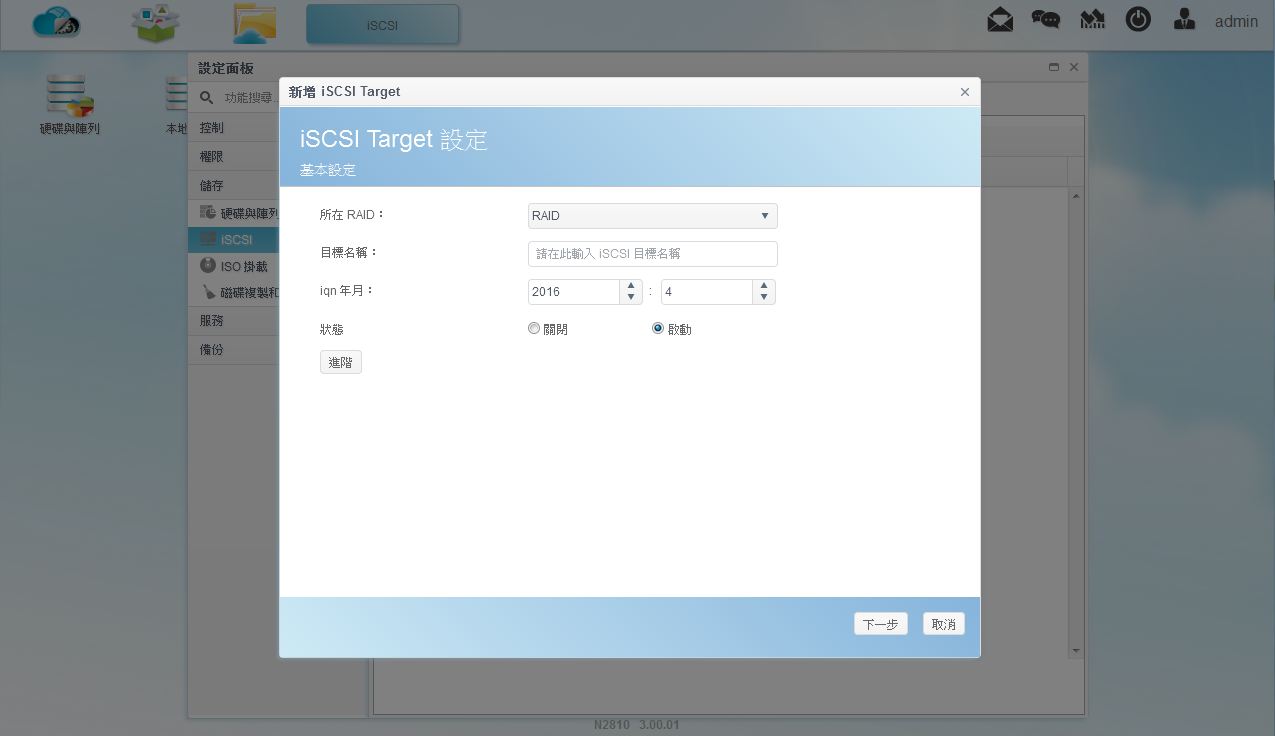
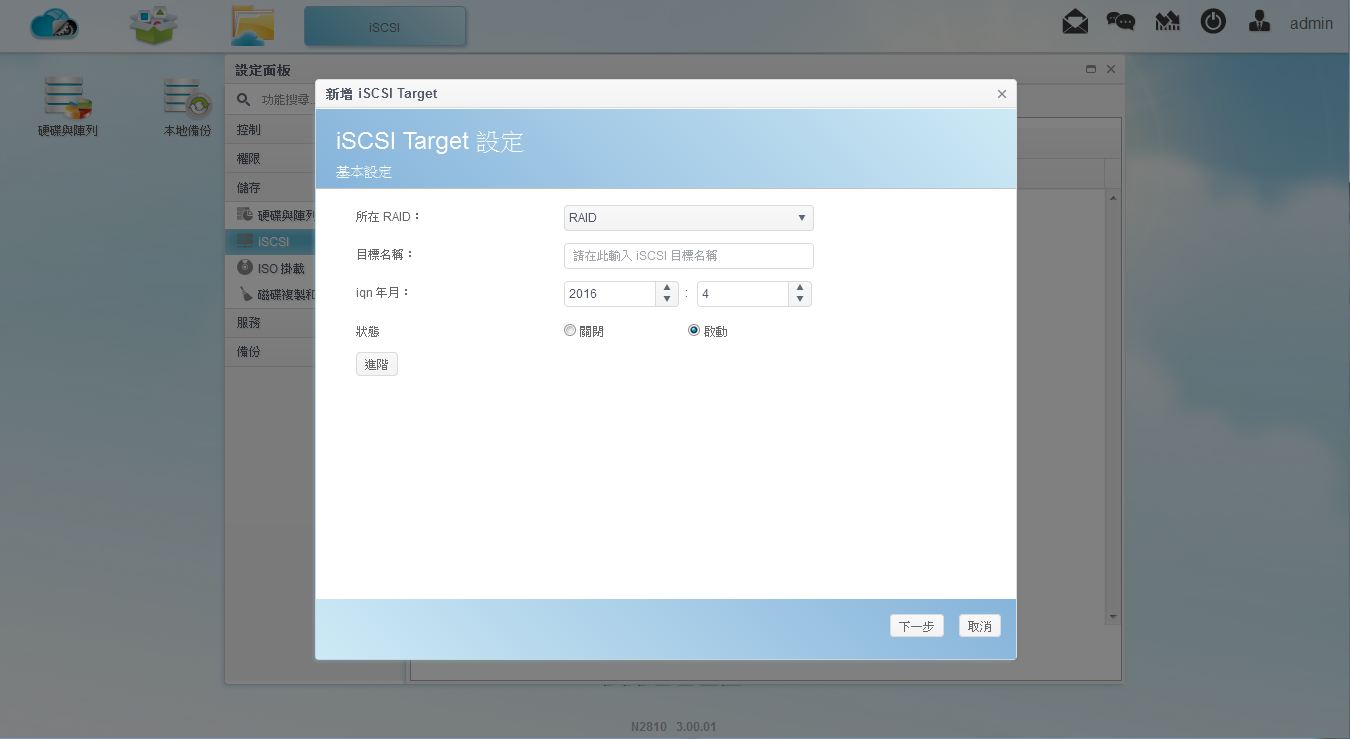
工作室与企业应用-iSCSIiSCSI是许多工作是与企业用户最爱的功能,可以非常方便将资料上传至NAS内,并可以将资料共享给其他同事
▼设定iSCSI名称、日期与状态
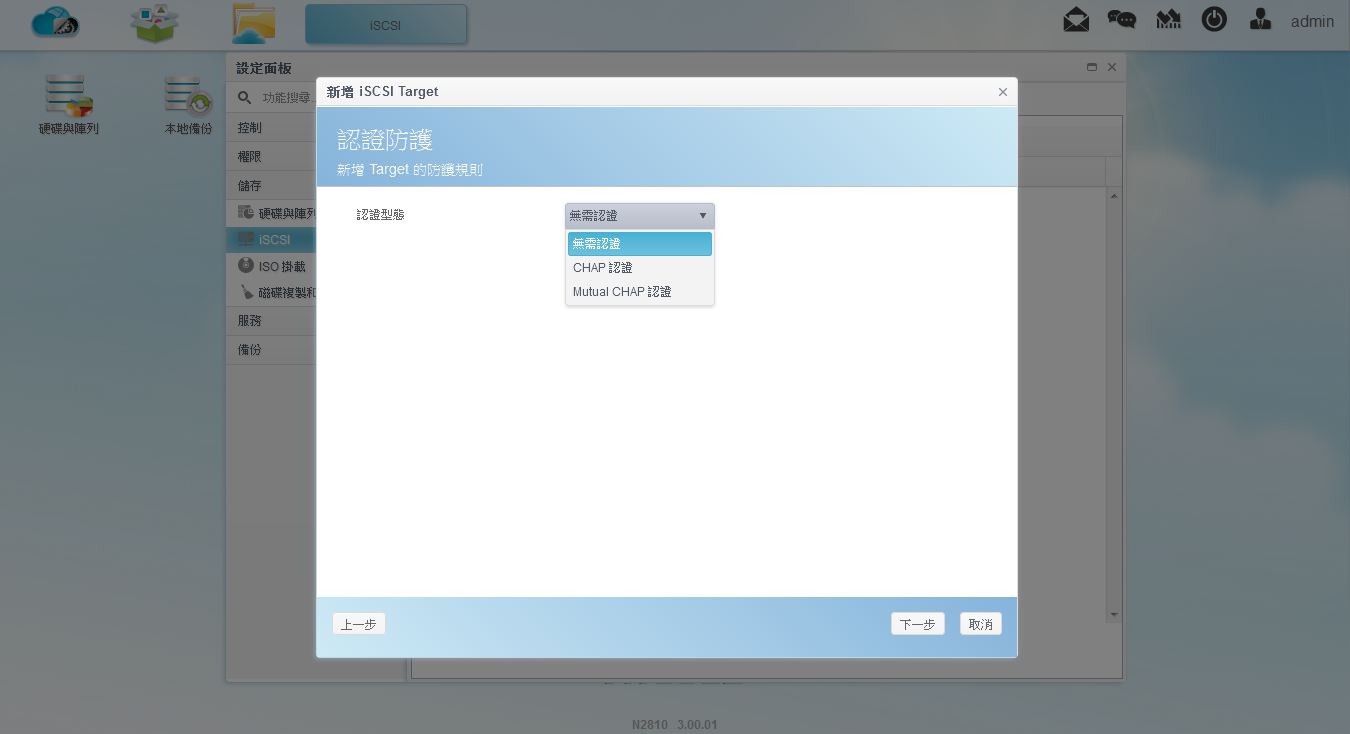
▼设定认证
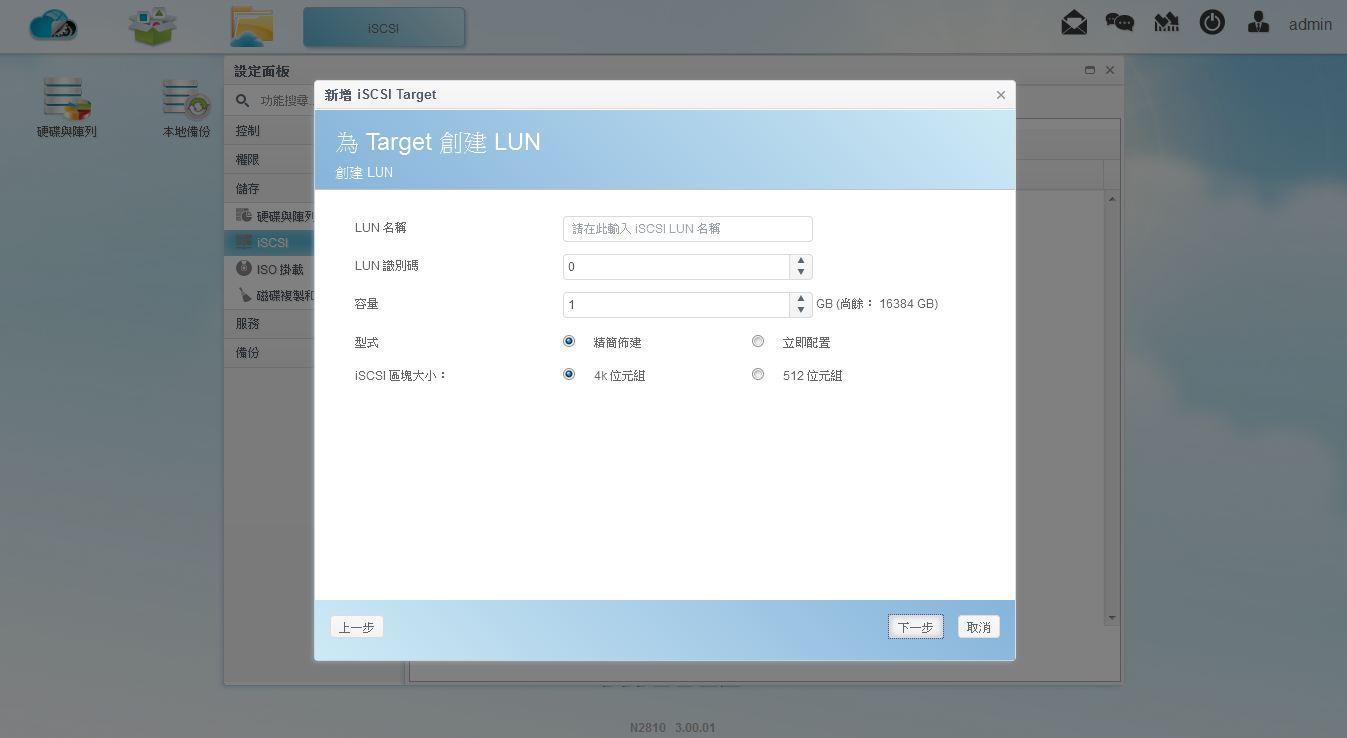
▼设定LUN名称与识别码、iSCSI容量与其他设定项目
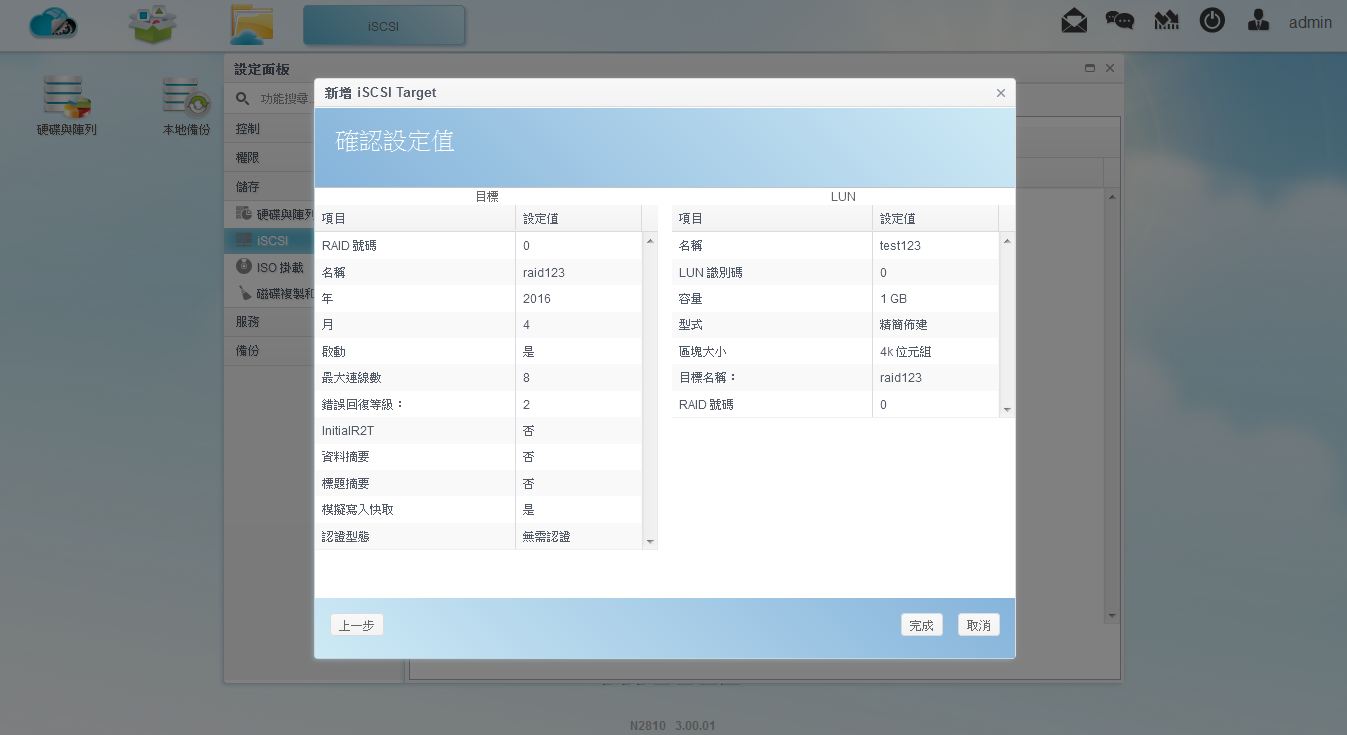
▼设定总览
▼iSCSI已设定完毕
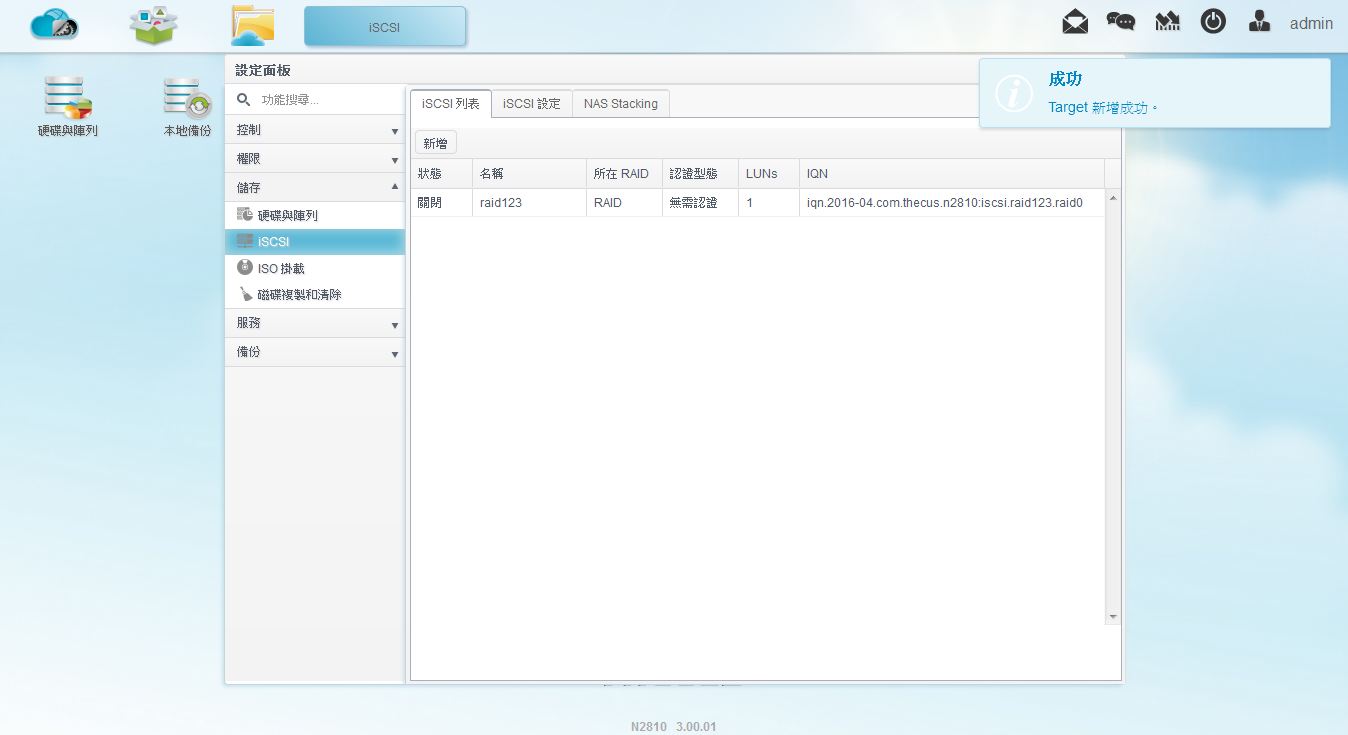
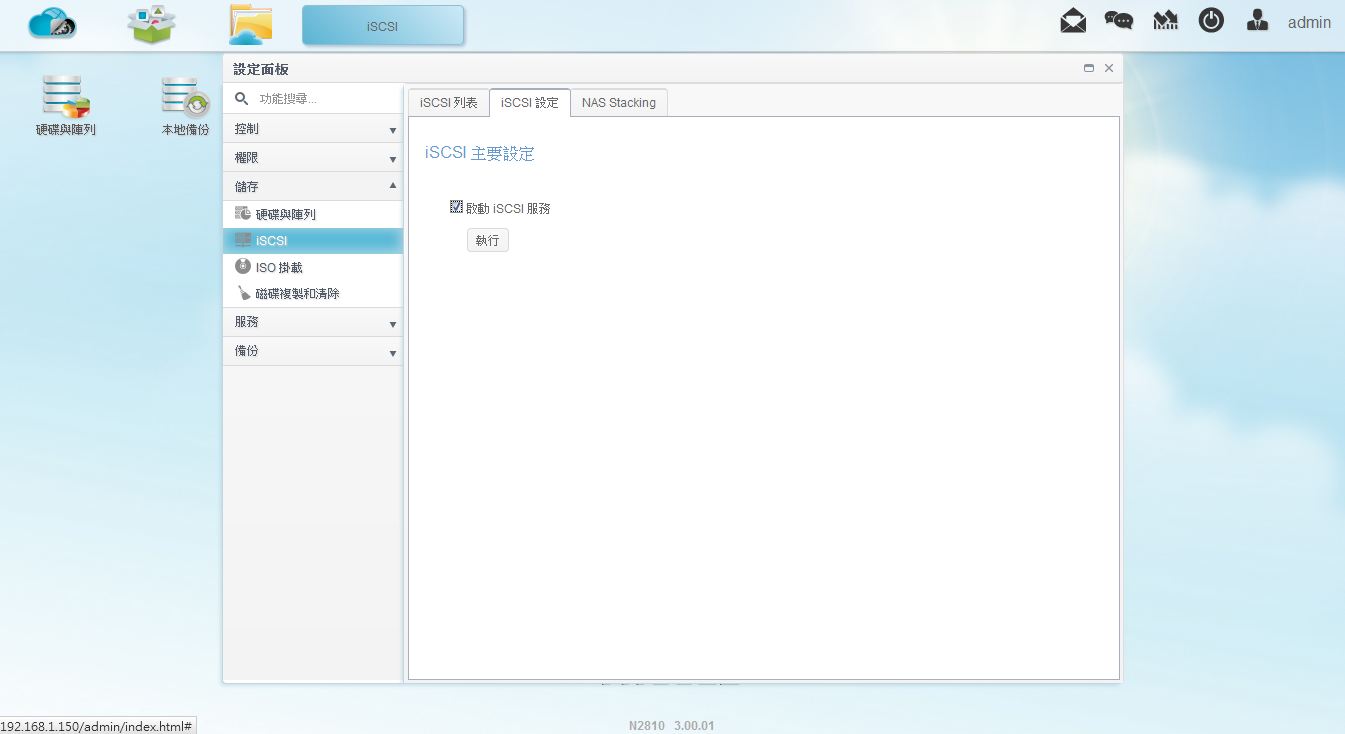
▼开启iSCSI功能
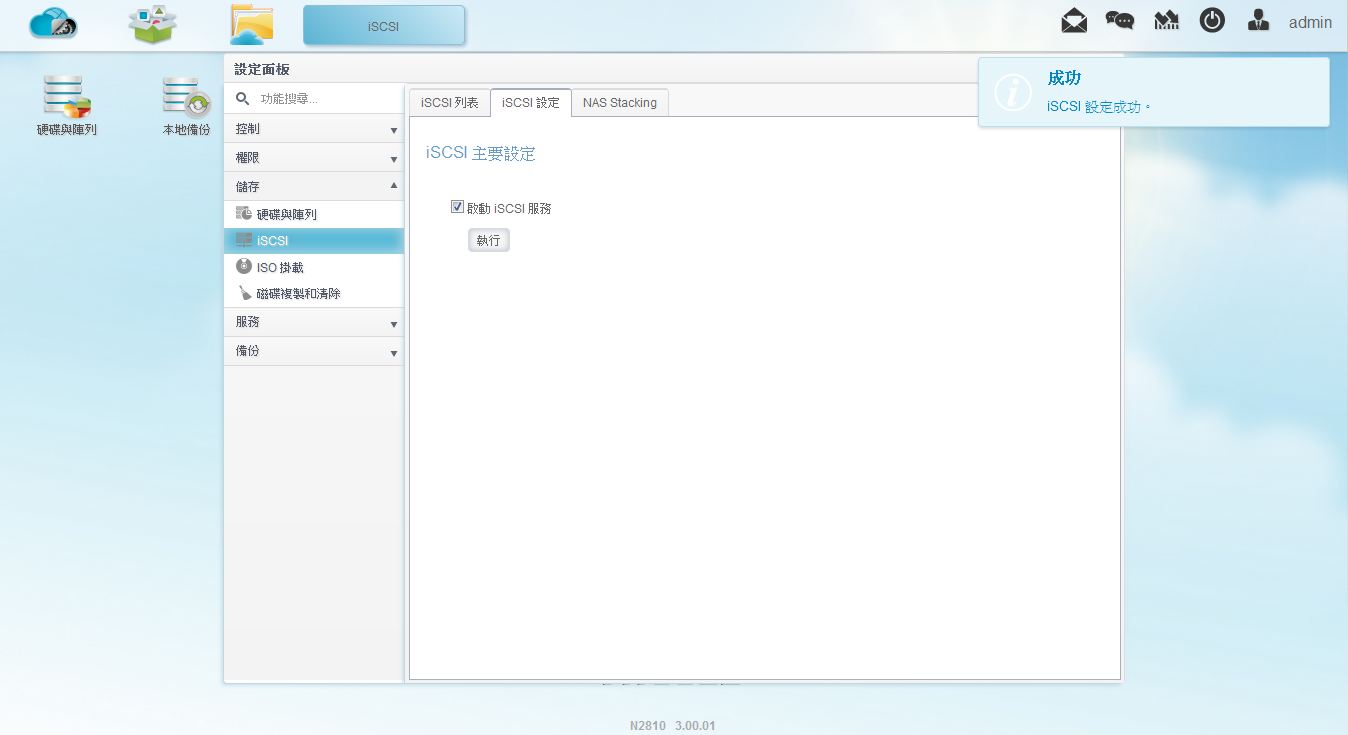
▼已开启iSCSI功能
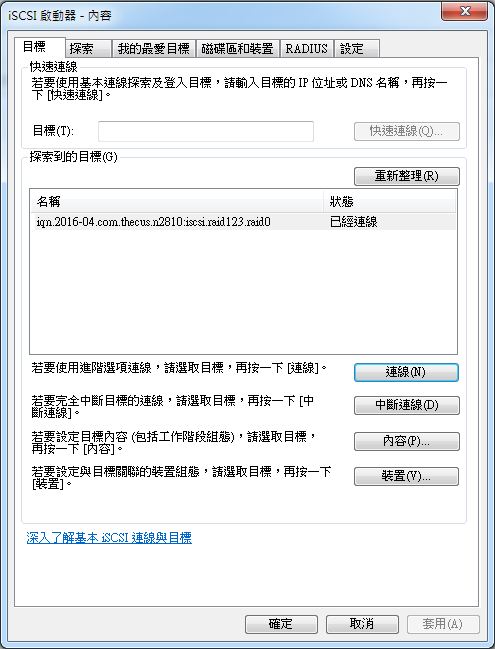
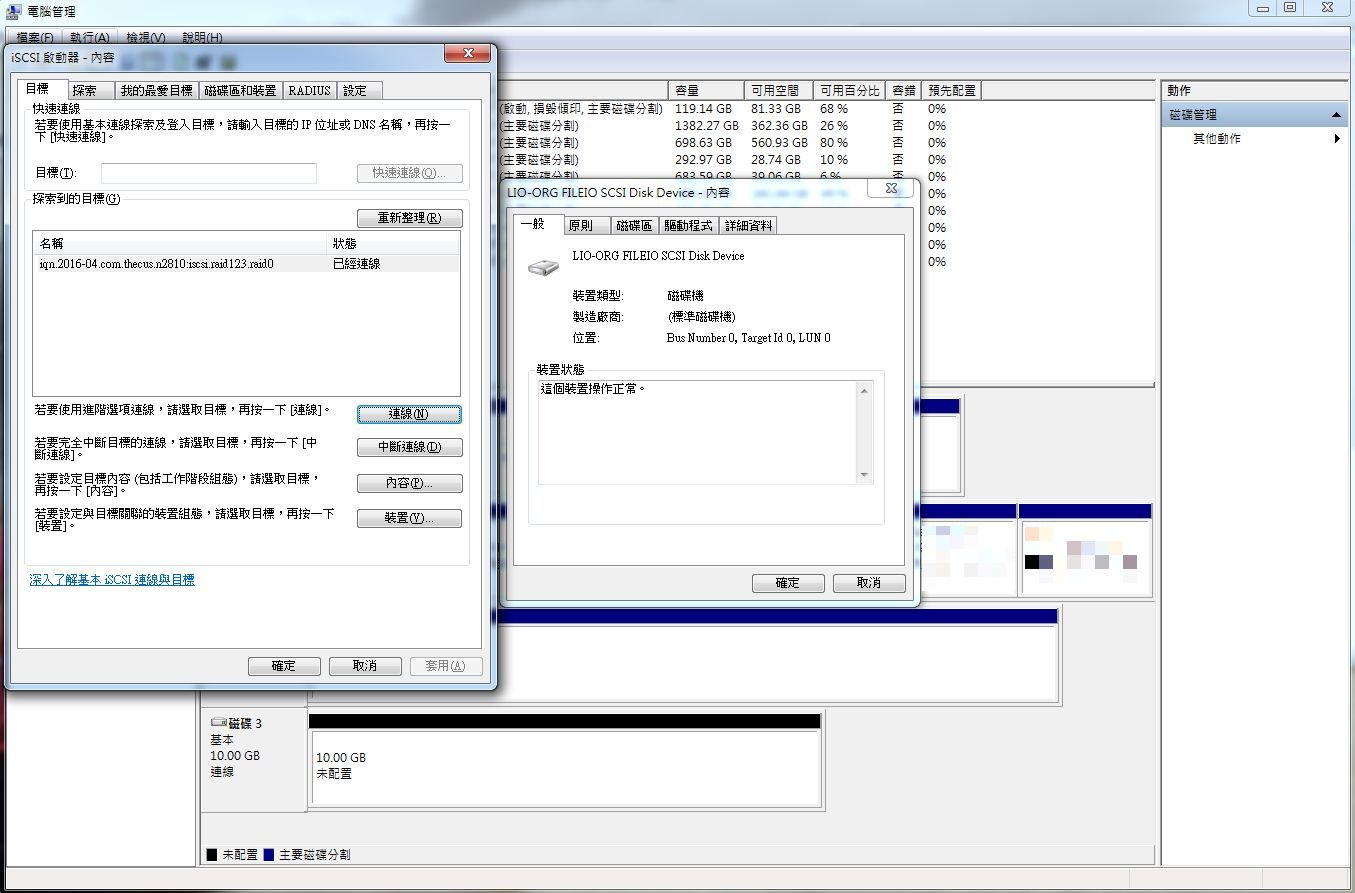
▼已寻找到iSCSI
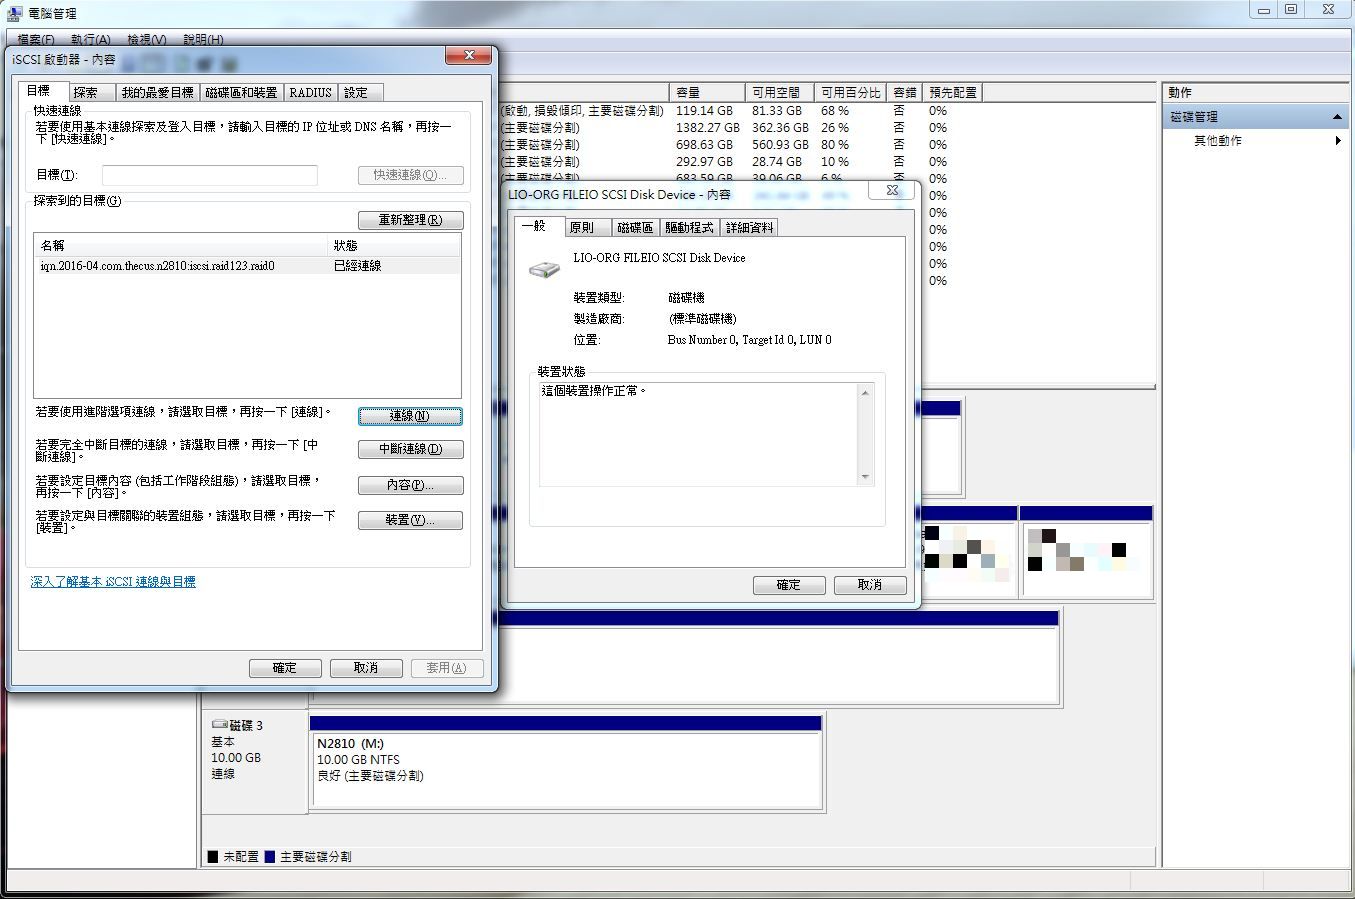
▼在磁碟分割内就可看到iSCSI硬碟装置
▼格式化完毕后即可使用,就有如一般硬碟一样!!
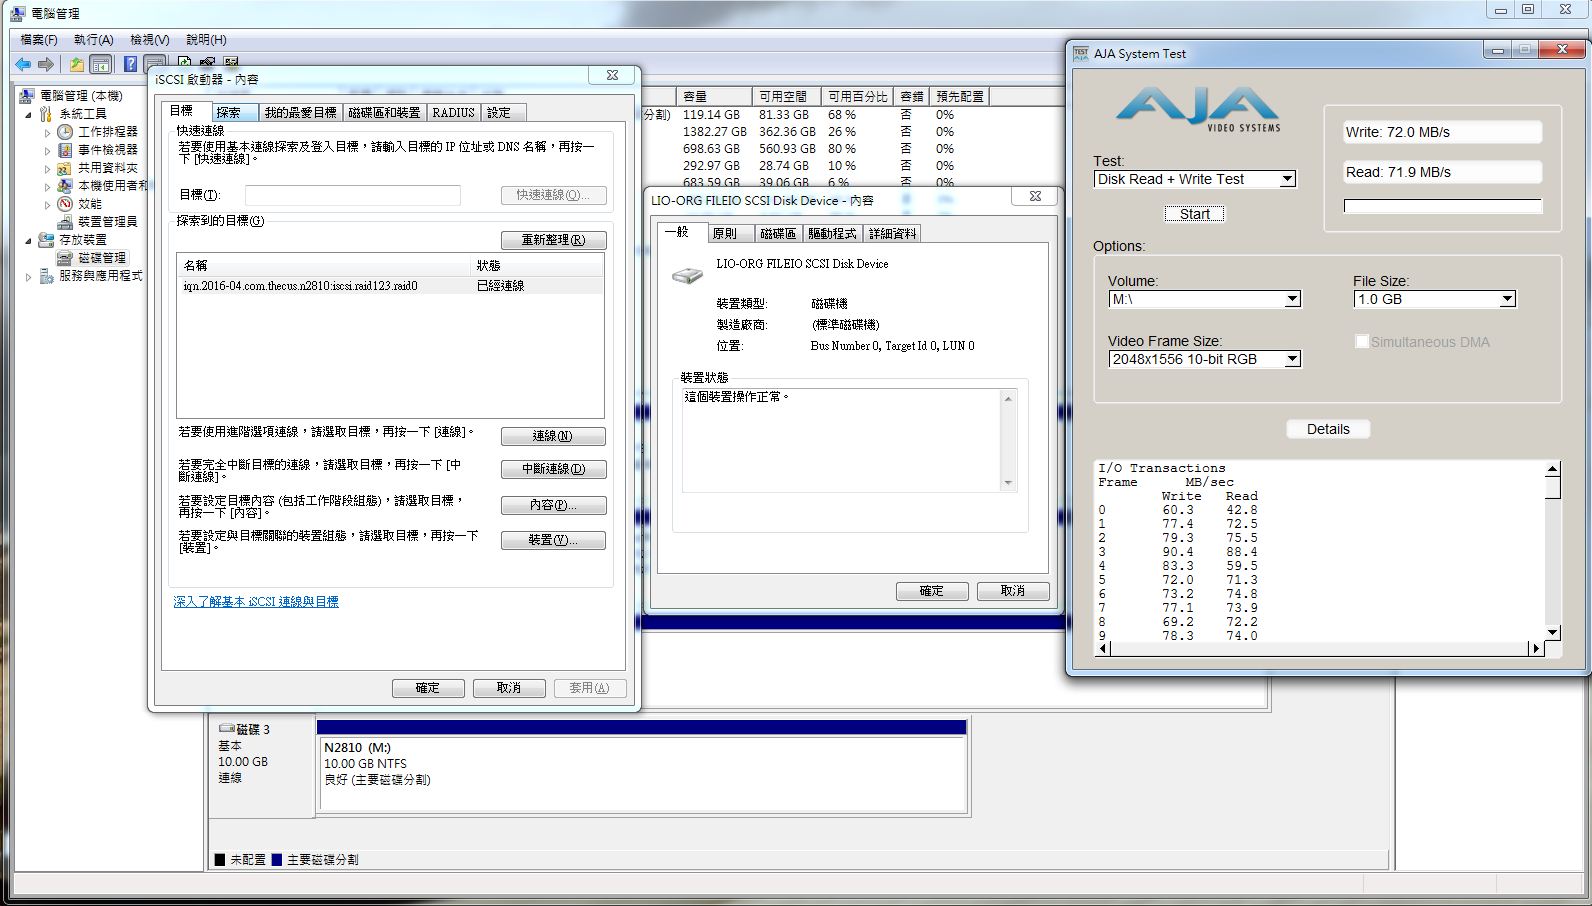
大家一定很好奇效能表现如何,现在就来看看iSCSI的效能表现吧
▼AJA Video System
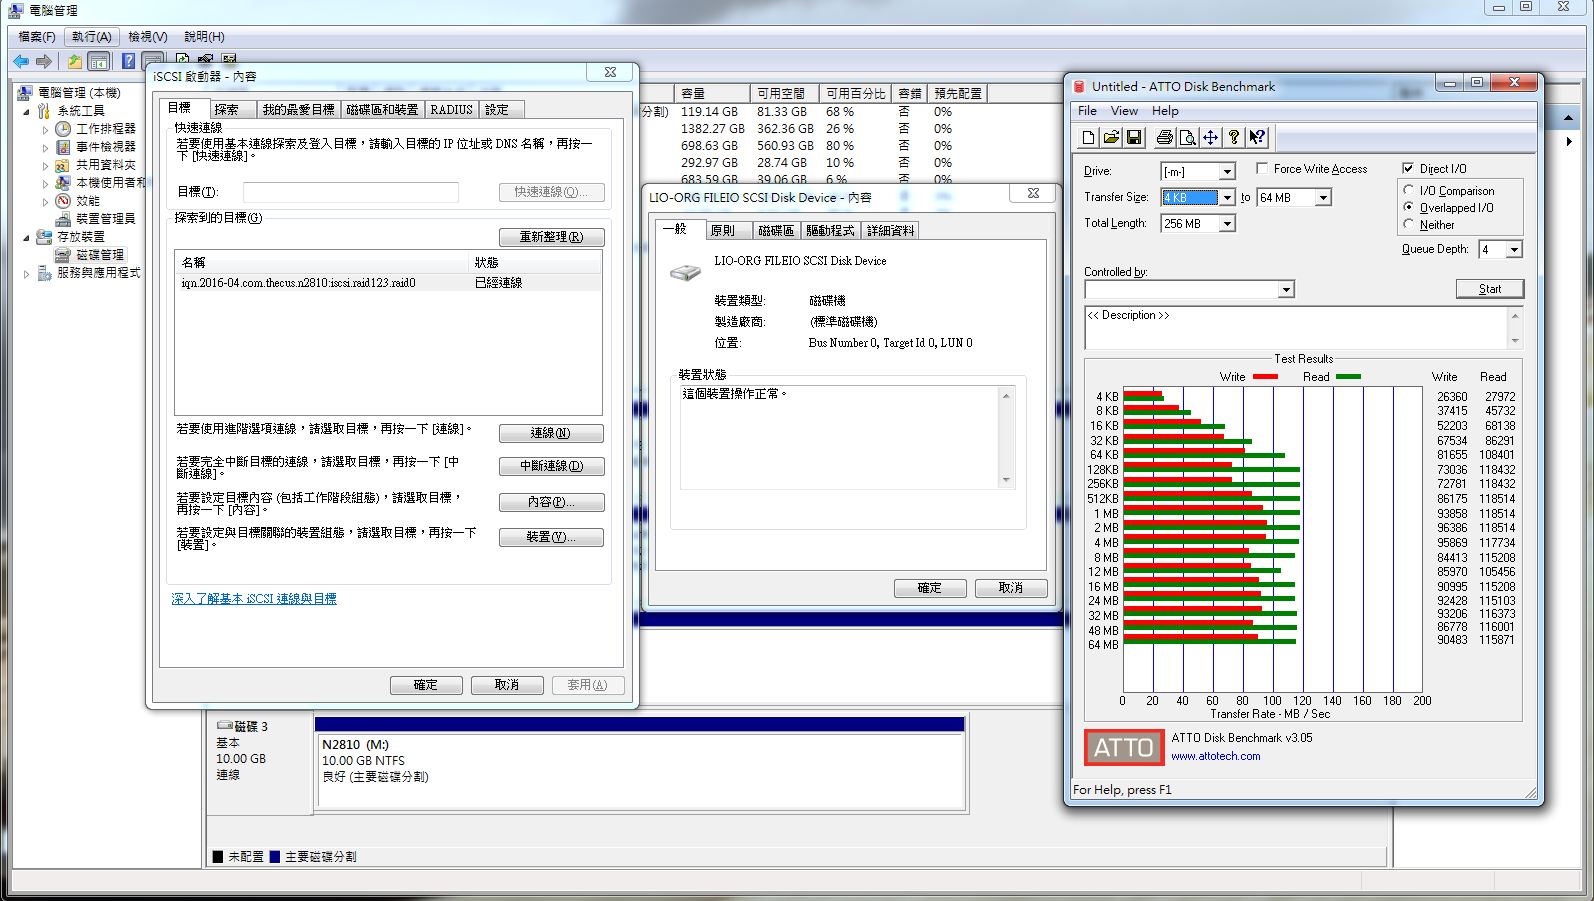
▼ATTO Disk Benchmark
▼TxBench

N2810的iSCSI效能表现还不错,透过几个简单的步骤即可享有iSCSI功能,现在NAS设定都越来越容易上手啦!!
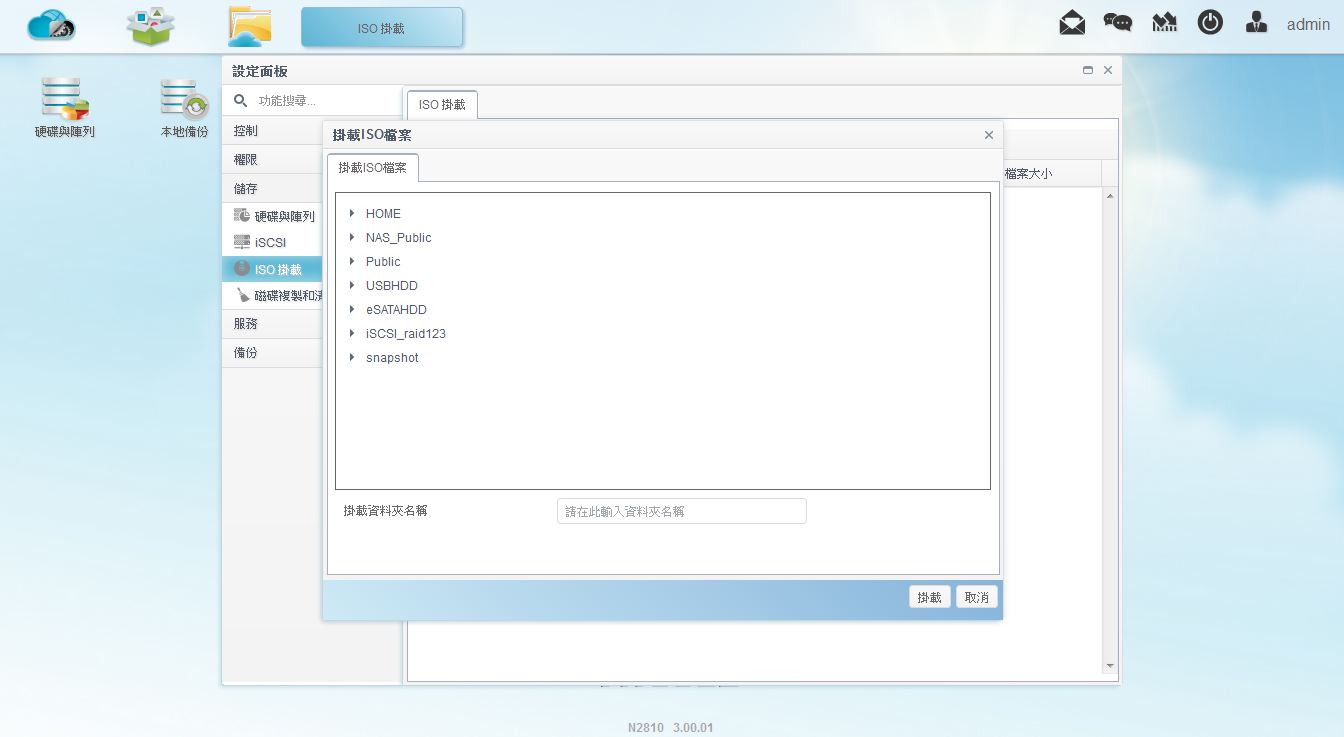
映像档案NAS内加载-ISO挂载ISO挂载可以直接在NAS内将ISO映像档案直接加载,不需要先将档案下载下来,并使用电脑加载,有ISO挂载后非常方便又省事
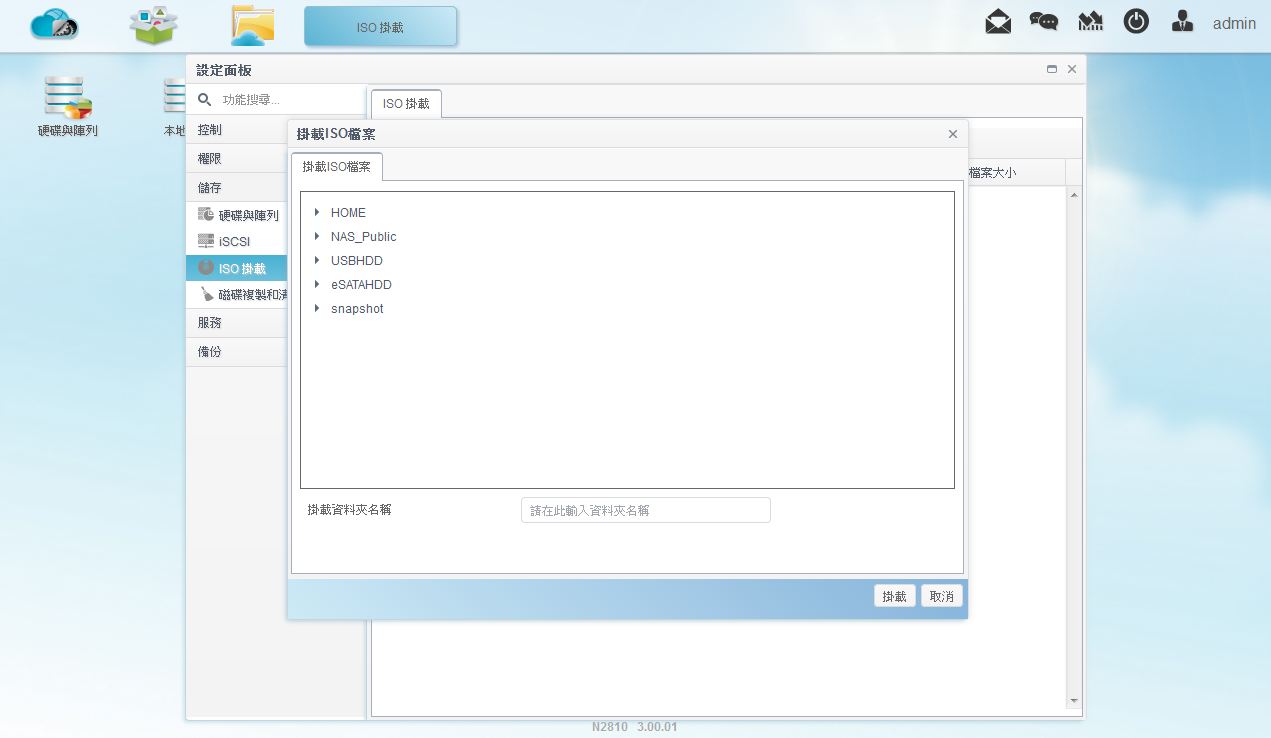
▼选择档案存放位置与ISO档案
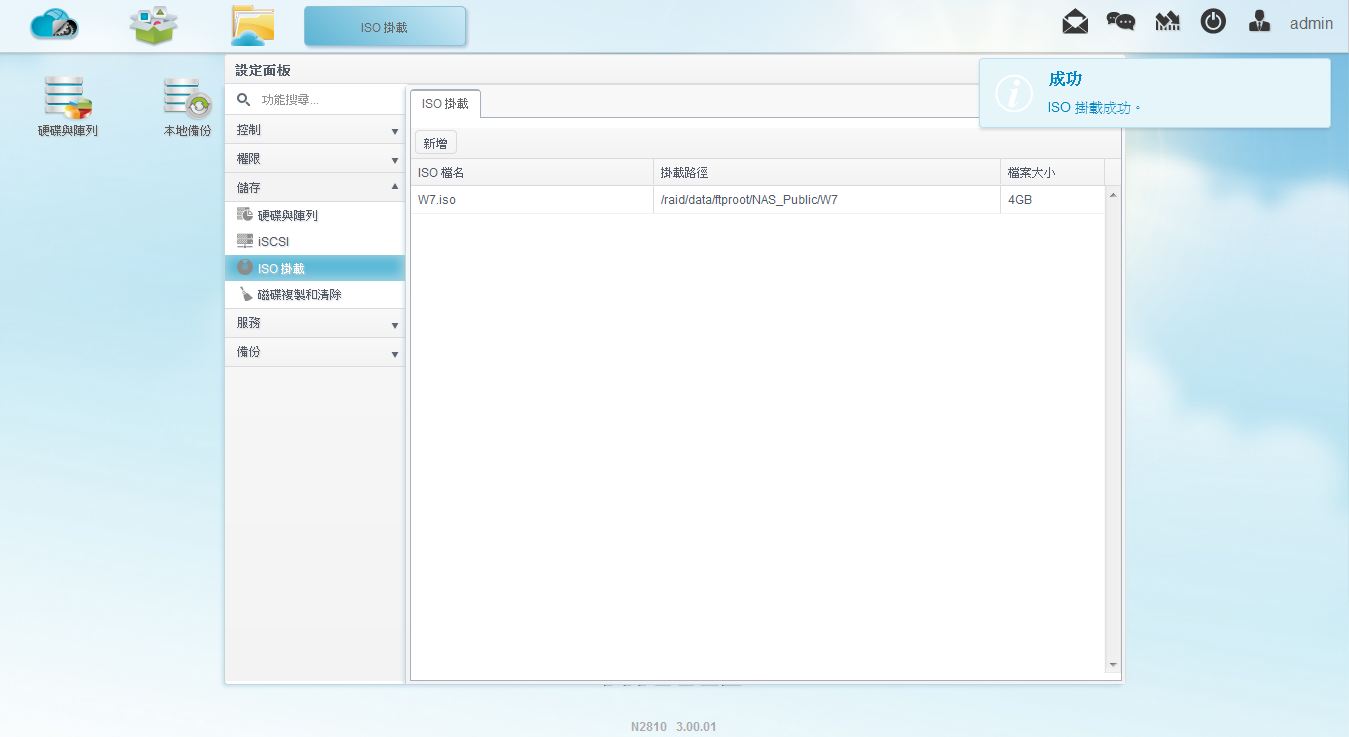
▼挂载完成提示,可以看到挂载的映像档与名称
▼可直接在NAS内看到挂载起来的资料夹与档案
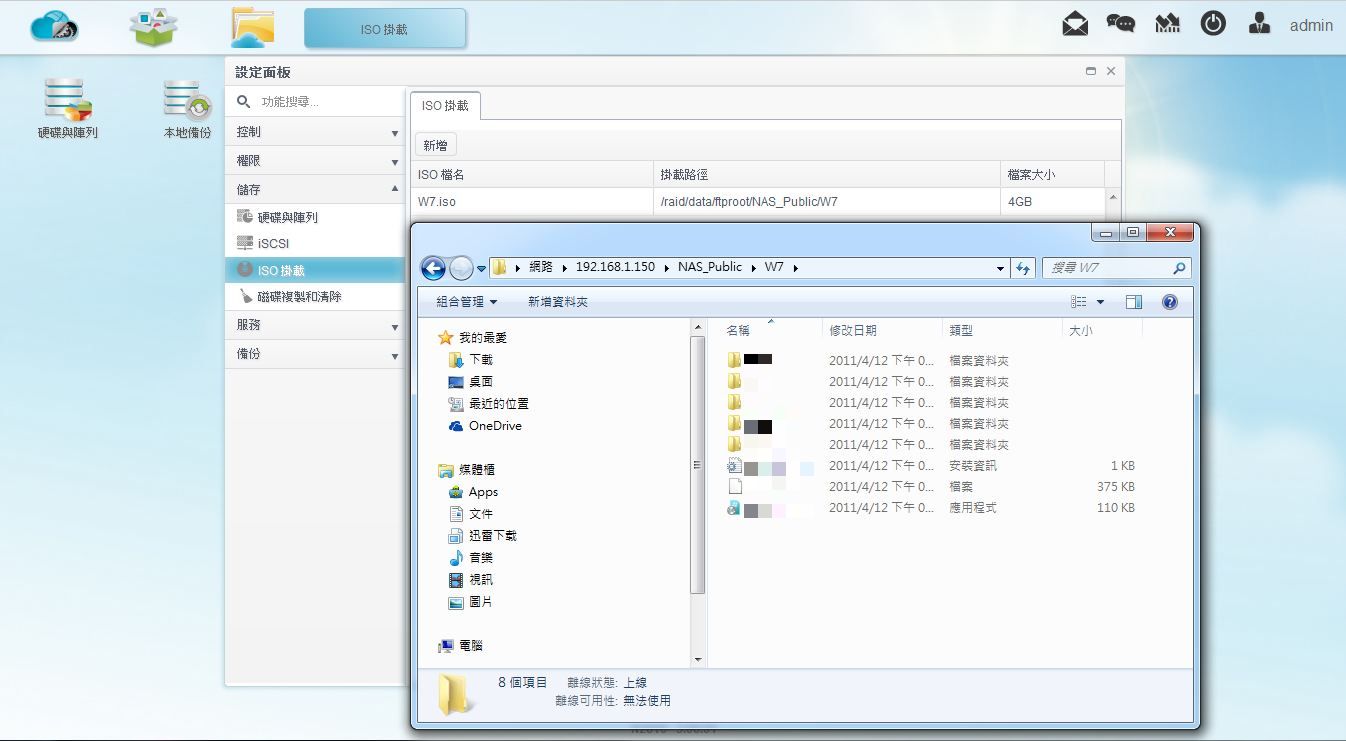
ISO挂载相当方便,免去下载的时间,直接可以存取ISO档案内的资料!!
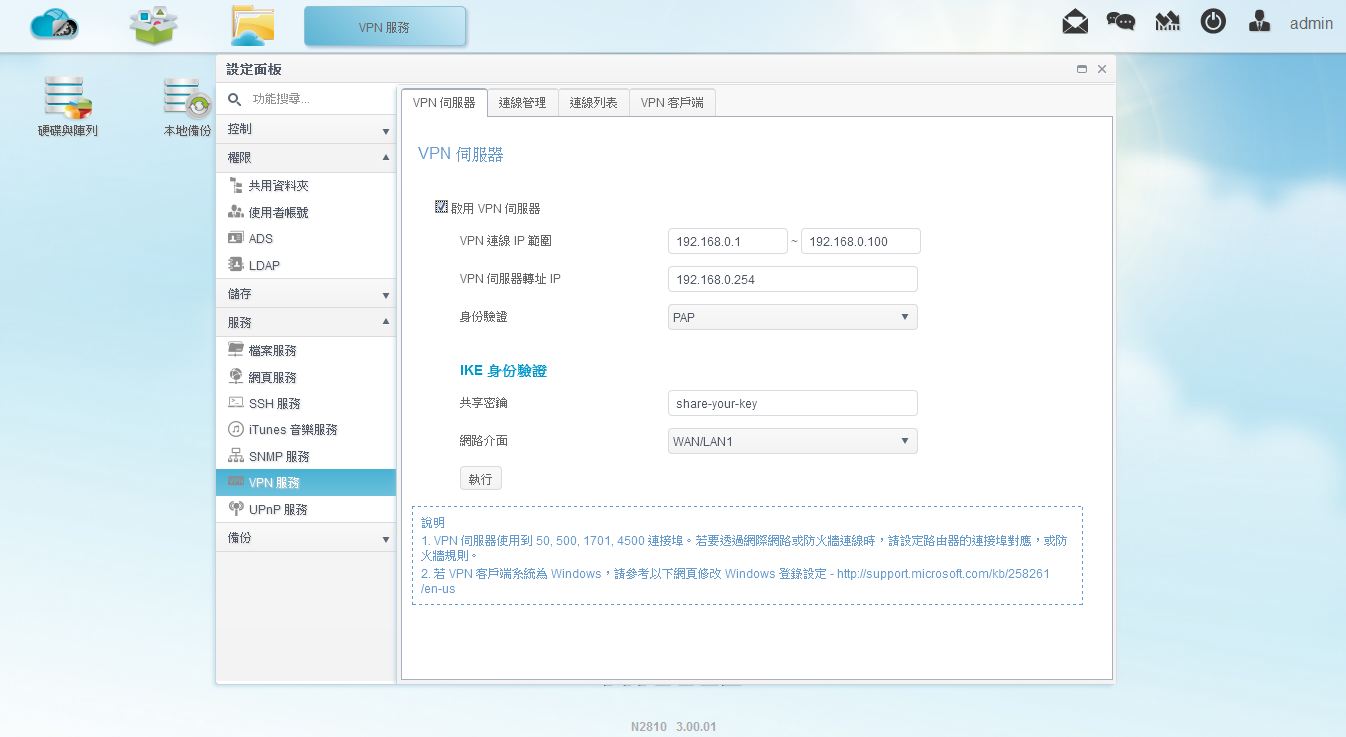
轻松架设VPN-VPN伺服器VPN伺服器一般会选择在路由器上设定,但路由器的VPN设定仅能设定5组使用者,且效能跟NAS比较实在是差很多,N2810也提供了VPN伺服器架设功能,可提供较高的安全性存取资料
▼至VPN伺服器设定页面将功能开启,并设定相关设定后即可
▼VPN开启提示
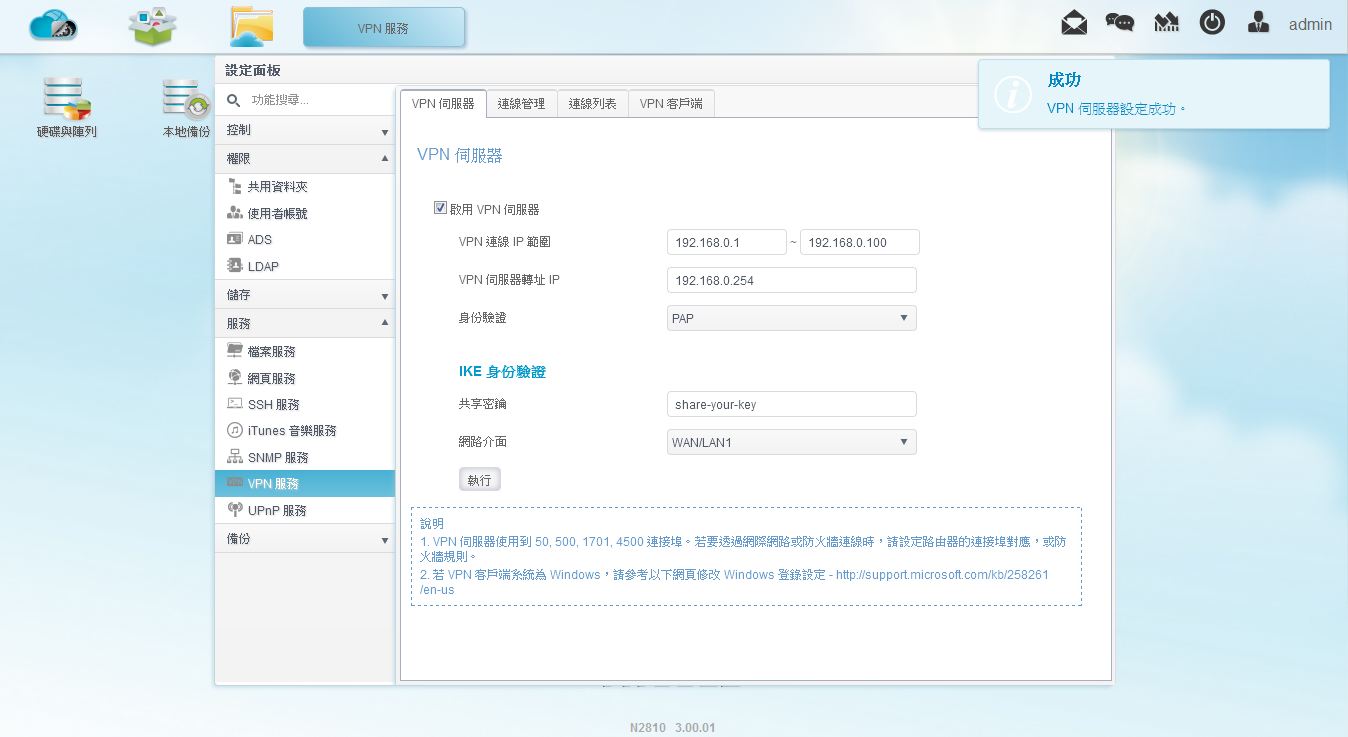
▼立即连线测试没问题!!!
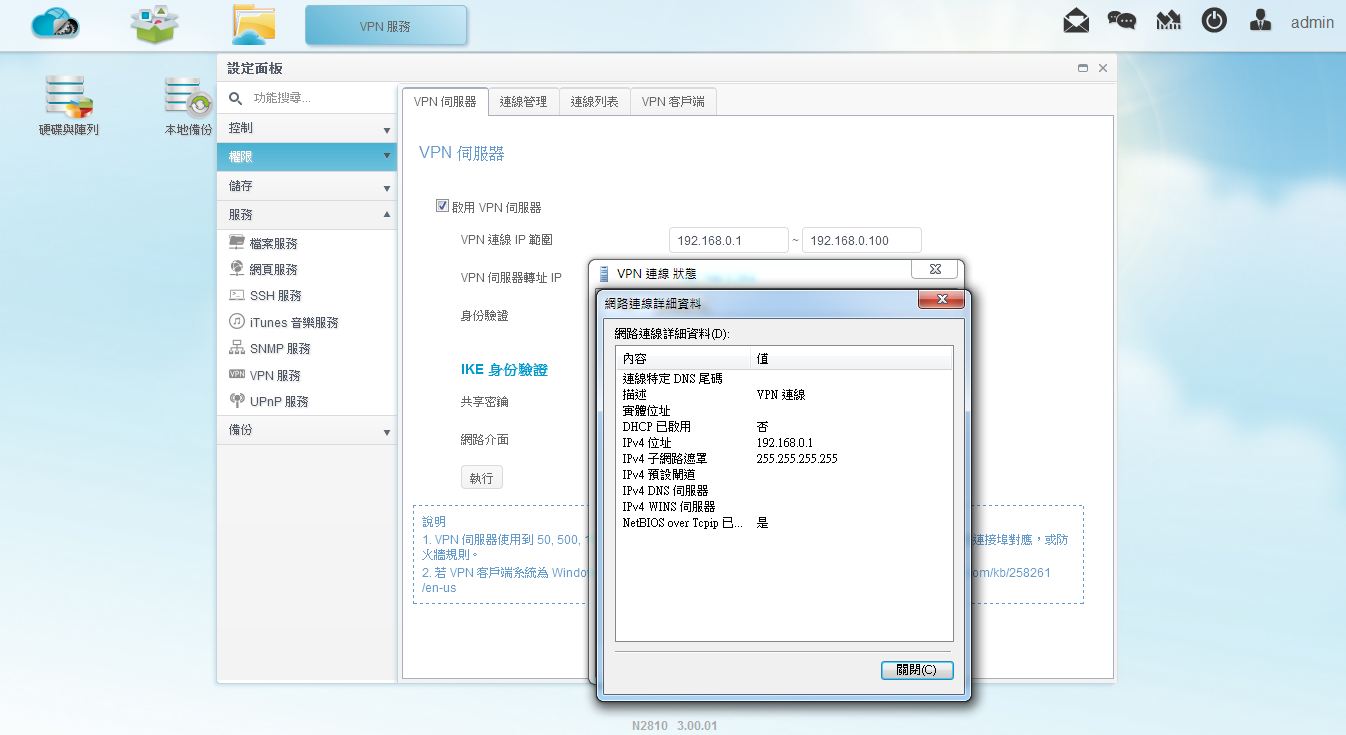
经由简单的设定操作即可享受VPN连线服务,相当简单且容易上手!!
轻松备份-本地与USB备份超简单N2810提供相当简单的备份方式,要将USB资料储存至NAS内或是将NAS内资料备份出来都是相当容易,或是要直接做本地备份也是同样简简单单
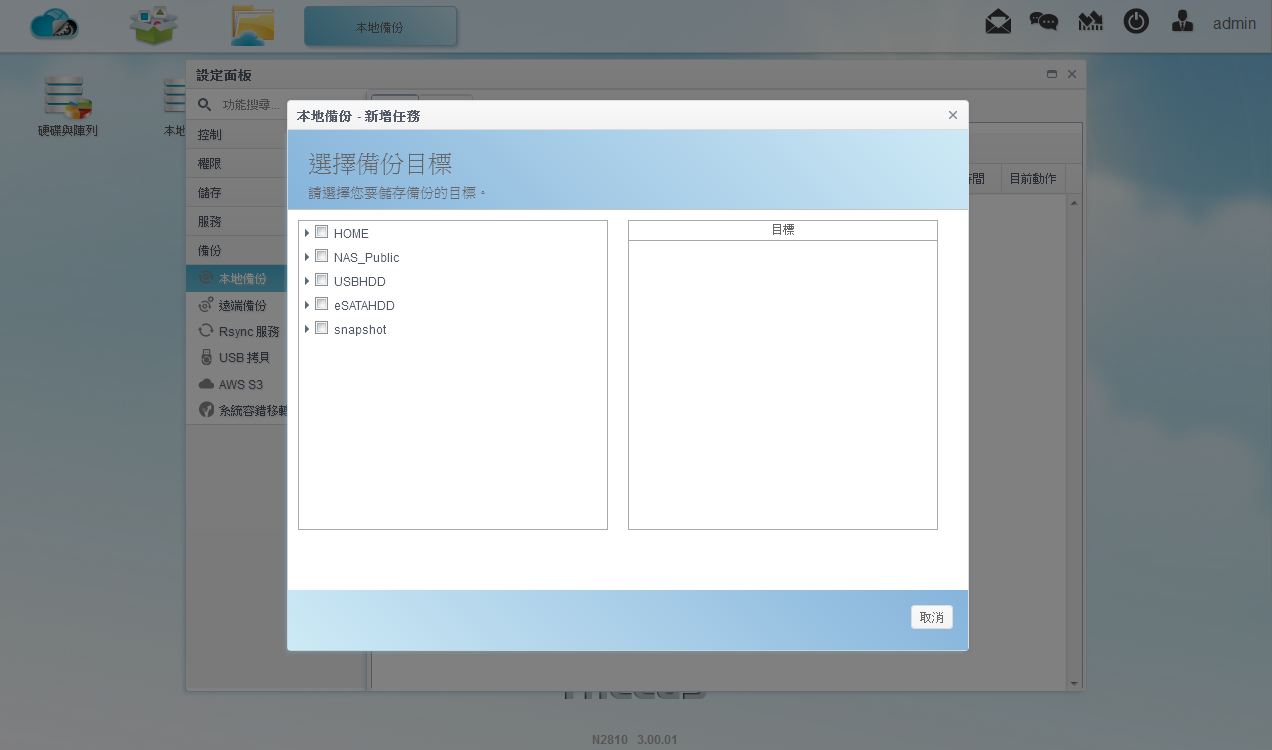
▼本地备份首先选择备份目的地
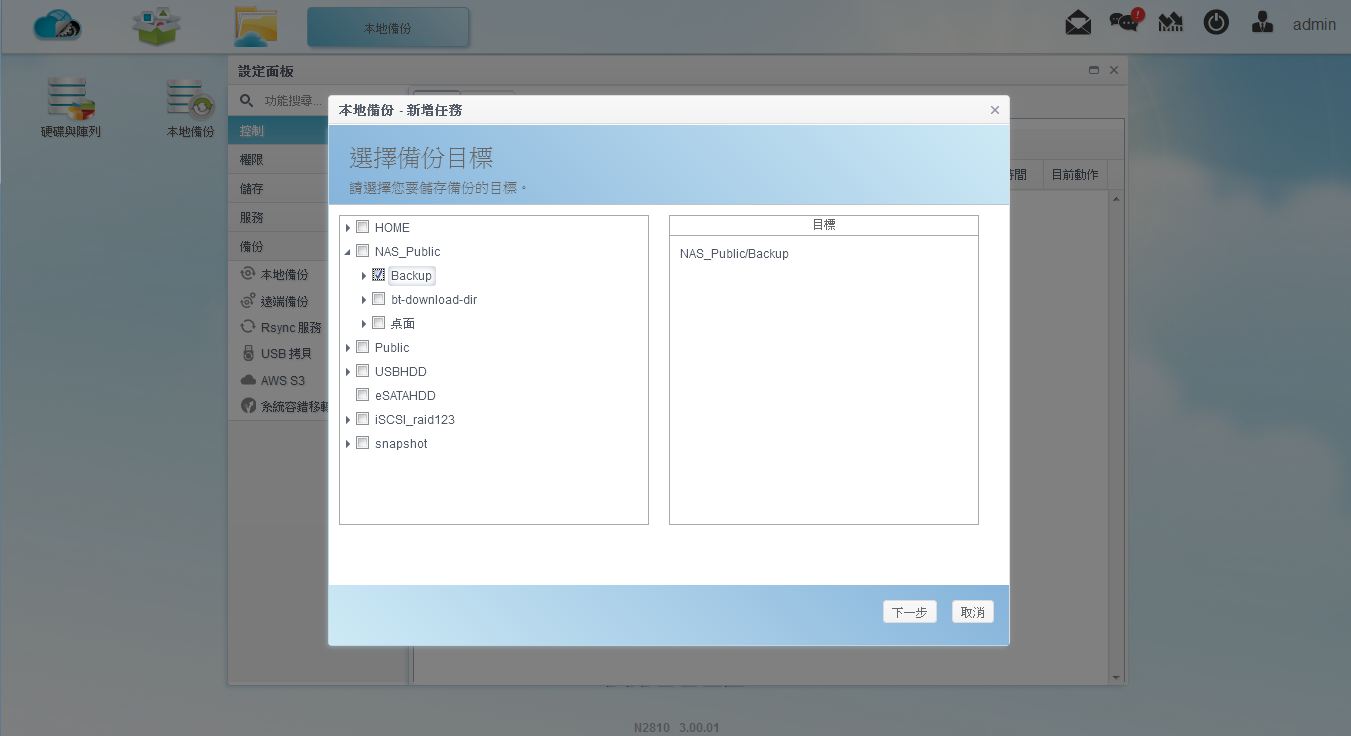
▼接着选择欲备份的资料
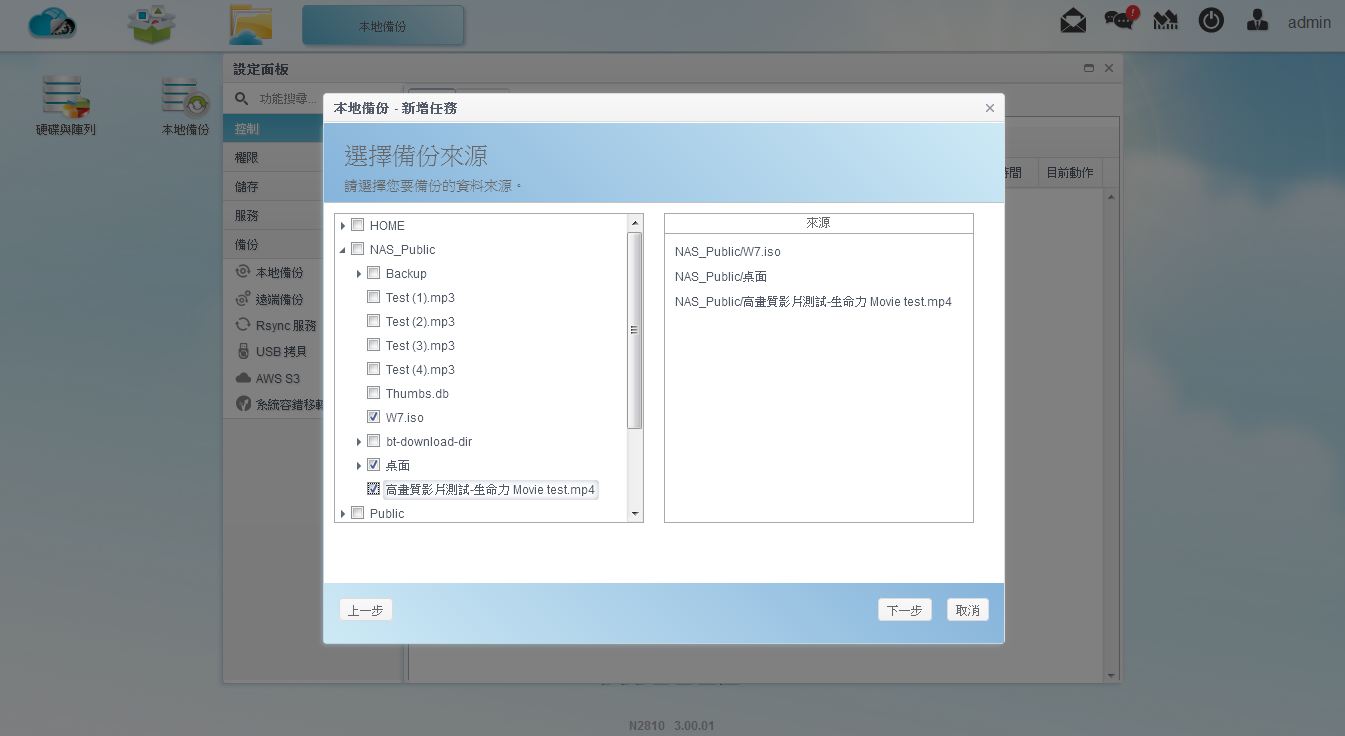
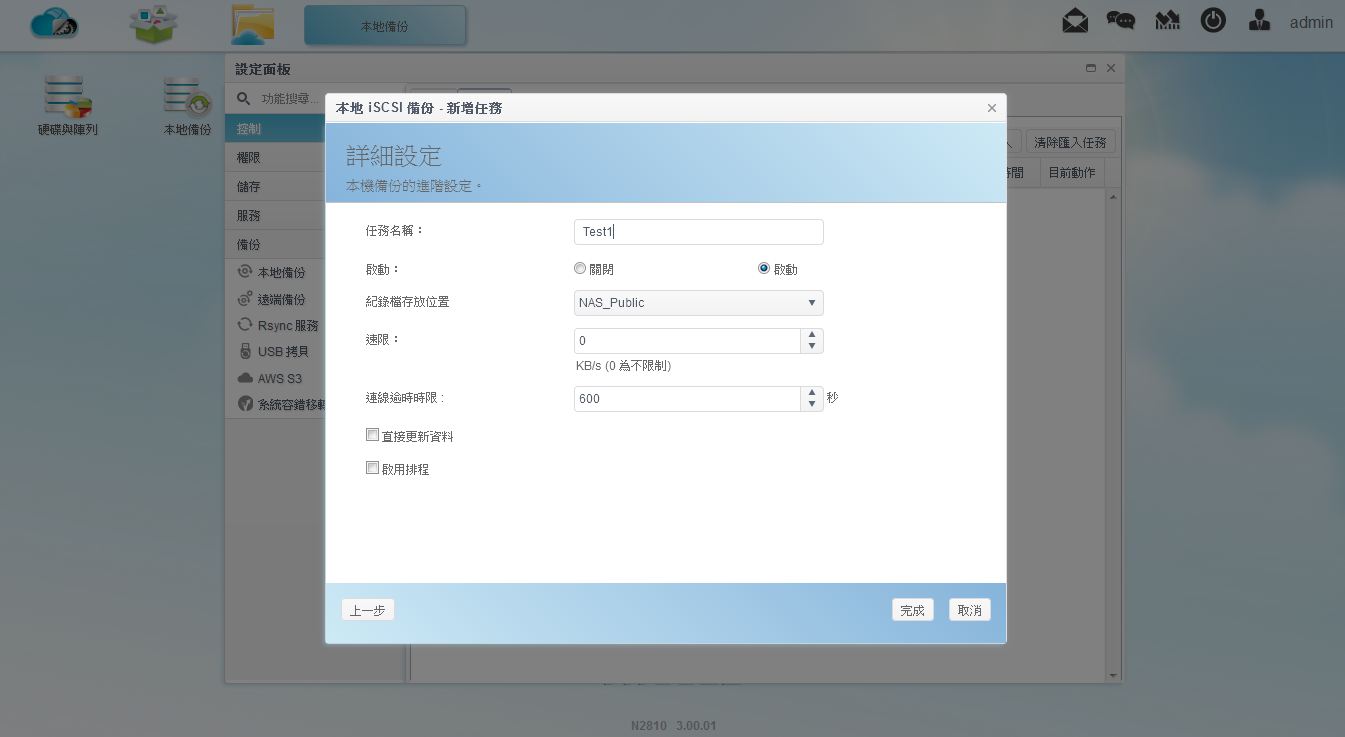
▼设定任务名称与其他设定,也可设定自动备份与备份频率
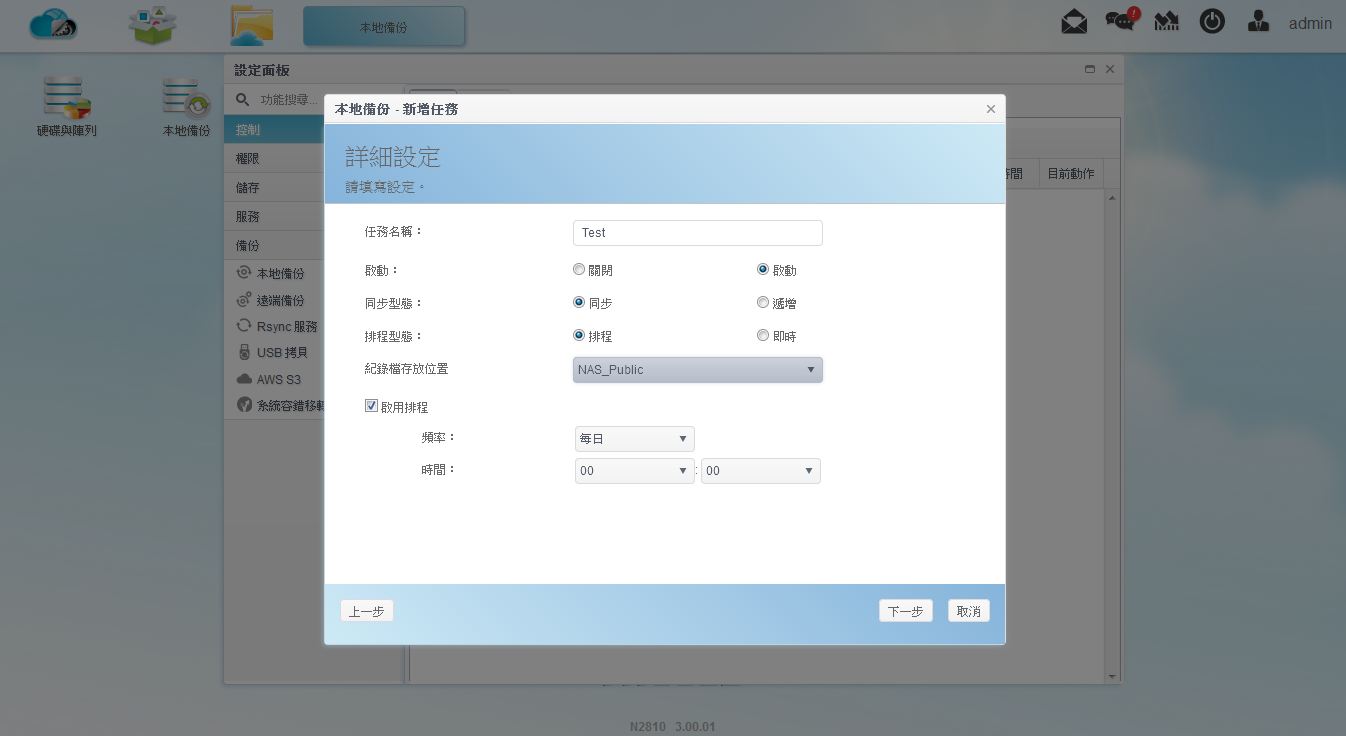
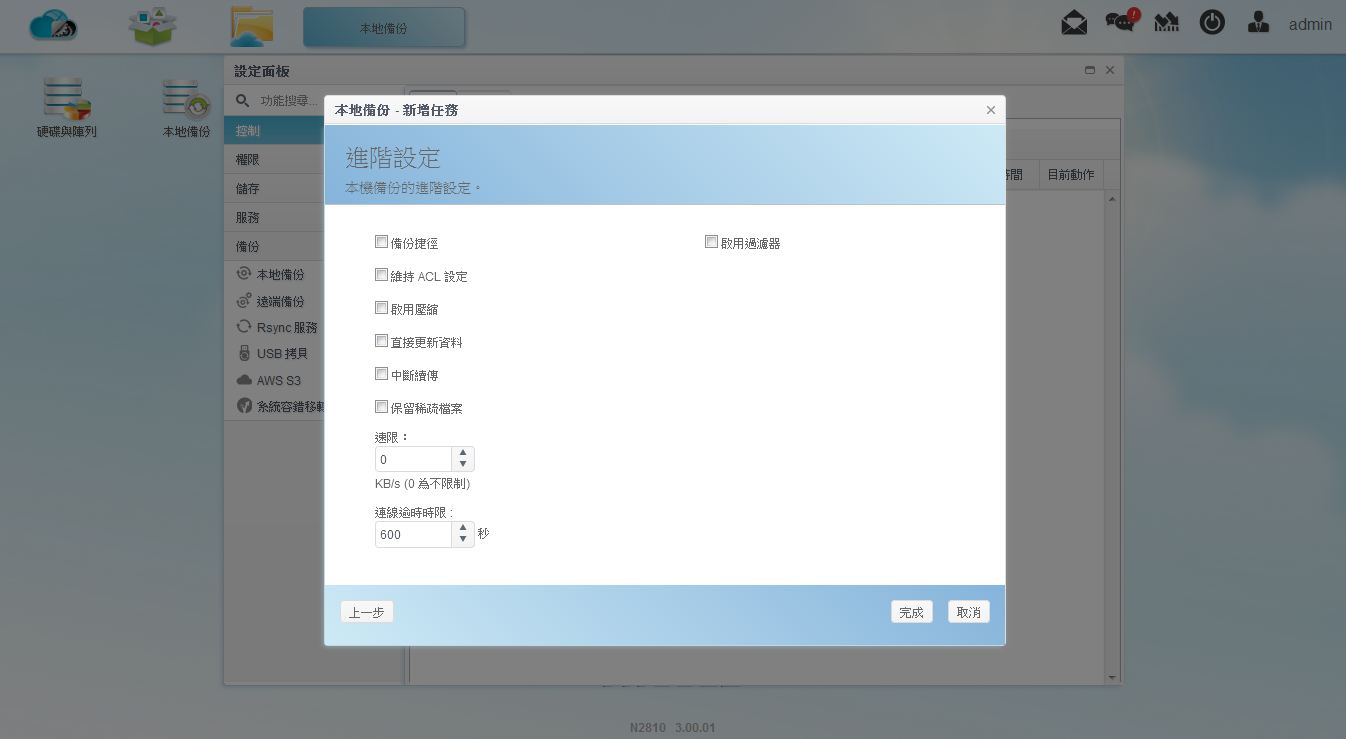
▼进阶设定
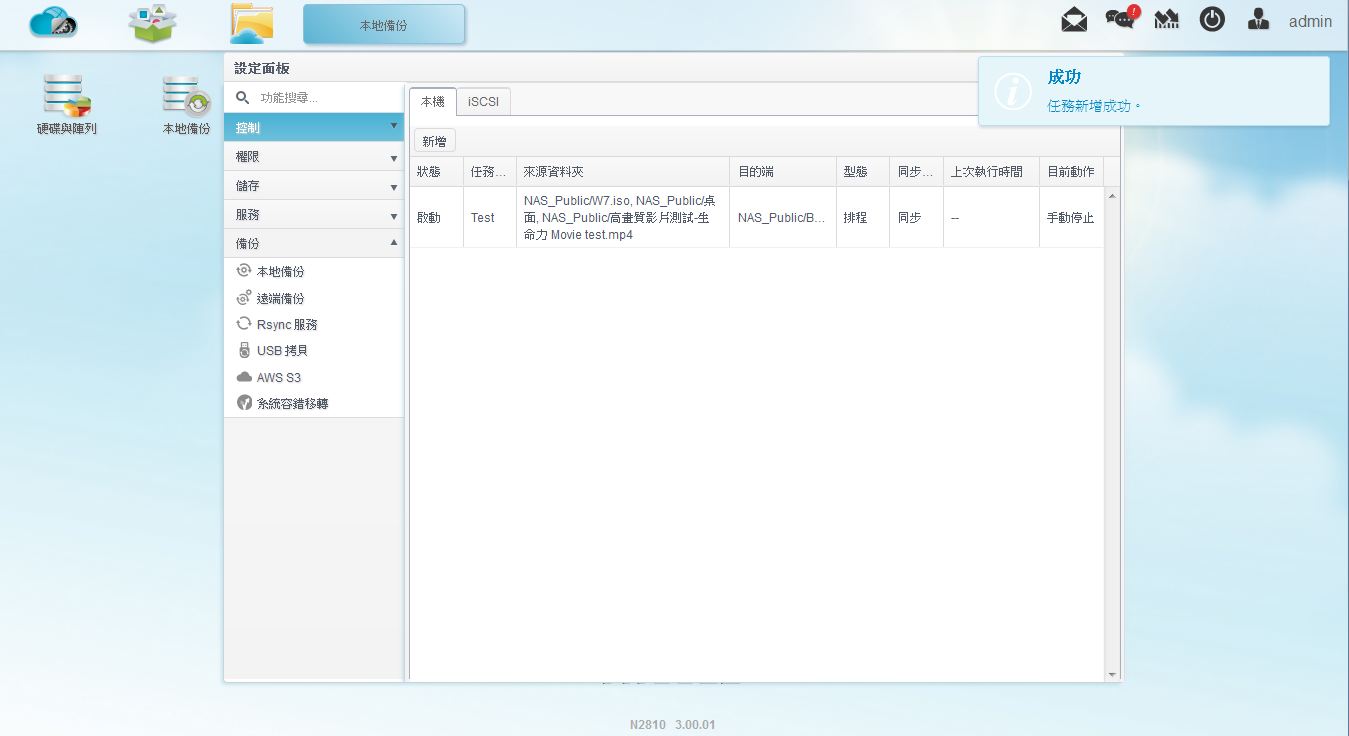
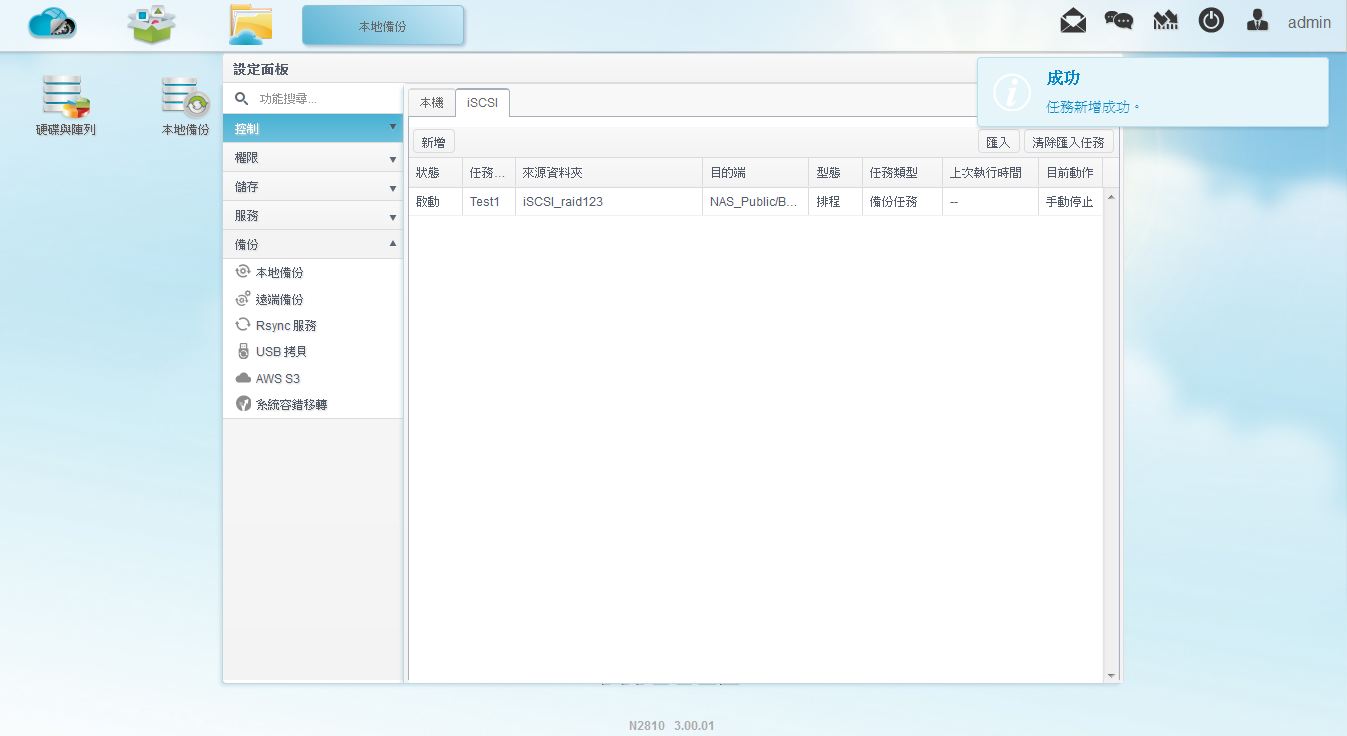
▼新增任务成功
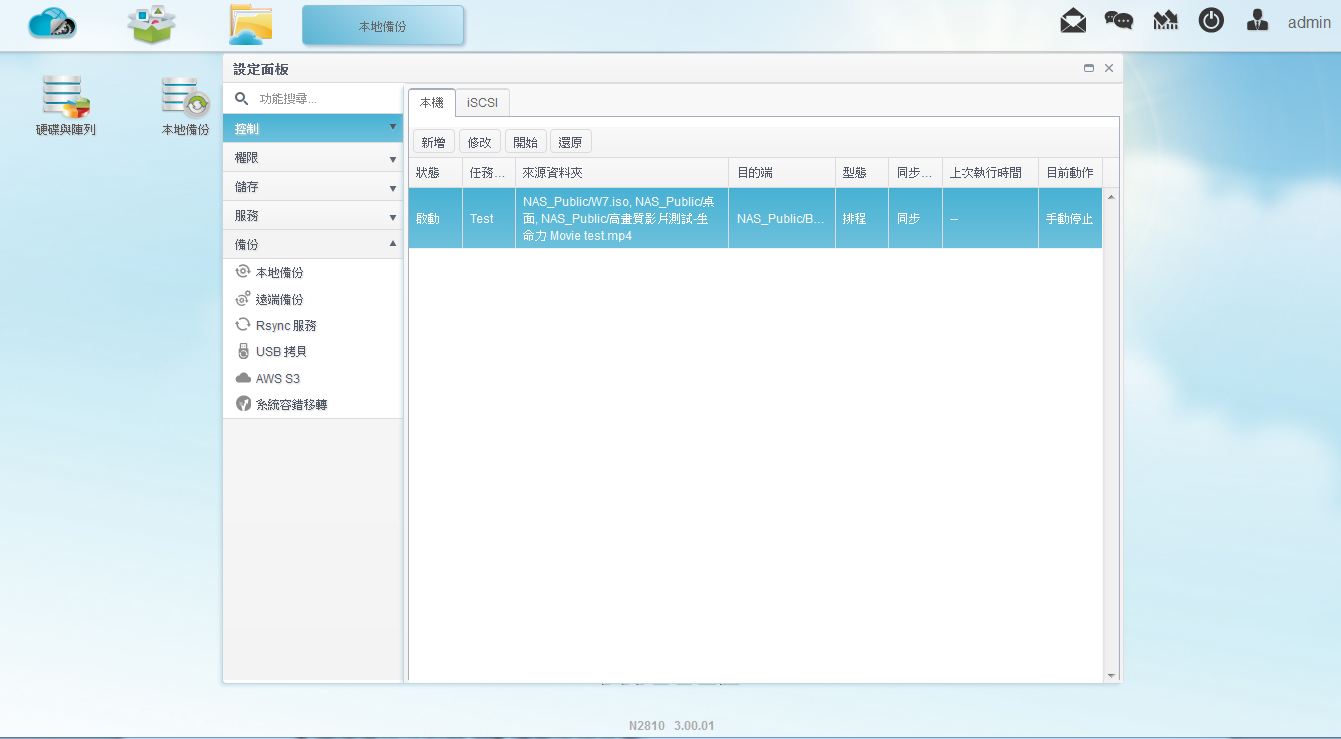
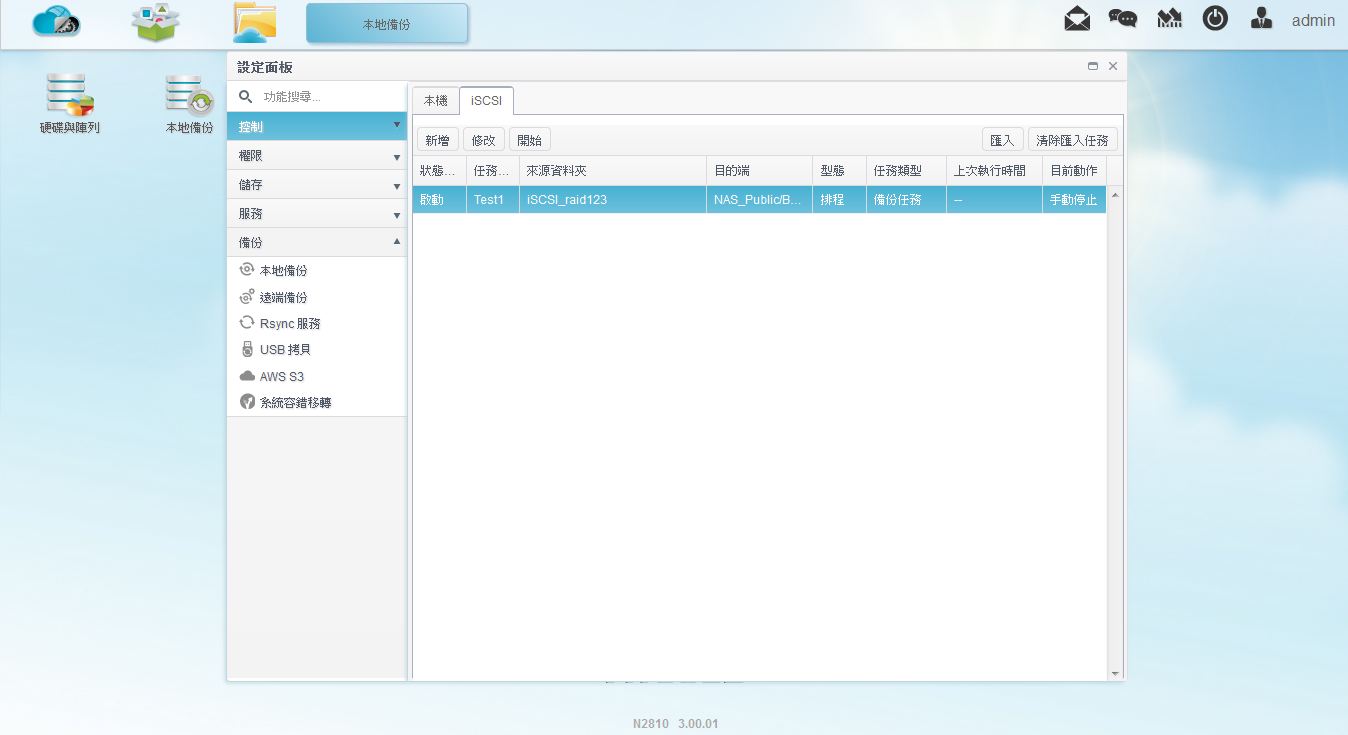
▼点选任务后再点选开始即可开始做备份
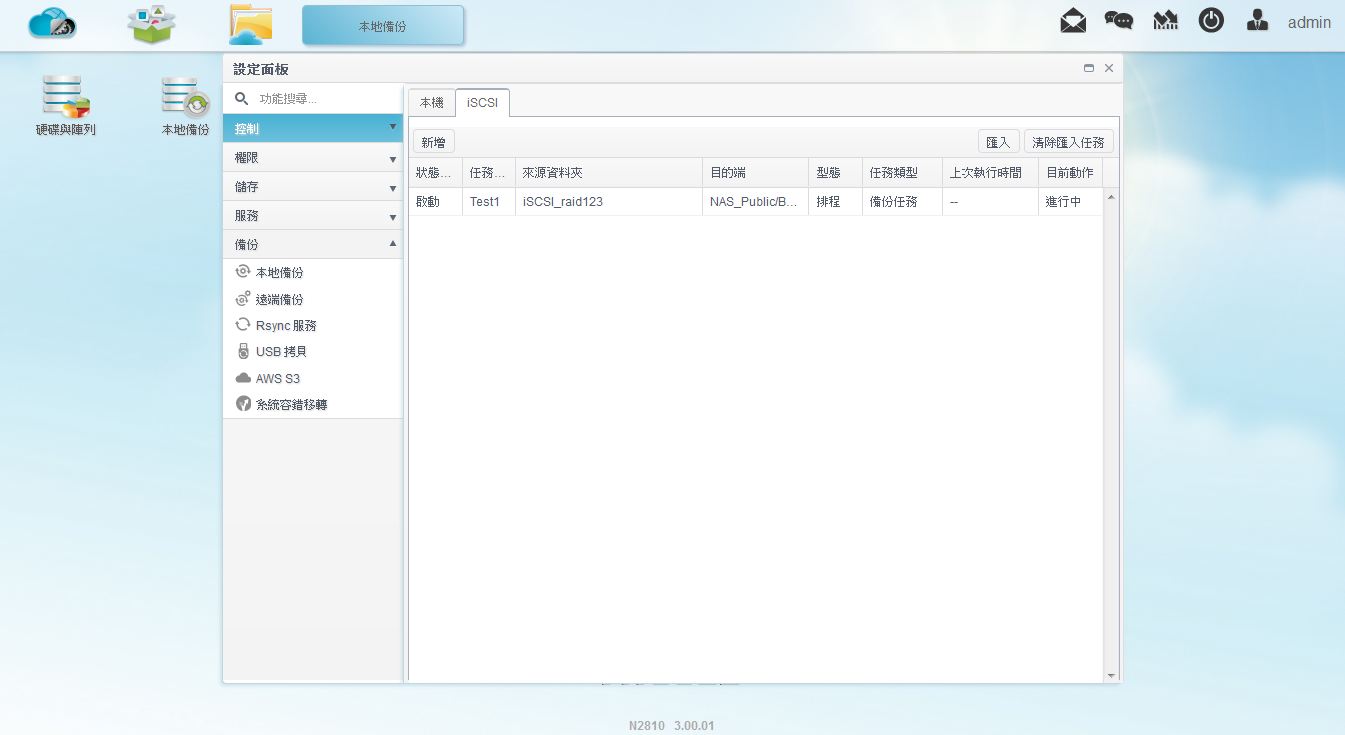
▼备份任务进行中
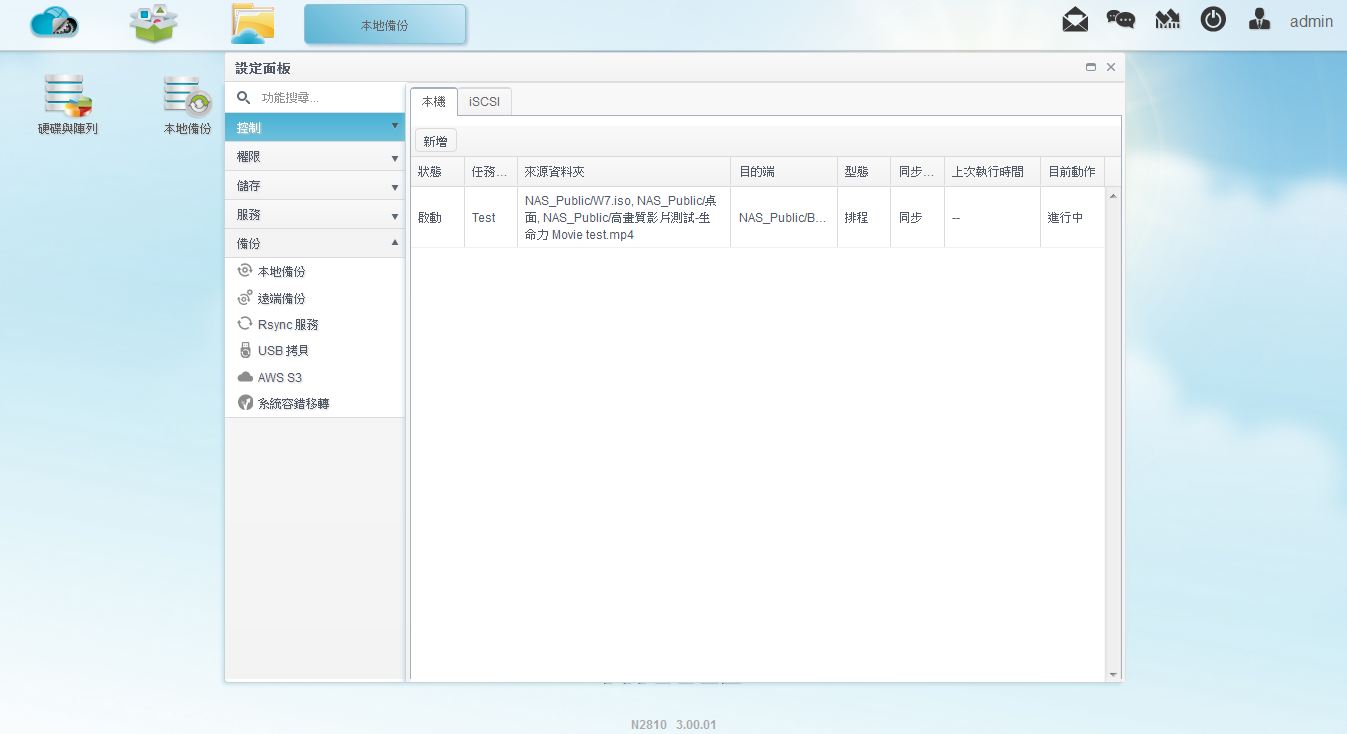
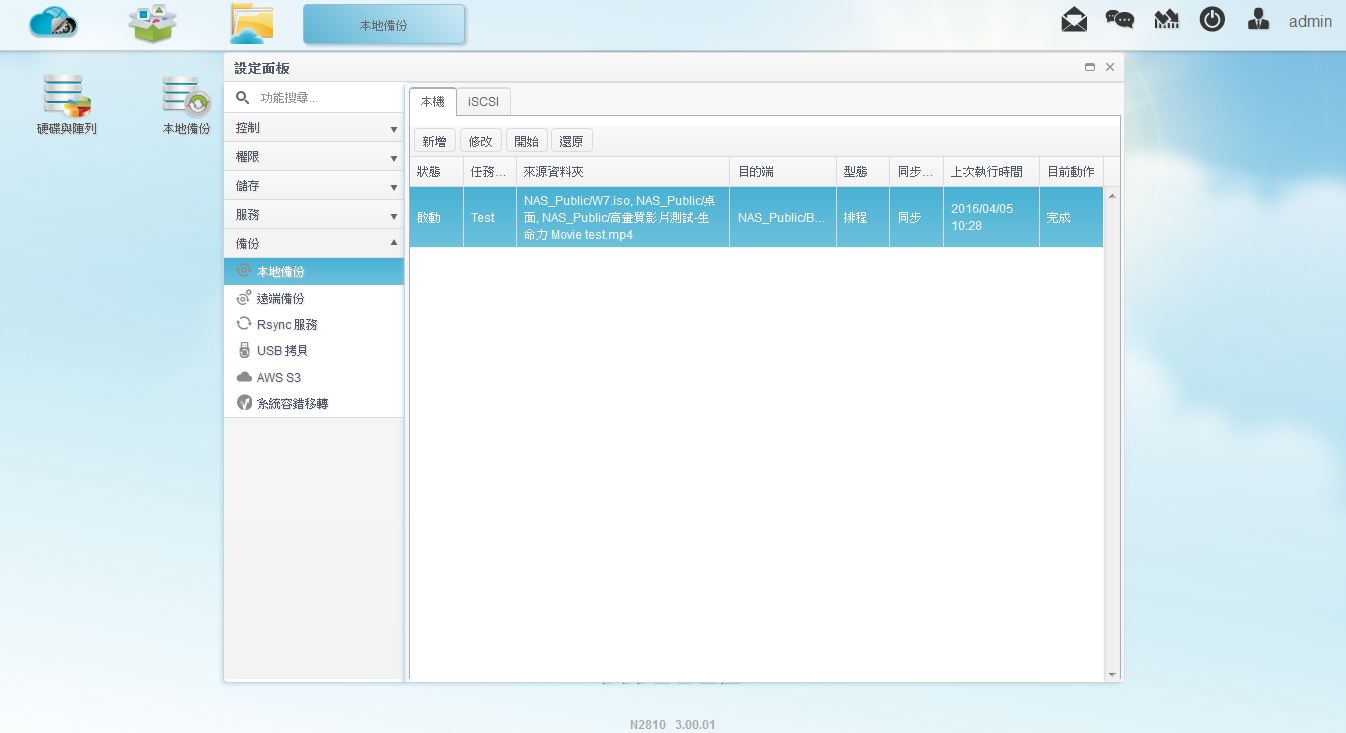
▼备份完成
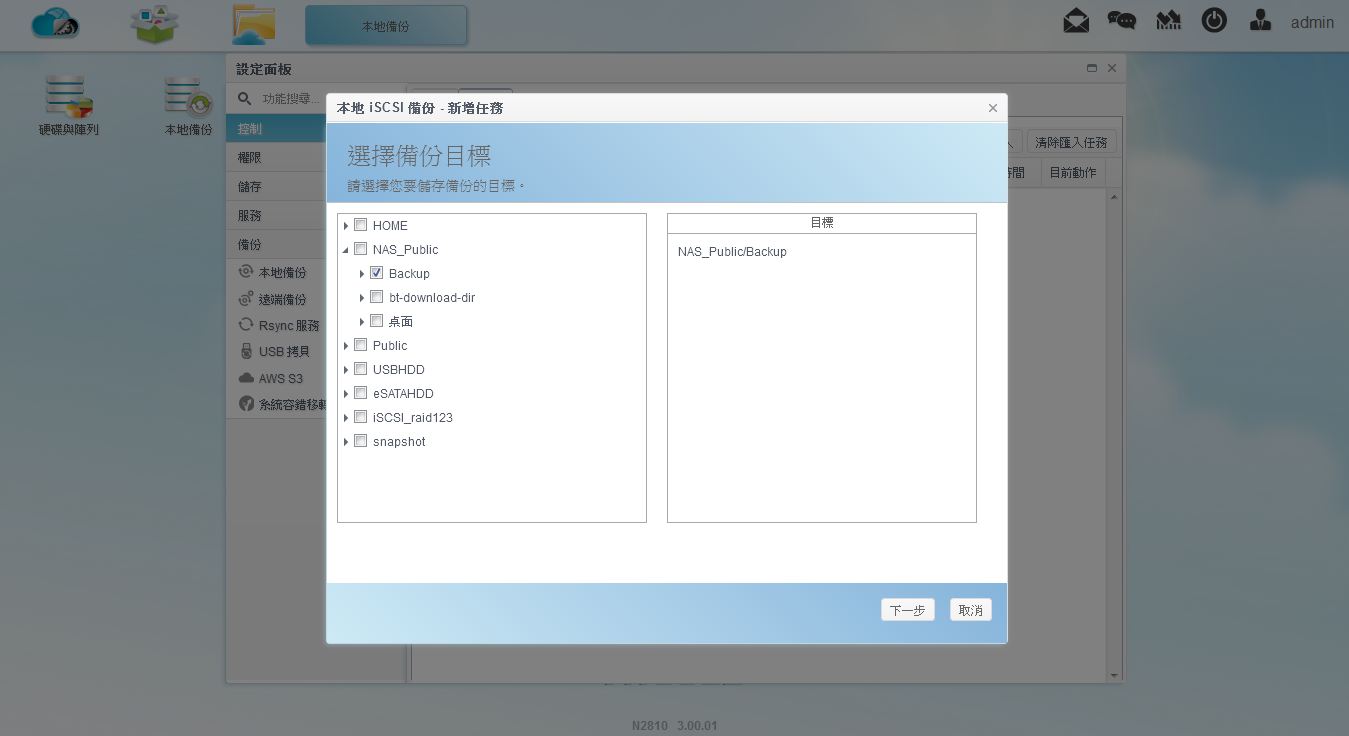
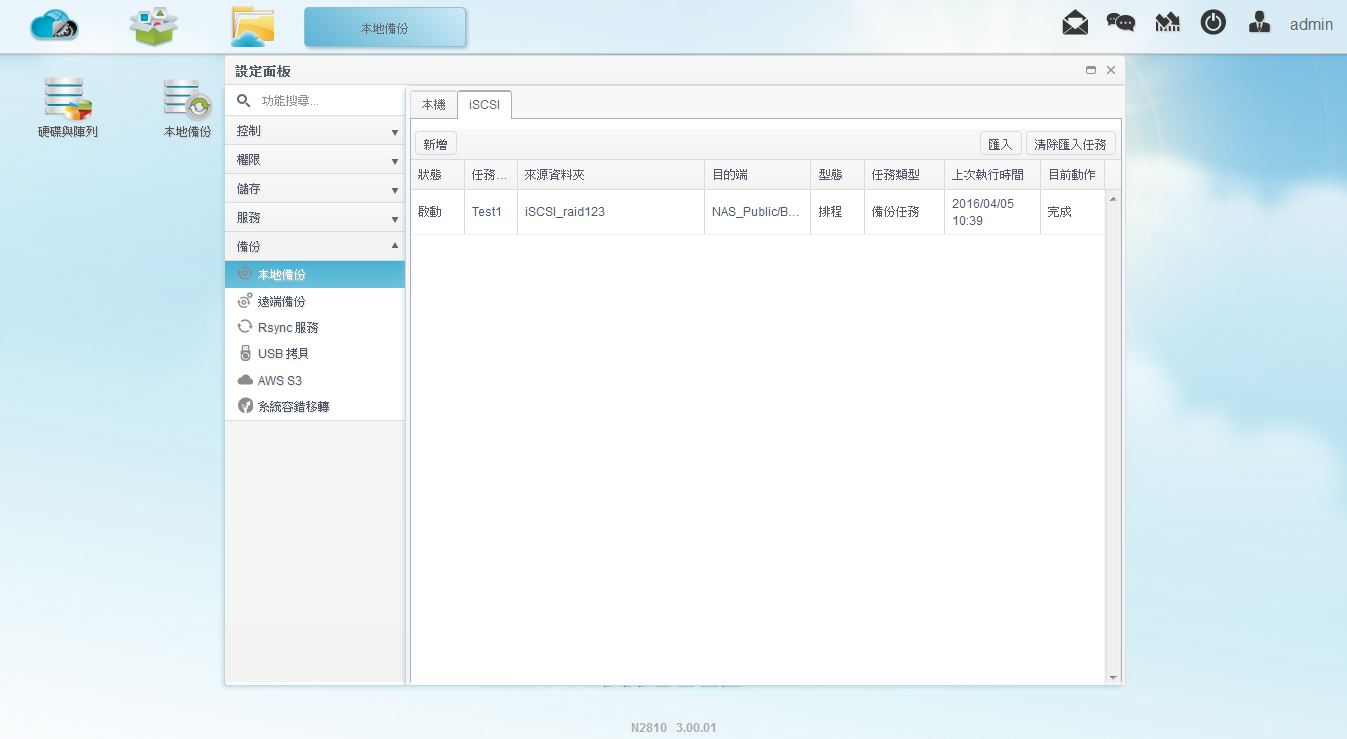
▼若要做iSCSI本地备份也是同样简单
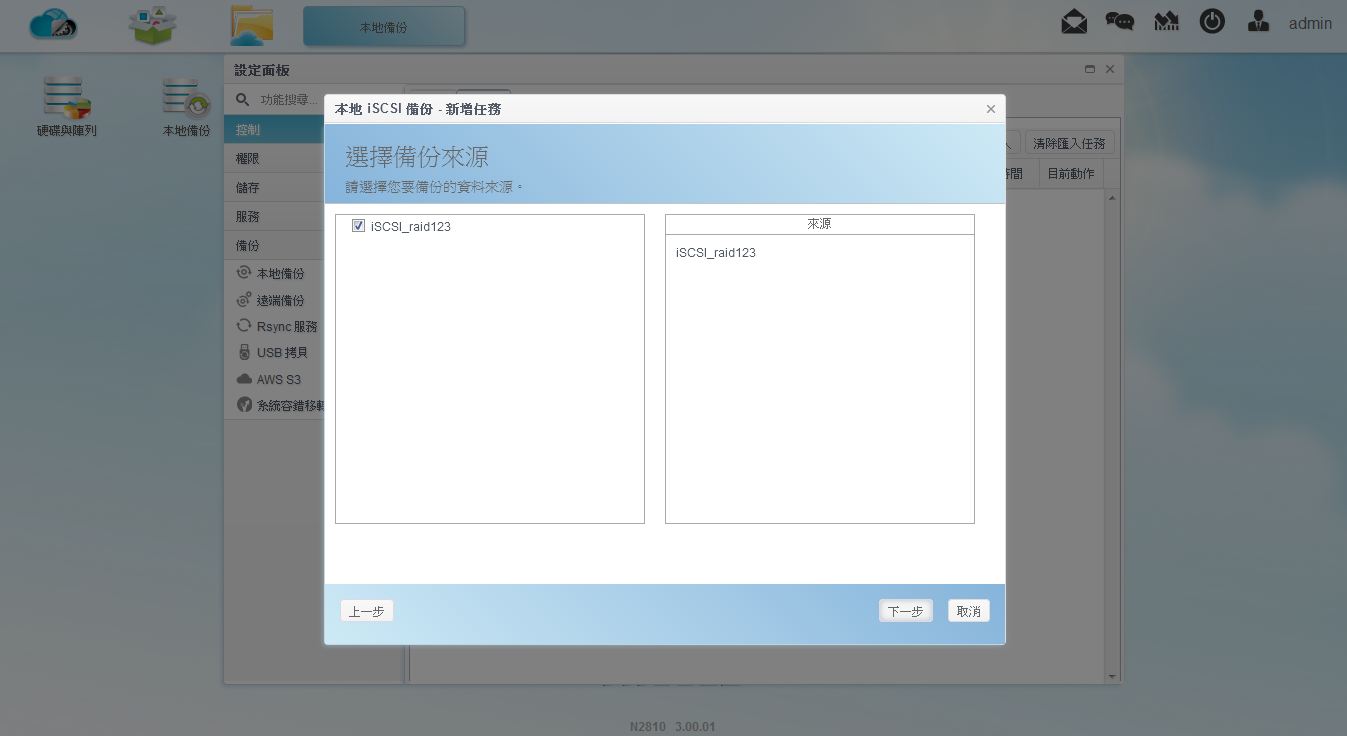
▼接着选择欲备份的iSCSI资料
▼设定任务名称与其他设定,也可设定自动备份与备份频率
▼新增任务成功
▼点选任务后再点选开始即可开始做备份
▼备份任务进行中
▼备份完成
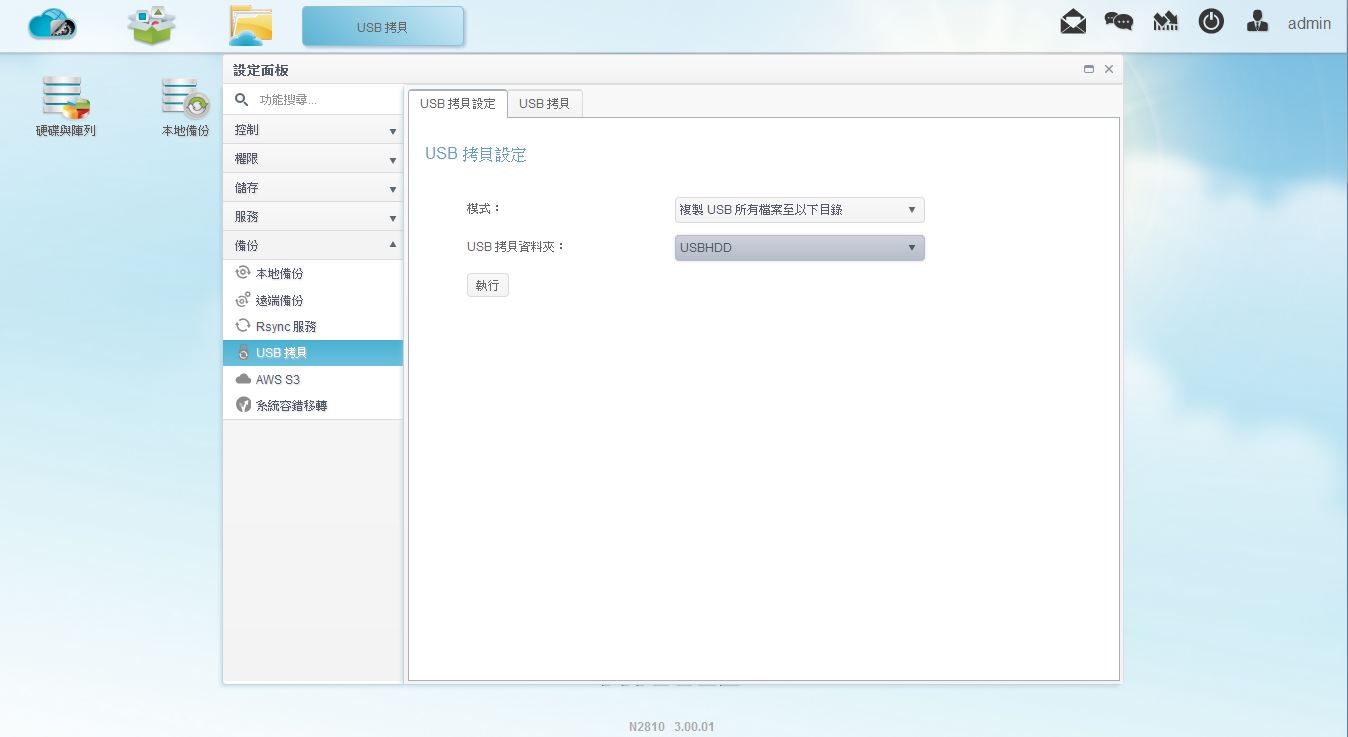
接着介绍USB与NAS间的资料备份
▼可以选择预设设定将USB所有资料备份至NAS内
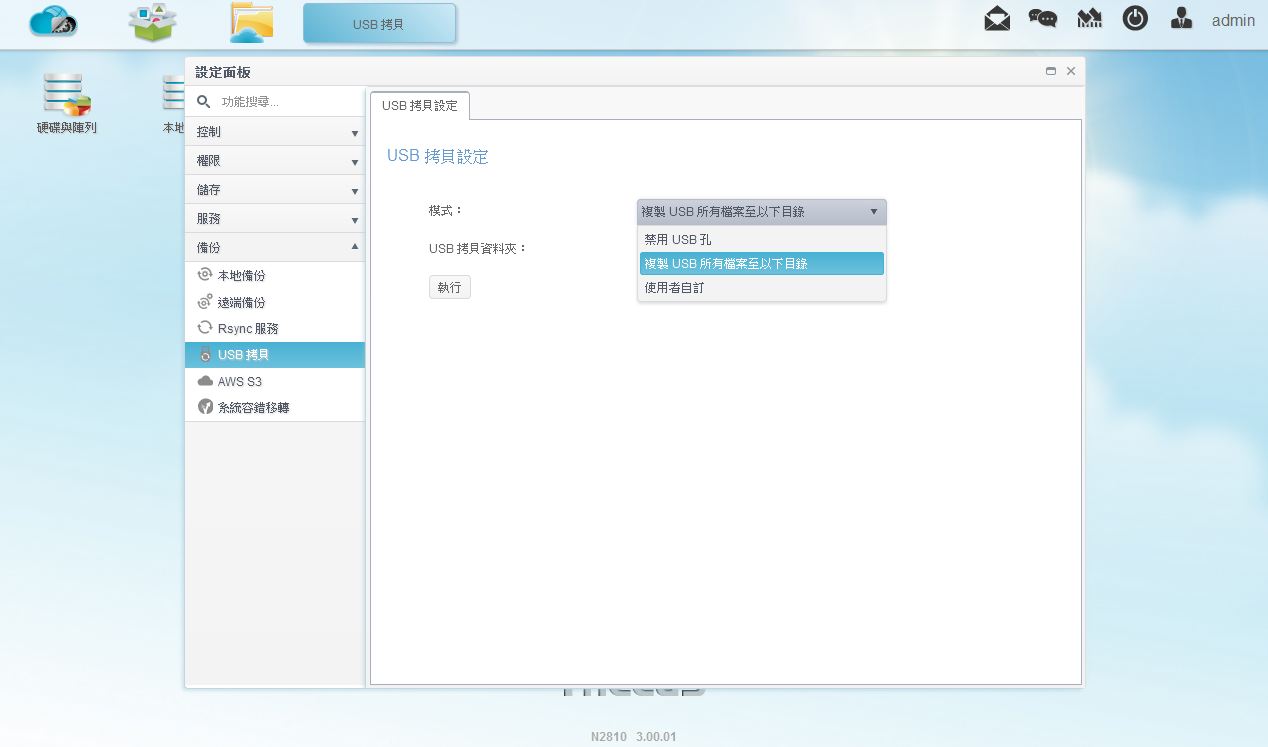
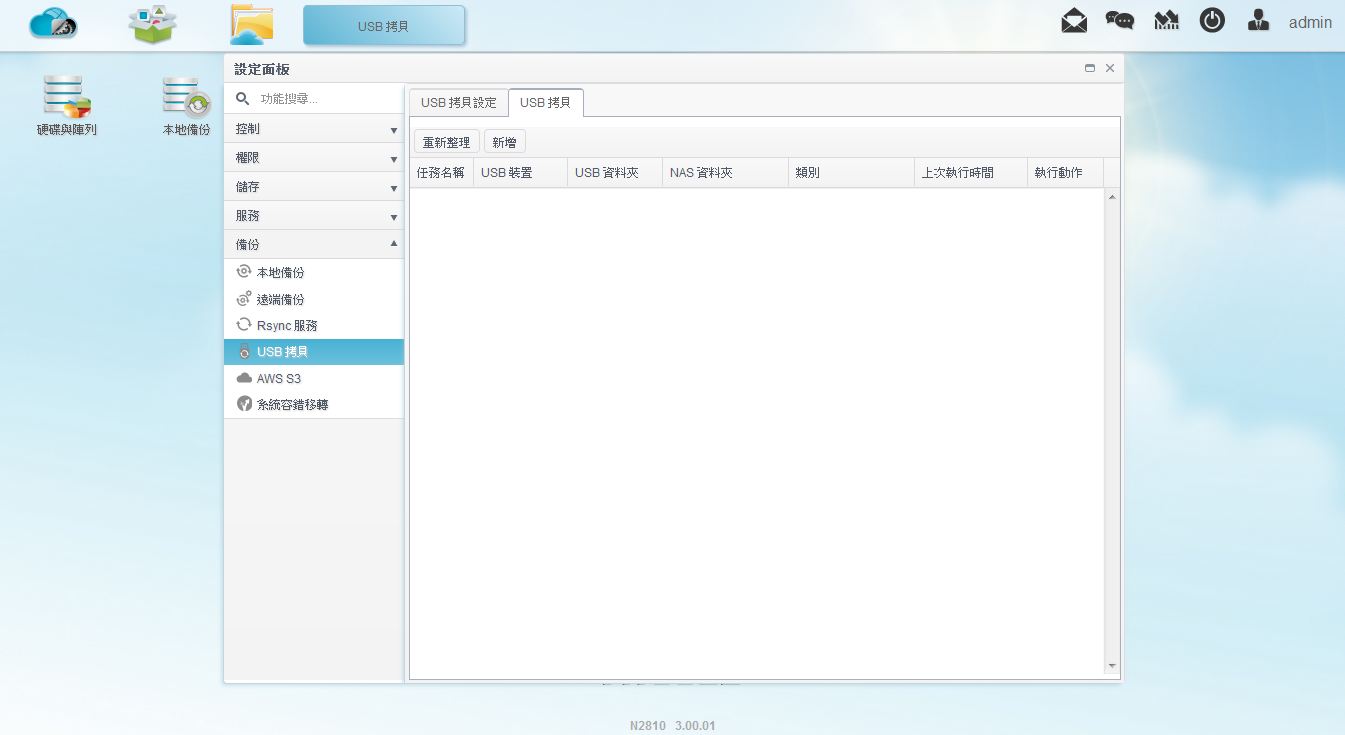
▼也可选择手动设定,手动设定则可以有更多设定变化
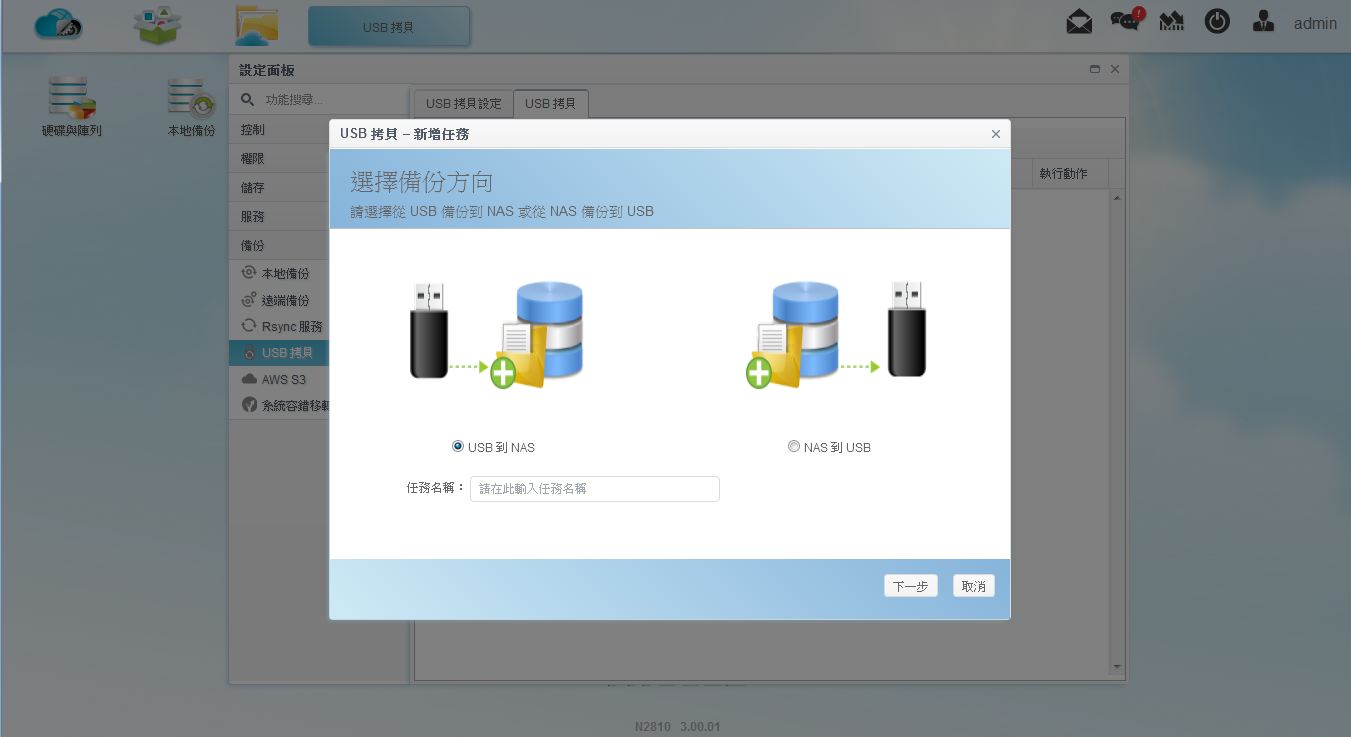
▼可选择USB to NAS与NAS to USB,这次以USB to NAS为范例
▼选择USB内的资料

▼选择NAS目的地

▼任务新增完毕
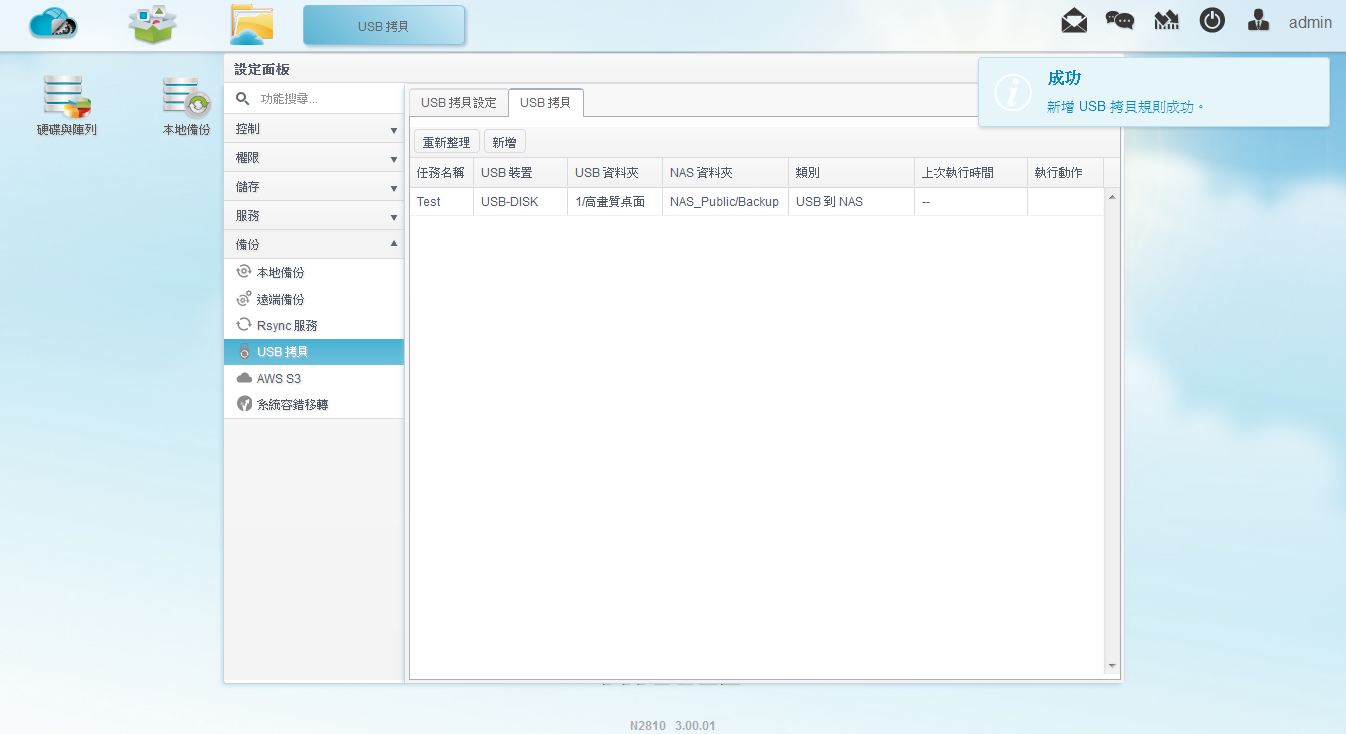
▼接着按NAS主机前方的USB备份按钮,完成后再NAS端可以看到已完成
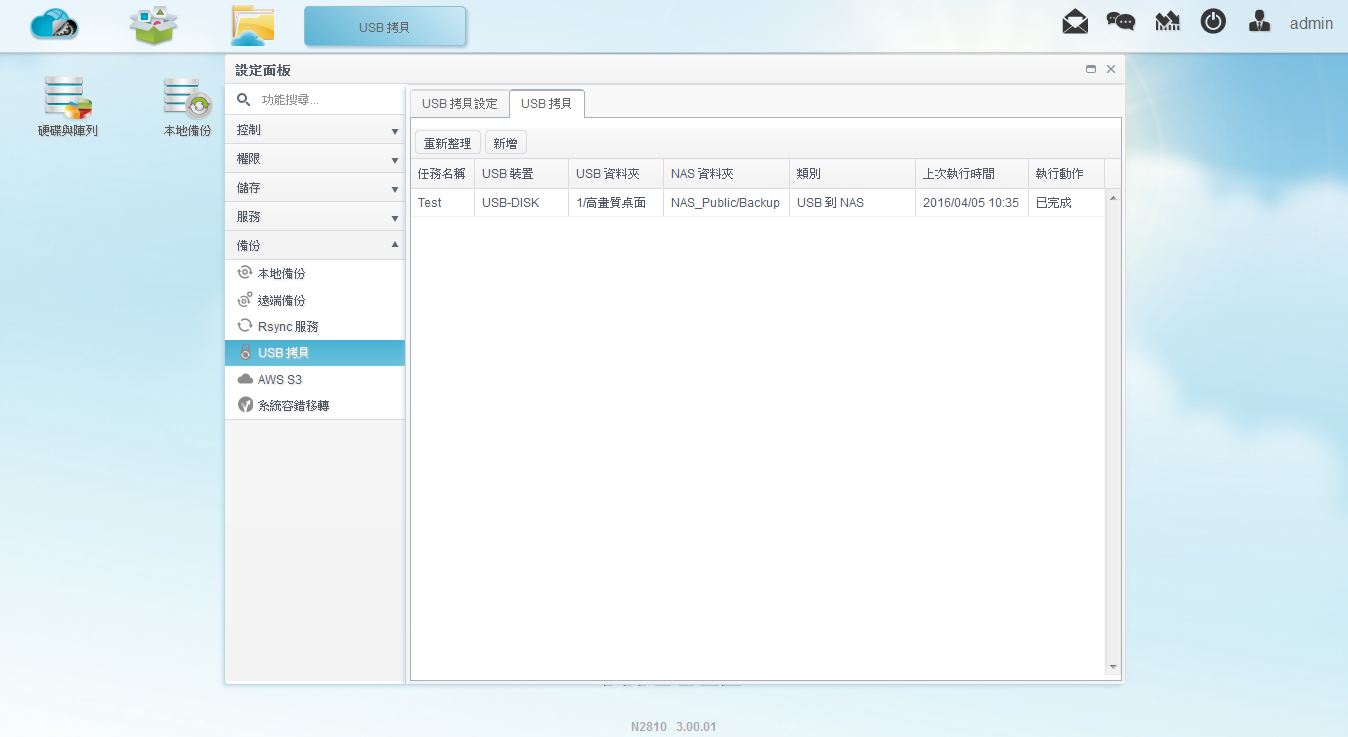
▼到NAS选择的资料夹即可看到刚刚备份的资料
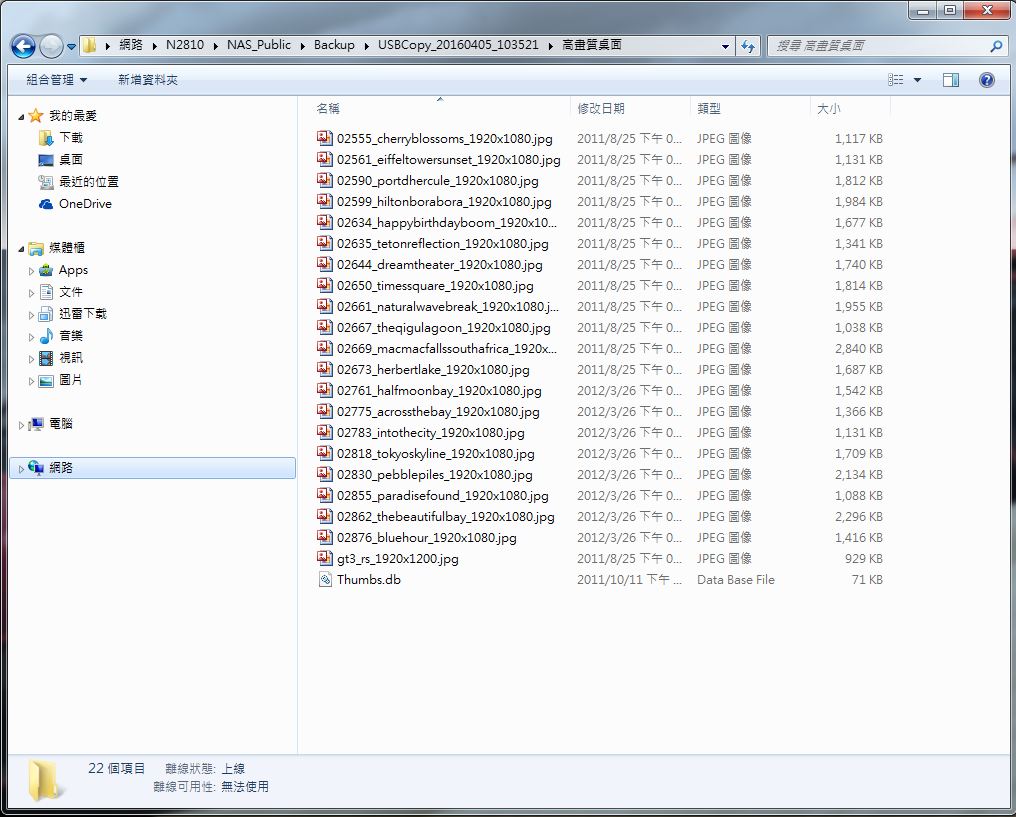
透过简单的操作介面可以轻松将资料汇入NAS内,或将NAS内的资料备份出来,N2810提供多种备份方式,可符合使用者的需求,并可同时制作多种备份确保资料不会损坏
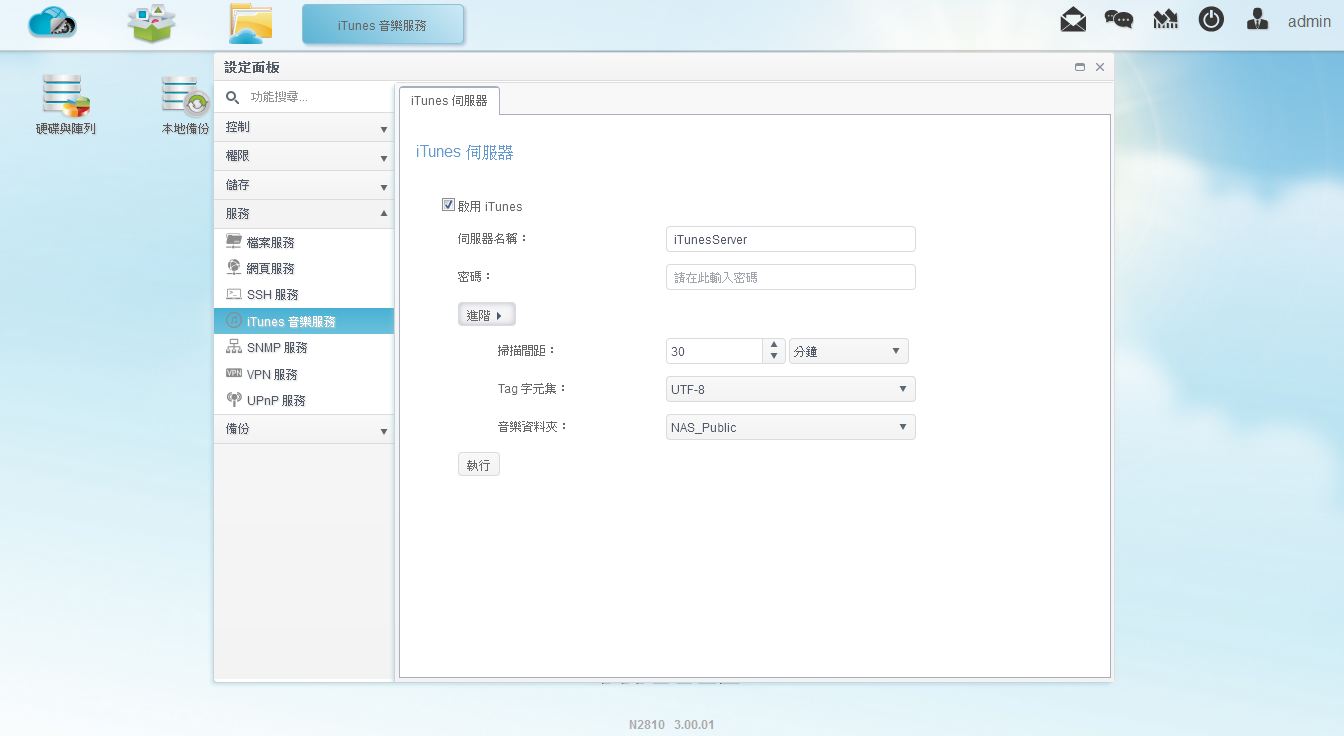
Thecus N2810多媒体应用介绍音乐播放-云端iTunes云端iTunes功能让同网域内的电脑可经由iTunes直接线上播放NAS内的音乐,功能设定也相当简单容易,不会占用每台电脑内的硬碟空间
▼到服务内开启iTunes功能,并可设定装置名称与密码
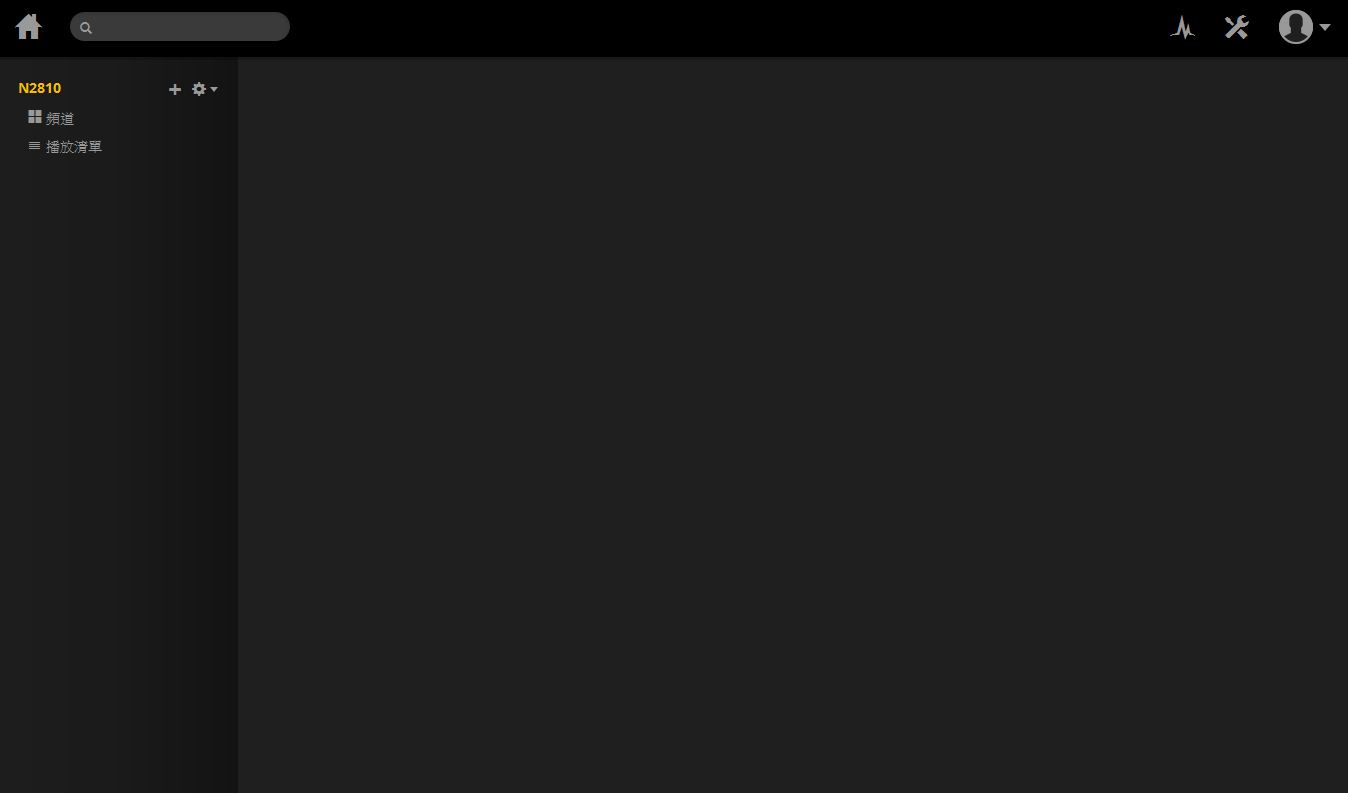
▼同网域内的电脑开启iTunes可看到N2810装置
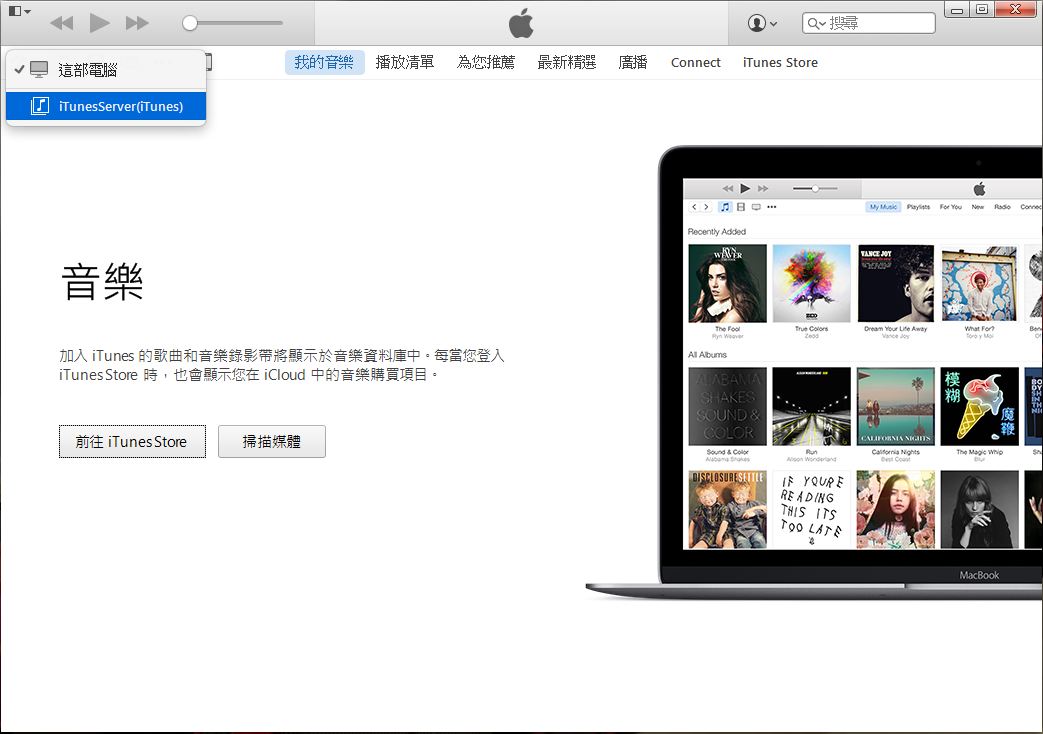
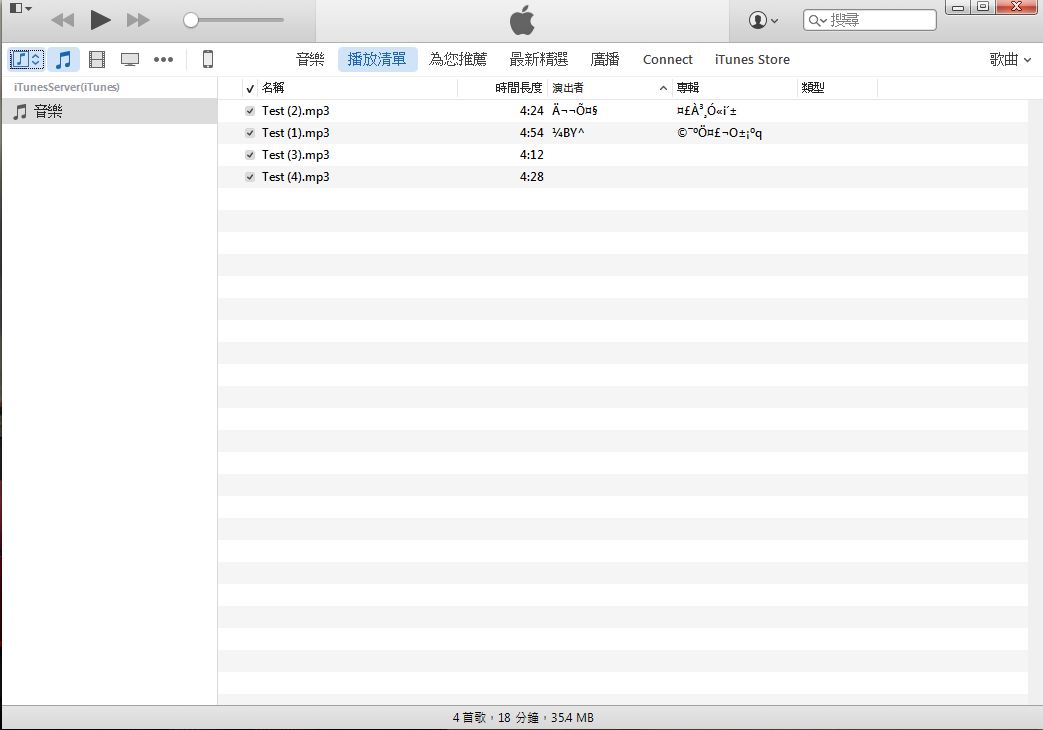
▼可检视目前N2810装置内的音乐档案
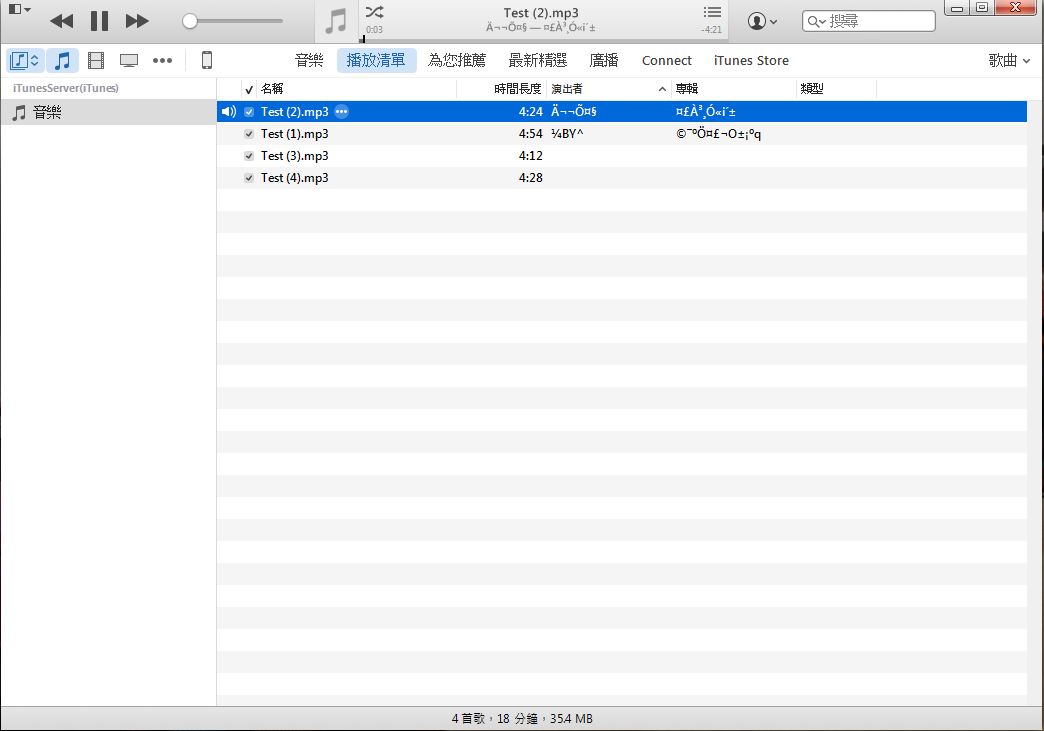
▼线上即可直接拨放
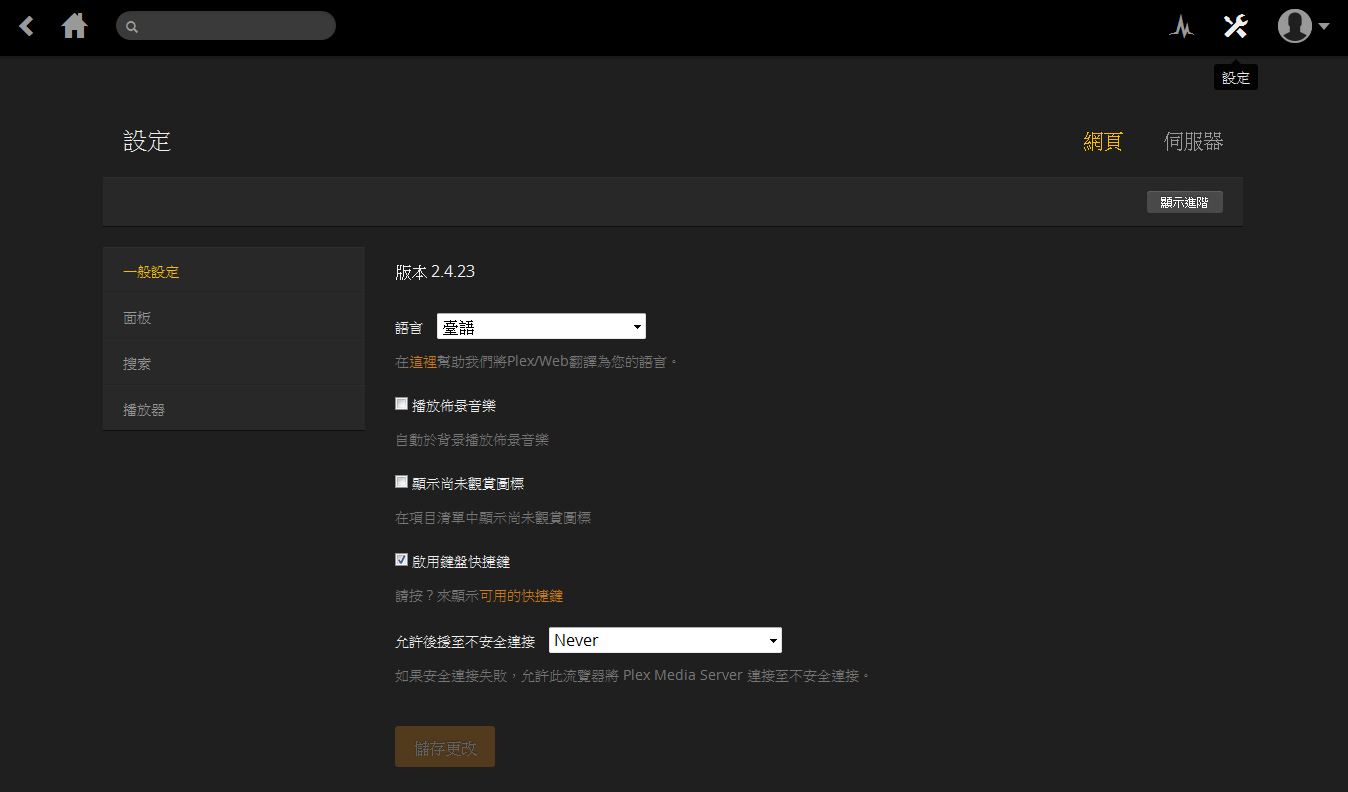
 多媒体伺服器中心-Plex
N2810可安装Plex软体成为影音中心,不论是影片、图片还是音乐档,可以做有效的管理与分类,并可经由串流功能将NAS的多媒体档到处都可以拨放
▼Plex软体介面一览
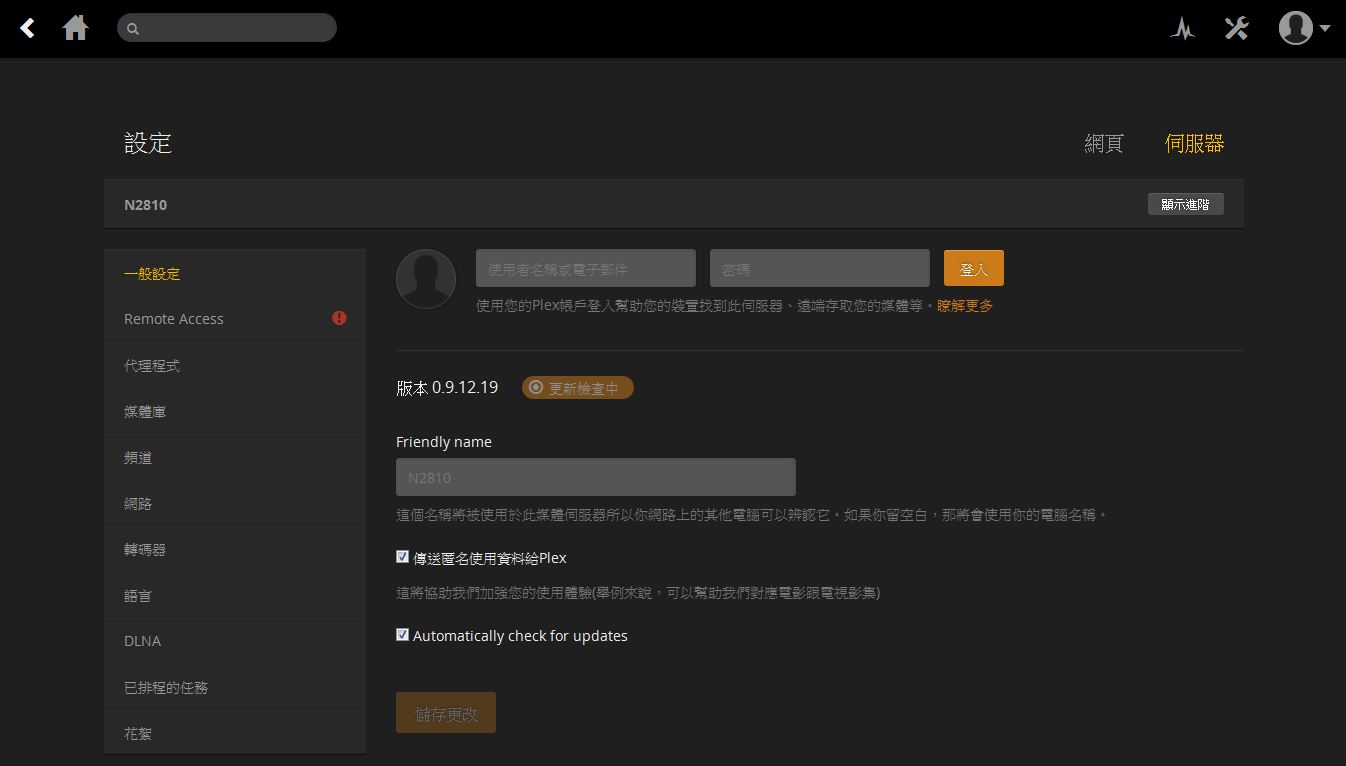
▼一般设定一览
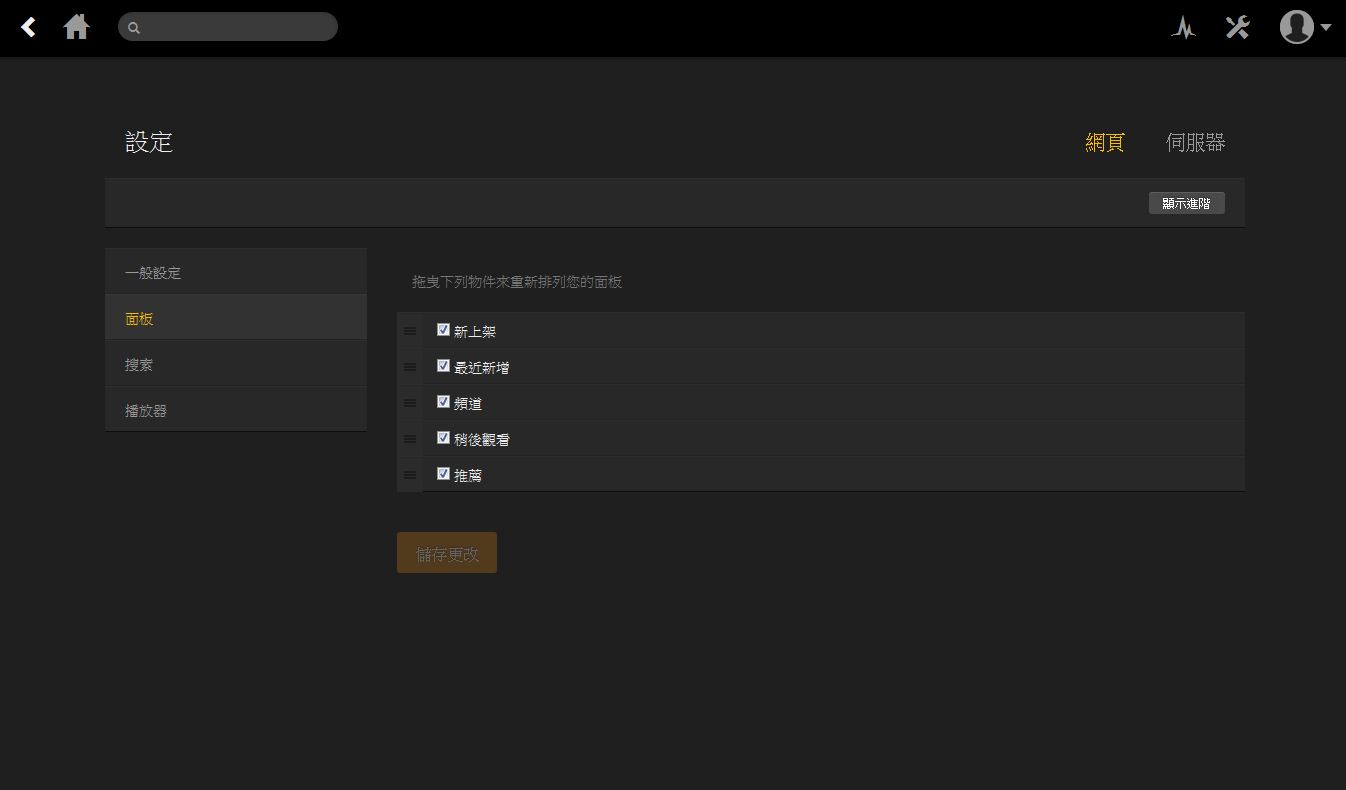
▼面板设定
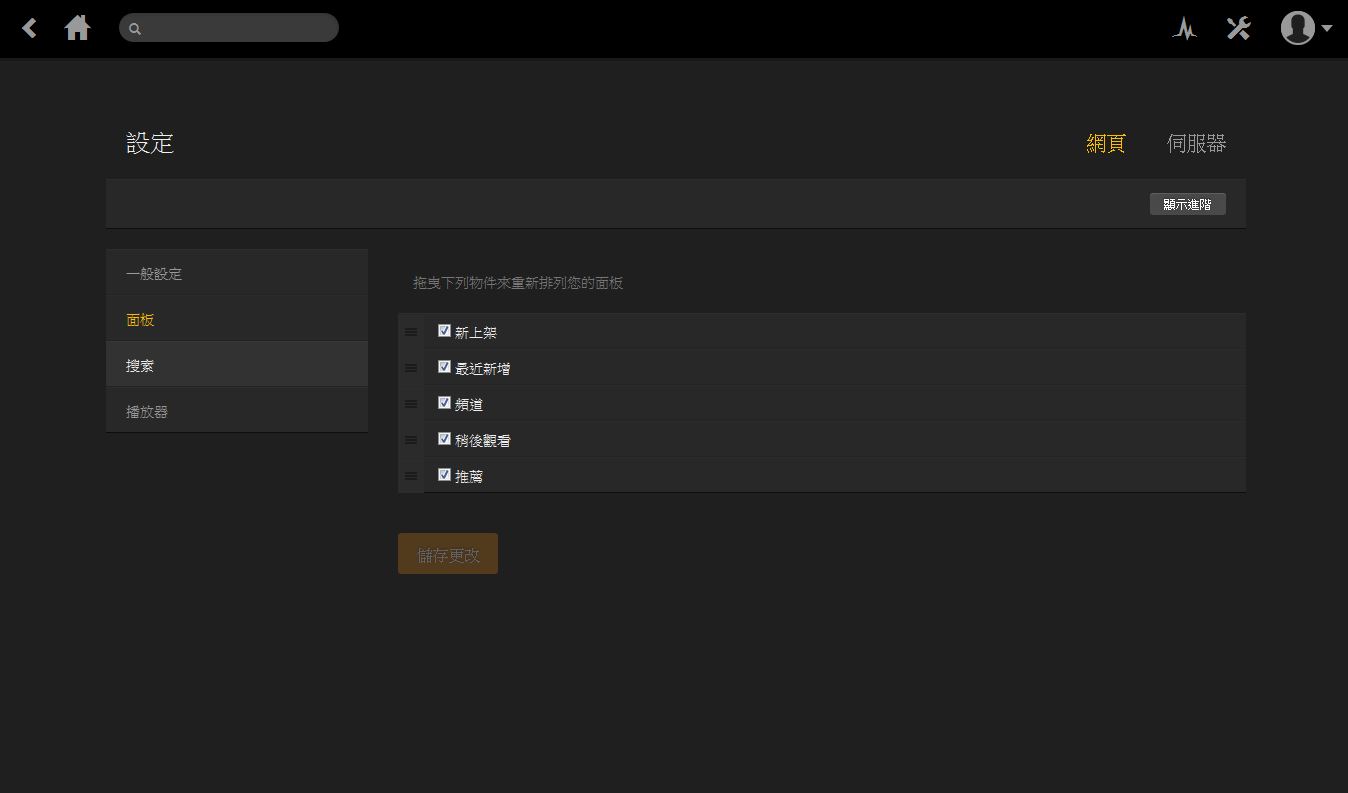
▼搜索设定
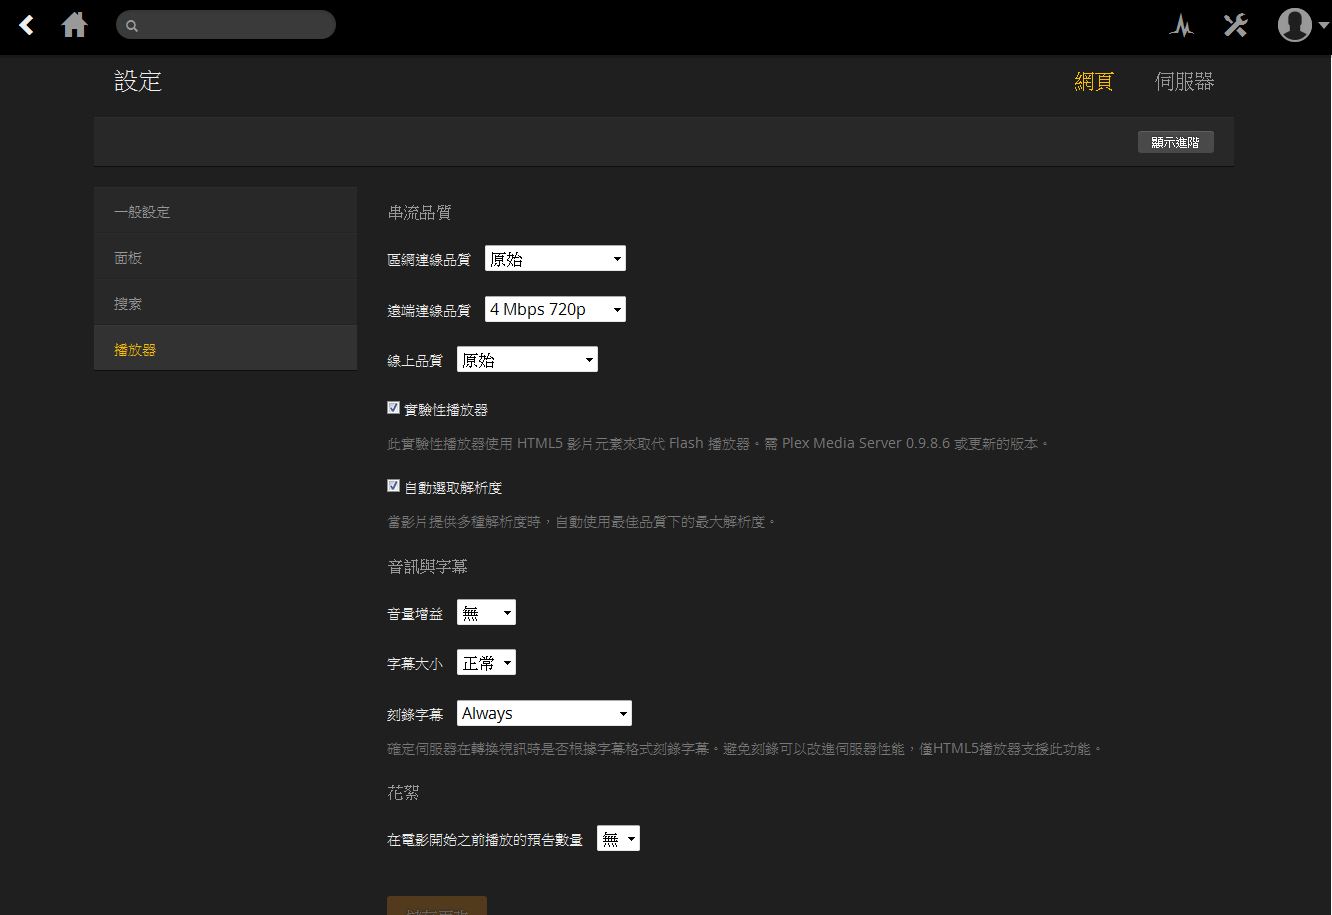
▼播放器设定
▼一般设定
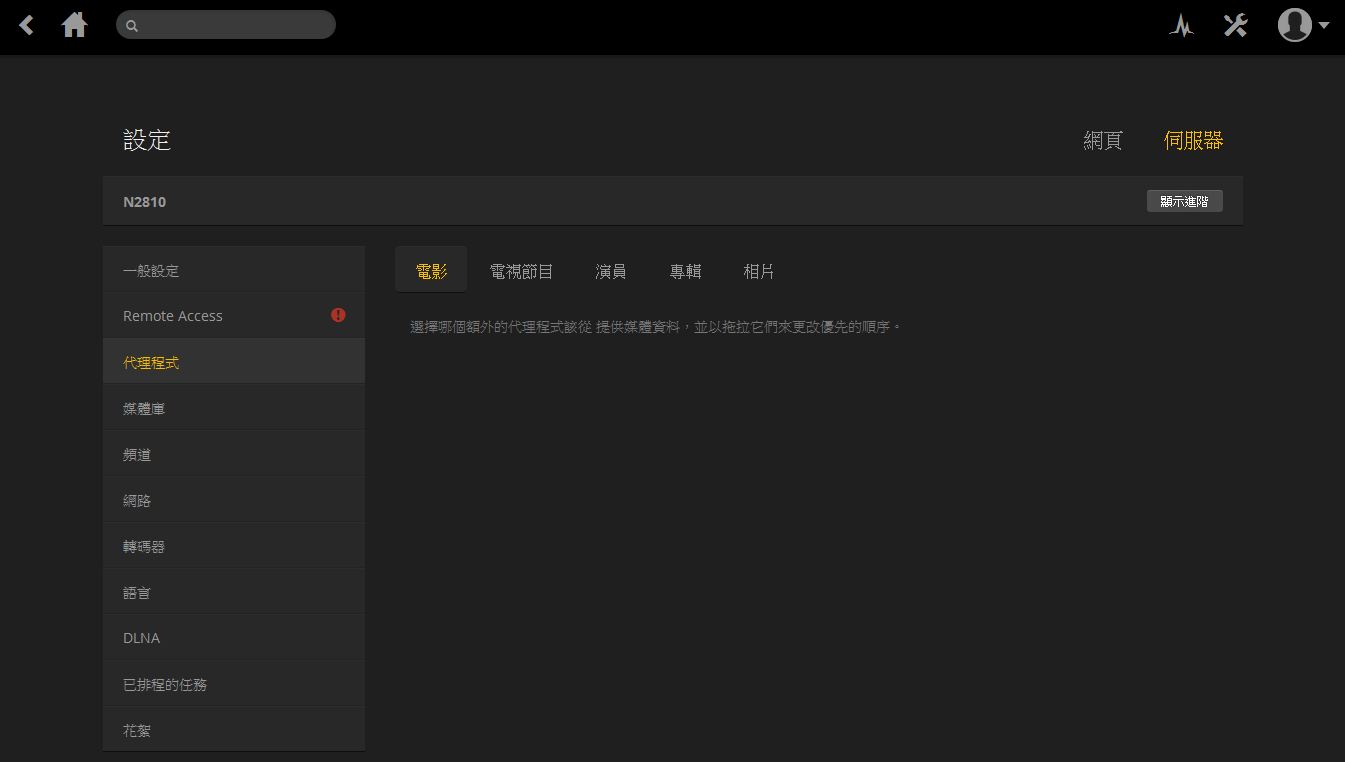
▼代理程式设定
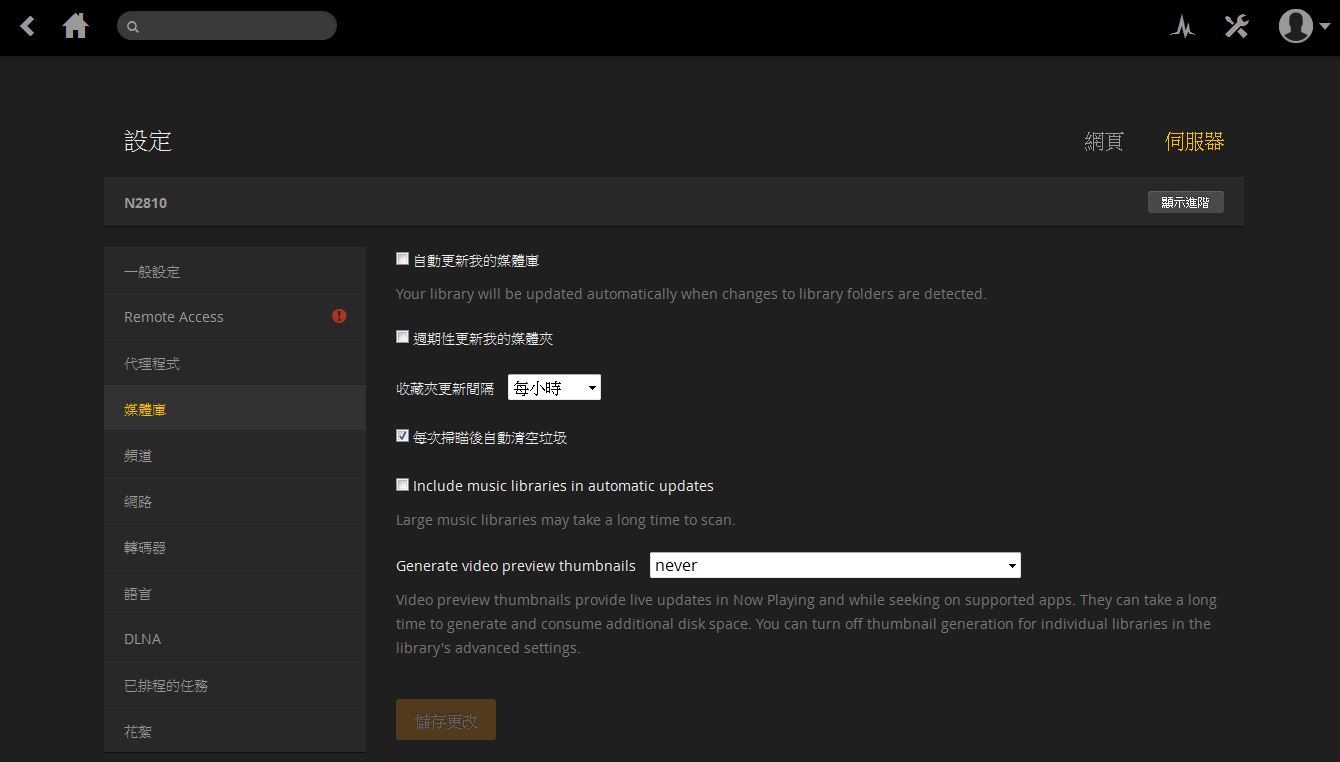
▼媒体库设定
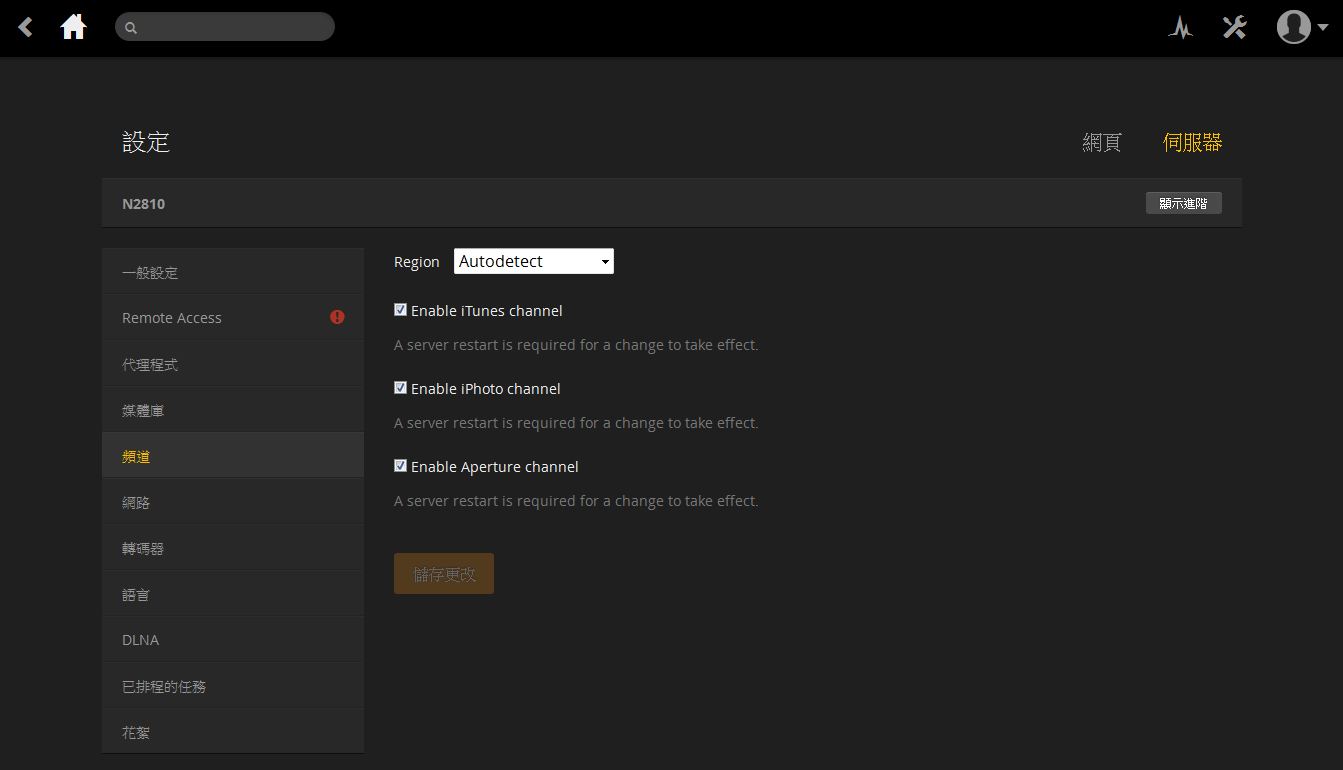
▼频道设定
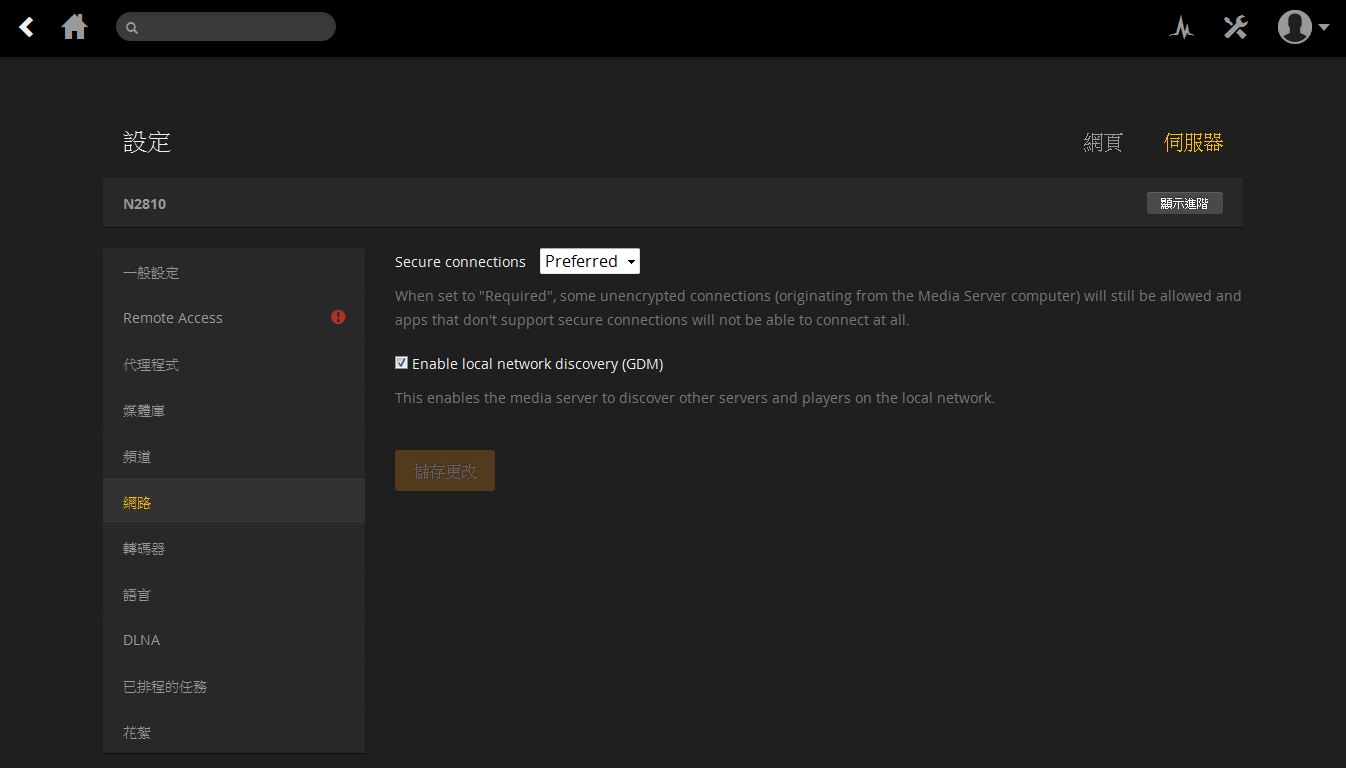
▼网路设定
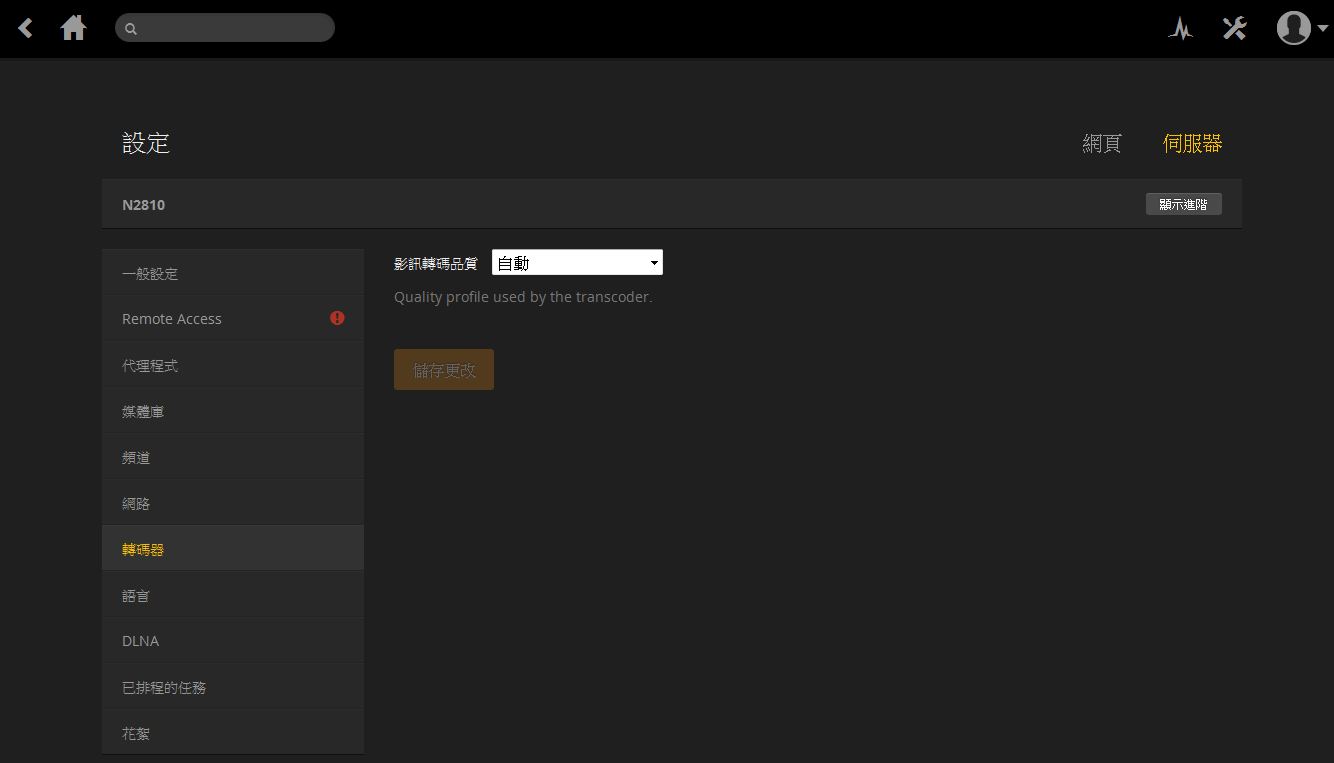
▼转码器设定
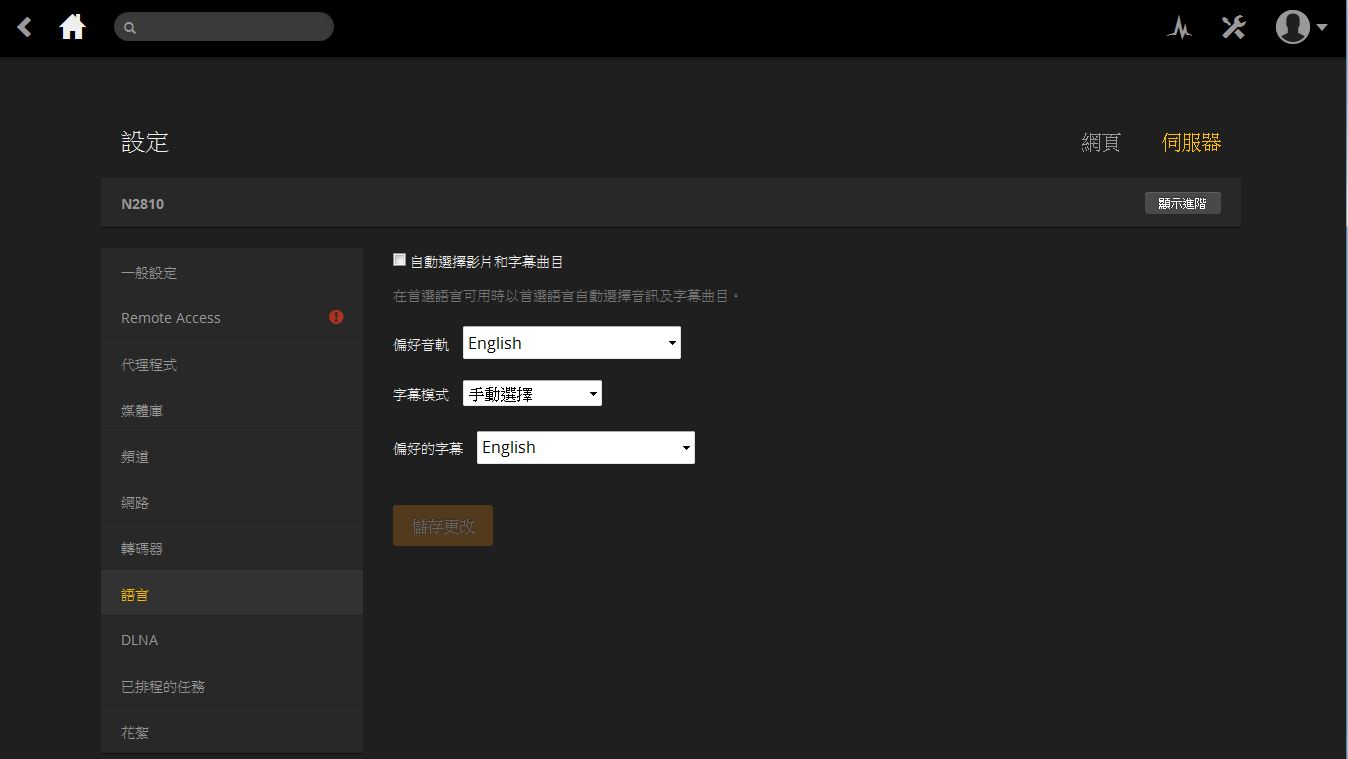
▼语言设定,并可设定偏好音轨与字幕
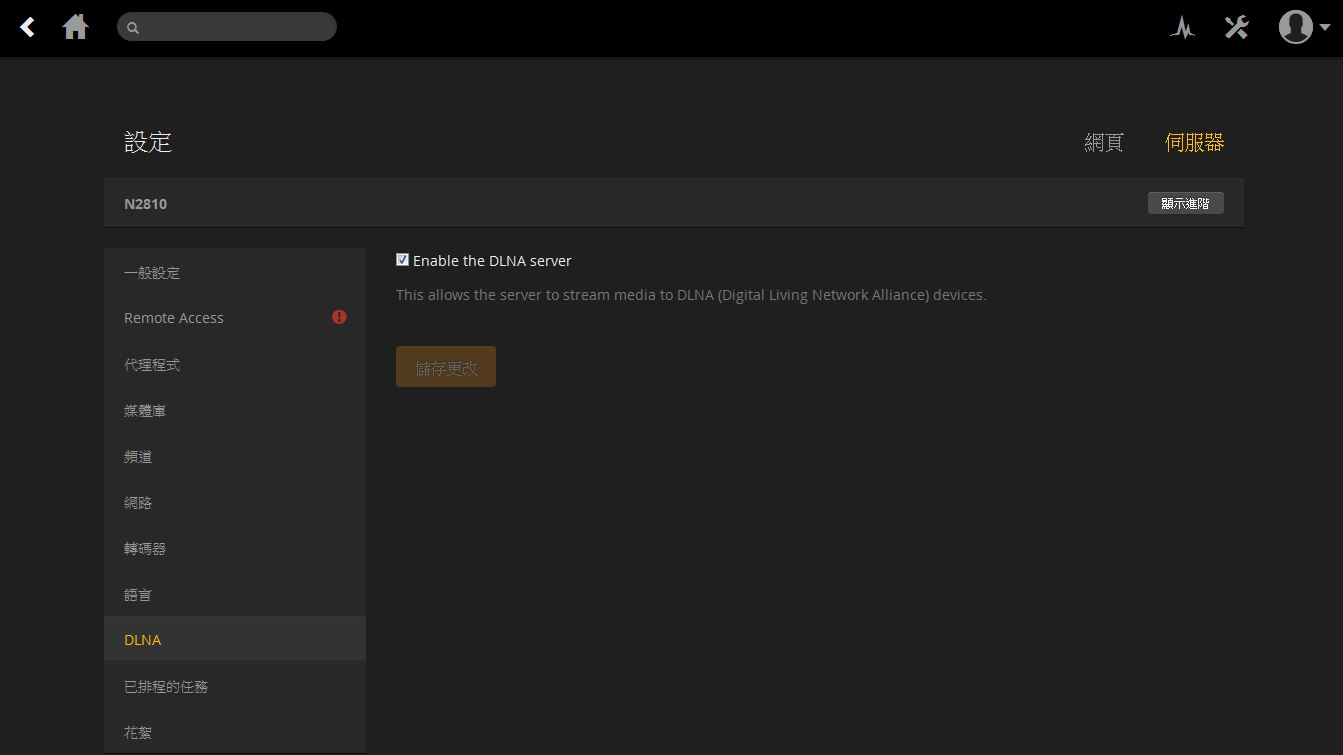
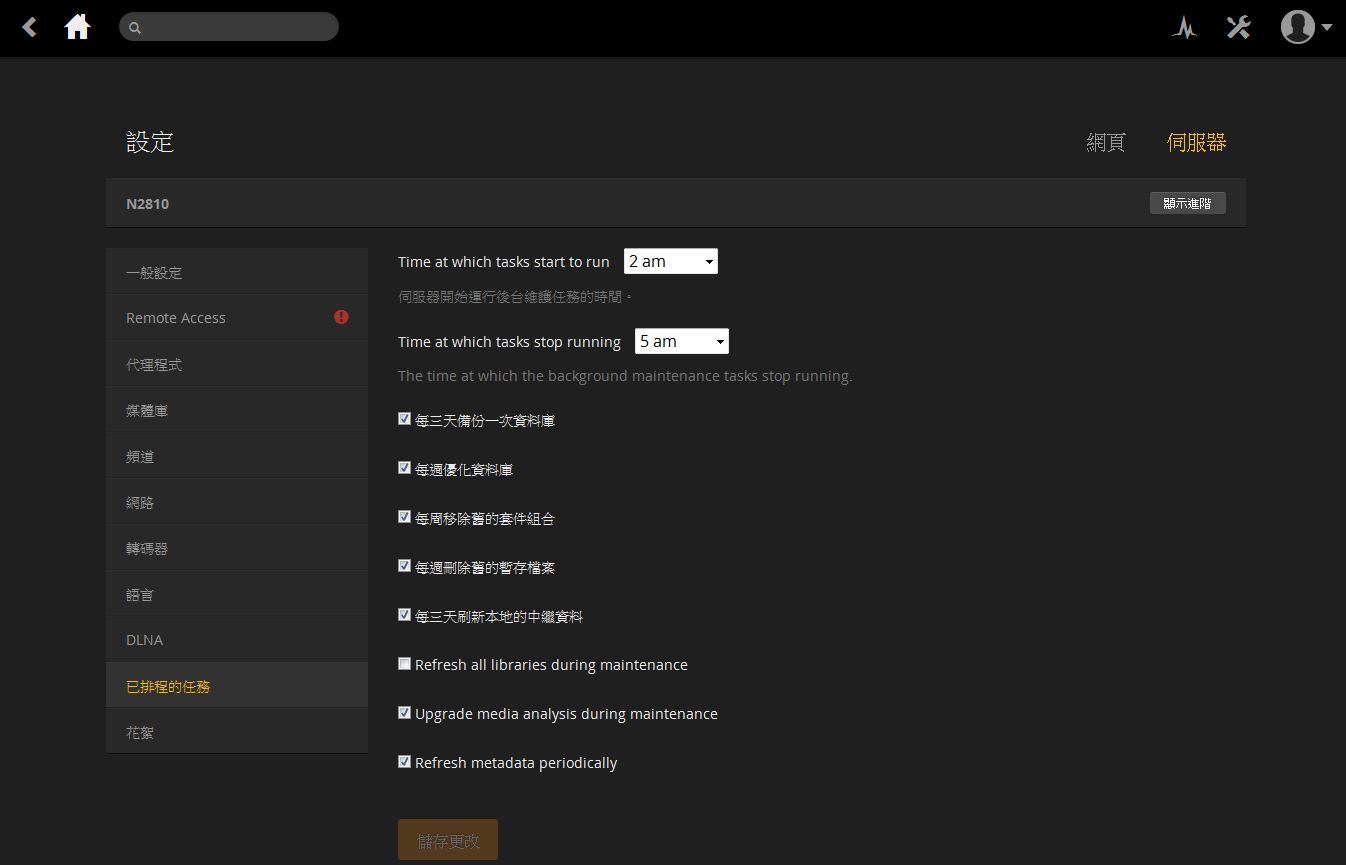
▼DLNA设定
▼已排程任务管理
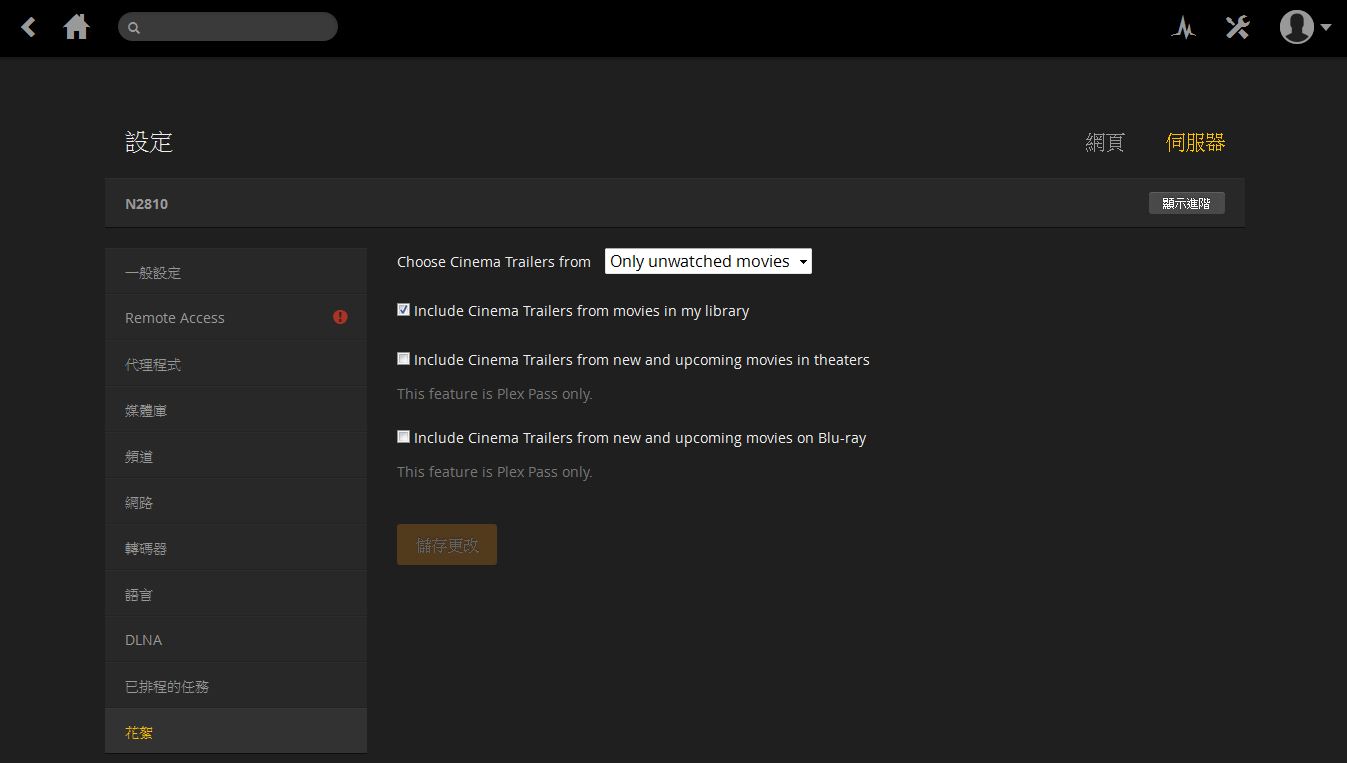
▼花絮设定
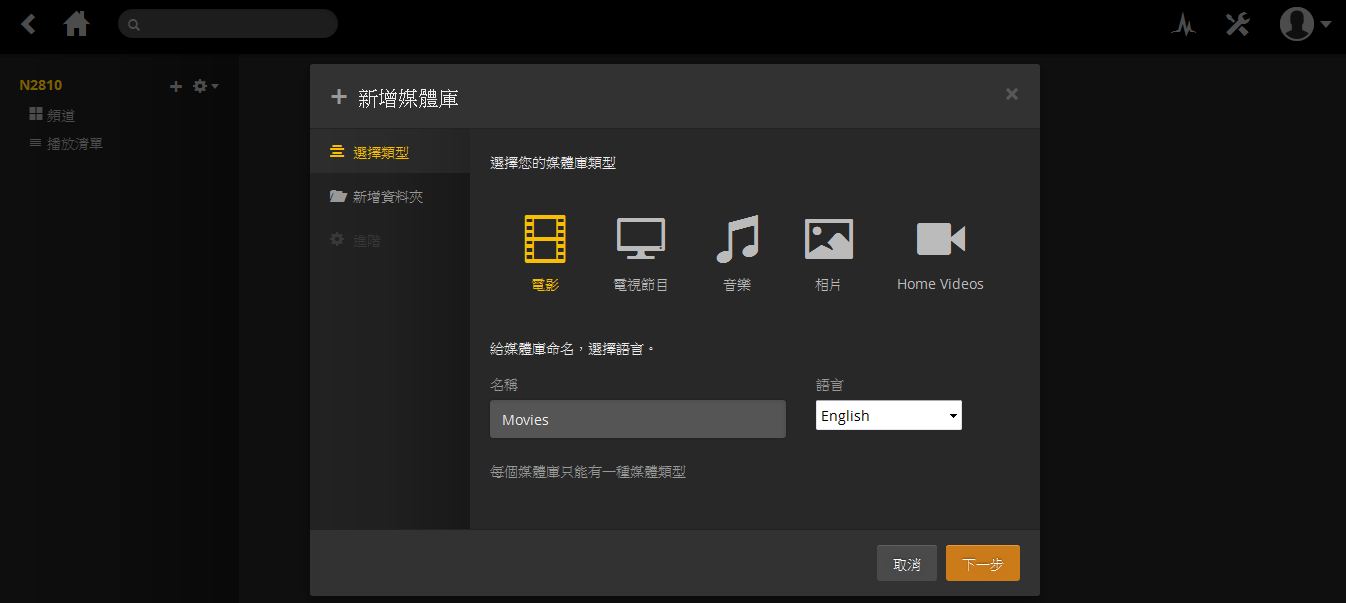
▼新增媒体库,选择媒体档案摆放位置

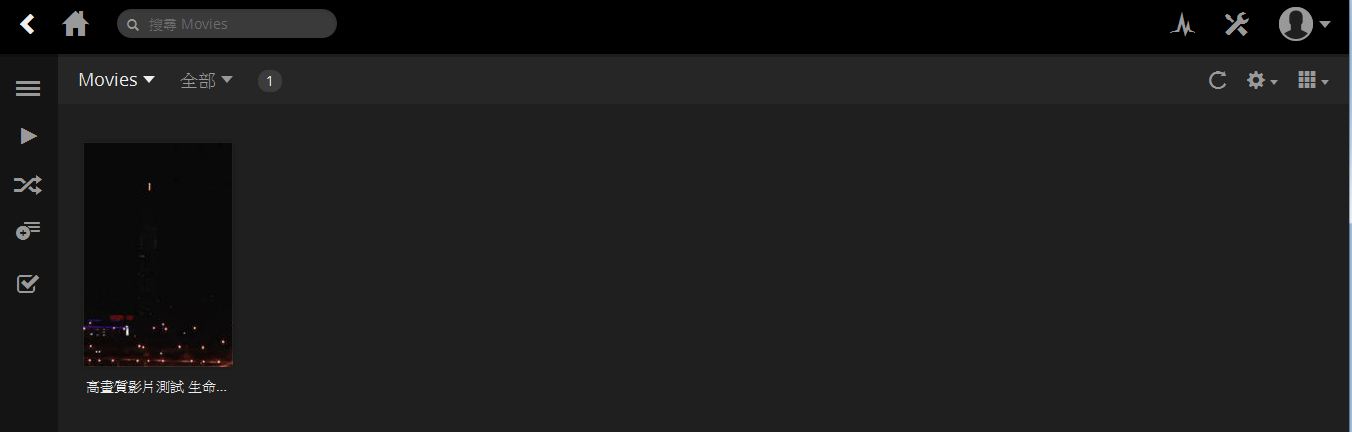
▼资料库更新后
 媒体伺服器影音串流
影音串流功能也是NAS标准功能了,N2810安装Plex软体就可以达成影音串流,可以直接现在线上播放照片、影片与音乐档案
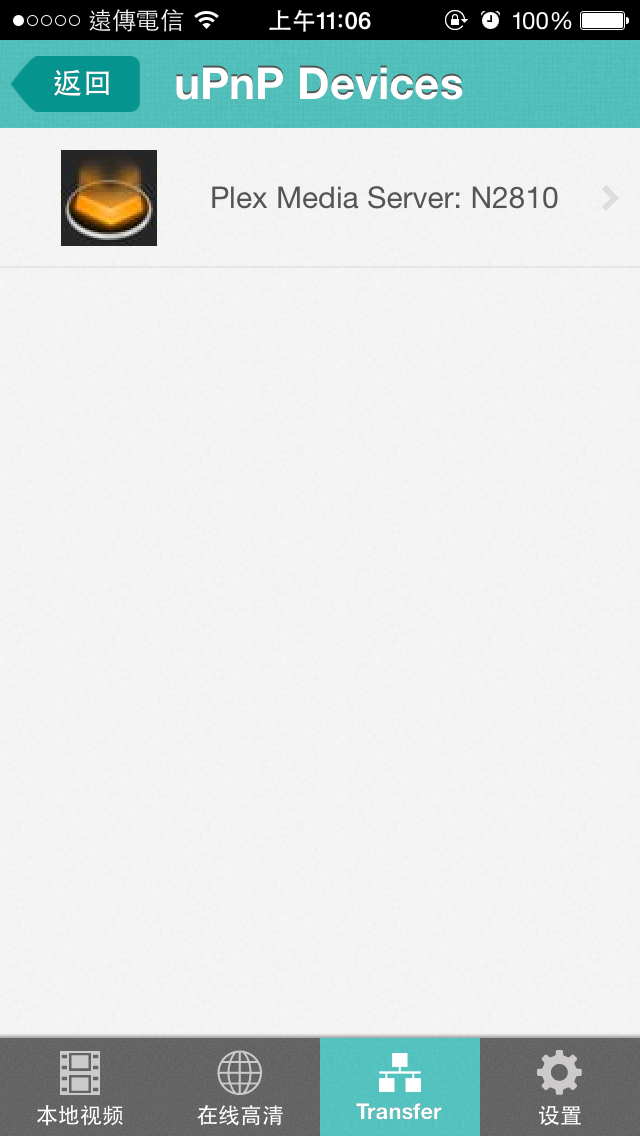
▼使用手机App搜寻可找NAS装置
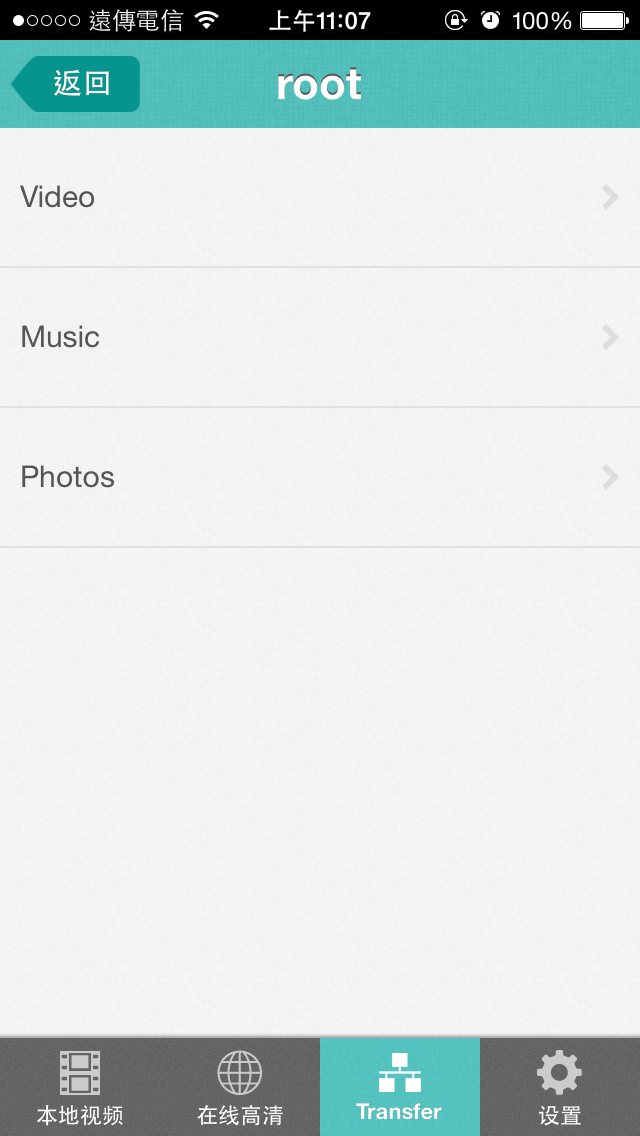
▼登入后可以看到分类
▼可看到分享的档案,并可做线上播放
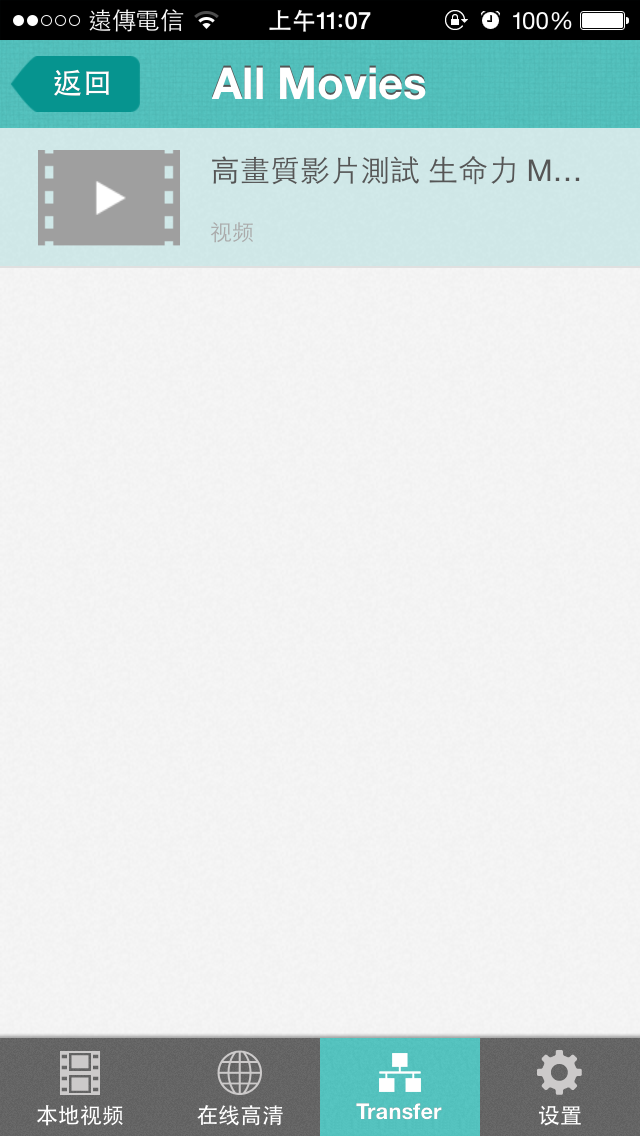

有了影音串流功能相当方便,到处都可以存取NAS内的影音资料可立即存取
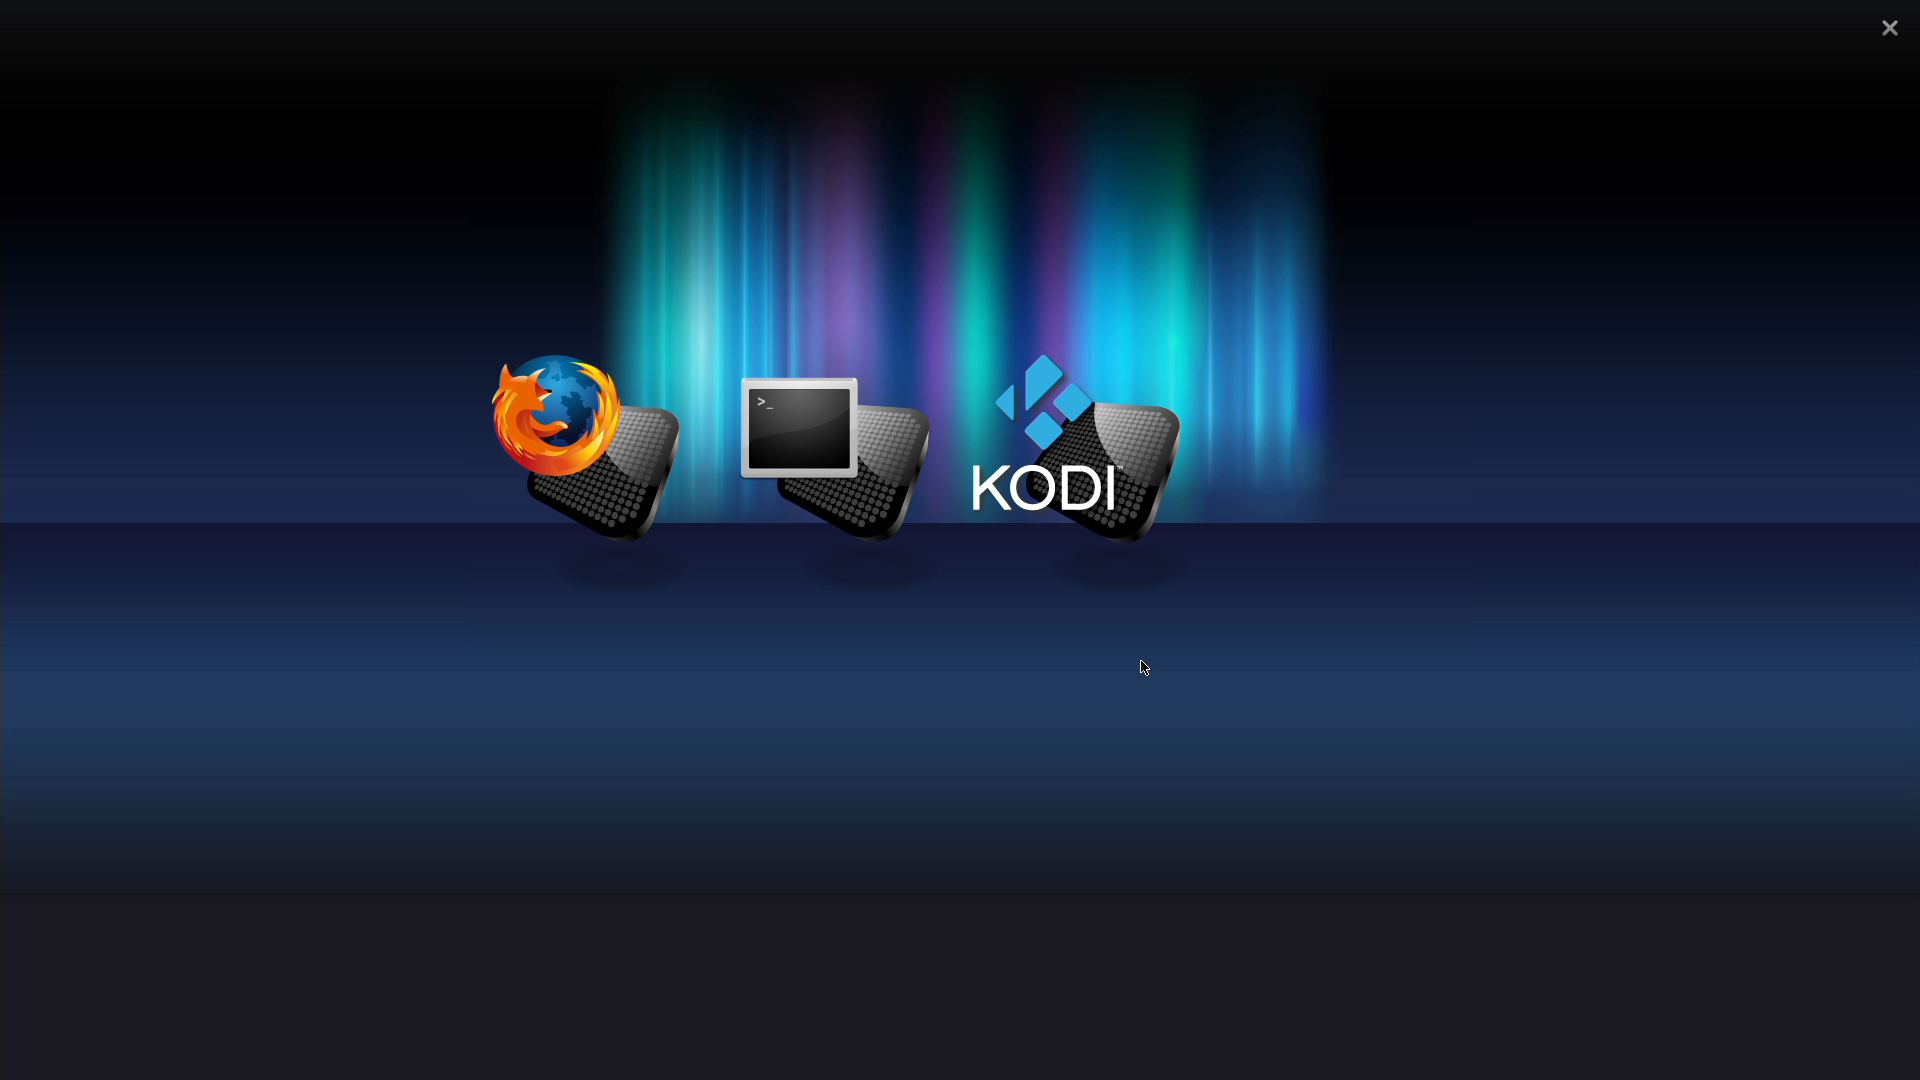
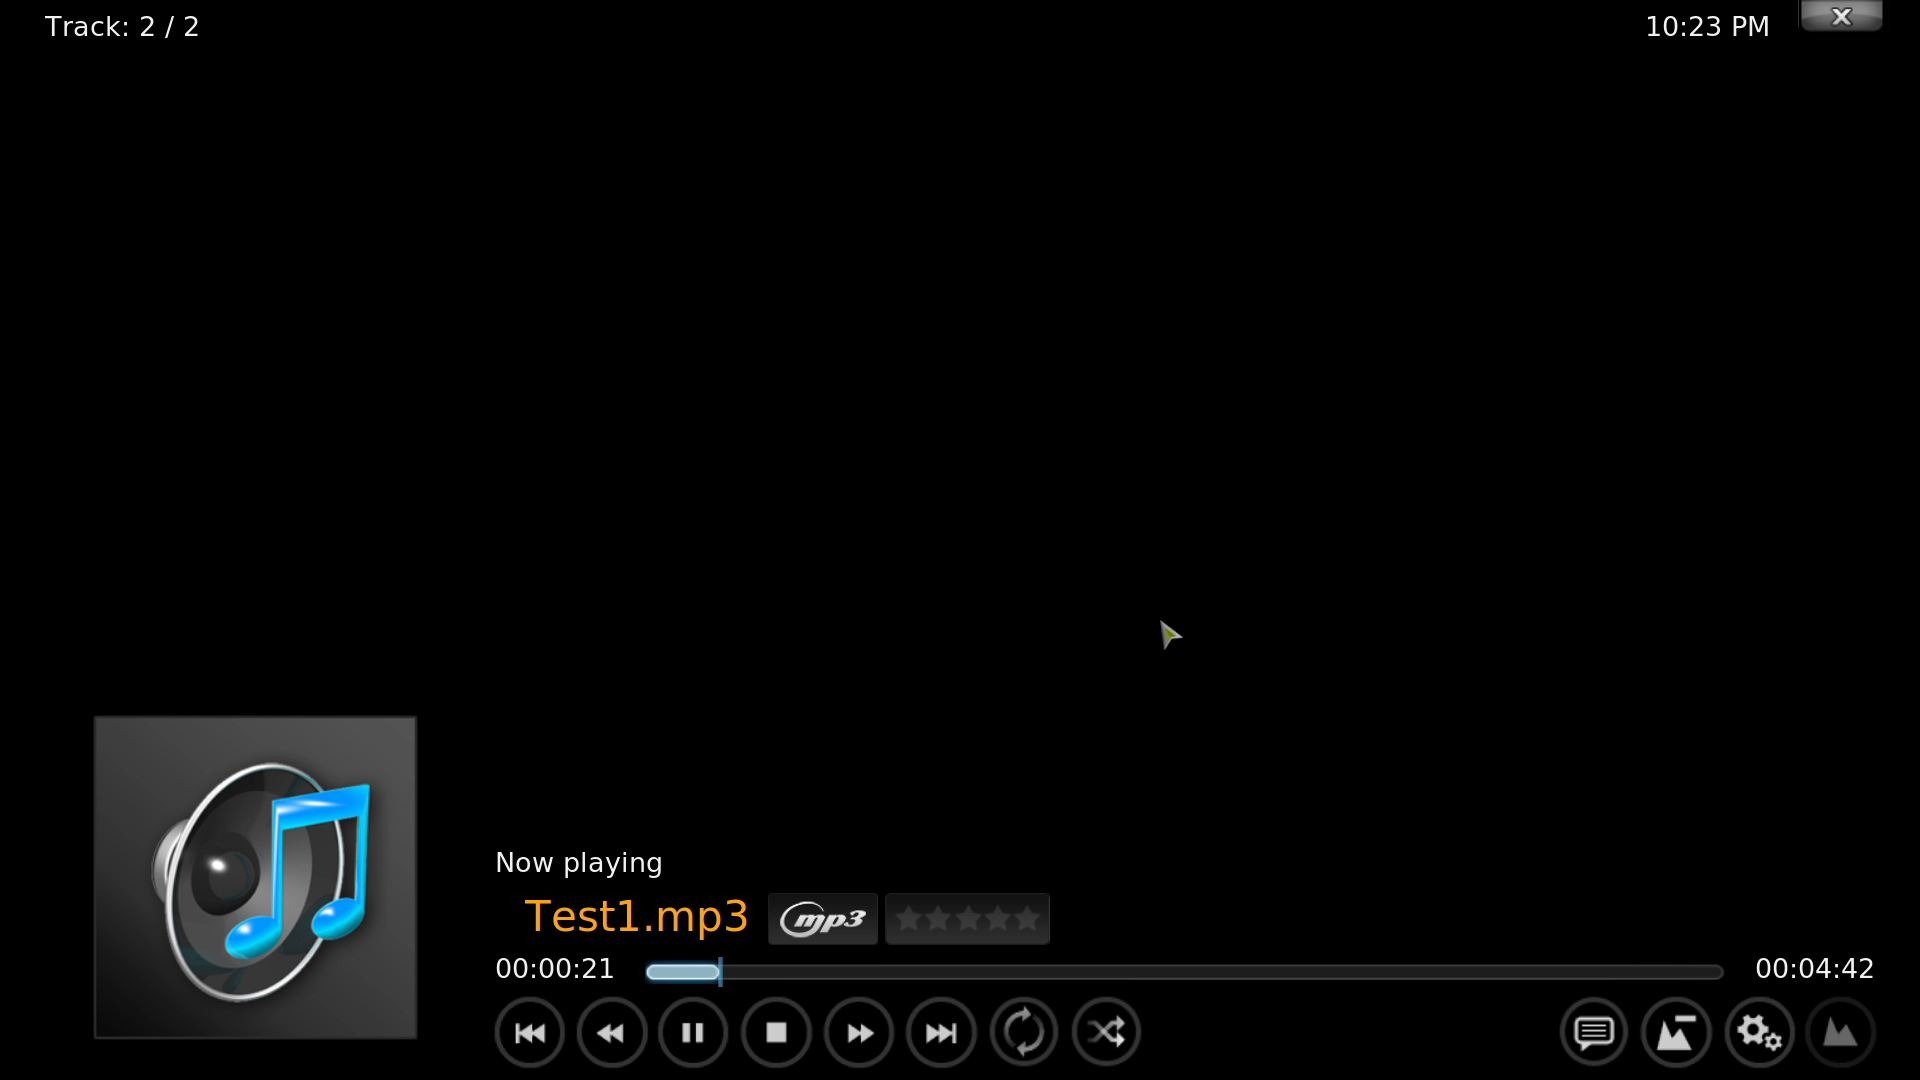
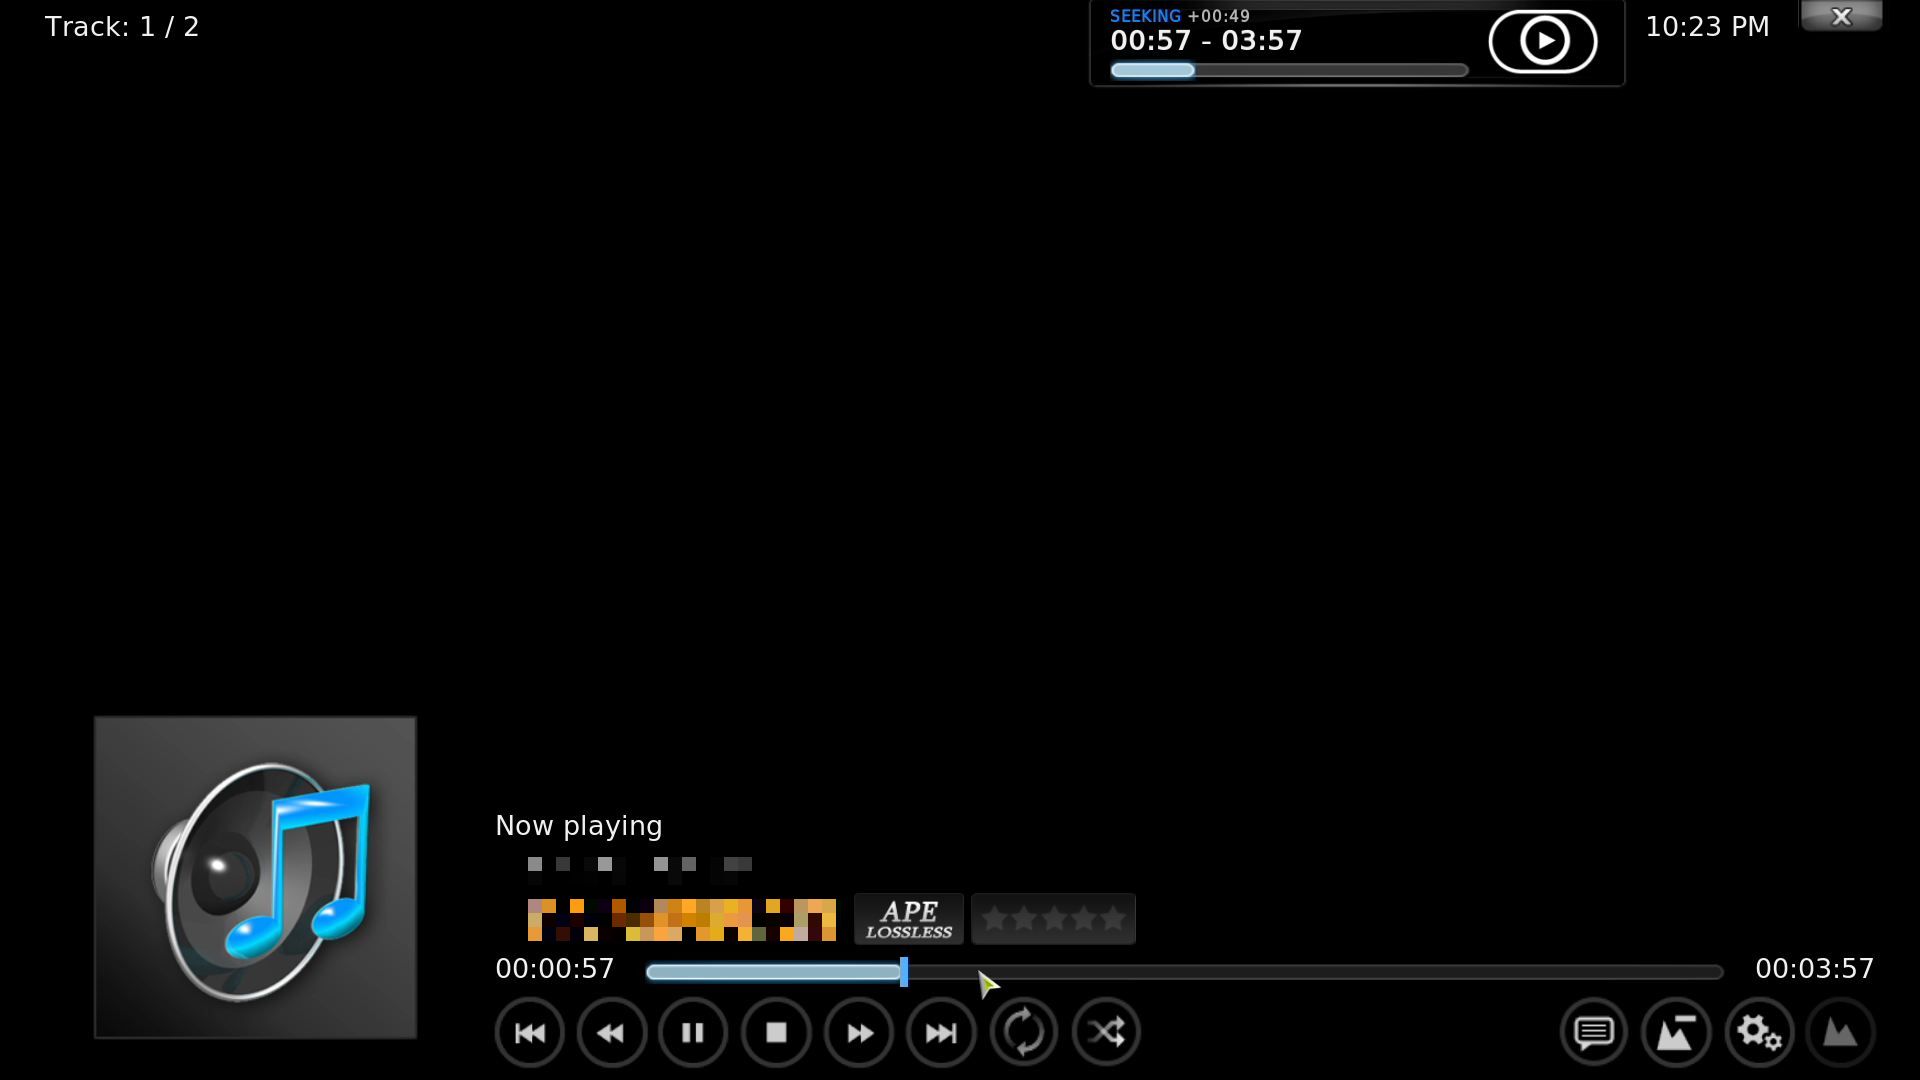
多媒体影音播放器-KODI让NAS也可以变身多媒体整合中心,不仅可以播放NAS内的影片、照片与音乐,只要接上USB键盘与滑鼠,就可以直接在本机做NAS设定与操作,可以完全取代HTPC主机!!值得一提的是N2810可以播放4K高清影片,而且顺畅度真的是一级棒!!!音乐部分除了可播放大众化的mp3档案,还可播放无损的音乐档喔!!
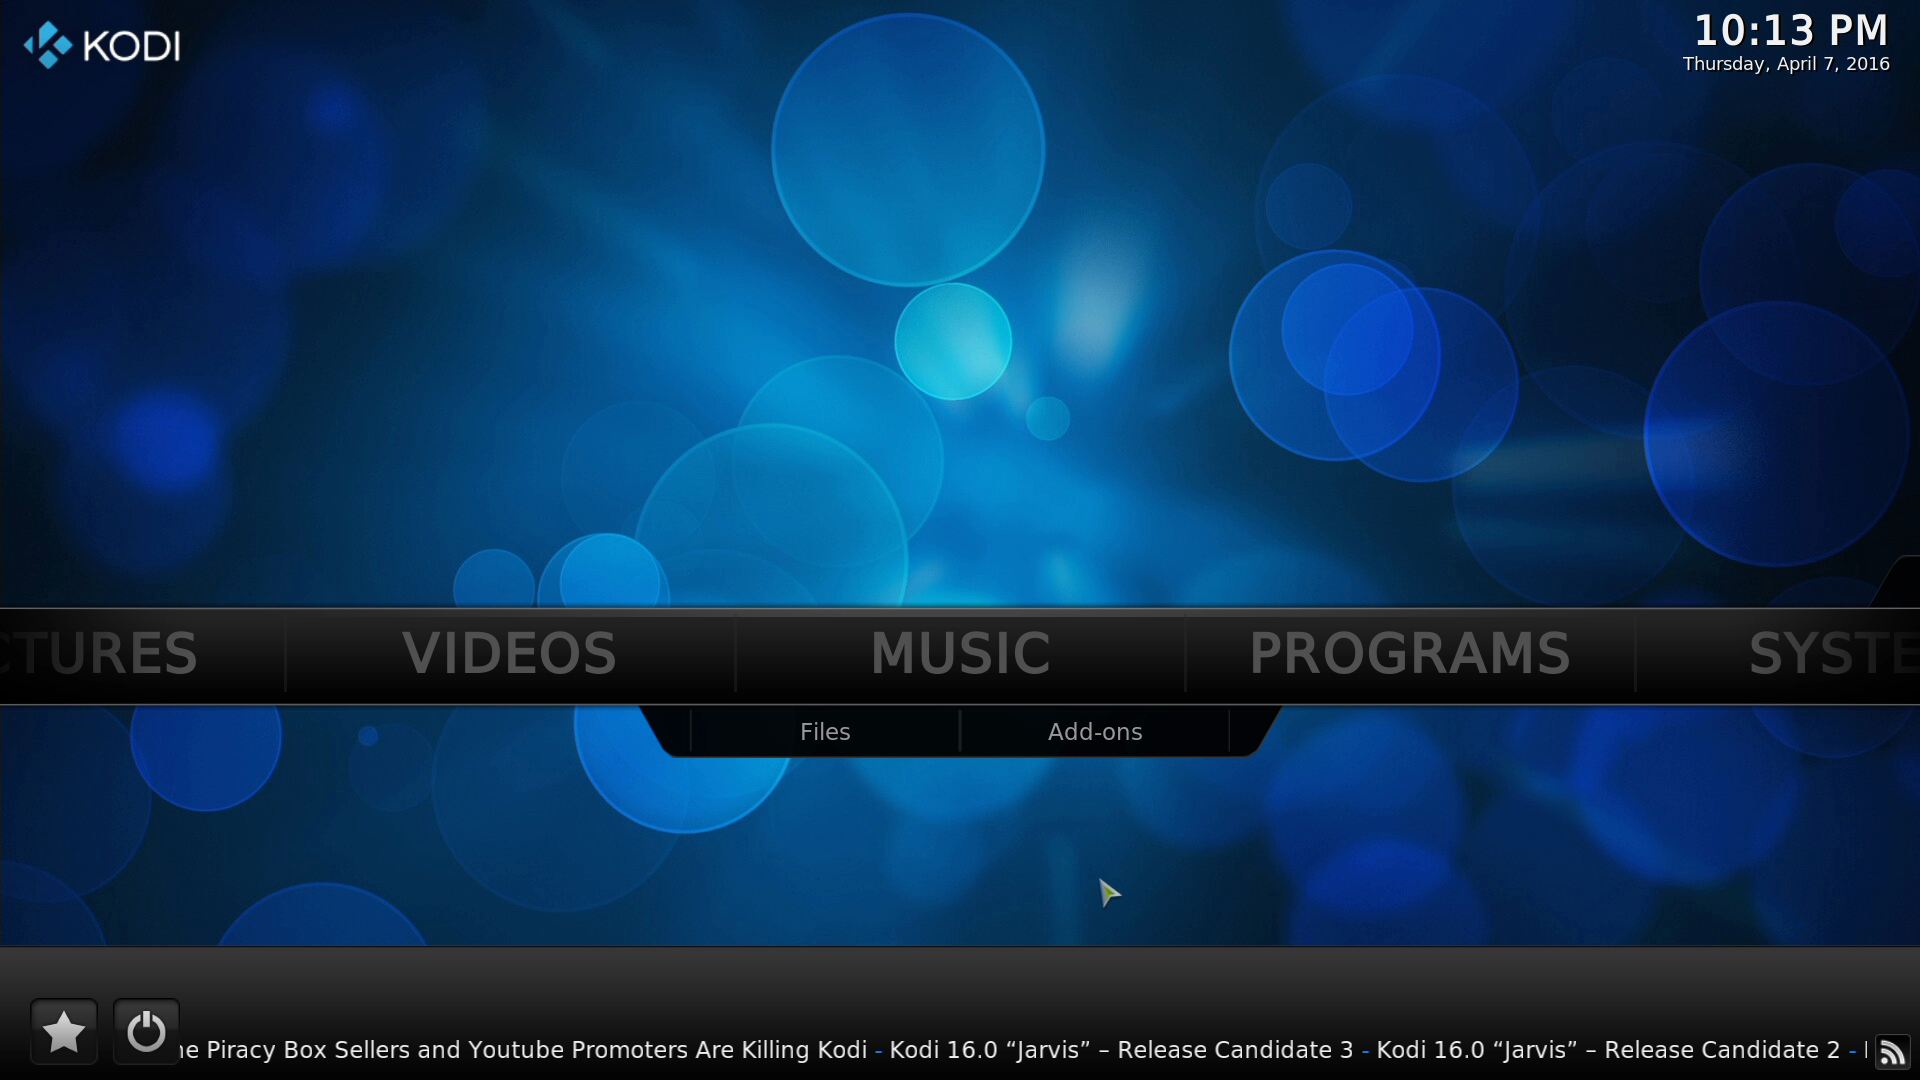
▼接上HDMI后可看到有三个选项可以选择,分别是浏览器、文字输入指令模式与KODI
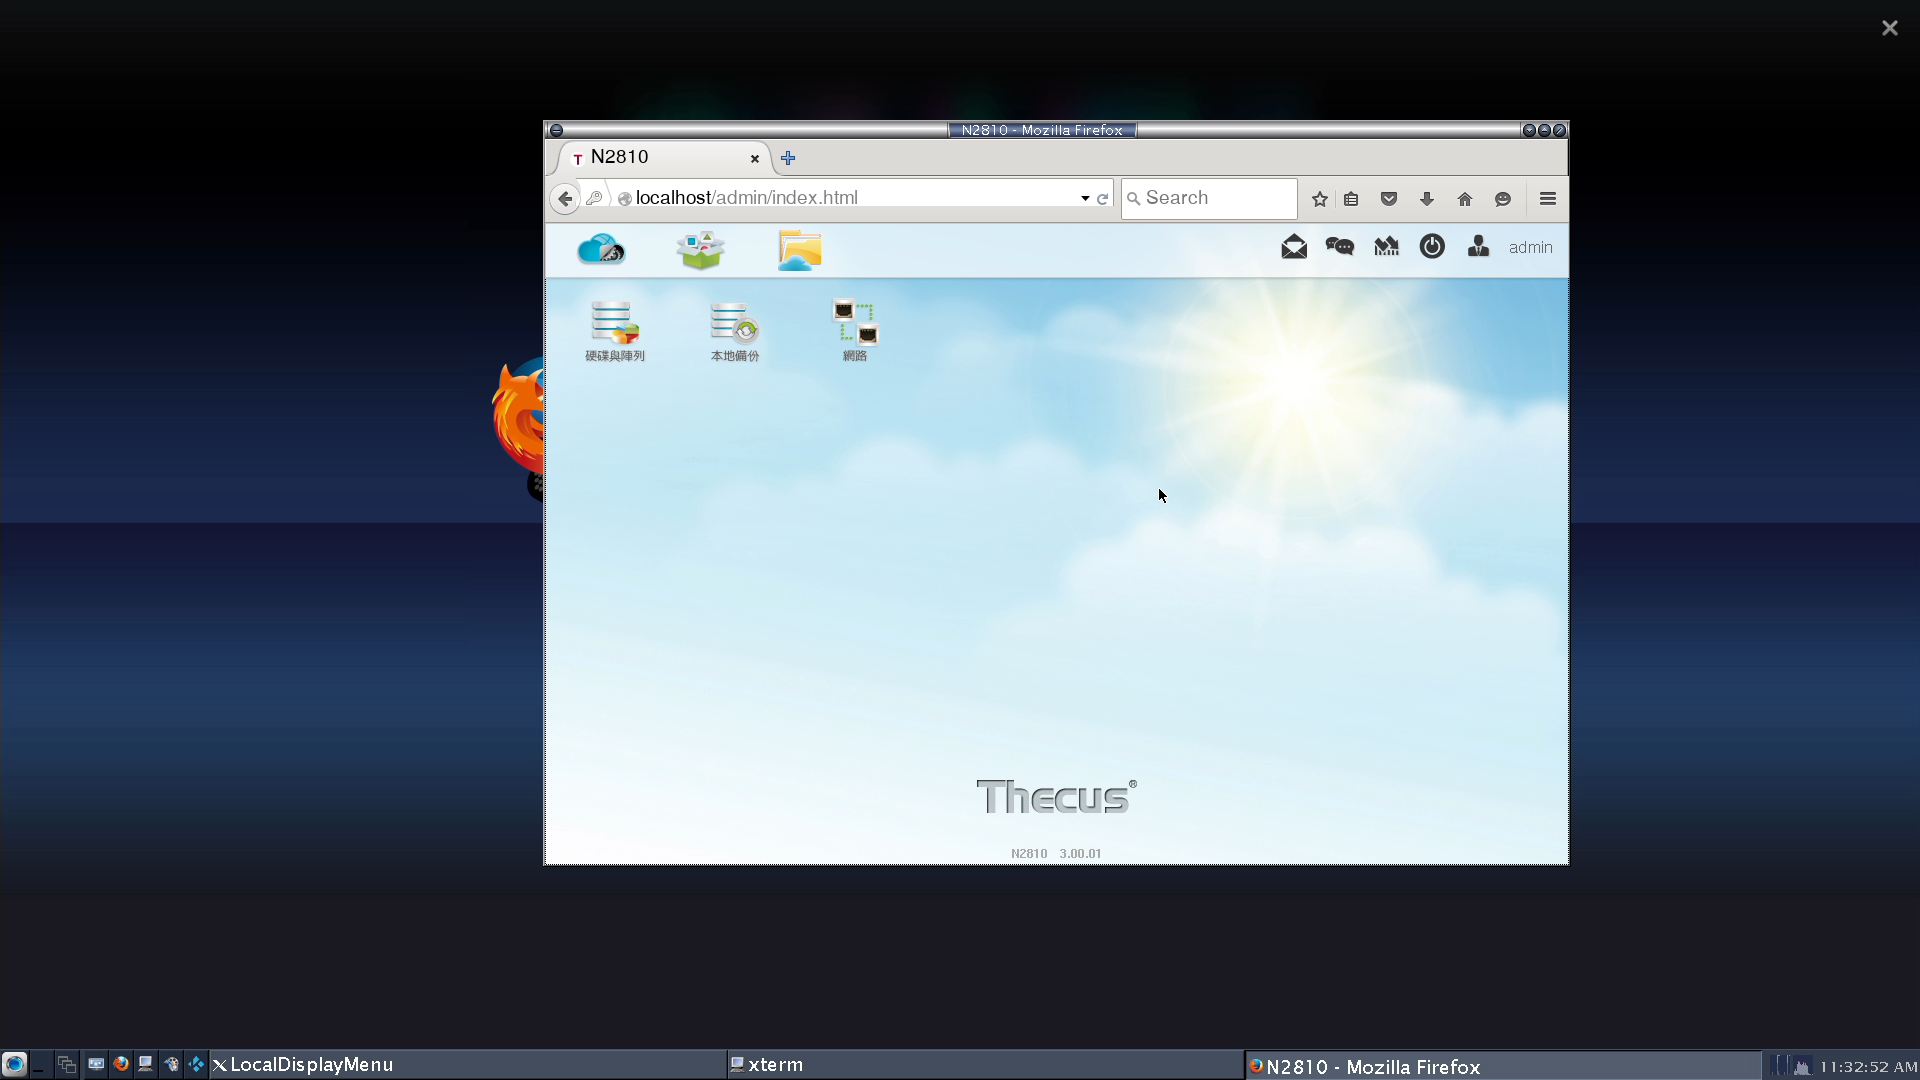
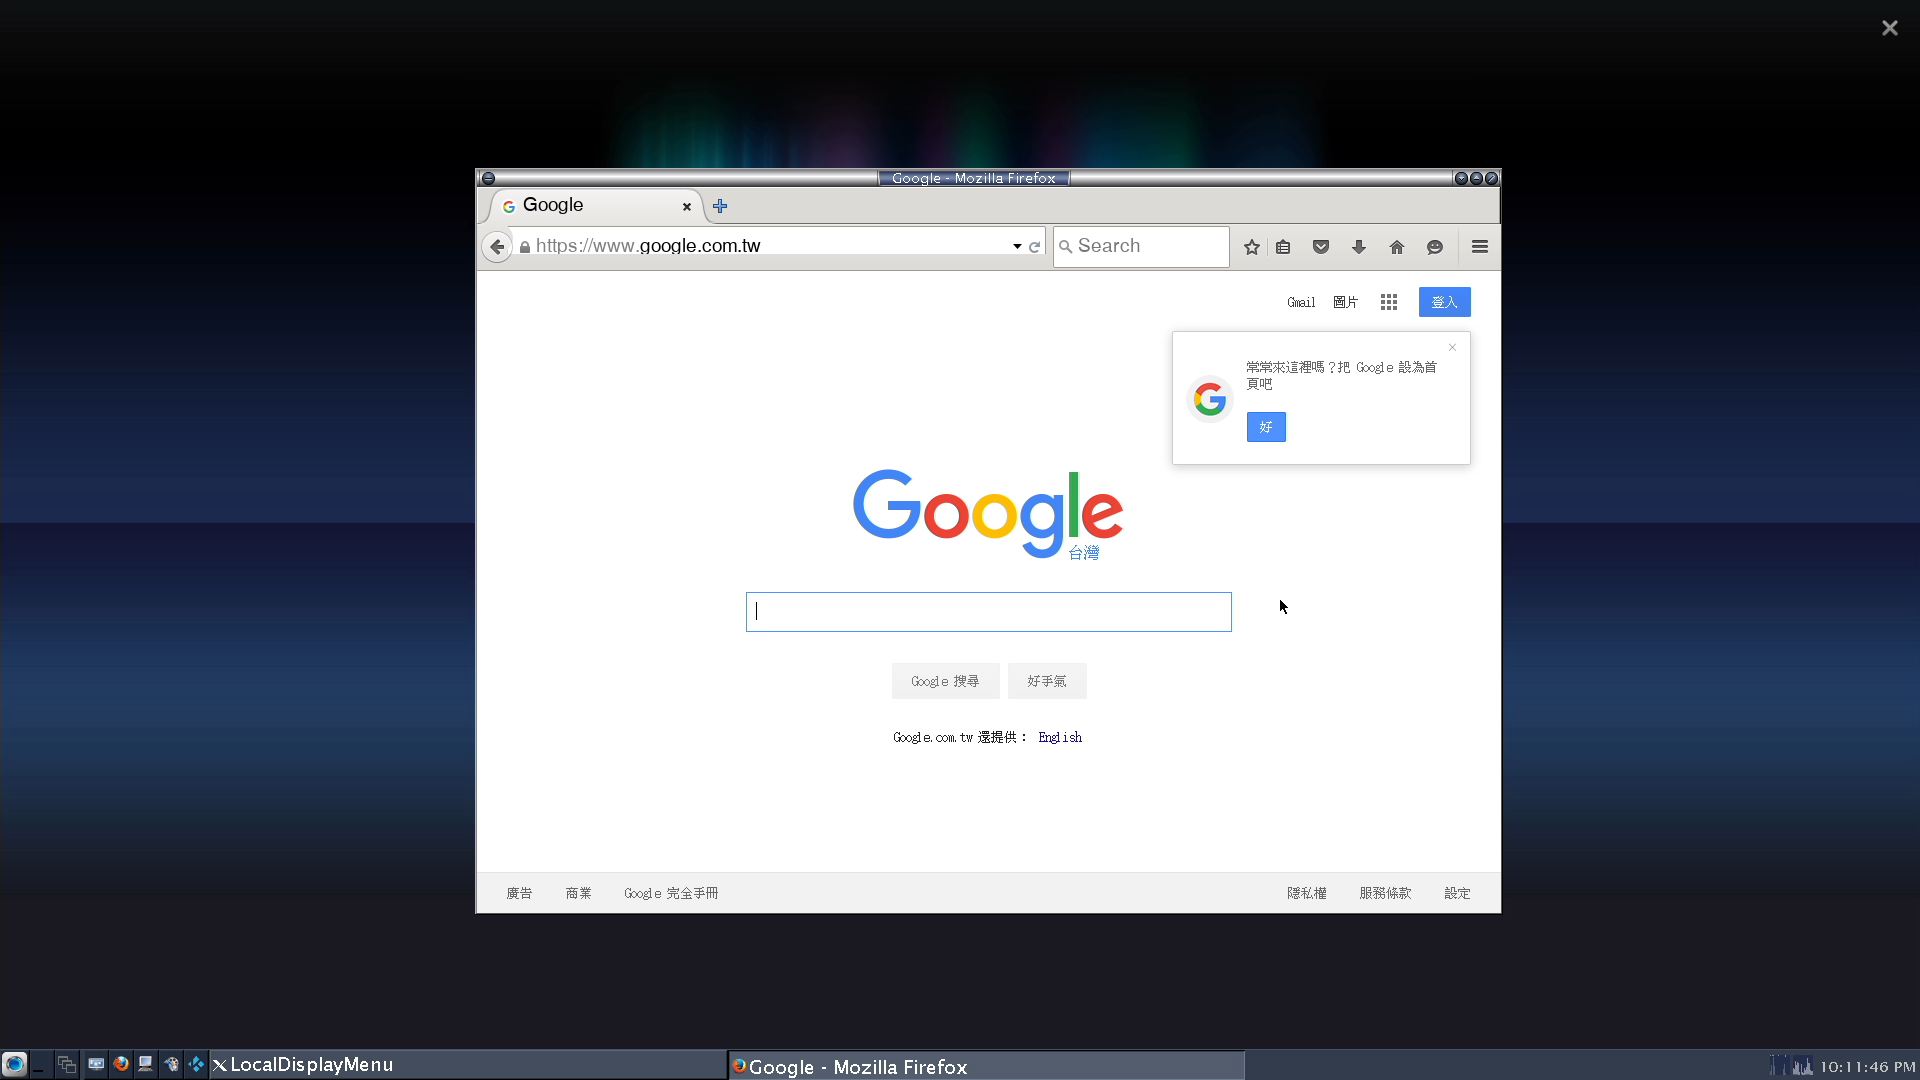
▼开启浏览器可以直接登入NAS做设定或是做上网的功能

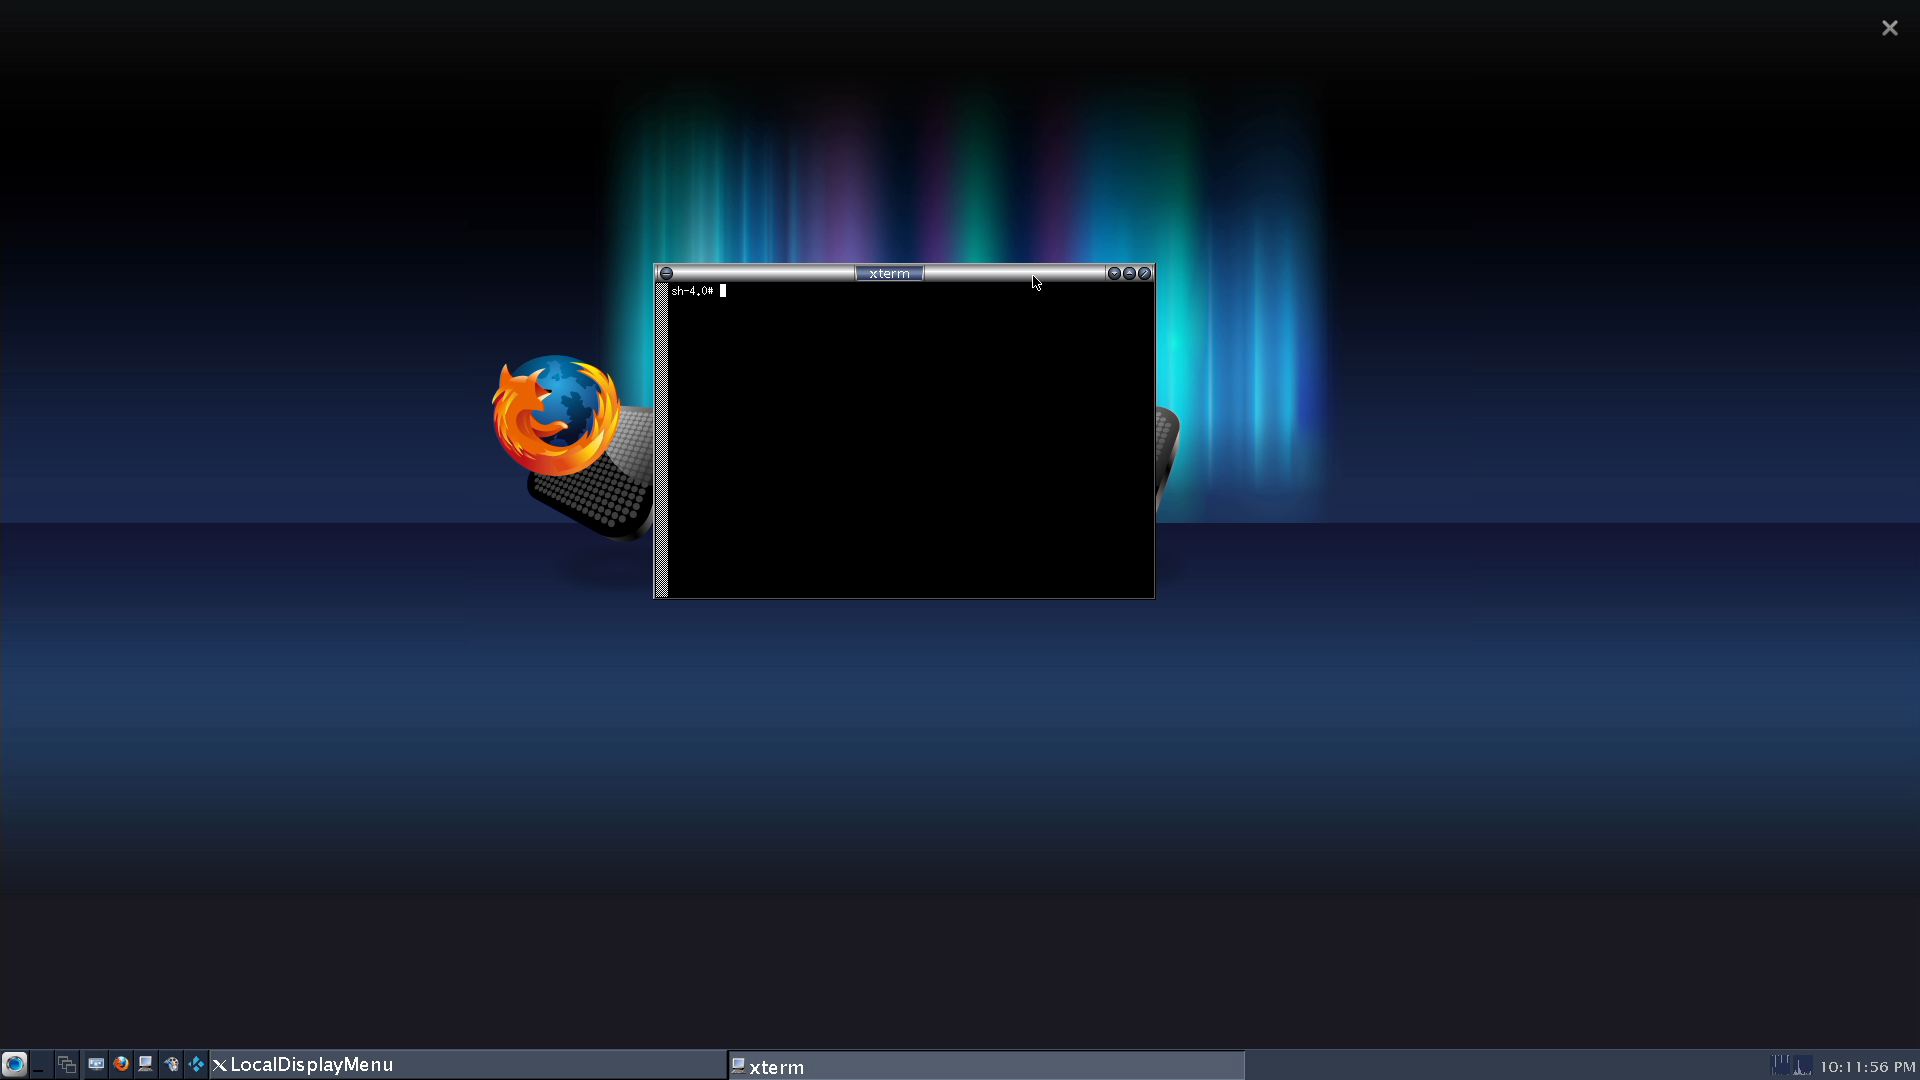
▼若使用者对linux系统相当熟悉可以进入文字输入指令模式输入指令
▼KODI操作介面
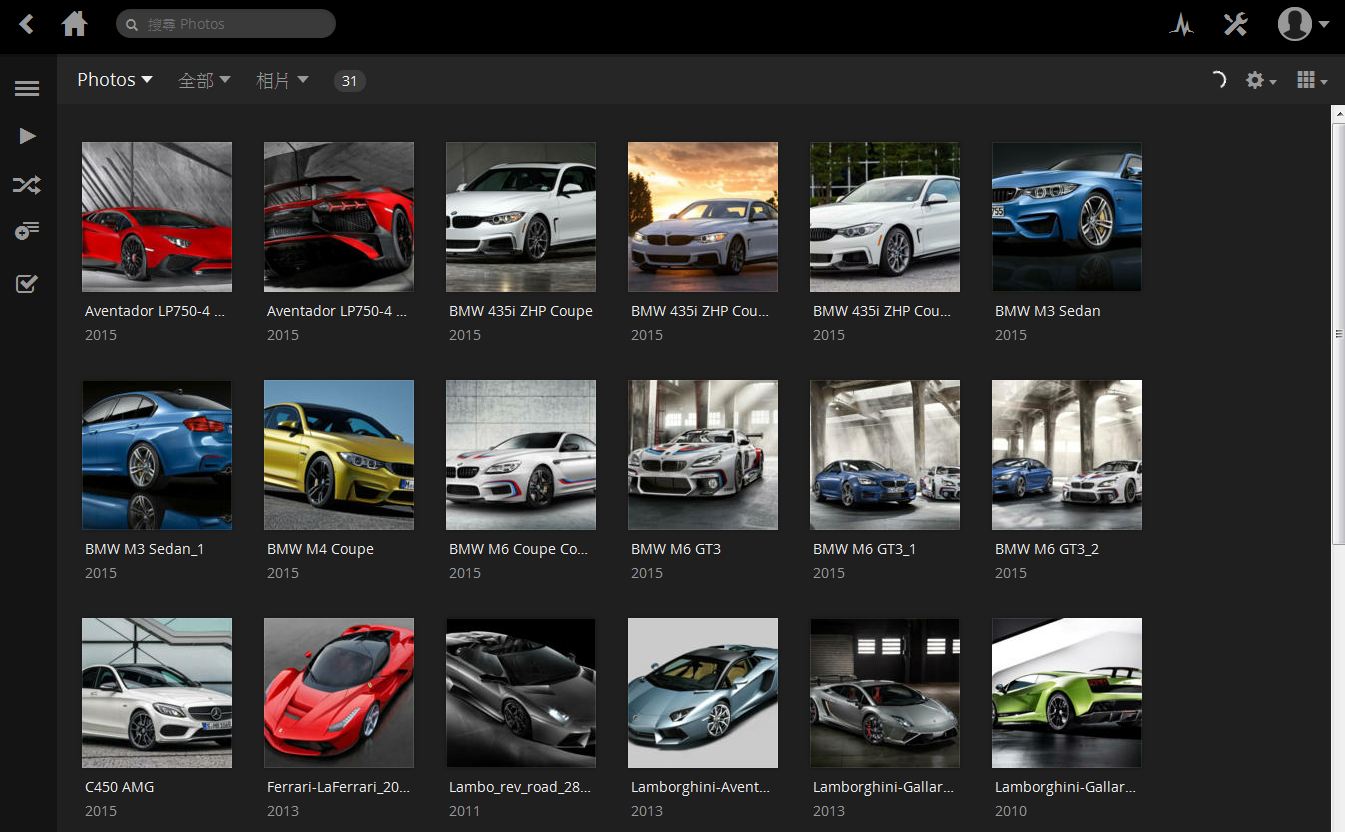
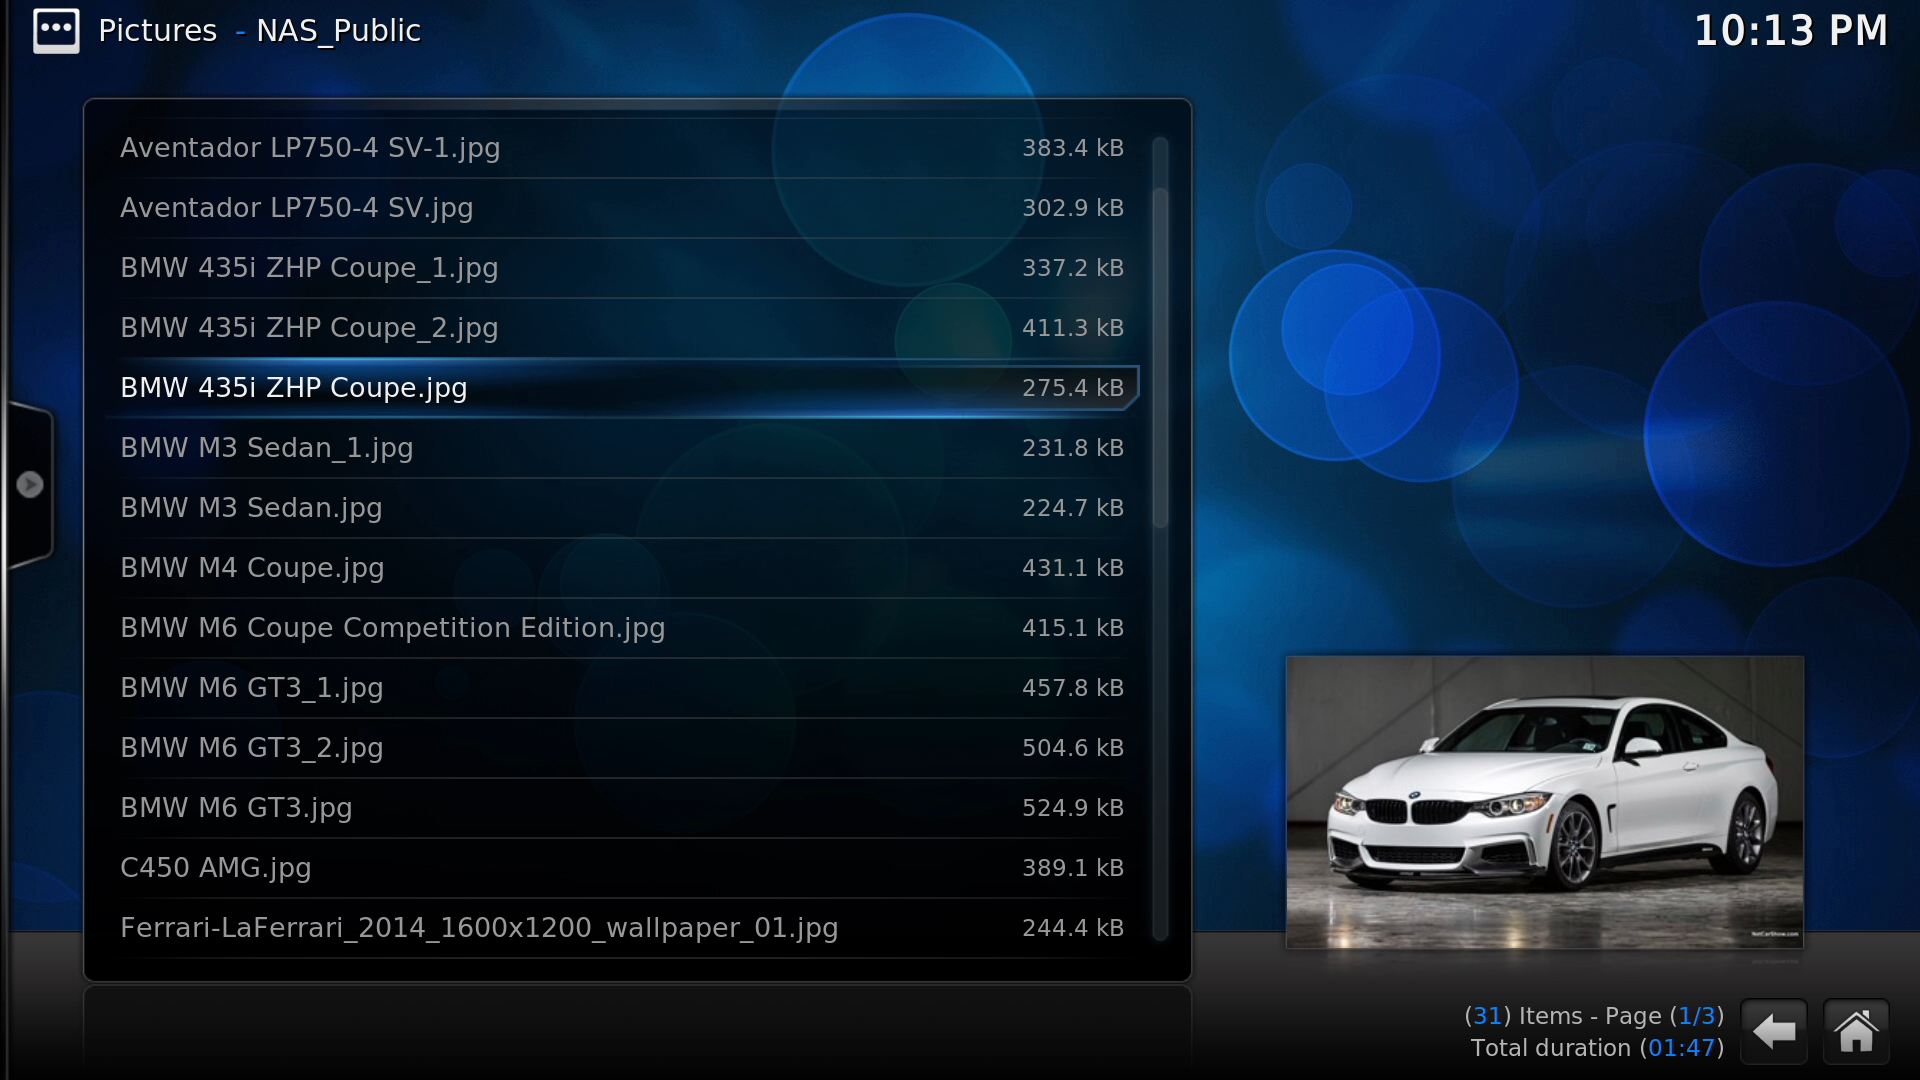
▼照片可直接线上浏览与预览,也可单一档案点选播放

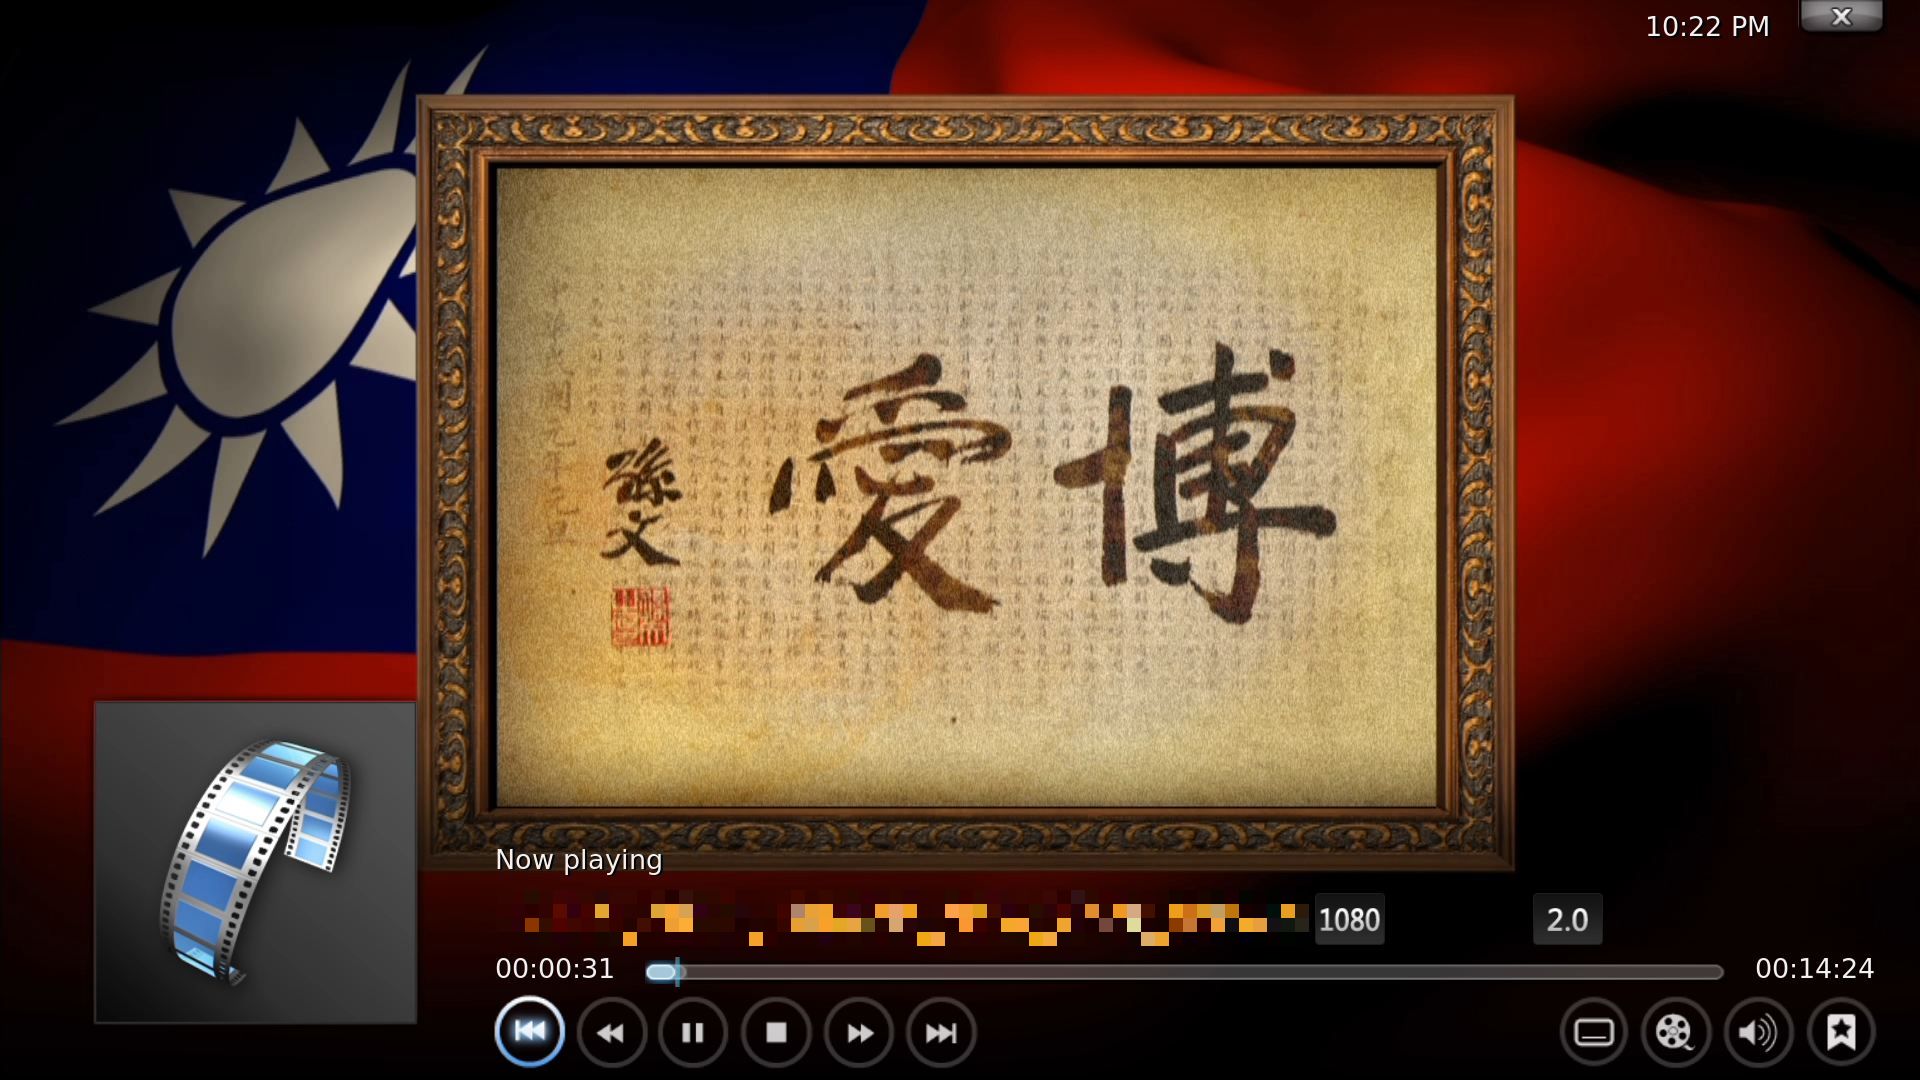
▼影片可线上看到所有档案,可直接线上做播放,除了标准的FHD档案外还可播放4K档案,顺畅度相当不错!!

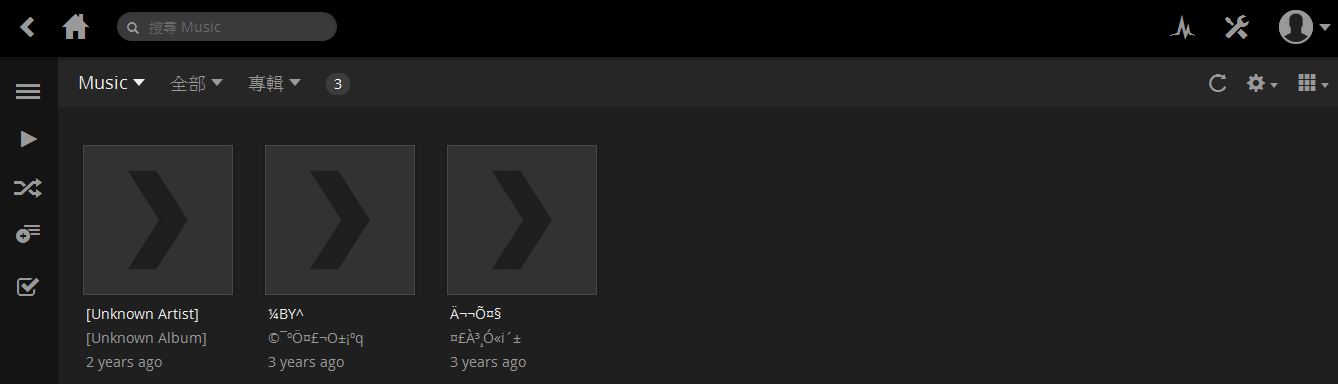
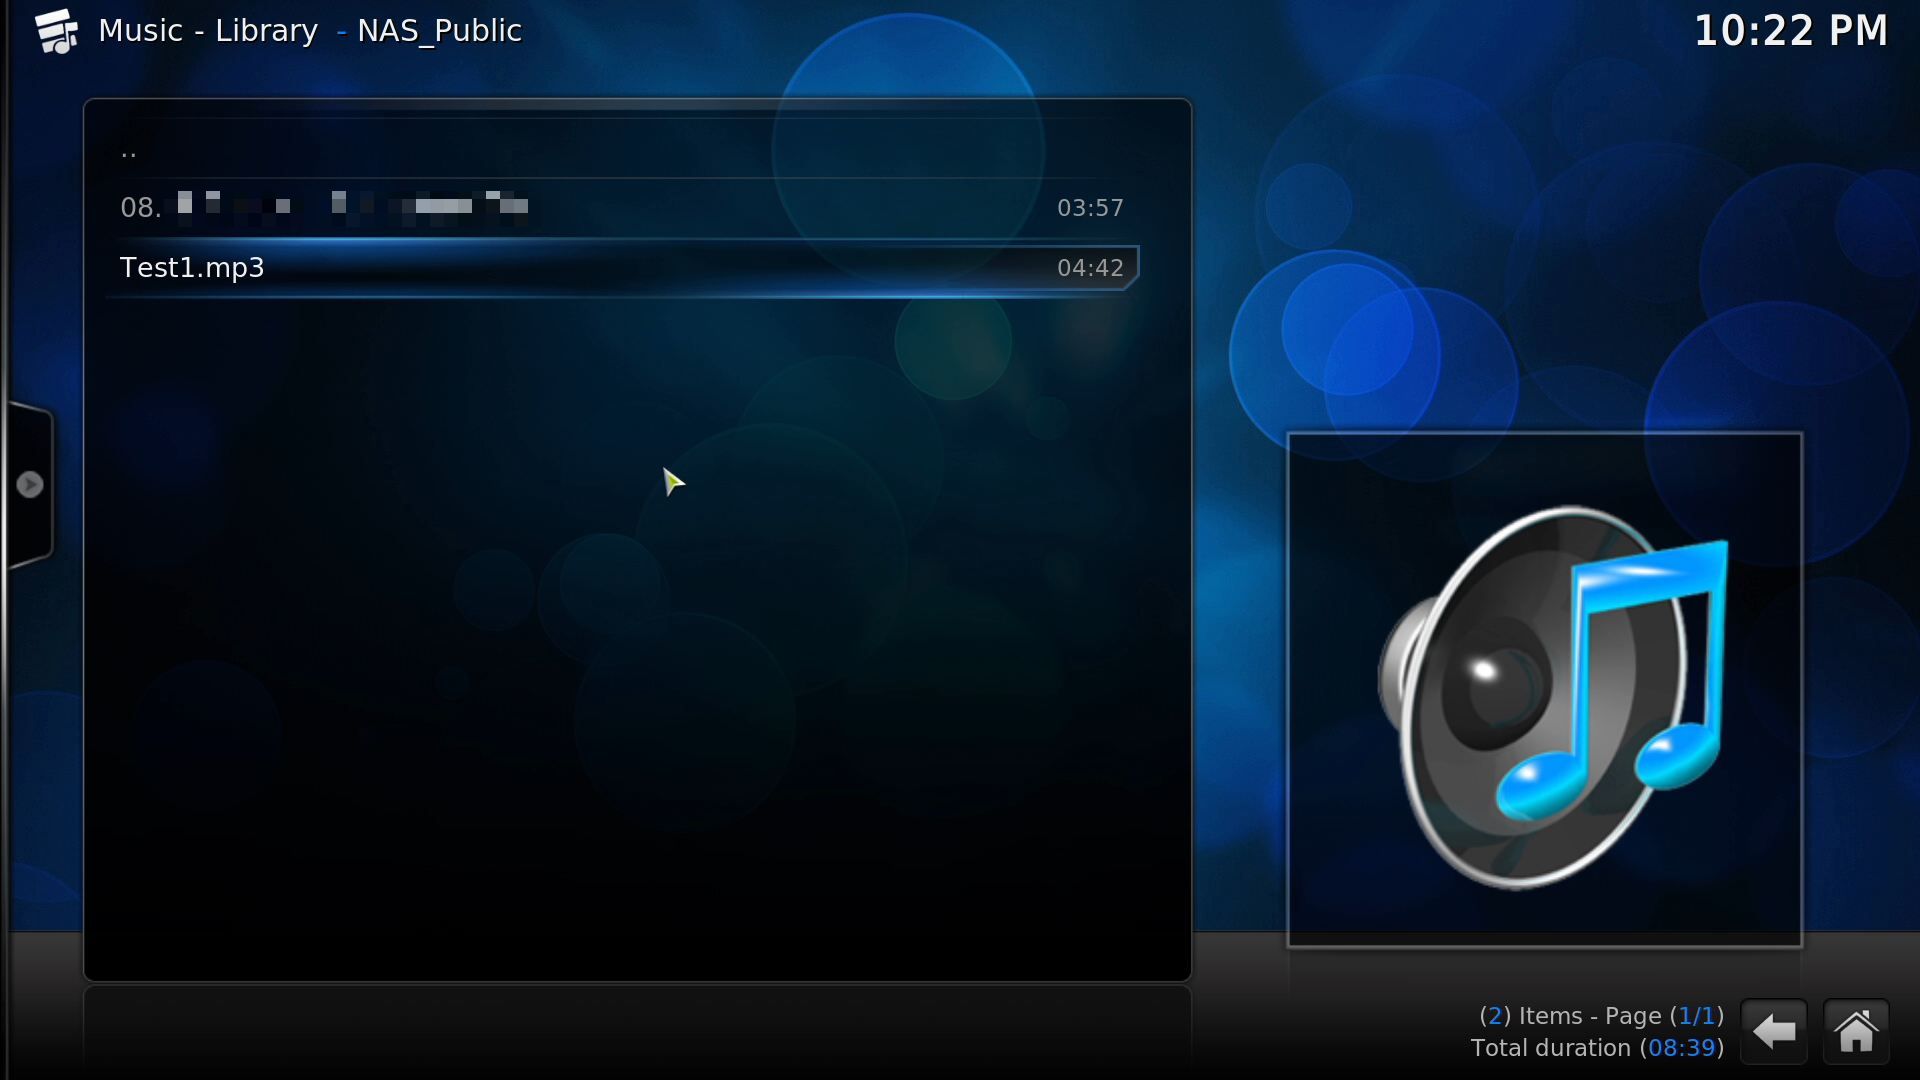
▼音乐部分同样可以看到所有音乐列表,也可线上做播放,除了大众化的mp3档案外,还可播放近年来开始渐渐流行的无损格式档案!!
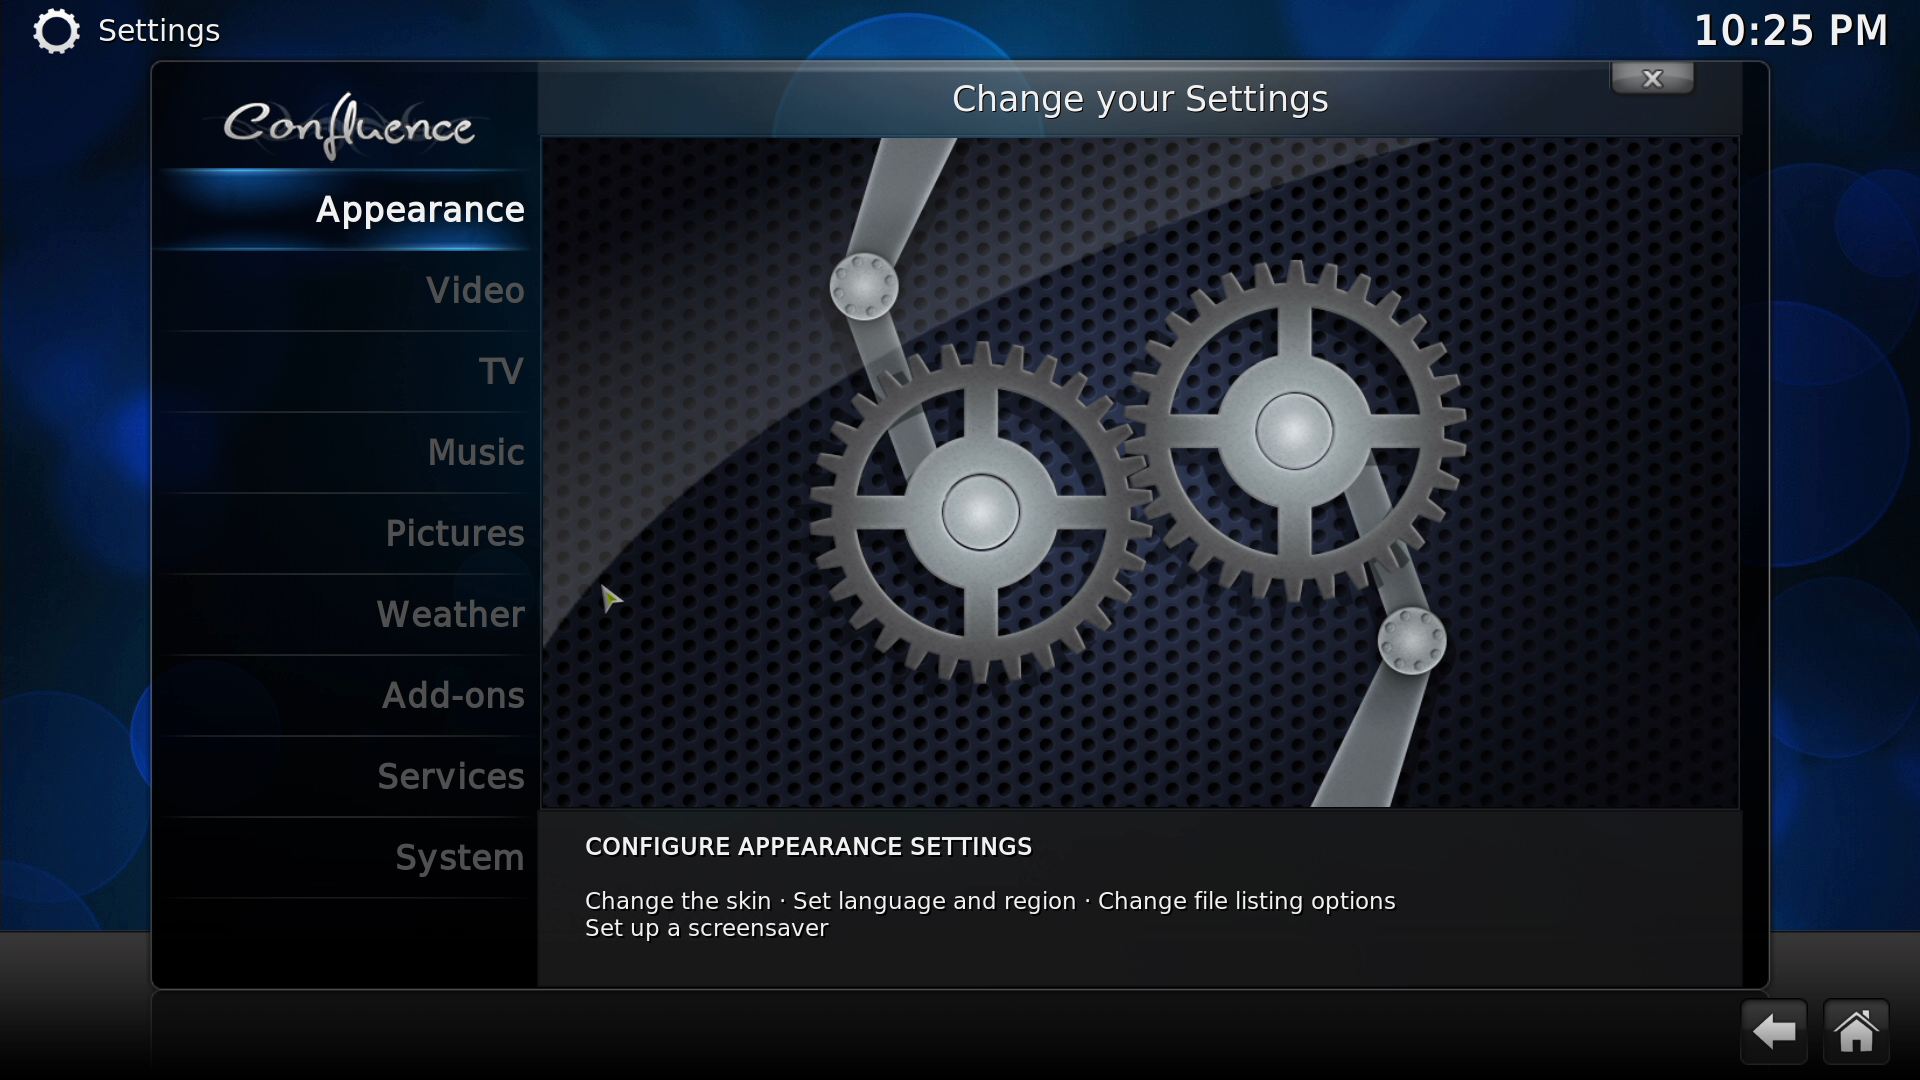
▼设定选项一览
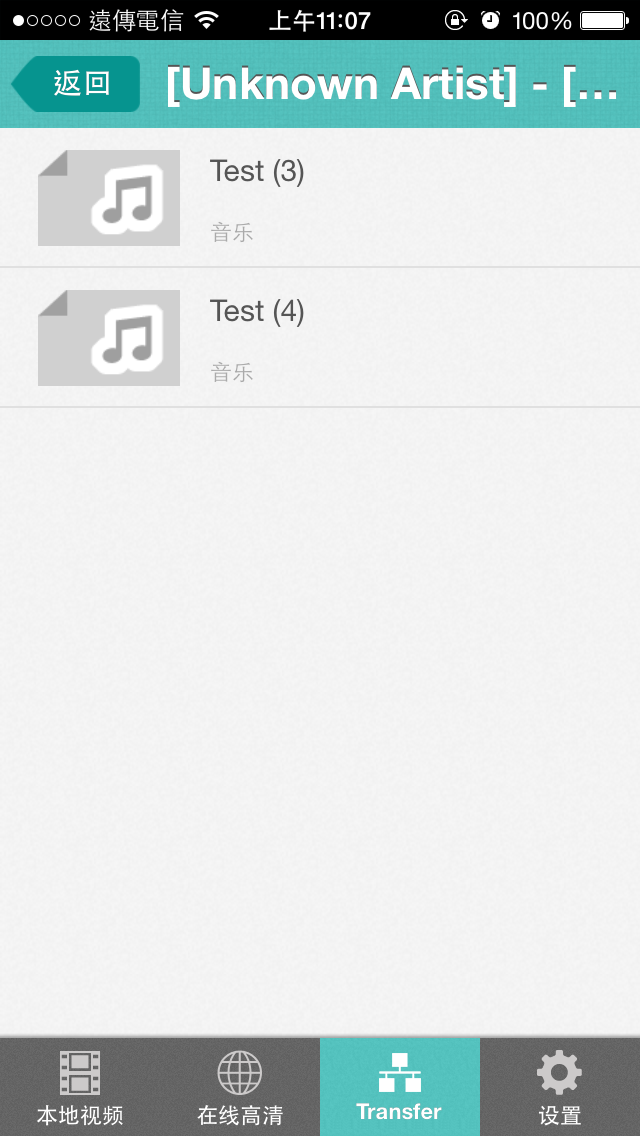
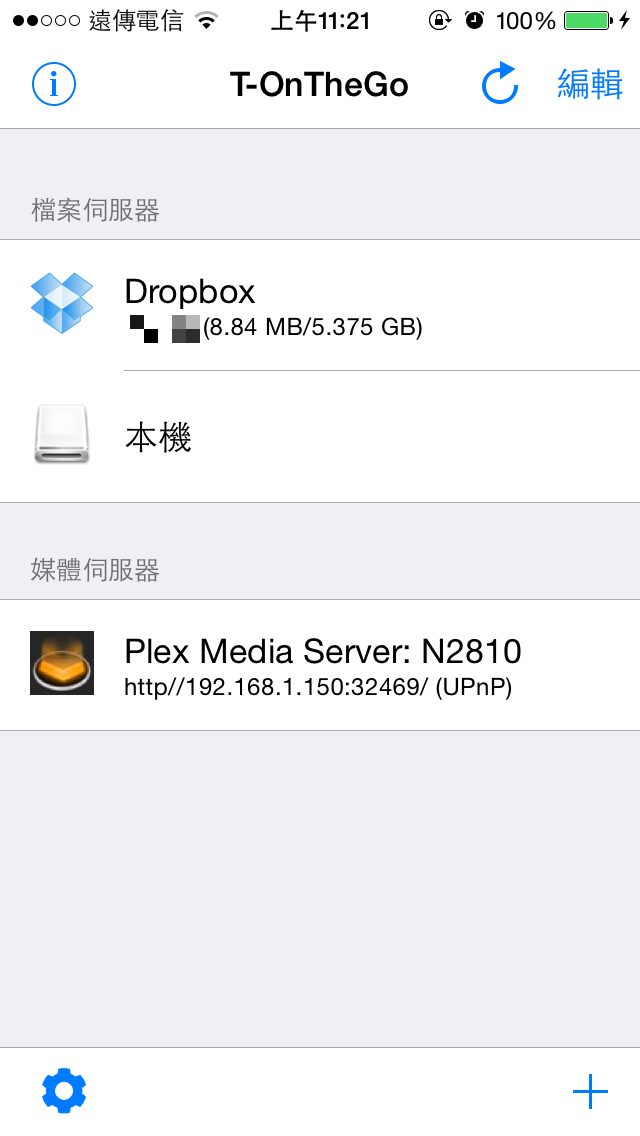
 Thecus N2810行动装置App介绍T-OnTheGO
 可下载原厂所提供的T-OnTheGO软体,也可以达成影音串流功能,还整合了其他云端空间,并可以同步手机的资料至NAS内,可以说是相当方便
▼T-OnTheGO软体
▼使用手机App搜寻可找NAS装置
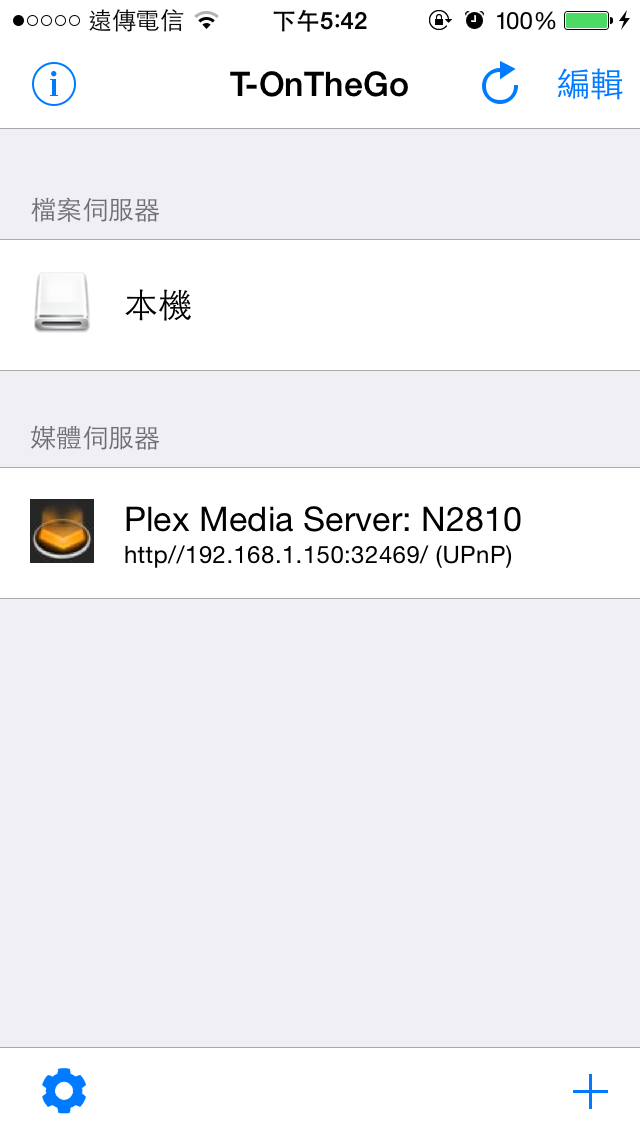
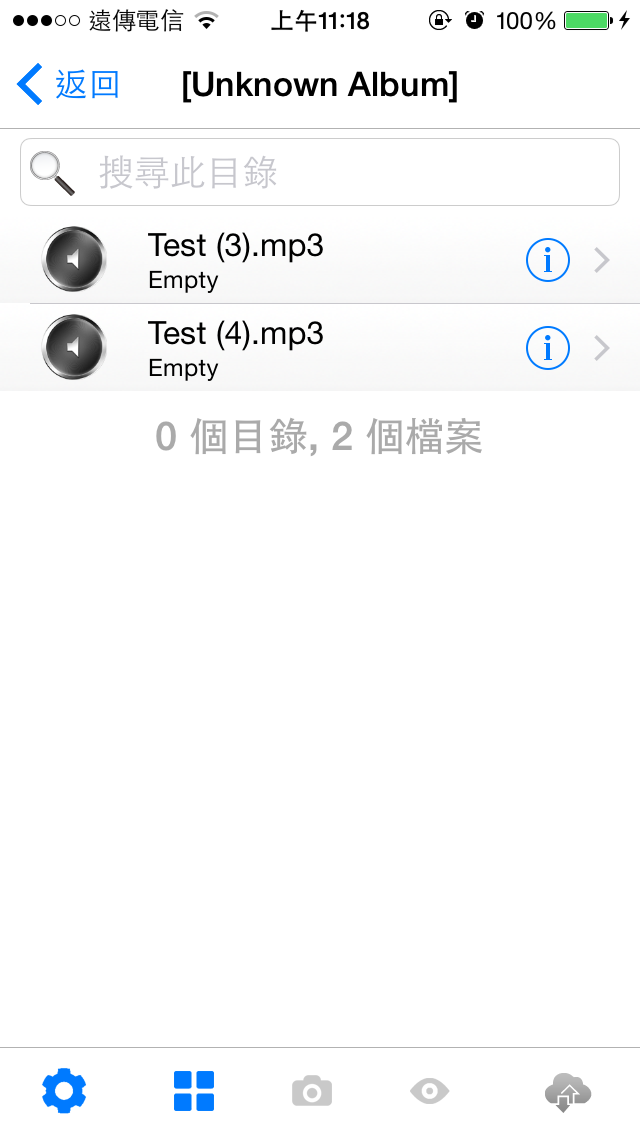
▼登入后可以看到分类

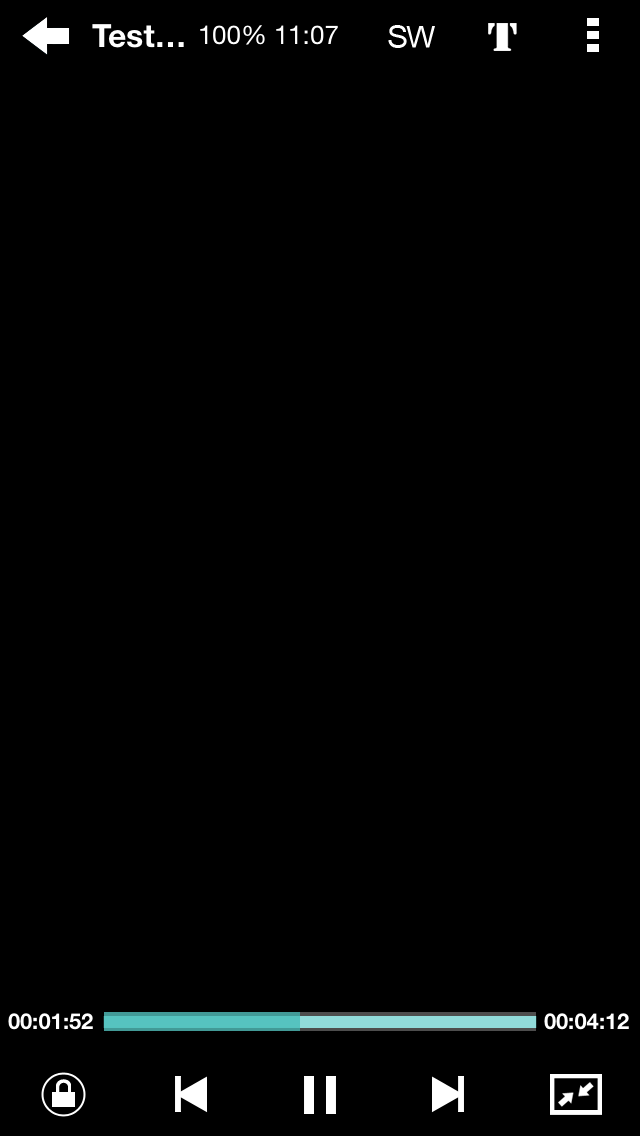
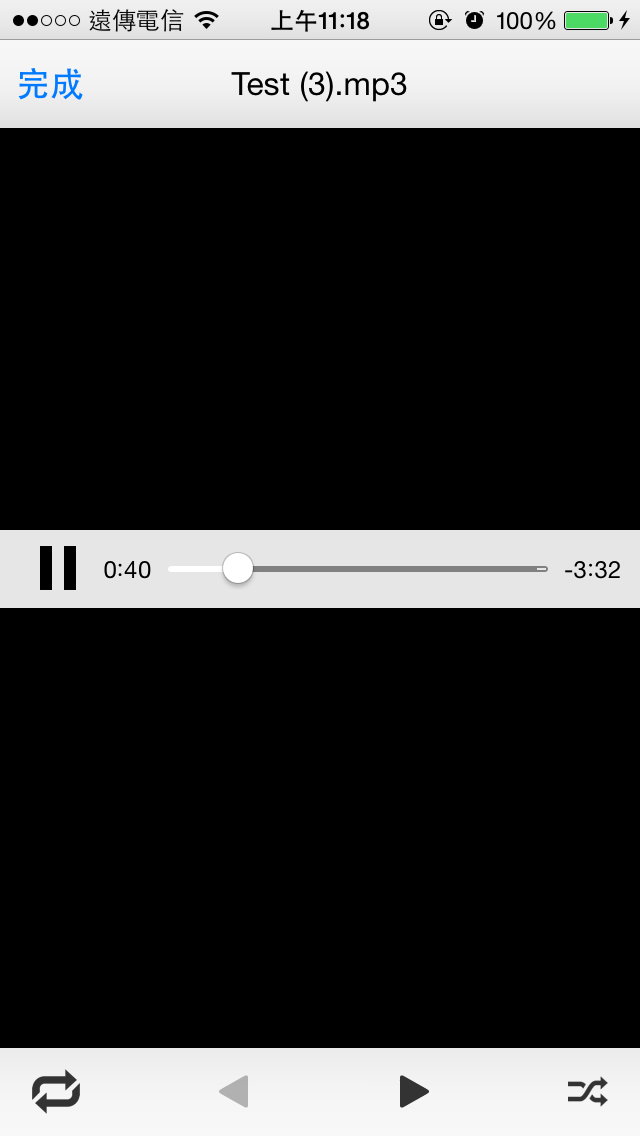
▼音乐档可以线上做拨放
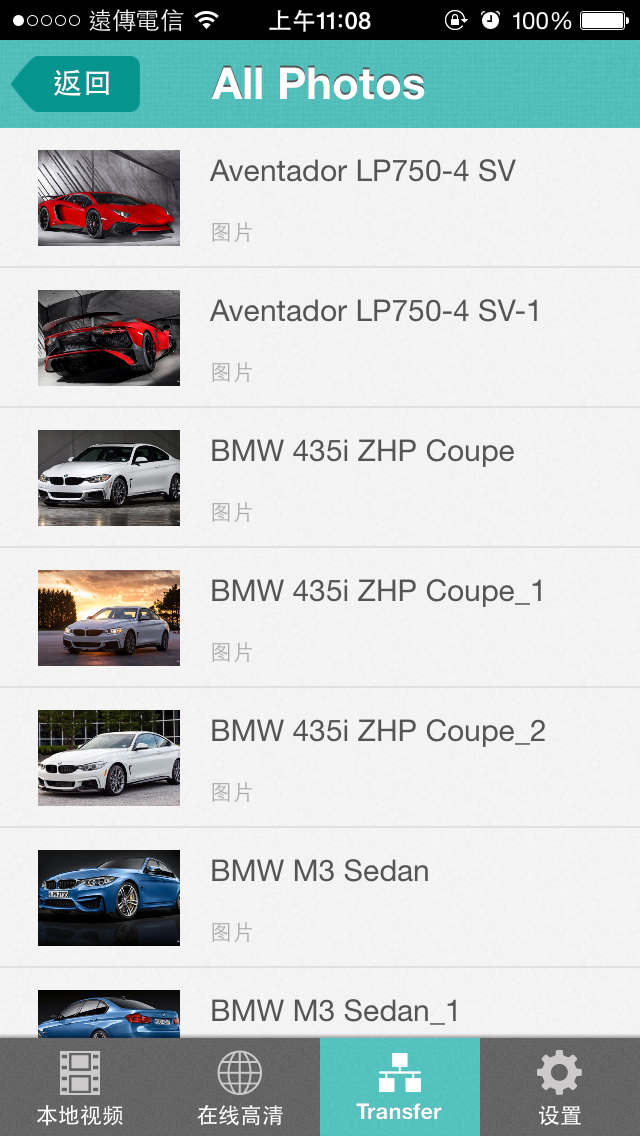
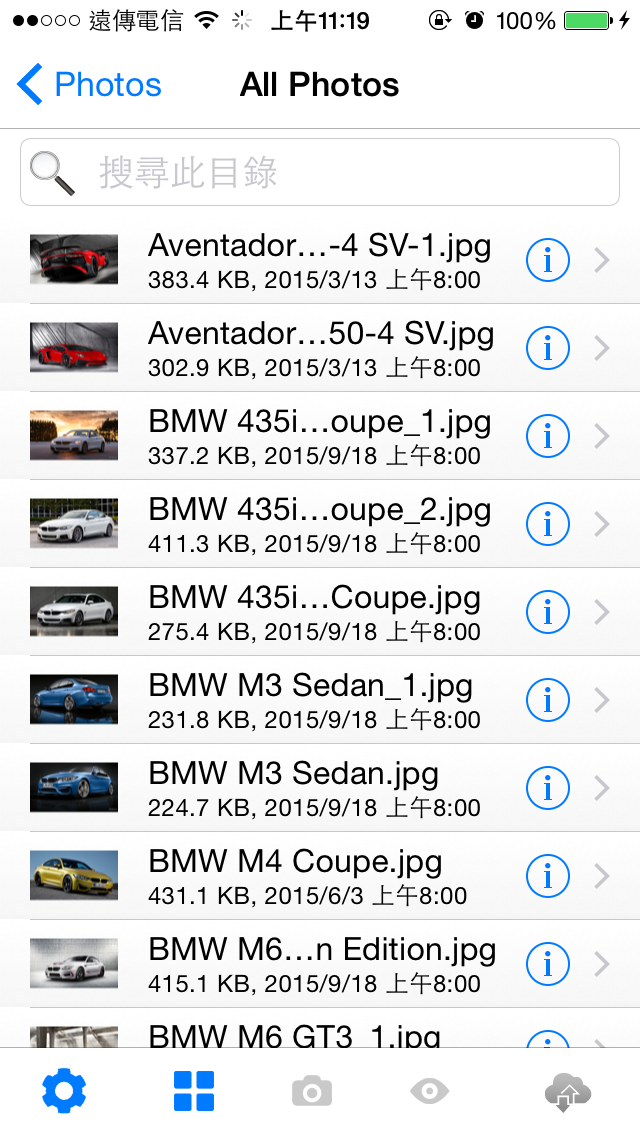
▼图片档可以线上做播放

▼影片档可以线上做拨放

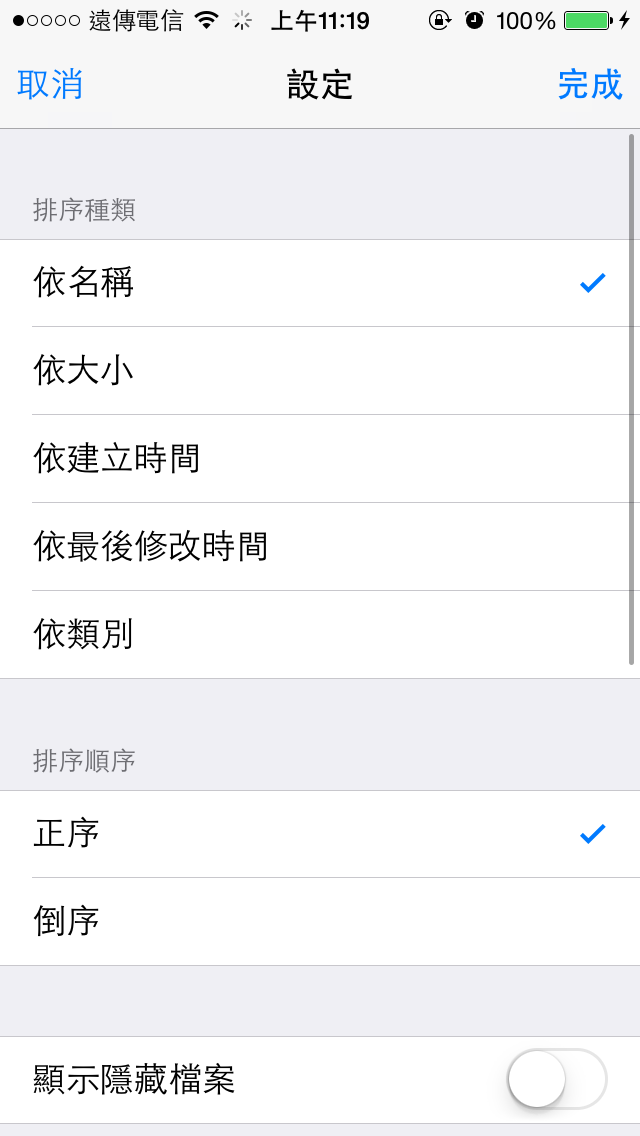
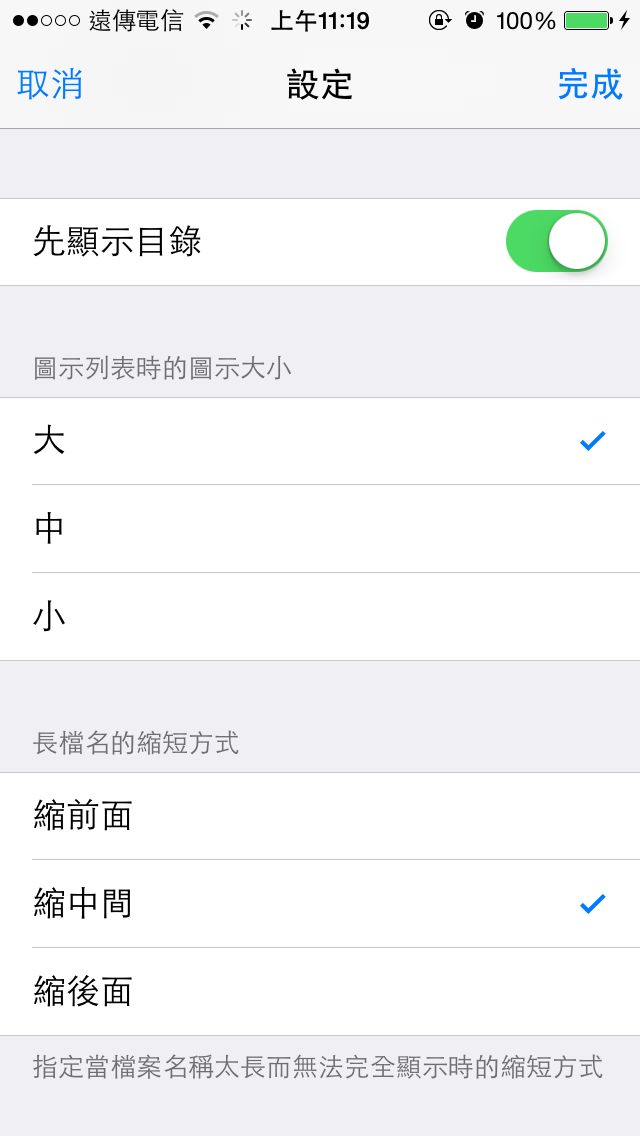
▼检视方式可依照使用者喜好做调整
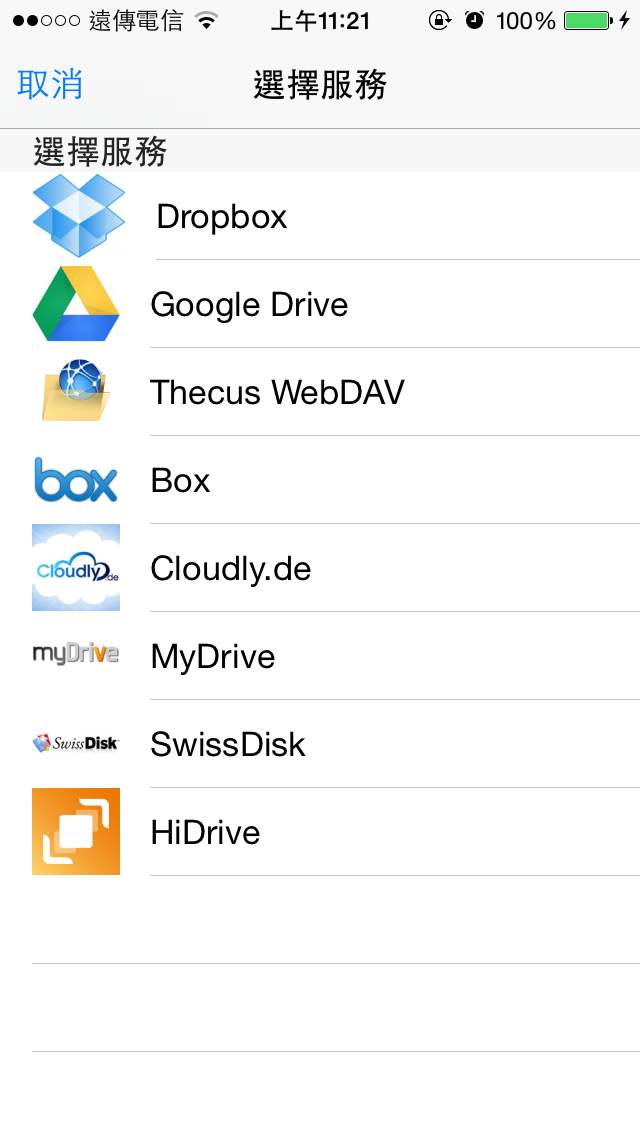
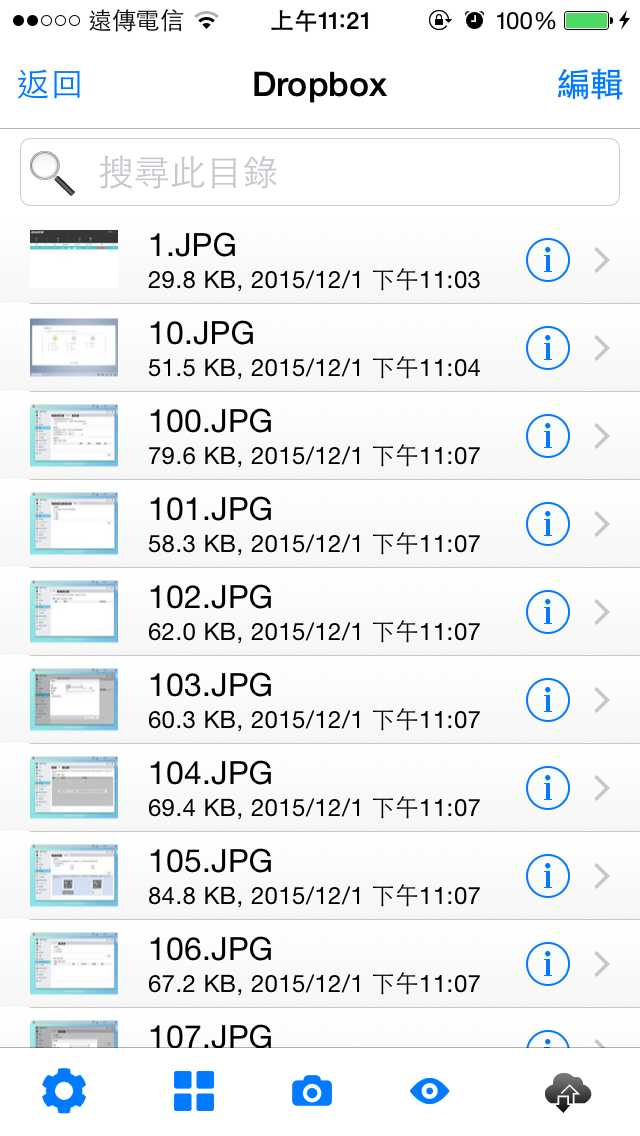
▼可整合其他云端空间,可以直接登入存取资料
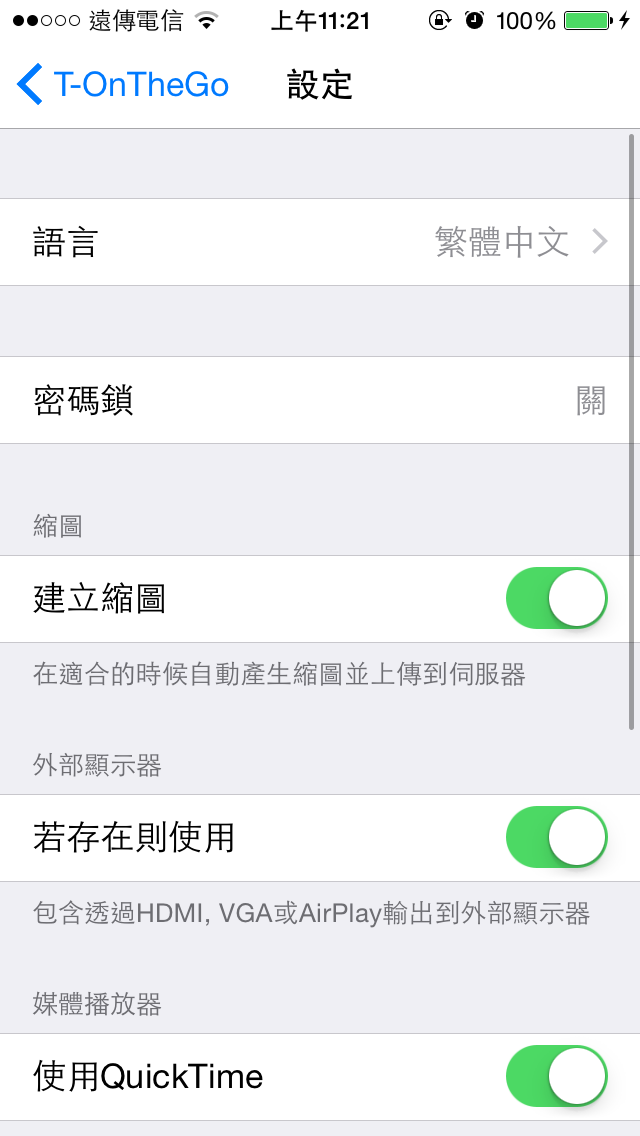
▼设定一览,还可以设定照片同步位置
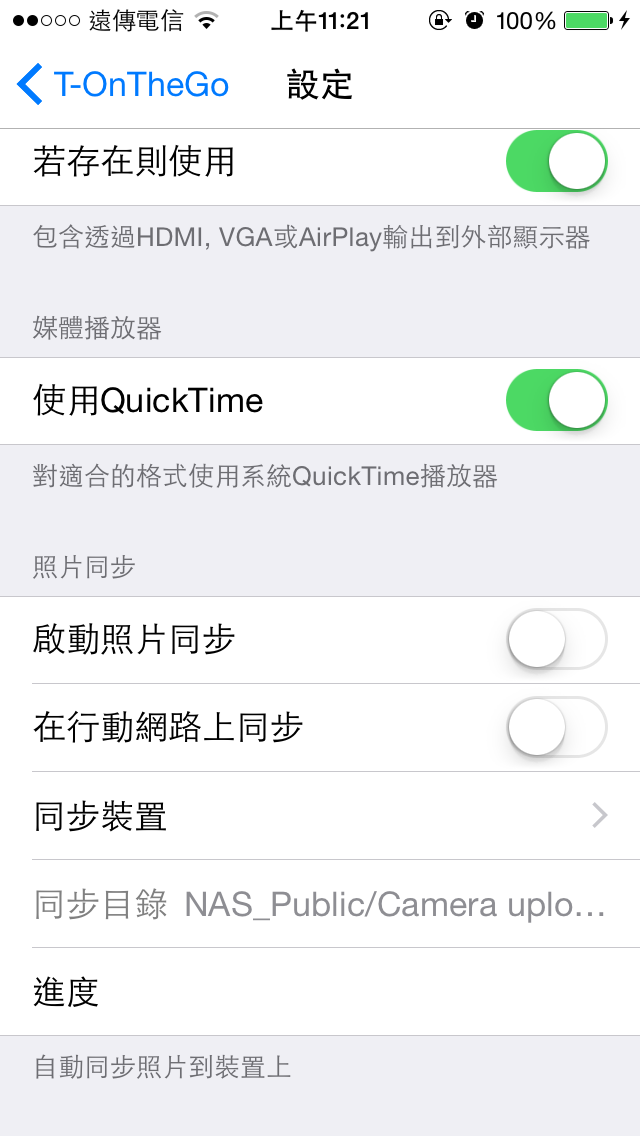
有T-OnTheGO软体就可以轻松存取NAS资料,并可将手机内的照片同步至NAS内,手机不在需要大容量,只要有网路可以连线至NAS内即可!!
Thecus N2810 2Bay NAS总结色卡司 Thecus N2810经过上面的介绍,可以发现有相当多的应用可以实现,N2810虽然是2Bay机种,但搭配大容量的8TB硬碟同样可以达到相当高的备份容量空间,不过硬碟就需要比较多的预算拉,2Bay机种大部分使用者都会采用RAID1配置,在资料备份的安全性上相当不错;这次N2810采用全新介面的Thecus OS 7,整体操作介面上比以前的机种更加人性化,操作方式已接近平板,浅显易懂且相当容易上手,不论是新手或是老手都可以快速将NAS设定完毕;在应用上设定也是简单做几个设定就可以把功能完成,连较为困难的iSCSI也是轻轻松松不到3分钟就可以设定完成,N2810可加装App与第三方软体,要下载BT、开农场、影音串流..等各种应用相当轻松与容易,而且网路功能中还内建了出差必备的VPN功能,让整台NAS功能就更加齐全了,在额外安装的软体中有防毒软体,这部份个人觉得相当重要,可以确保储存到NAS内的资料都是没有病毒;效能表现方面还不错,透过iSCSI方式做效能测试可以达到读取100MB/s以上与写入90MB/s以上的好表现,如果搭配聚合网路功能效能可以在更加强悍,透过App软体可以做到的应用相当广泛,整体应用性与功能来说相当强大;行动装置部分原厂提供了T-OnTheGOApp软体,让使用者可以在外面也可以直接播放NAS内的音乐、影片与图片并整合相机与相簿同步功能,让手机不再容量不足!!N2810可以安装Plex多媒体软体,可以将NAS内的多媒体档案做好分类,并可以做影音串流DLNA与uPnP,还可搭配KODI软体将NAS变身影音播放器中心,直接播放照片、影片与音乐,影片部分可支援4K影片播放,音乐部分可播放无损格式的音乐档案,这些都是目前算相当新的规格;整体来说N2810在硬体上的架构已经是相当的强悍,采用Intel最新一代Celeron N3050 1.6GHz双核处理器(Braswell)搭配2GB DDR3记忆体(可扩充到8GB),并可以播放4K影片,让一台NAS不再是只有备份功能,而是一台可以取代动物机与HTPC的强悍机器。
硬碟的挑选上必须挑选适合的专用硬碟,在不同使用环境,所需要的条件是不同的,像是一般桌上型电脑内的硬碟要的是效能,而不是可以在全年无休的工作环境下长时间使用,千万不要有那种都是硬碟,介面也相同,为什么一定要买专用硬碟的想法,像NAS系统就是要稳定、安全与24小时全年无休工作,所以要挑选NAS专用硬碟,Seagate NAS专用硬碟采用24x7全天候运作来设计,并有RV旋转震动感应器与韧体上最佳化,这些都是针对NAS长时间工作环境所设计,买了不合用的硬碟,在使用上有了不愉快的经验,这次测试大容量的希捷Seagate 8TB NAS专用硬碟单硬碟效能测试部分表现相当不错,在许多测试项目中读写都达到了220MB/s以上的水准,当然这样的效能要满足NAS应用绝对是小菜一盘轻轻松松,在保固上Seagate针对NAS专用硬碟提供三年保固,使用上可以相当安心。


