各位看官大家好 今天要跟各位介紹的是
thermalright T-Rad²
唉....又是利民 看不膩啊
這次PO的是新品上市 熱呼呼的喔
好了不多說看圖吧
外包裝 恩 一慣利民樸素的包裝
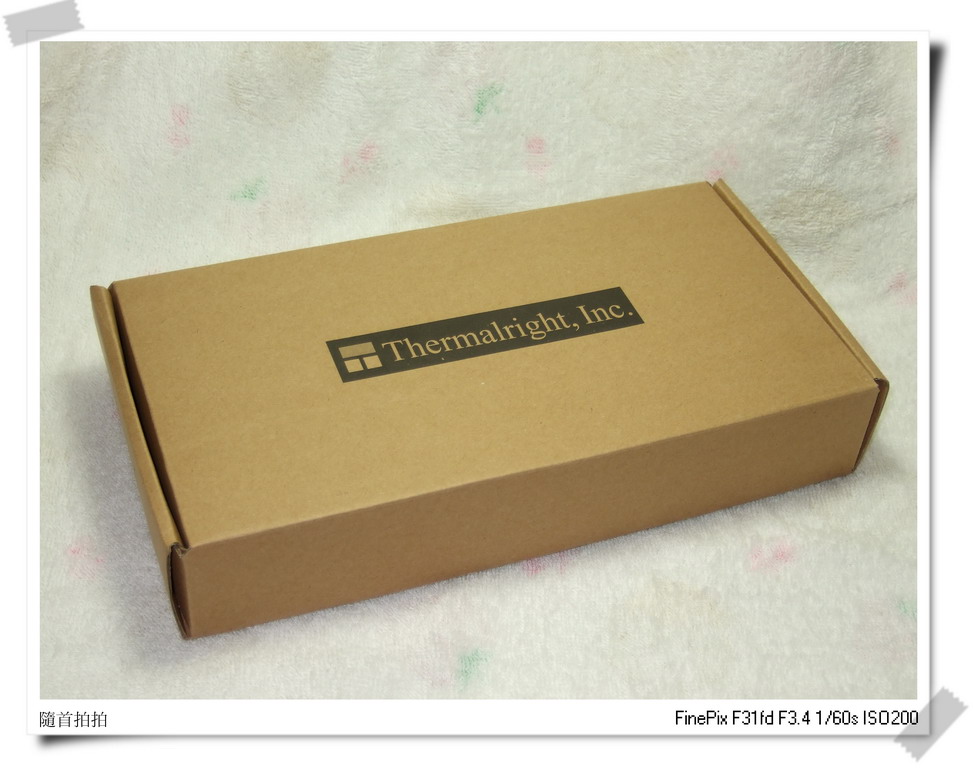
MIC 品質一定OK 嗎?? 看下去吧
![](http://xs231.xs.to/xs231/08384/002136.jpg)
T-Rad²能登上新的顯卡散熱王者嗎
![](http://xs231.xs.to/xs231/08384/003322.jpg)
開箱啦
![](http://xs231.xs.to/xs231/08384/004646.jpg)
說明書
![](http://xs231.xs.to/xs231/08384/005348.jpg)
貼紙
![](http://xs231.xs.to/xs231/08384/006722.jpg)
看到散熱器了
![](http://xs231.xs.to/xs231/08384/007706.jpg)
拿出來了
![](http://xs231.xs.to/xs231/08384/008750.jpg)
登場啦 各位慢慢看圖 不多說啦
![](http://xs131.xs.to/xs131/08384/009833.jpg)
![](http://xs131.xs.to/xs131/08384/010564.jpg)
![](http://xs231.xs.to/xs231/08384/011646.jpg)
![](http://xs231.xs.to/xs231/08384/012968.jpg)
![](http://xs231.xs.to/xs231/08384/013790.jpg)
![](http://xs131.xs.to/xs131/08384/014172.jpg)
![](http://xs231.xs.to/xs231/08384/015562.jpg)
![](http://xs231.xs.to/xs231/08384/016744.jpg)
![](http://xs231.xs.to/xs231/08384/017553.jpg)
配件
![](http://xs231.xs.to/xs231/08384/018730.jpg)
拆開風扇固定架 看得更深入更仔細
![](http://xs231.xs.to/xs231/08384/019918.jpg)
![](http://xs231.xs.to/xs231/08384/020341.jpg)
![](http://xs231.xs.to/xs231/08384/021236.jpg)
![](http://xs131.xs.to/xs131/08384/022567.jpg)
要裝風扇啦 要裝的是AC 9 PWM
![](http://xs131.xs.to/xs131/08384/023415.jpg)
對沒看錯就是他
連小4pin都改好了 嗚嗚~~~保固
![](http://xs131.xs.to/xs131/08384/024665.jpg)
裝不上怎麼辦 沒關係 把螺帽熔進去吧
![](http://xs231.xs.to/xs231/08384/025838.jpg)
![](http://xs231.xs.to/xs231/08384/026298.jpg)
完工
![](http://xs231.xs.to/xs231/08384/027276.jpg)
厚度就這樣
![](http://xs231.xs.to/xs231/08384/028969.jpg)
前面說MIT就一定好嗎
不一定 看看下圖
![](http://xs231.xs.to/xs231/08384/029496.jpg)
![](http://xs231.xs.to/xs231/08384/030799.jpg)
![](http://xs231.xs.to/xs231/08384/031251.jpg)
就當作沒看到好了
測試方法
關機殼 風扇配置如下圖
![](http://xs231.xs.to/xs231/08385/032907.jpg)
測試軟體為FurMark
使用FurMark_v1.4.0\shttp://bbs.mychat.to/post.php?fid=457tart-Xtreme-Burning.bat批次檔
可以燒出比Stability Test更高的溫度
開始測吧
原廠溫度如下
![](http://xs231.xs.to/xs231/08385/1580.jpg)
![](http://xs231.xs.to/xs231/08385/2259.jpg)
可以看到原廠風扇只要降低轉速溫度就會往上飆
而且四跟熱管好像不夠力的樣子
快快來裝吧
先拆掉原廠散熱 清一下灰塵跟散熱膏
![](http://xs231.xs.to/xs231/08385/033719.jpg)
貼上散熱片 因為熱導管的位置不同 所以薄的散熱片貼的位置也不同
![](http://xs231.xs.to/xs231/08385/034389.jpg)
電源IC端
![](http://xs231.xs.to/xs231/08385/035848.jpg)
不得不抱怨一下 利民附的散熱片黏度不夠喔
害我貼個老半天 重新用過別的貼布就OK
散熱器鎖上螺絲 放上軟的墊圈
![](http://xs231.xs.to/xs231/08385/036338.jpg)
撕掉保護的膜 放上散熱器 在放上保護的墊片
![](http://xs231.xs.to/xs231/08385/037315.jpg)
鎖上螺絲
![](http://xs231.xs.to/xs231/08385/038634.jpg)
請忽略上面的彈簧 試驗後發現不可行
開始測試吧 結果如下
![](http://xs231.xs.to/xs231/08385/3831.jpg)
![](http://xs231.xs.to/xs231/08385/4807.jpg)
六根熱導管果然就是不一樣
即使轉速降到30%才原廠散熱的70%而已
溫度差了18度之多
記得我之前買的HR-11嗎?? 裝上去吧
![](http://xs231.xs.to/xs231/08385/039807.jpg)
上機去
![](http://xs231.xs.to/xs231/08385/040432.jpg)
結果如下
![](http://xs231.xs.to/xs231/08385/5436.jpg)
![](http://xs131.xs.to/xs131/08385/6822.jpg)
有了系統風扇的幫忙 溫度又下降了5度之多
最後來個總整理吧
![](http://xs131.xs.to/xs131/08385/7197.jpg)
![](http://xs131.xs.to/xs131/08385/9583.jpg)
![](http://xs131.xs.to/xs131/08385/8804.jpg)
![](http://xs231.xs.to/xs231/08385/10735.jpg)
優點:
1.很方便的安裝方式
2.很薄
3.效能很不錯
缺點:
1.很卡 卡很多東西 卡南橋 卡SATA 卡電源線
(解決方法:
凹南橋散熱器
買下圖"短頭"的SATA線
![](http://xs231.xs.to/xs231/08385/041718.jpg)
把電源線卡榫剪斷
![](http://xs231.xs.to/xs231/08385/042483.jpg)
)
2.附的散熱片黏度不足
3.散熱起本體有黃黃的東西附著沒有洗乾淨 散熱片也有凹到的痕跡
4.MIC.....