
 價格親民、802.11ac無線飆網輕鬆擁有-netis WF2780
 802.11ac相信已經是很多使用者的無線網路列為基本規格,802.11ac在規格上分相當多種速度,在挑選時必須要稍微注意一下,在路由器與網卡上的搭配要注意規格是否可以搭配上,這次要介紹一款價格親民且有不錯表現的802.11ac解決方案,由netis 所推出的WF2780 AC1200雙頻Gigabit無線分享器,WF2780採用Realtek解決方案,無線網路部分符合802.11ac標準,無線雙頻傳輸速度最快可達1167Mbps (2.4GHz 300Mbps + 5GHz 867Mbps),也就是AC1200,並內建五組 1000Mbps Lan Ports與四支5dBi全向性天線,提供相當不錯的訊號品質與穿牆能力,並提供無線中繼、無線橋接、上網時間管理、遠端喚醒功能,還支援MOD(IPTV)功能,其他功能部分還可設定多組SSID(共六組),並可設定各SSID的網路權限,保固部分提供三年保固一年換新,現在就來看netis WF2780 AC1200雙頻Gigabit無線分享器。
 netis WF2780包裝與本體
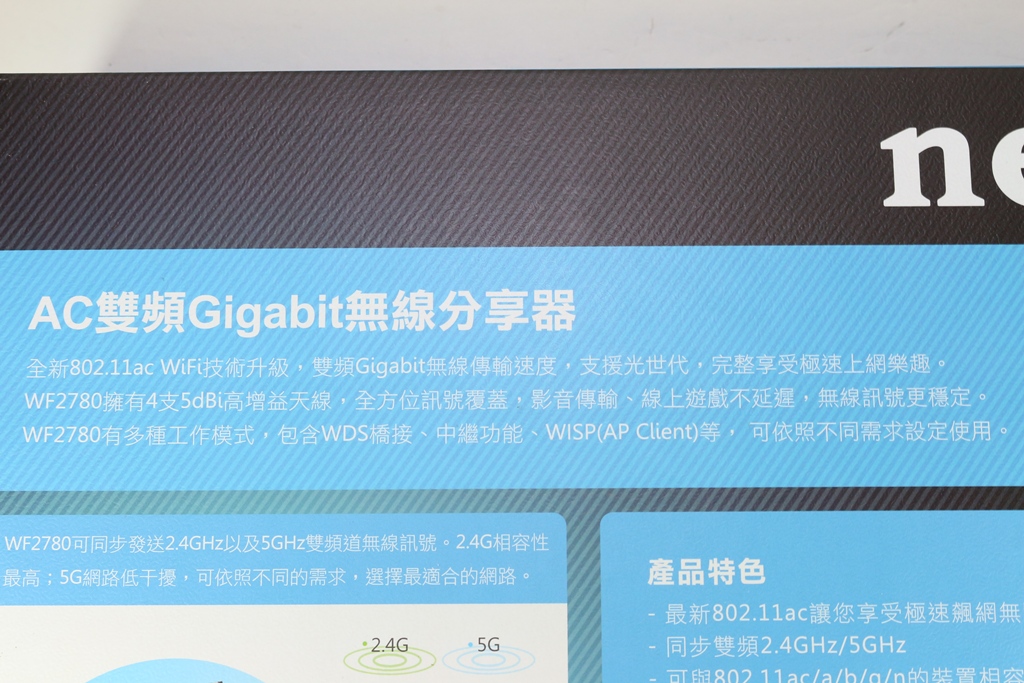
▼外包裝簡單低調,標示產品型號、特色,並有產品外觀照片,原廠提供三年保固一年換新服務
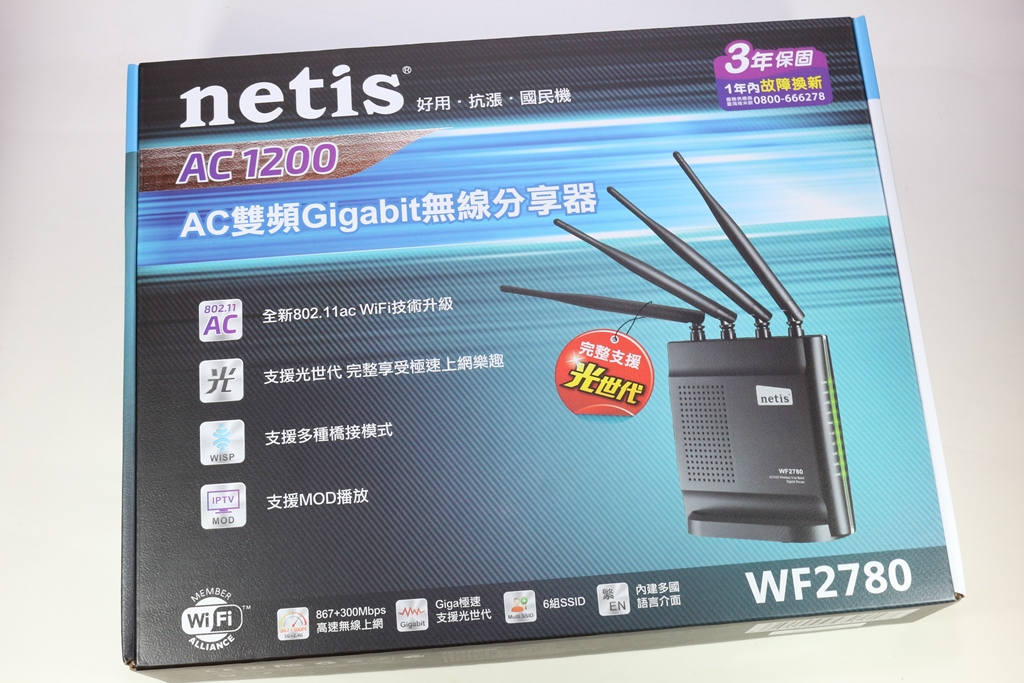
▼netis Logo,產品主打好用、抗漲(價格親民)、國民機

▼AC1200雙頻Gigabit無線分享器
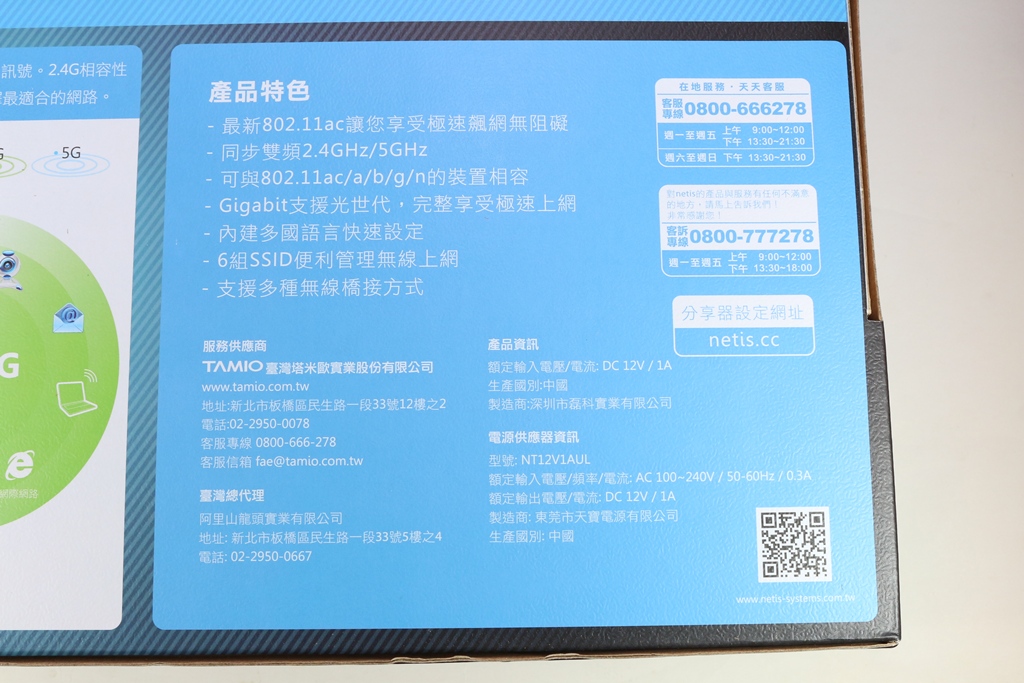
▼原廠提供三年保固一年換新服務,由塔米歐提供服務並有0800免費服務專線
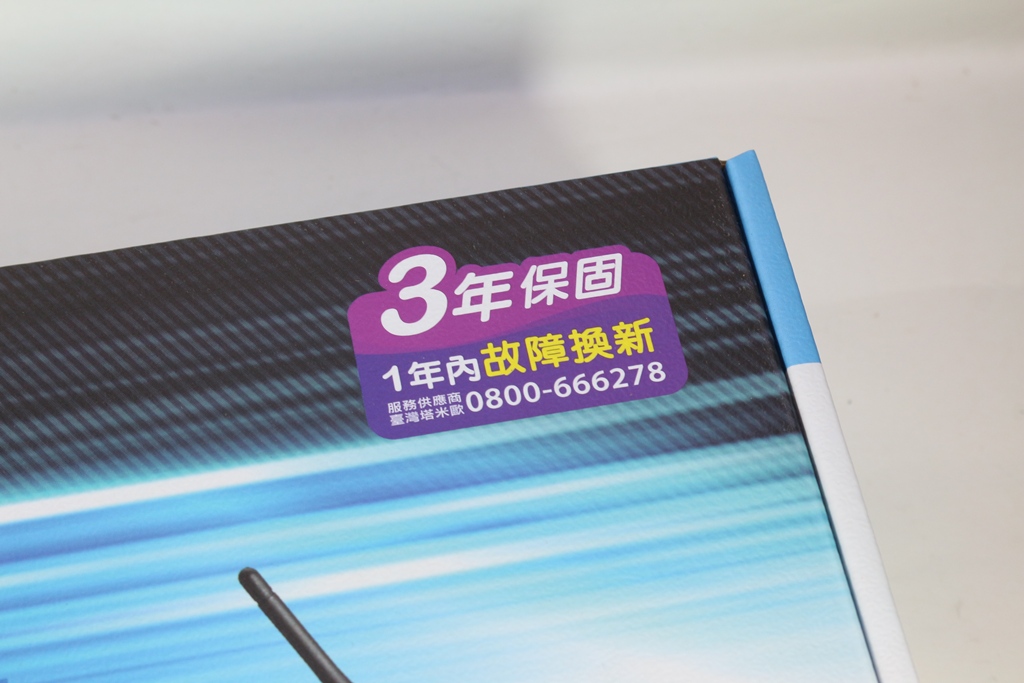
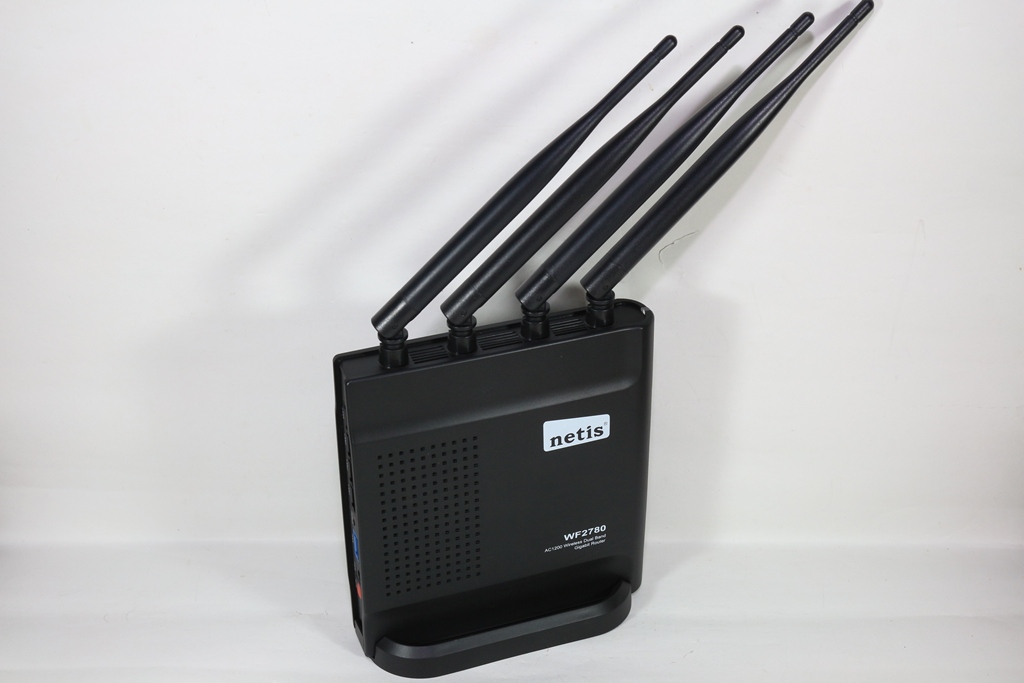
▼WF2780外型,採用四支5dBi全向性天線,相信會有不錯訊號涵蓋表現
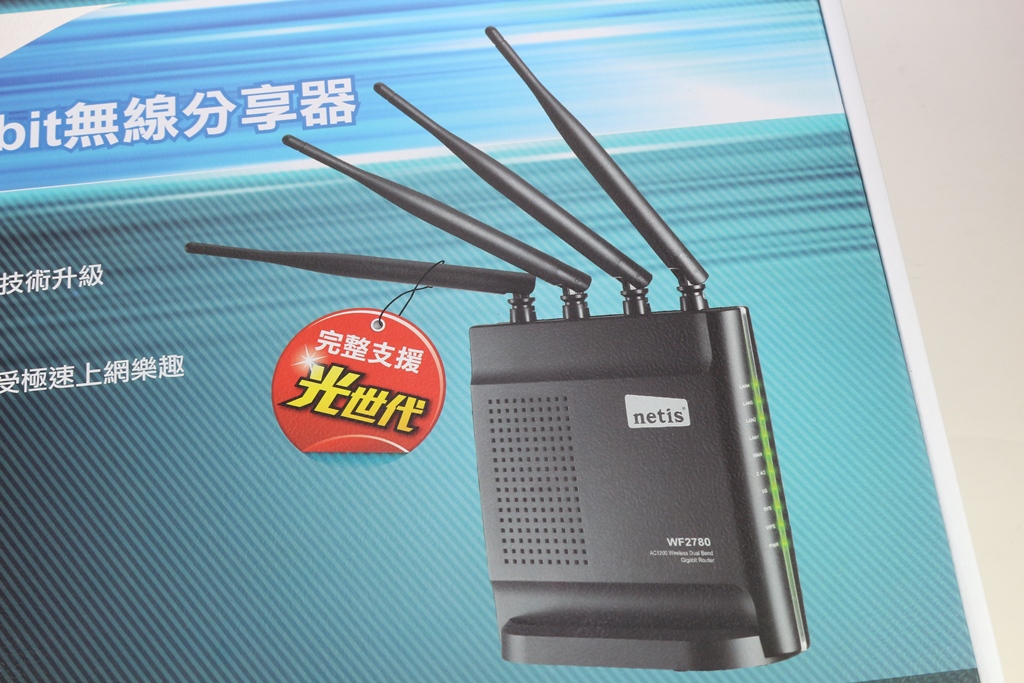
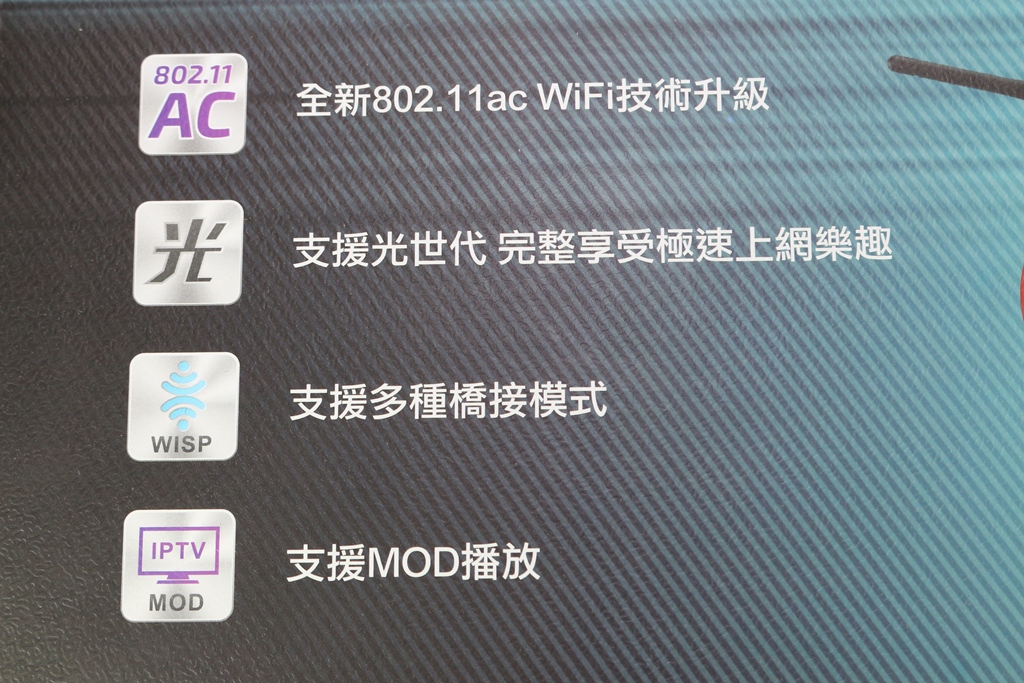
▼netis WF2780特點:
1.全新802.11ac WiFi技術升級
2.支援光世代 完整享受極速上網樂趣
3.支援多種橋接模式
4.支援MOD播放
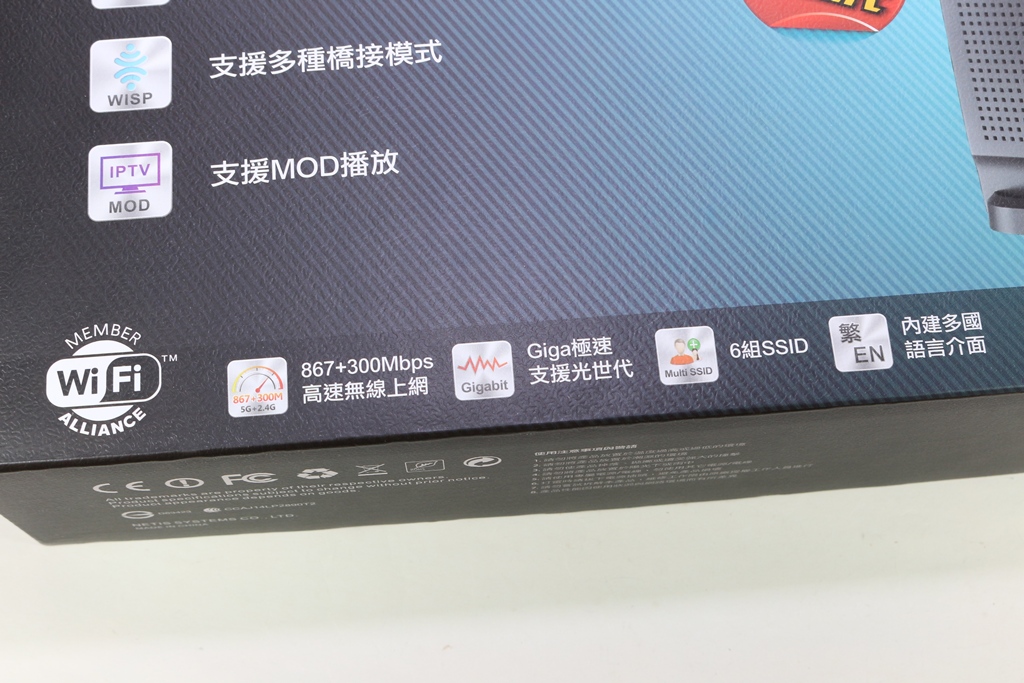
▼netis WF2780 WiFi為867+300Mbps高速無線上網,有線網路為Giga極速之源光世代,提供六組SSID可使用,並內建了多國語言切換功能
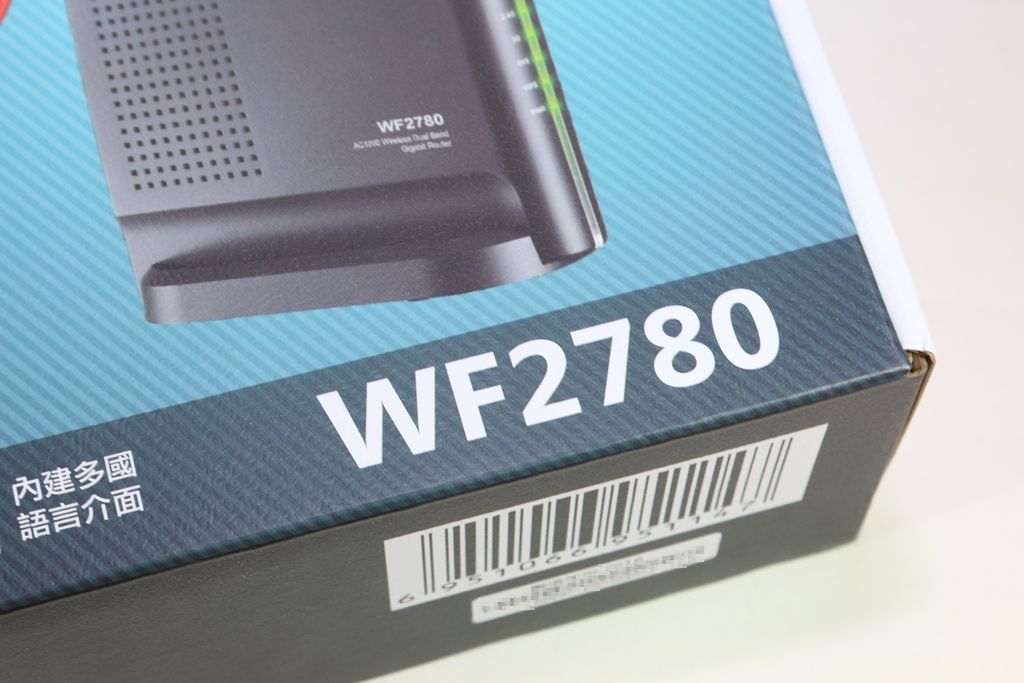
▼產品型號為WF2780
▼包裝背面說明產品支援功能、硬體簡介與產品特色
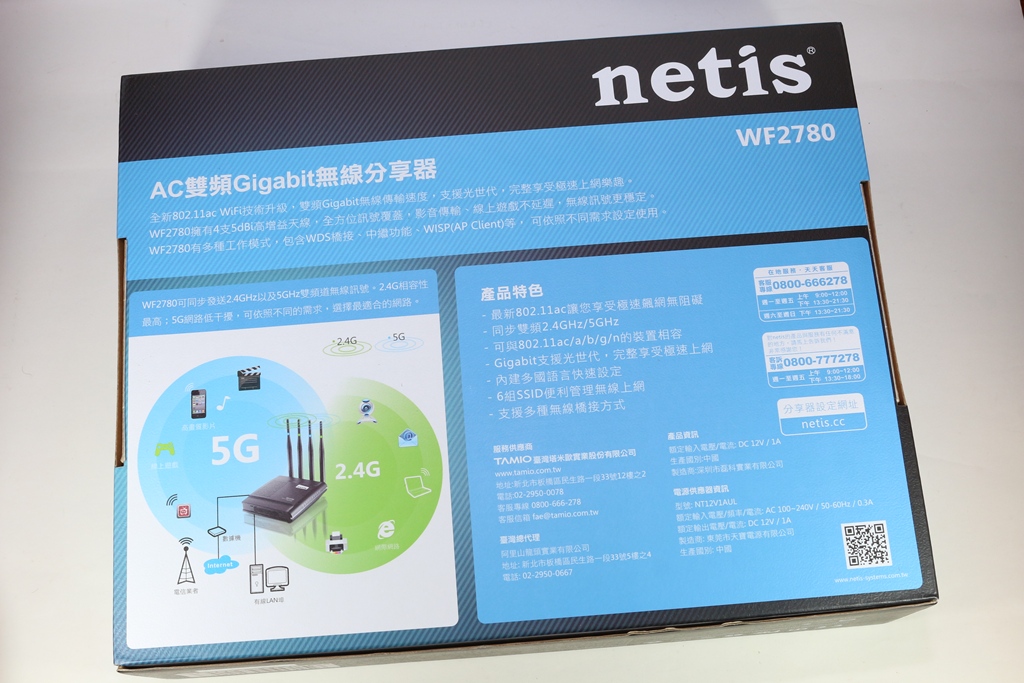
▼netis WF2780產品支援功能與硬體簡介
▼netis WF2780產品特色介紹、產品資訊與代理商資訊
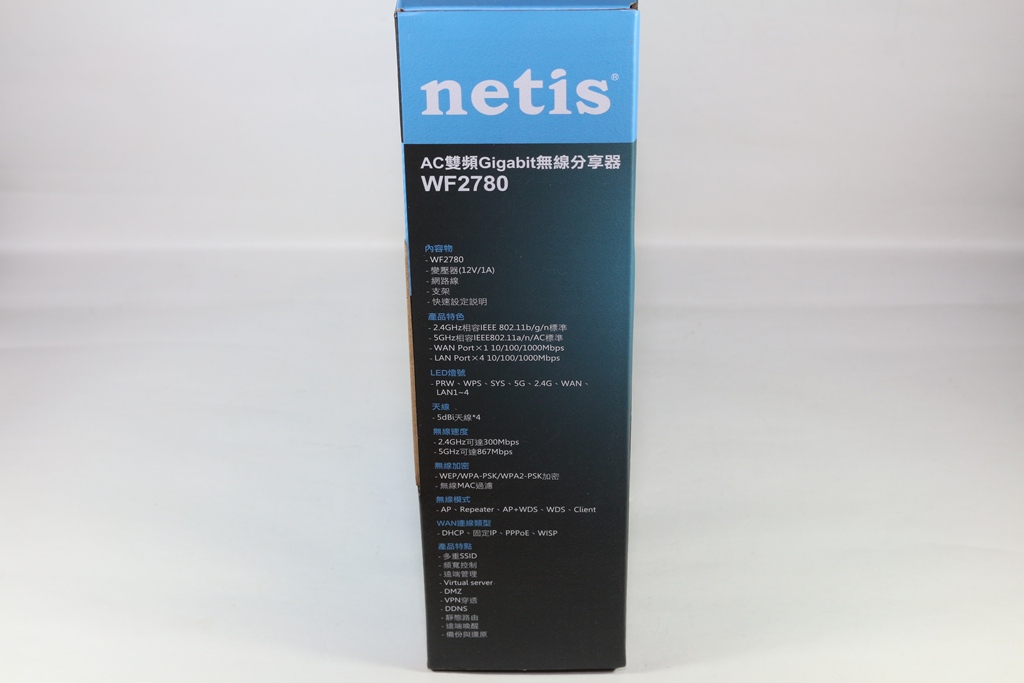
▼包裝側面說明內容物與特色功能
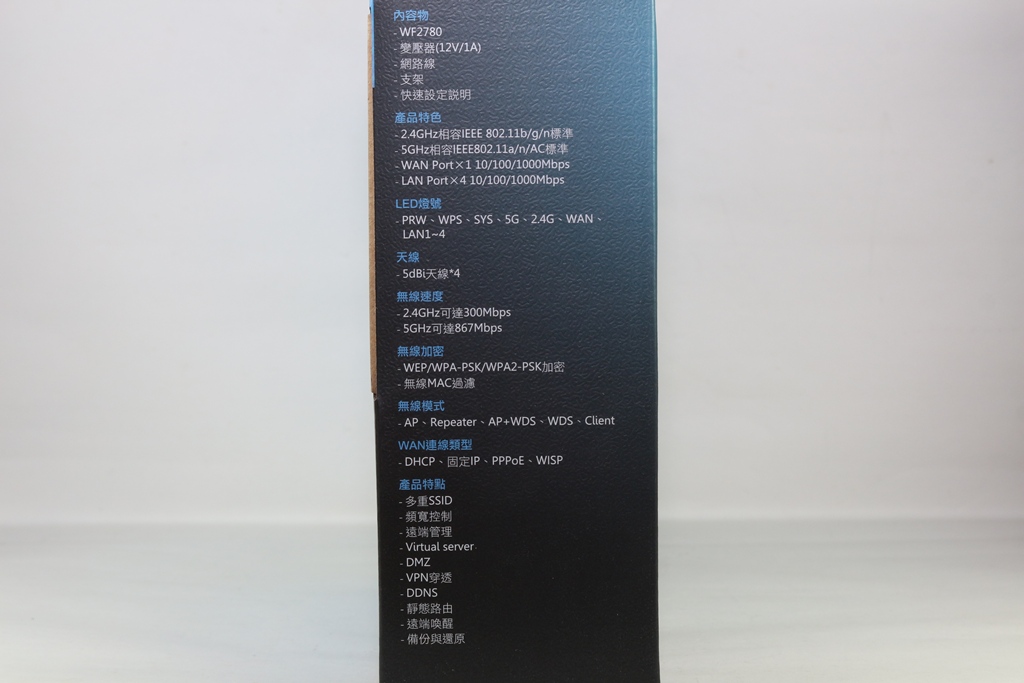
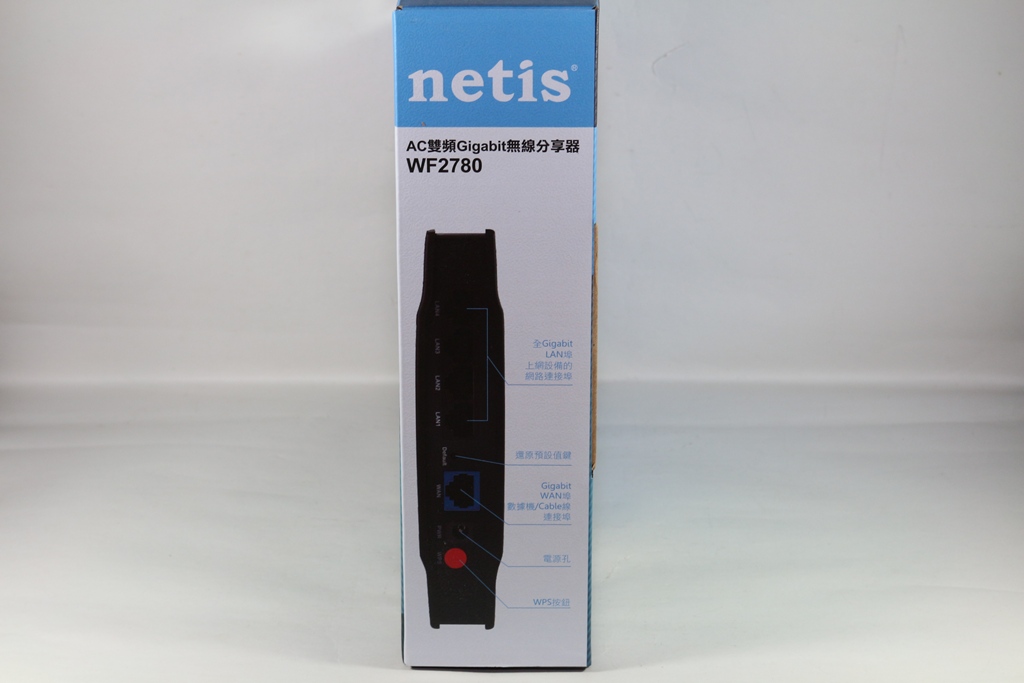
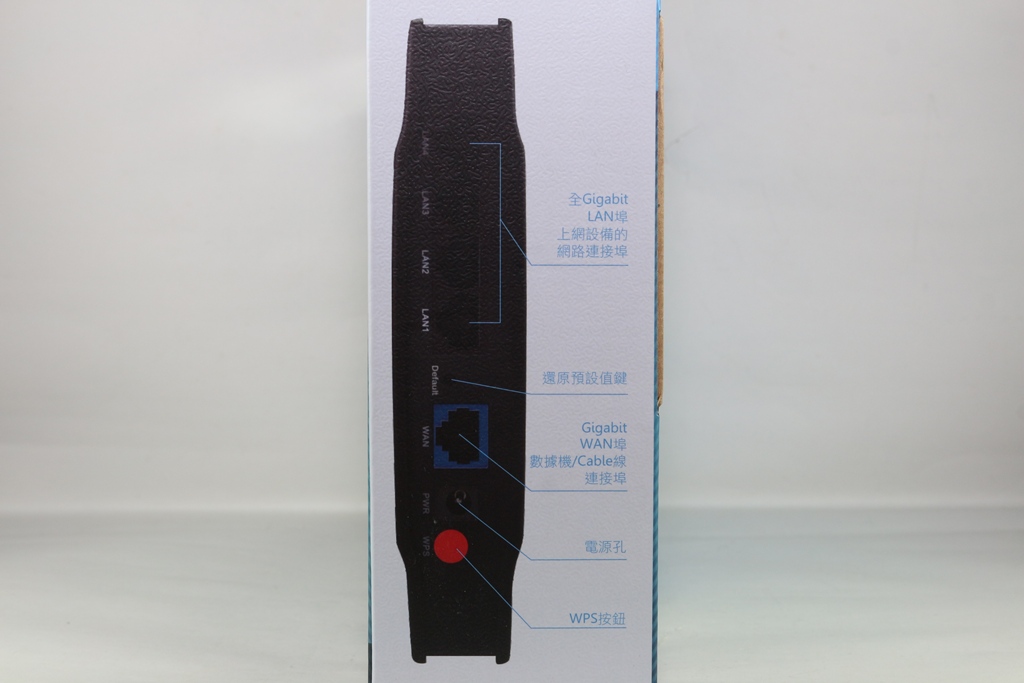
▼包裝另一側說明I/O功能
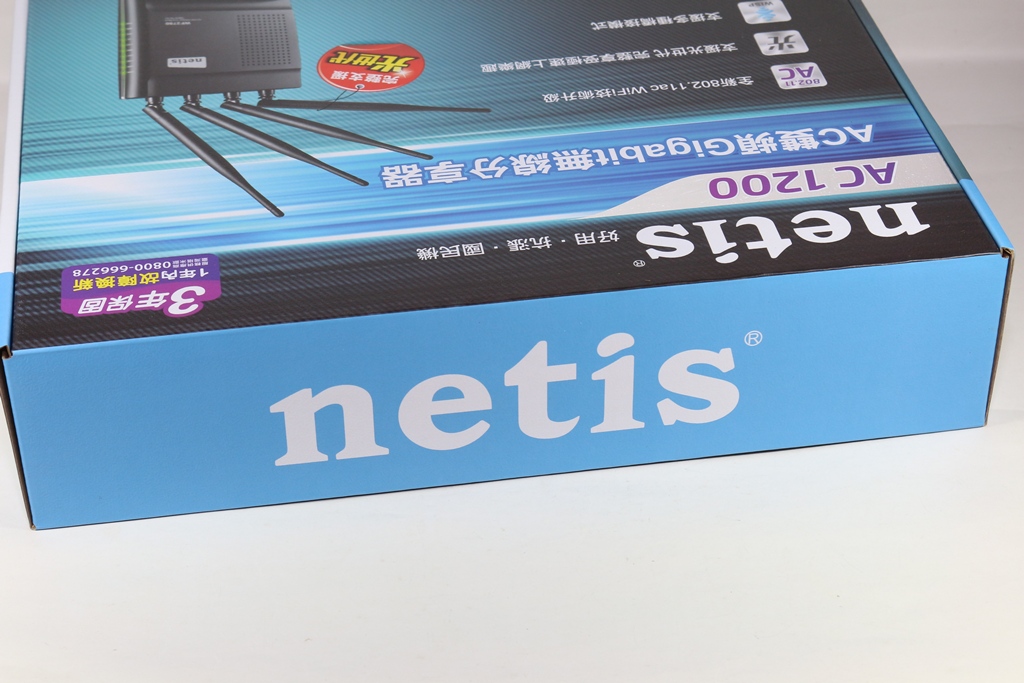
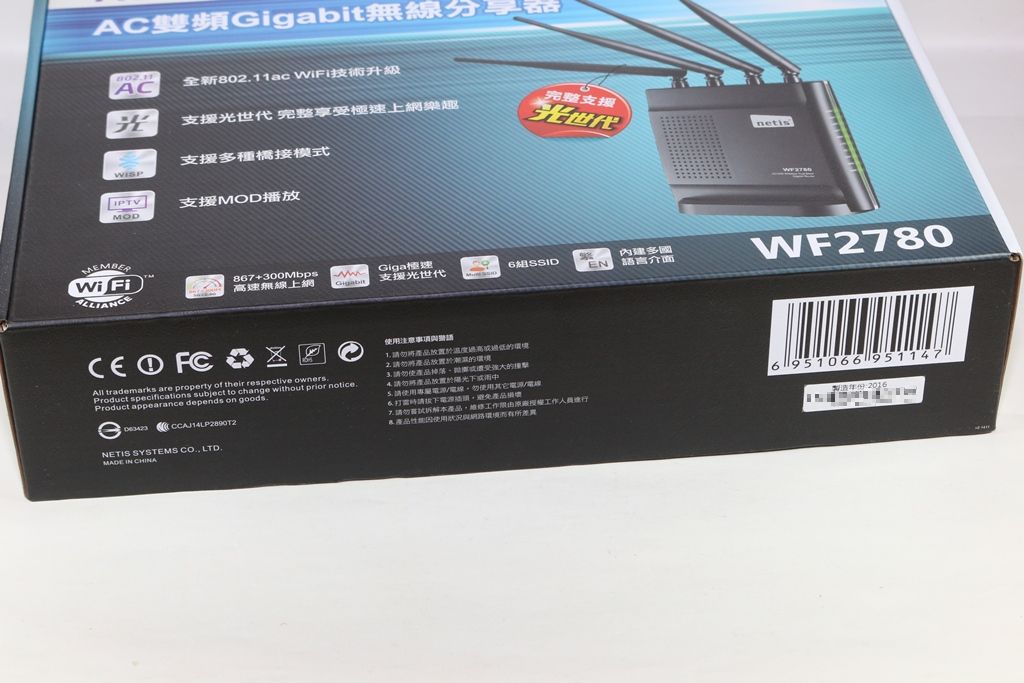
▼包裝上下側為netis Logo、使用注意事項
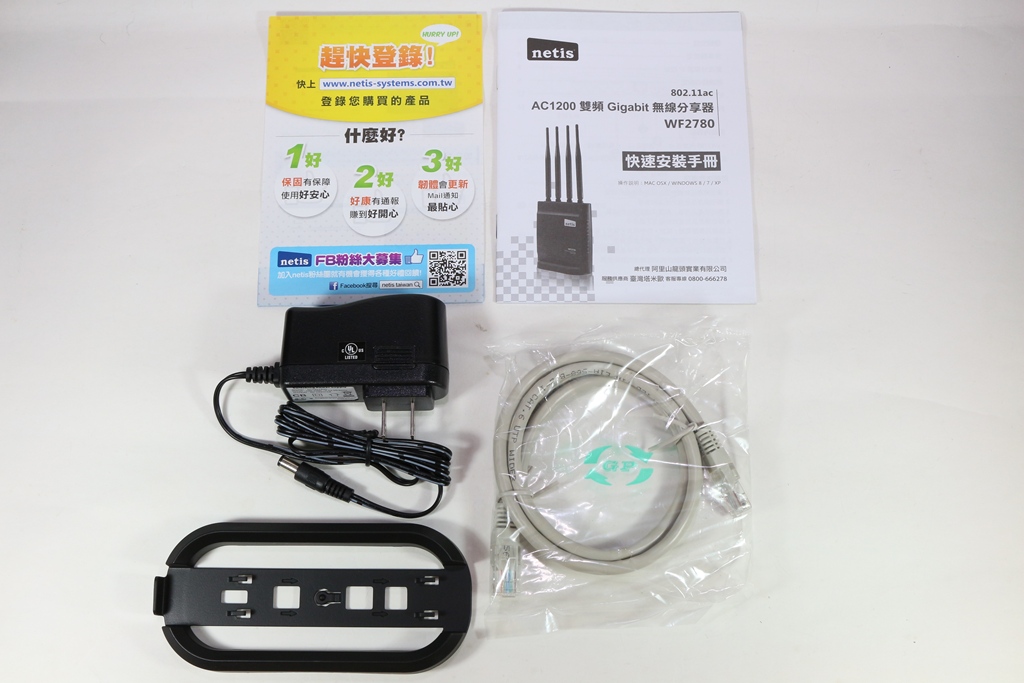
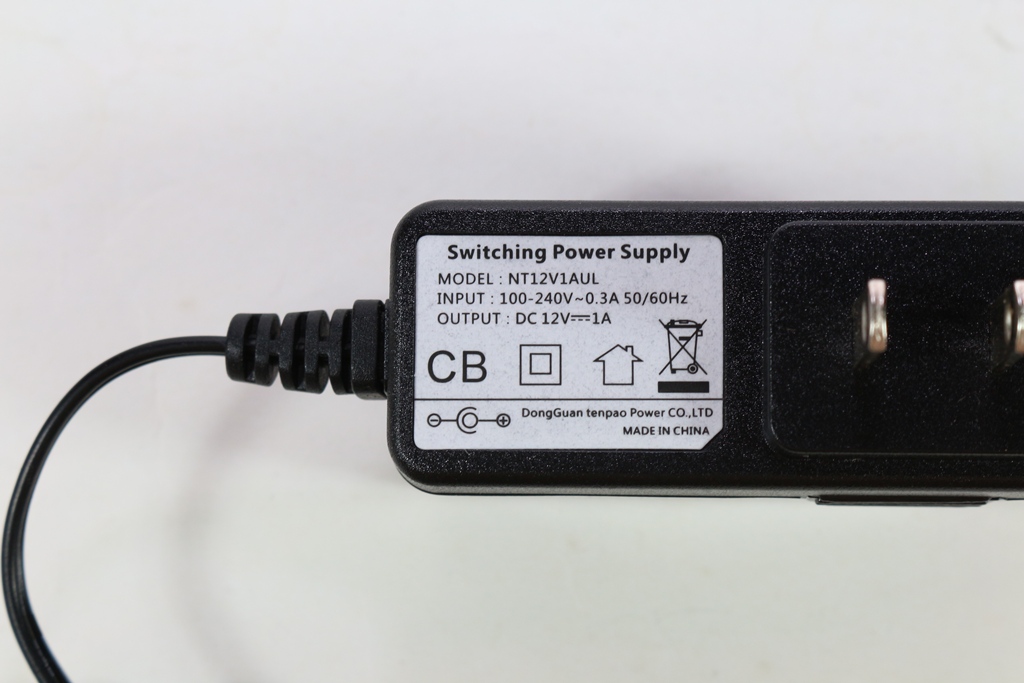
▼配件部分:快速安裝手冊、註冊產品說明、底座、變壓器與網路線,變壓器為12V/1A
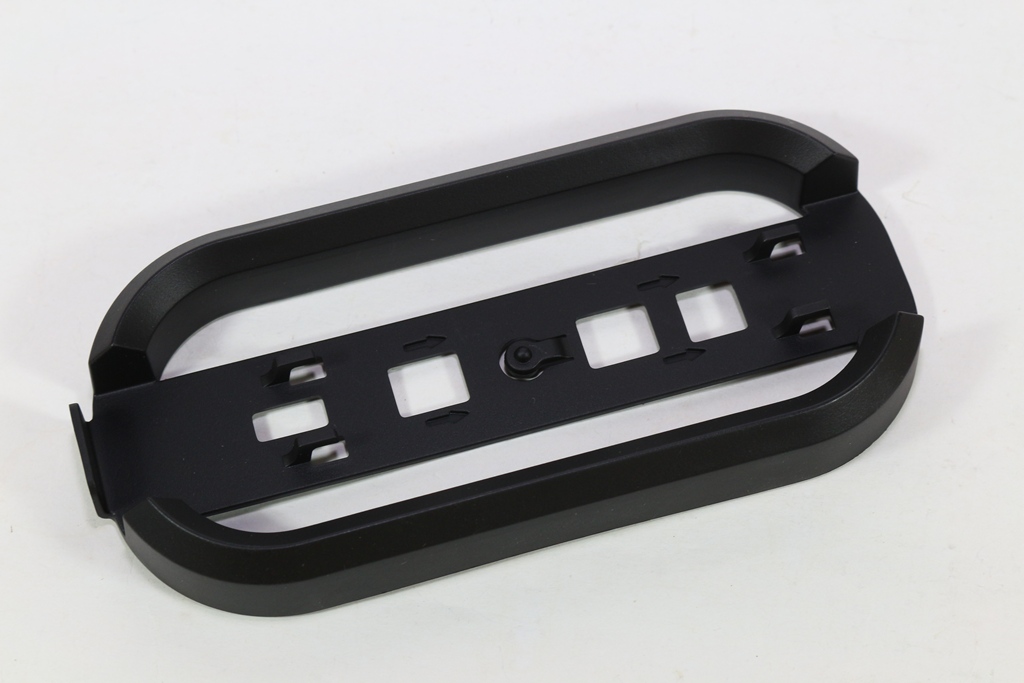
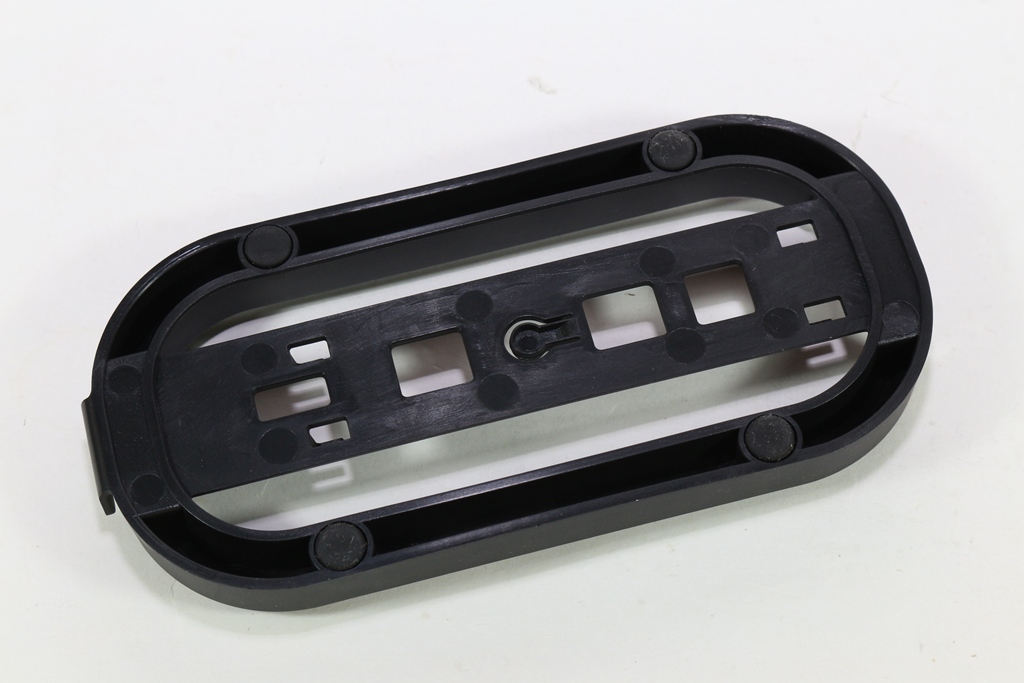
▼底座使用與安裝方便,底部有做防滑設計
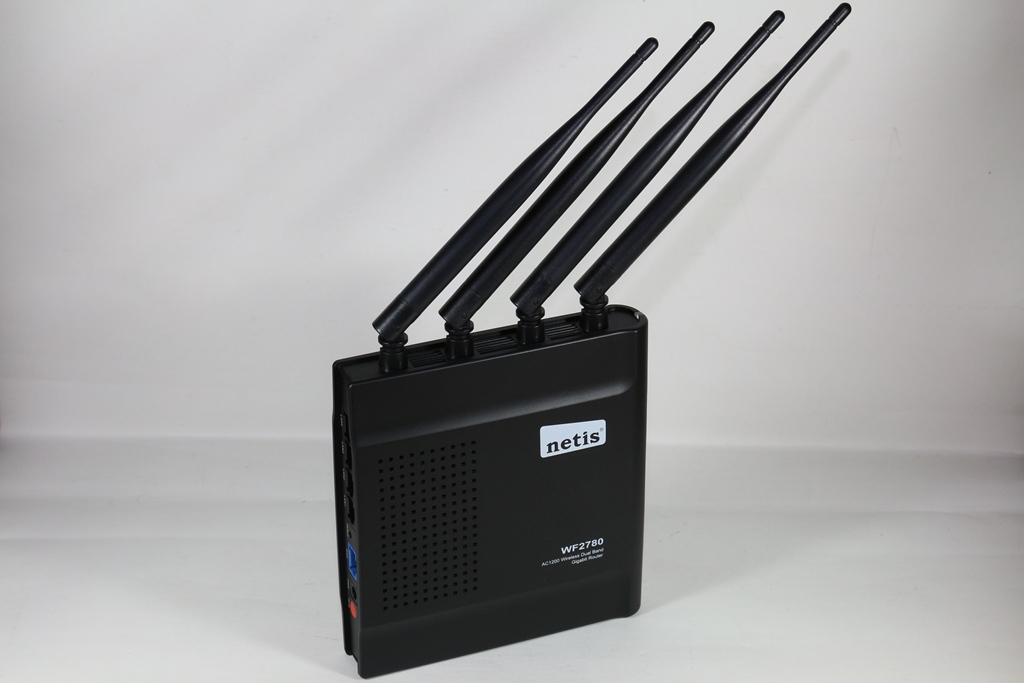
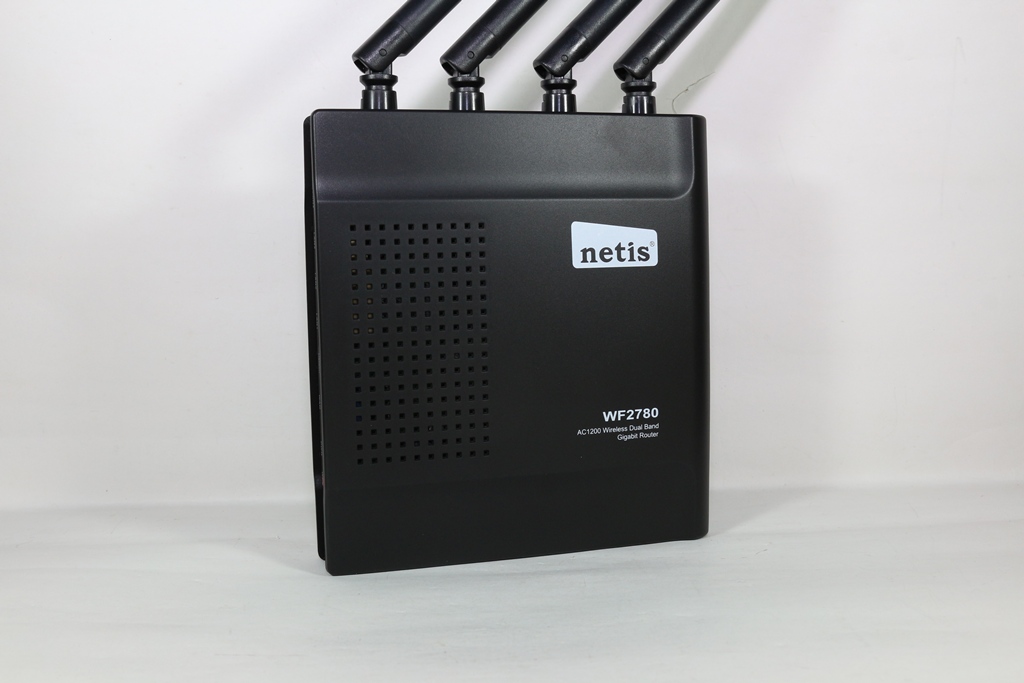
▼netis WF2780本體一覽,本體採用黑色設計,四支天線可依照使用者使用需求做調整,正面有大面積的散熱開口,可讓機器本體有不錯的散熱,提高機器穩定度
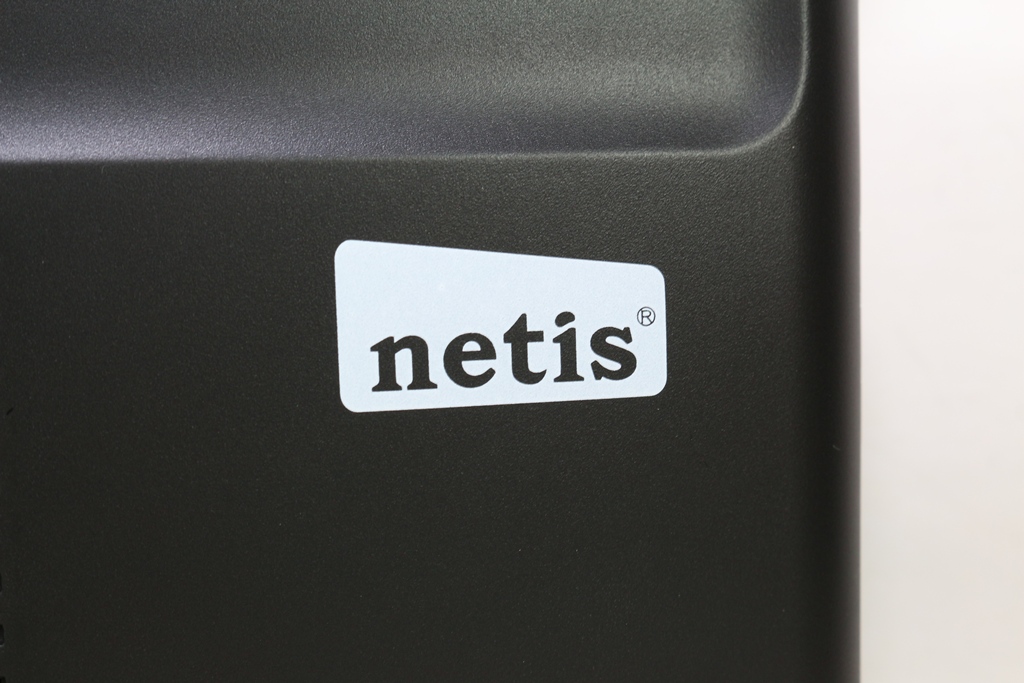
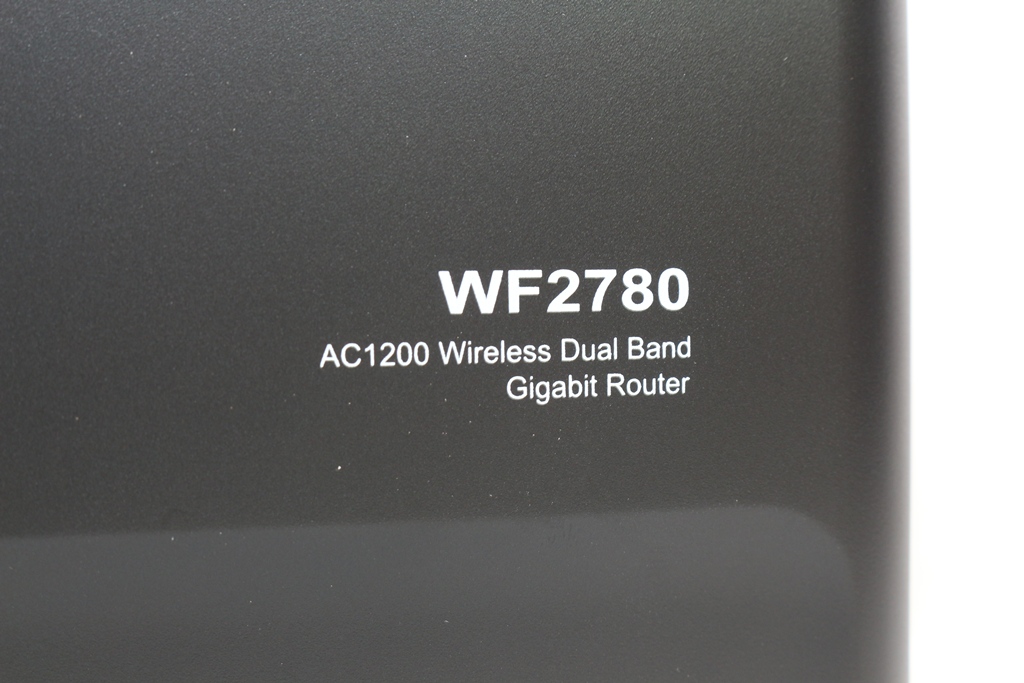
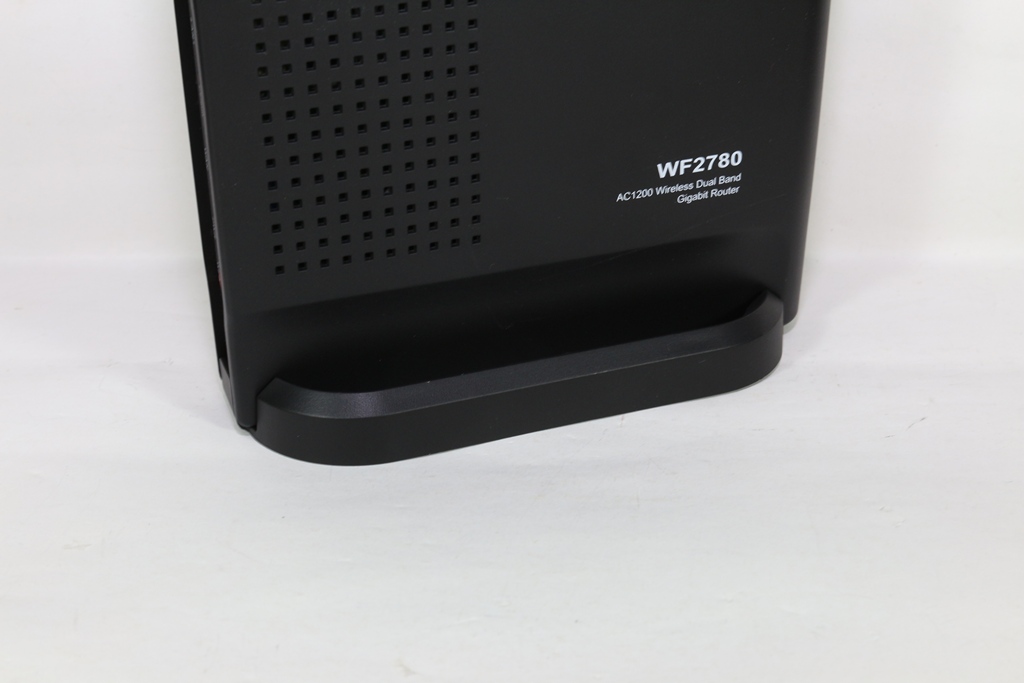
▼netis Logo與產品型號
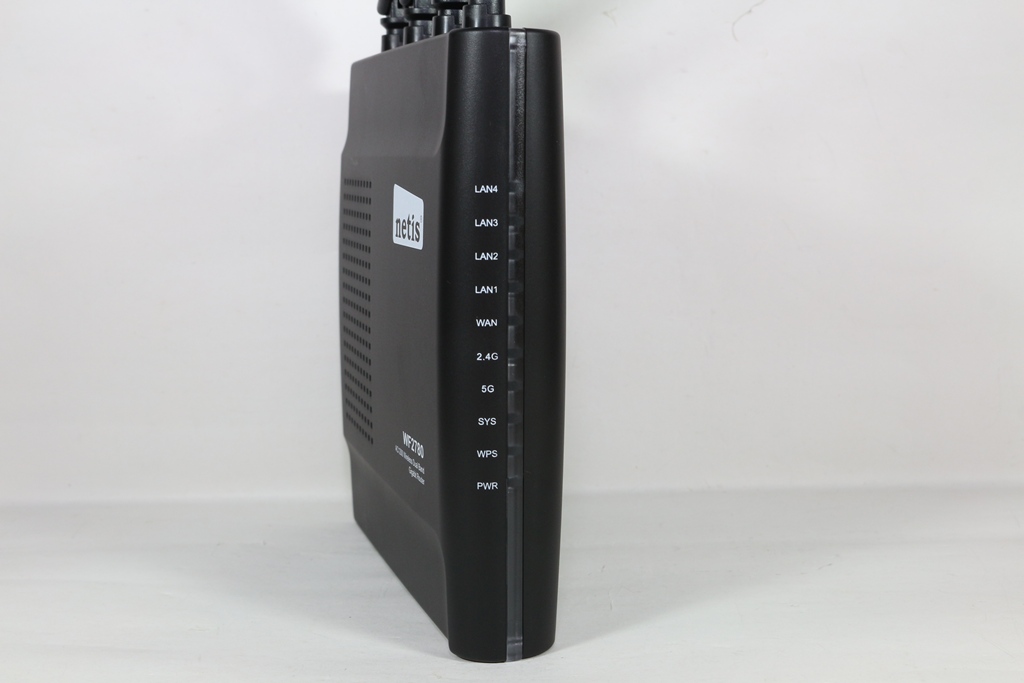
▼前方為指示燈號,有線網路燈號、WiFi燈號、電源燈號…等

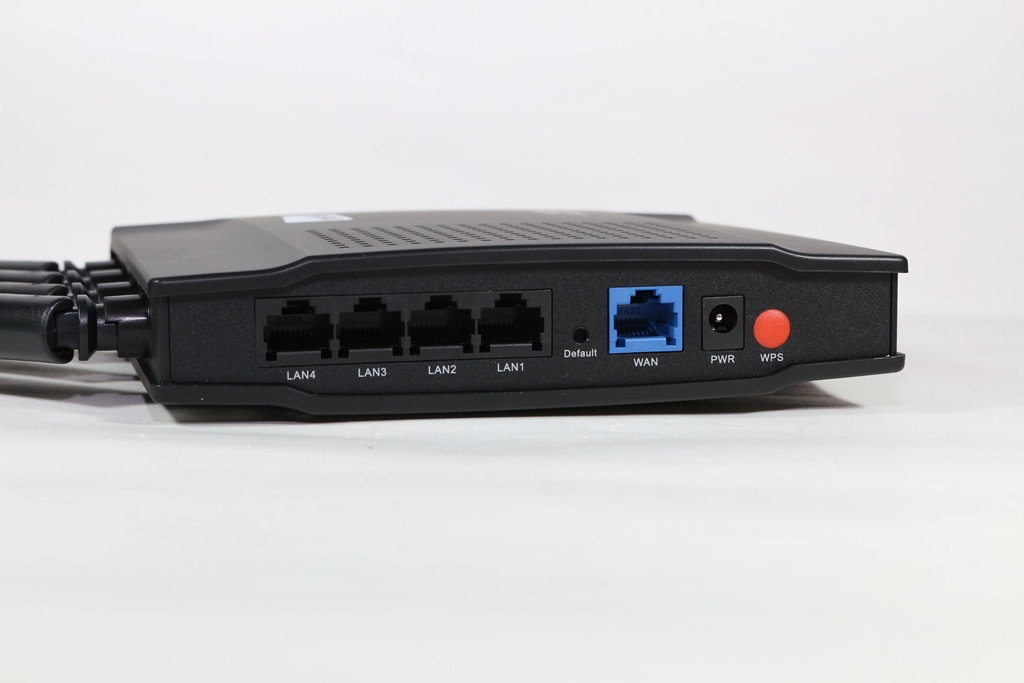
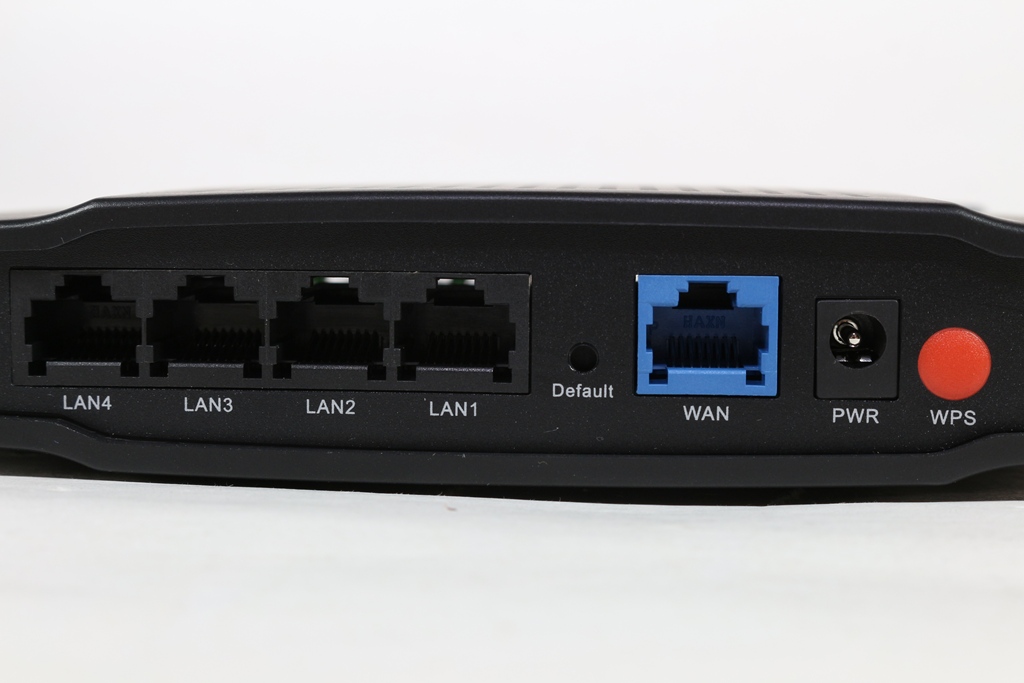
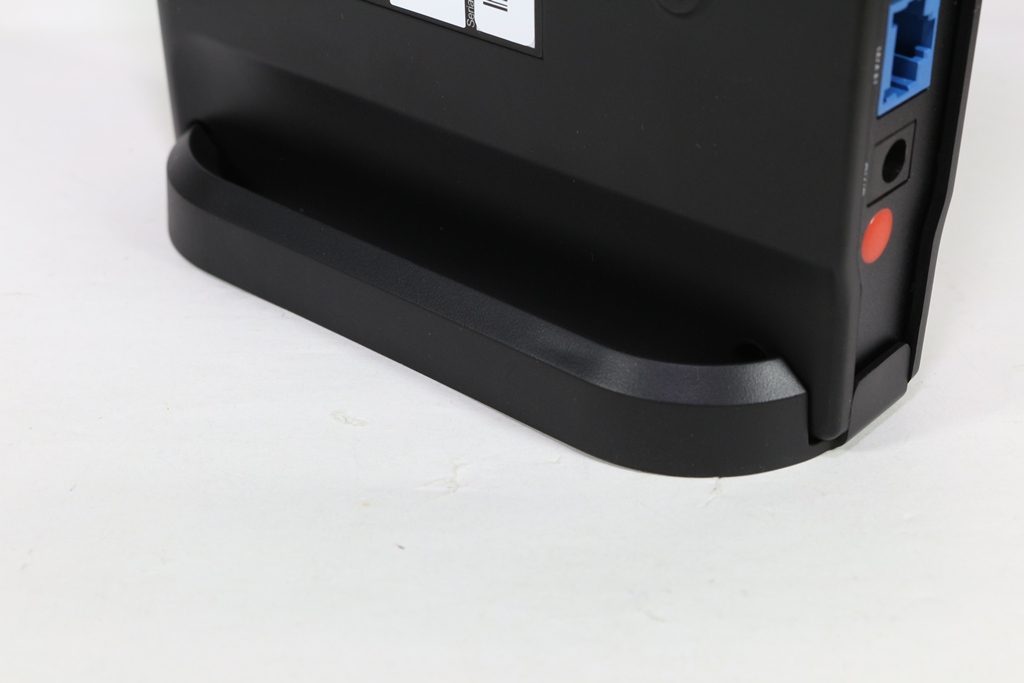
▼後方為I/O部分,分別為LAN、Default、WAN、電源與WPS
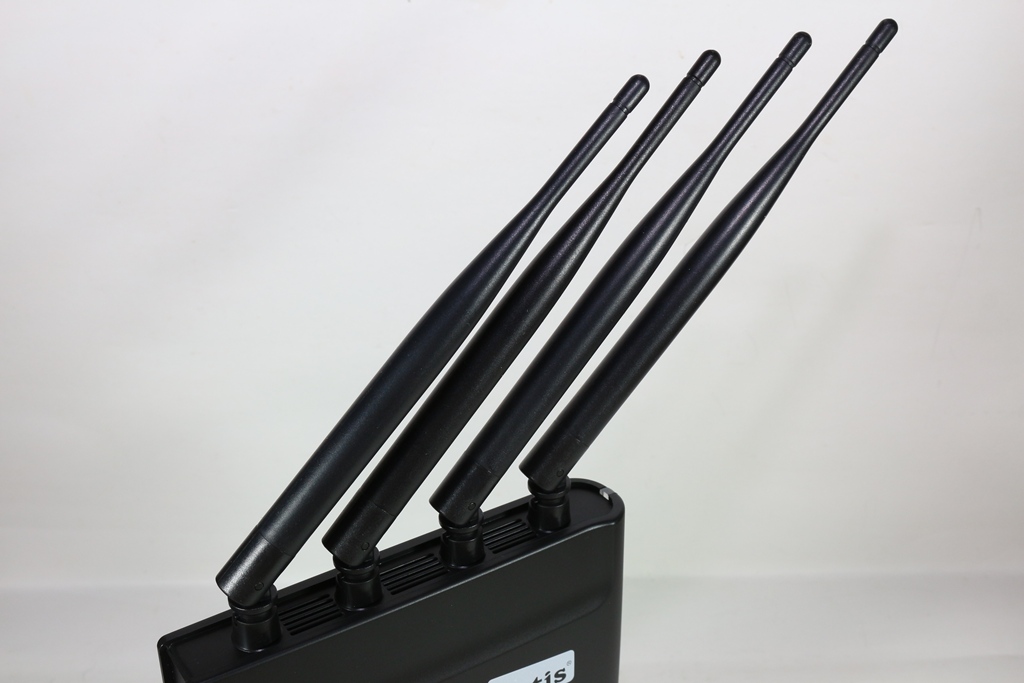
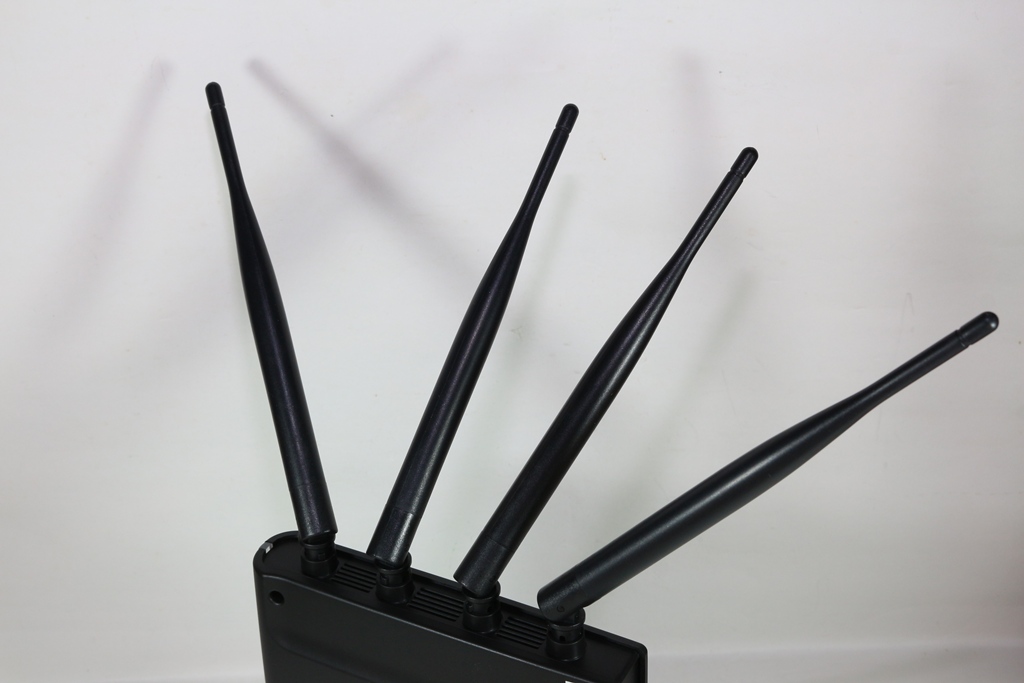
▼天線部分為角度可調整設計,使用者可依照使用環境做調整
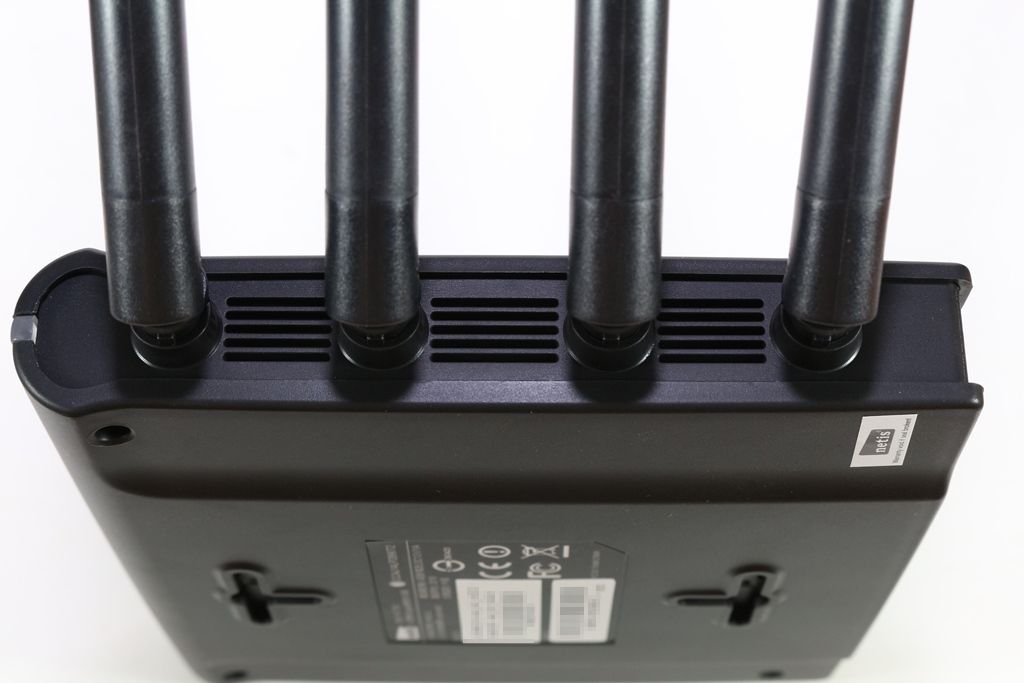
▼頂部有散熱開口提高散熱效果
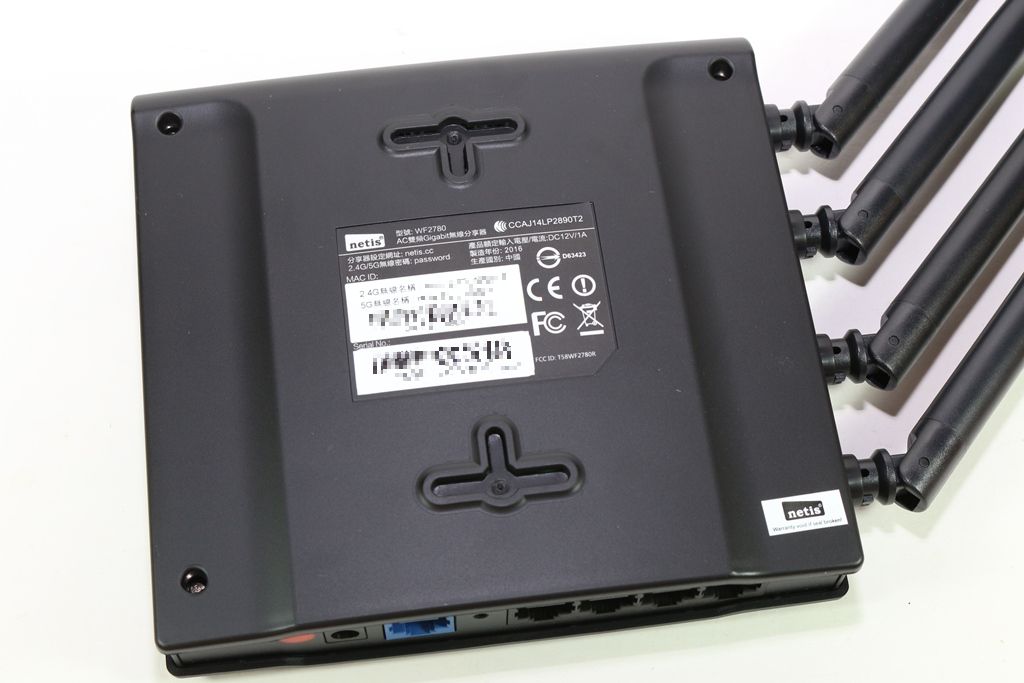
▼背面有壁掛開孔與產品相關資訊

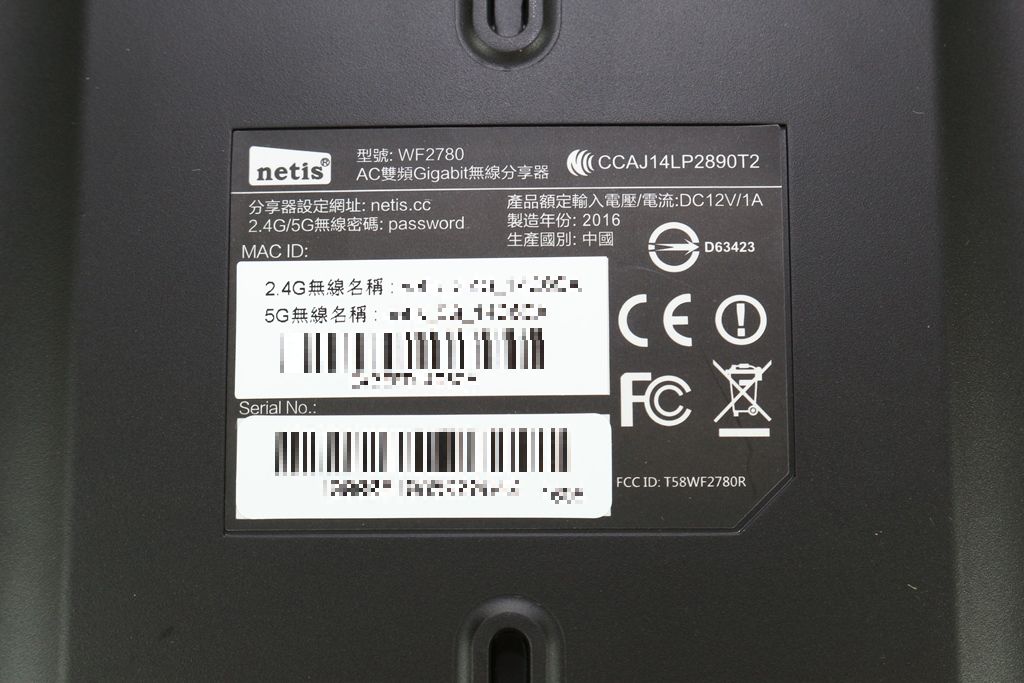
▼中間貼有產品型號、序號、MAC、SSID…等相關資訊
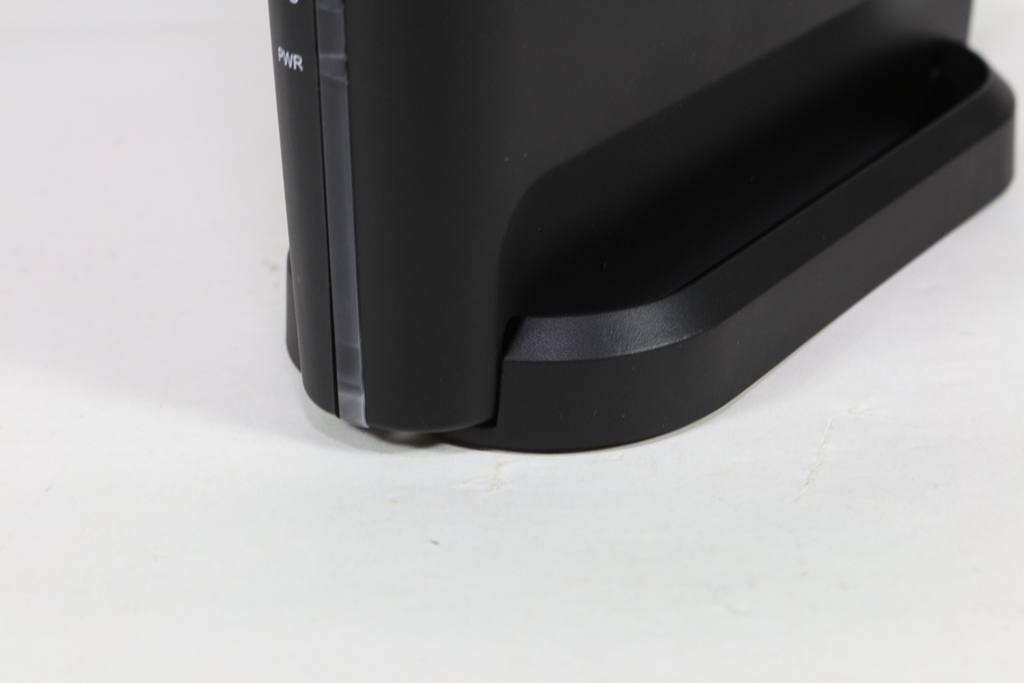
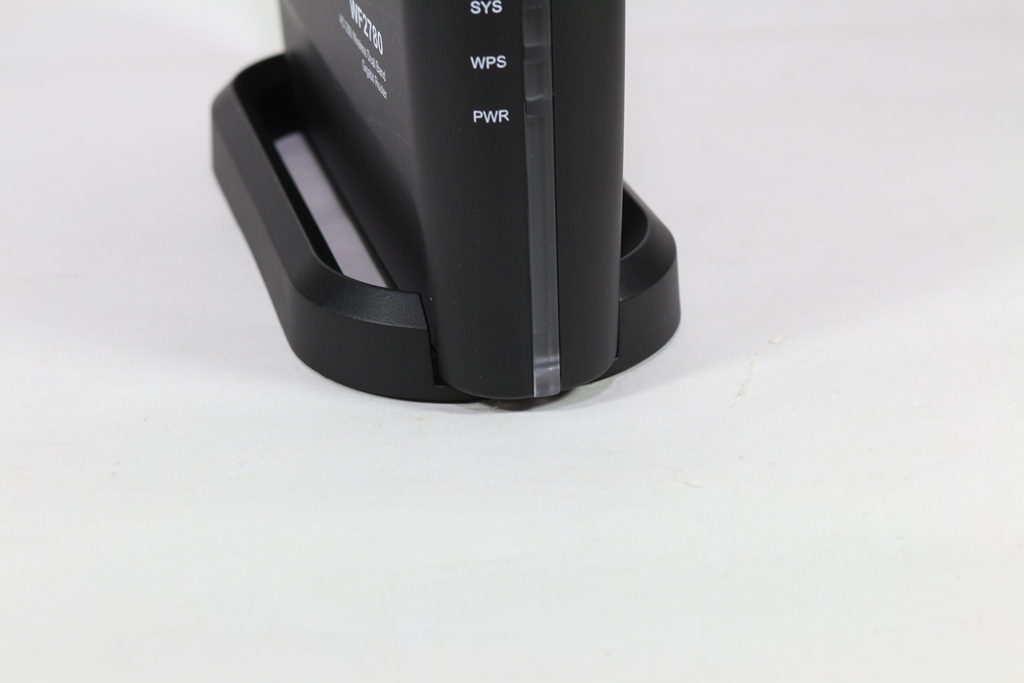
▼底部可安裝底座,做直立式擺放
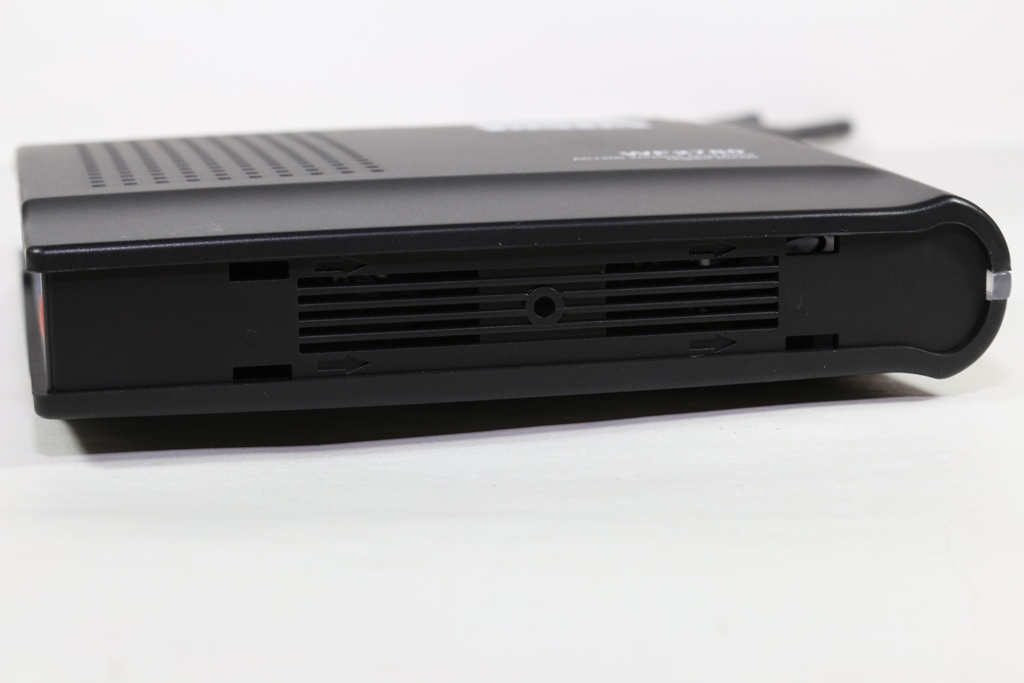
▼netis WF2780安裝底部一覽
 netis WF2780基本設定介紹
netis WF2780有一個很方便的功能就是IP自動偵測,預設IP是192.168.1.1,若遇到IP衝突時會自動跳為192.168.0.1,或是使用者可直接輸入netis.cc也可進入設定頁面
▼快速設定部分直接可看到有線網路設定與WiFi設定,有線網路部分則必須要按照網路連線方式做選擇,有DHCP、固定IP與PPPoE,網路則可以直接設定SSID與密碼

▼語言部份有多國語言可快速切換


以上是快速設定,完成以上幾個簡單設定步驟,沒有其他需求的使用這基本上就可以開始使用這台路由器了!!設定非常簡單!!不到5分鐘可以輕鬆搞定難搞的網路設定
接下來進入到進階設定部分
▼系統狀態:可看到目前路由器內的有線網路與無線網路的狀態

▼網路設定-網際網路設定:設定WAN連線方式,可選擇DHCP、PPPoE與固定IP…等方式,另外無線網路則可以直接做橋接設定


▼網路設定-區域網路設定:可設定區域網路與DHPC IP範圍,並可看到目前DHCP使用列表

▼網路設定-IPTV設定:若有使用IPTV(MOD)則可以選擇連線方式,WF2780提供最多兩port可當作IPTV(MOD)使用

▼網路設定-IP保留設定:可設定保留的IP位置,還可指定MAC位置,如有NAS要設定固定的DHCP IP可以用此方法來保留

▼網路設定-工作模式設定:可設定工作模式為路由或橋接模式


▼無線網路2.4G-無線網路設定:可設定2.4G 無線網路SSID、加密方式、密碼、頻道寬度與綁定

▼無線網路2.4G-無線MAC過濾:可設定MAC過濾黑名單與白名單

▼無線網路2.4G-WPS設定:可設定WiFi WPS功能是否開啟

▼無線網路2.4G-多重SSID:可設定另外三組2.4G無線網路SSID,並可設定網路權限與加密方式


▼無線網路2.4G-無線網路進階設定:可設定無線網路各種功能開啟與否,還可設定傳輸功率(訊號強度)

▼無線網路2.4G-連線列表:可看到無線網路目前連線列表

▼無線網路5G-無線網路設定:可設定5G 無線網路SSID、加密方式、密碼、頻道寬度與綁定

▼無線網路5G-無線MAC過濾:可設定MAC過濾黑名單與白名單

▼無線網路5G-WPS設定:可設定WiFi WPS功能是否開啟

▼無線網路5G-多重SSID:可設定另外三組5G無線網路SSID,並可設定網路權限與加密方式


▼無線網路5G-無線網路進階設定:可設定無線網路各種功能開啟與否,還可設定傳輸功率(訊號強度)

▼無線網路5G-連線列表:可看到無線網路目前連線列表

▼頻寬管理:可設定上傳與下載頻寬設定,並可查看目前已設定的規則列表

▼通訊埠轉發-虛擬伺服器:可設定虛擬伺服器相關設定

▼通訊埠轉發-DMZ:可設定DMZ相關設定

▼通訊埠轉發-UPnP:可設定UPnP功能是否開啟

▼通訊埠轉發-通訊埠觸發:可設定通訊埠觸發規則

▼通訊埠轉發-FTP通訊埠觸發:可設定FTP通訊埠觸發

▼存取控制-IP位置過濾:可設定IP過濾規則,還可設定規則重覆時間

▼存取控制-MAC位置過濾:可設定MAC過濾規則,還可設定規則重覆時間

▼存取控制-網域名稱過濾:可設定網域名稱過濾規則,還可設定規則重覆時間

▼DDNS:可設定DDNS相關設定

▼進階設定-IGMP:可設定是否開啟IGMP功能

▼進階設定-VPN:可設定是否讓VPN封包通過

▼進階設定-遠端喚醒:可設定遠端喚醒主機MAC

▼進階設定-ARP列表:查看目前已連線的裝置IP與MAC

▼進階設定-固定路由:可設定固定路由規則

▼進階設定-連接埠設定:可設定WAN連接埠模式

▼進階設定-埠鏡像:可設定埠鏡像功能是否開啟與鏡像設定

▼系統工具-韌體升級:可升級路由器內的韌體

▼系統工具-備份與還原:可備份與還原設定檔案

▼系統工具-網路診斷:可Ping與Tracert網域名稱或IP

▼系統工具-遠端管理:可設定是否開啟遠端管理

▼系統工具-時間設定:可手動設定或自動更新時間

▼系統工具-管理密碼:管理與設定登入路由器密碼

▼系統工具-統計資料:可查看路由器運作時間與流量統計

▼系統工具-系統記錄檔:可查看系統紀錄事件

▼系統工具-重新開機:可直接將路由器做重新開機

▼系統工具-恢復原廠預設值:可直接將路由器設定恢復到原廠預設設定

 效能測試
效能測試效能測試分成兩部分,一個部分是有線網路(Giga Lan)對傳測試效能,另一部分是經由NETGEAR A6210 USB無線網卡與有線網路的傳輸效能
測試電腦一(測試操作端)
CPU:Intel i7-4770
RAM:Kingston HyperX BEAST DDR3-2400 8G*4
MB:msi Z97 Gaming 5
LAN Chip: Intel I219V
Storage: Kingston M.2 SATA G2 240GB
PSU:Steventeam V-Force 750W
Cooler:CoolerMaster N620
OS:Microsoft Windows 7 64Bit 旗艦版
測試電腦二(測試資料分享端)
CPU: Intel i7-6700K @ 4.8GHz
Cooler: RAIJINTEK TRITON 360
MB: ASRock Z170 OC Formula
LAN Chip:Killer E2200
RAM: GeIL DRAGON RAM DDR4 16GB kit (8G*2)
Storage: Kingston M.2 SATA G2 240GB
PSU: FSP Everest 650W
OS: Windows 10 64 Bit專業版
USB WiFi Adapter:NETGEAR A6210 WiFi USB Adapter
有線網路部分測試由測試電腦二開啟資料夾共享從測試電腦一連線並做測試,現在就來看看netis WF2780的傳輸效能
▼AJA System Test讀取:111MB/s 寫入:110MB/s

▼ATTO Disk Benchmark 讀取:117.907MB/s 寫入:117.391MB/s

▼Crystal Disk Mark 讀取:109.9MB/s 寫入:110.7MB/s

▼TxBench 讀取:117.875MB/s 寫入:117.296MB/s

▼LAN Performance Test
200MB 讀取:921.087Mbps 寫入:802.141Mbps
2GB讀取:916.033Mbps 寫入:849.326Mbps

▼NAS Performance Tester
15MB 讀取:115.74MB/s寫入:112.10MB/s
400MB讀取:117.79MB/s 寫入:117.11MB/s

無線網路部分
搭配A6210 WiFi USB Adapter測試
▼AJA System Test 讀取:31MB/s 寫入:34MB/s

▼ATTO Disk Benchmark 讀取:32.577MB/s 寫入:31.655MB/s

▼Crystal Disk Mark 讀取:34.19MB/s 寫入:10.22MB/s

▼TxBench 讀取:34.017MB/s 寫入:12.905MB/s

▼LAN Performance Test
200MB 讀取:251.920Mbps 寫入:140.580Mbps
2GB讀取:239.325Mbps 寫入:220.928Mbps

▼NAS Performance Tester
15MB 讀取:28.65MB/s寫入:13.41MB/s
400MB讀取:31.52MB/s 寫入:13.11MB/s

 應用介紹四組SSID區隔網域
如果使用者需要多個WiFi網域的時候,則可以利用netis WF2780無線路由器設定四個SSID來區隔網域,設定也是相當容易的喔!!
▼在未設定前2.4GHz與5GHz只有一組SSID在運作

▼進入無線網路內的多重SSID設定,設定好三組SSID與密碼後且還可設定是否連線區域網路,這樣就大功告成!!


▼設定完成後即可看到剛剛設定的2.4GHz與5GHz各三組SSID與原始的SSID總共有八組SSID可以連線
 網路中繼與橋接
當家中原有一台路由器,但WiFi訊號有死角時,則可以利用netis WF2780無線路由器當作中繼站來使用,另外也可輕鬆設定成橋接模式,重點是設定相當簡單!!
▼進入網路設定將連線模式設定為無線網路,無線網路有2.4GHz或5GHz可以選擇


▼需選擇原有的WiFi訊號

▼設定原有的WiFi訊號密碼

▼設定完畢後到系統狀態可以看到WAN部分是WISP 2.4G-Dynamic IP且已連線成功

▼若要設定成橋接模式,則再到網路設定中的工作模式設定為橋接即可完成

g]
 距離與訊號強度測試
路由器訊號強度與連線距離有直接關係,5~6米基本款距離就不需再多做測試,這次測試兩種距離,8米與10米,8米部分穿過3面鋼筋水泥牆壁(牆壁厚度約13公分),10米部分穿過4面鋼筋水泥牆壁(牆壁厚度約13公分),現在就來看看netis WF2780的表現
▼8米測試結果 2.4GHz平均訊號強度:97.4;5GHz平均訊號強度:92.0,2.4GHz與5GHz表現都相當強悍,訊號強度還可以維持在90以上的水準

▼10米測試結果 2.4GHz平均訊號強度:88.8;5GHz平均訊號強度:78.3,2.4GHz部分表現依然不錯,訊號強度維持在88以上的水準,5GHz部分稍微有衰減,不過訊號品質維持在78上下的水準

 總結
總結netis WF2780 AC1200雙頻Gigabit無線分享器整體表現還不錯,在訊號涵蓋率上有著優質的表現,很多分享器在5GHz部分訊號強度會衰減很嚴重,不過netis WF2780雖有衰減但是在可以接受的範圍內;在設定上可以說是相當容易上手,就算是新手也是可以在短短的5分鐘內迅速將網路設定完畢,進階的使用者可以進入到進階模式做更細部的設定,操作介面同樣相當人性化;在應用上多組SSID(共六組)、無線網路中繼與橋接…等,功能相當齊全;價格部分相當漂亮網路通路約NT$1539元,保固部分提供三年保固一年換新,服務部分由塔米歐提供服務並有0800免費服務專線,想找一款價格超親民且訊號表現優異的802.11ac無線分享器,相信netis WF2780是個相當不錯的口袋名單。


