話說因為工作上,多多少少會有升級汰換下來的零組件,於是就想說買個新的廉價機殼+Power...
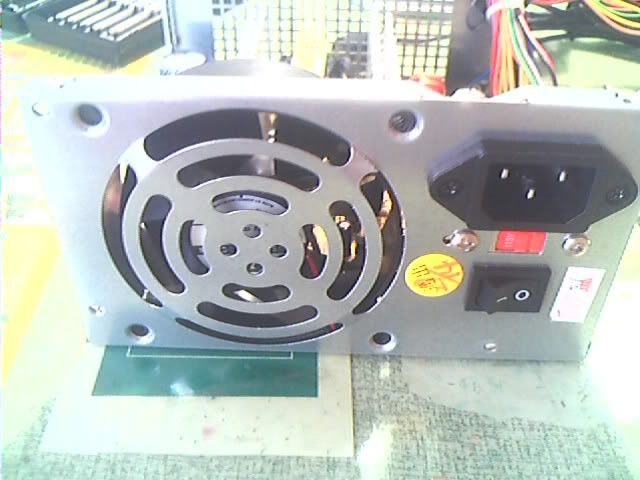
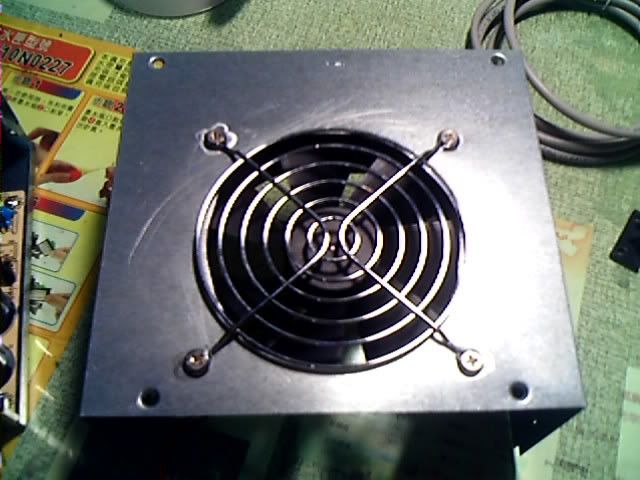
要改裝的Power
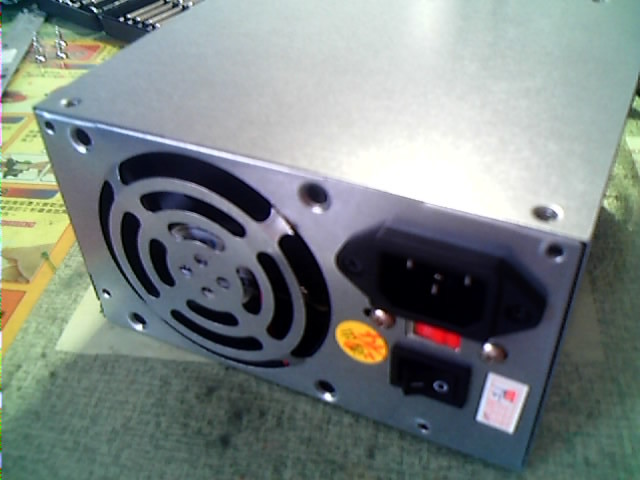
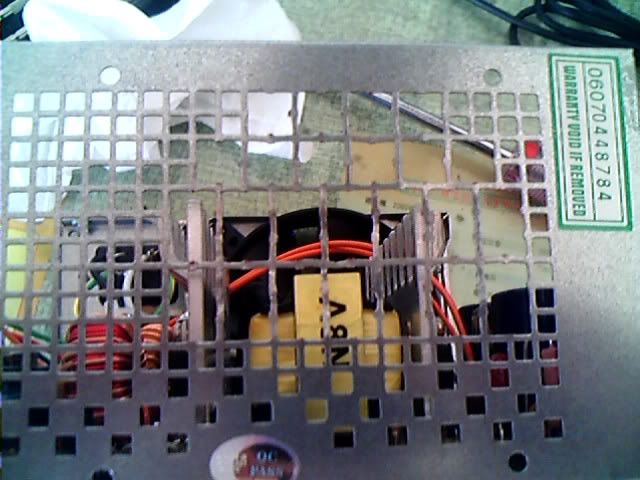
正面照
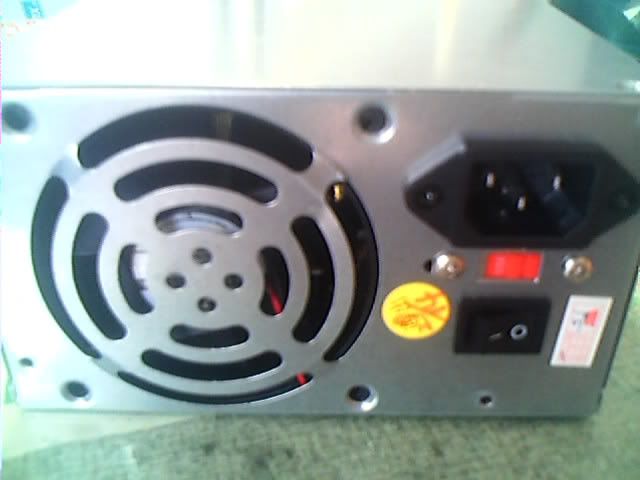
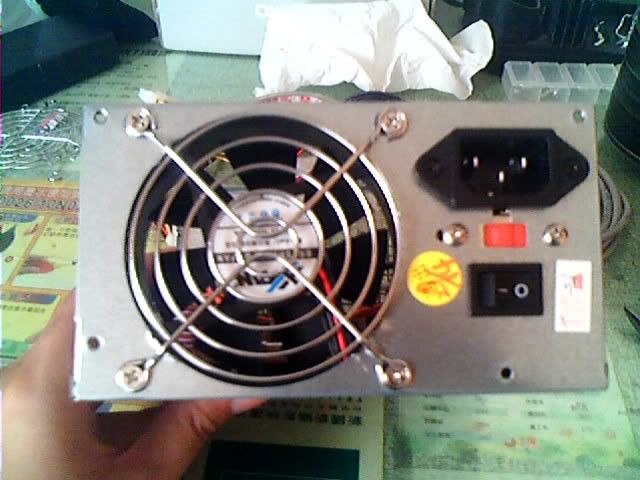
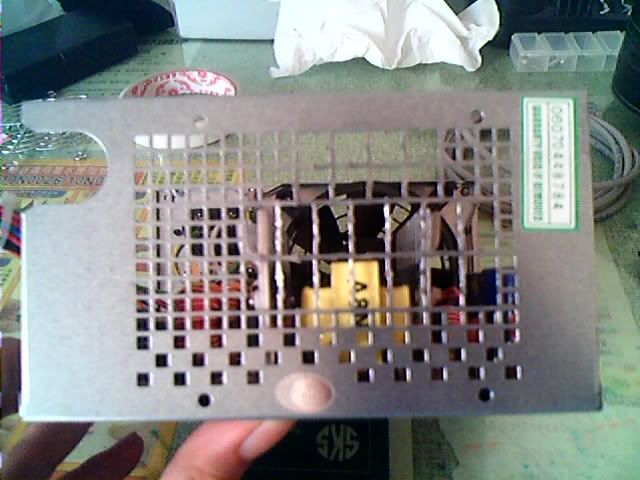
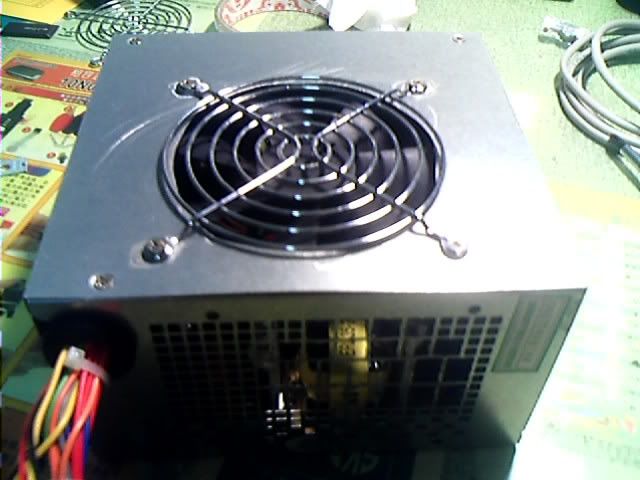
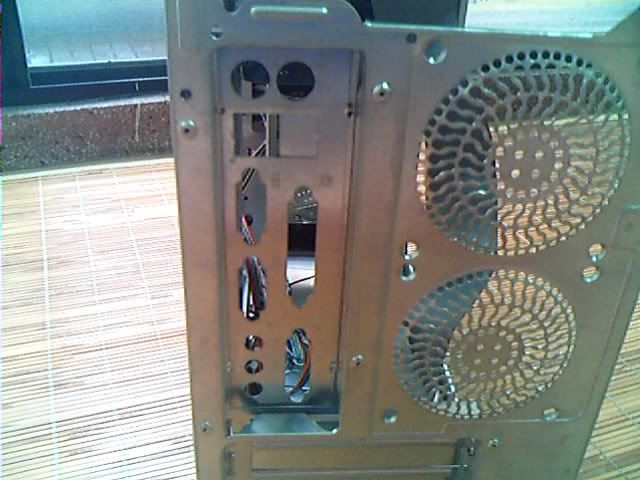
屁屁
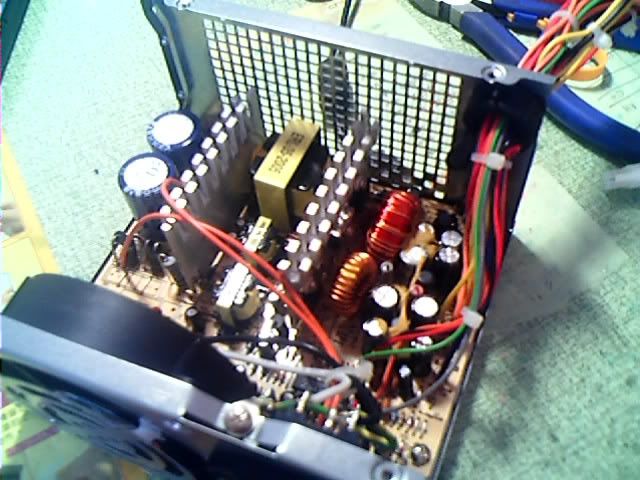
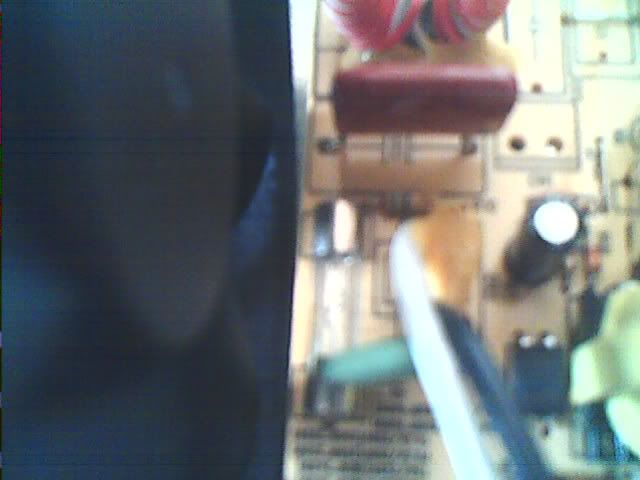
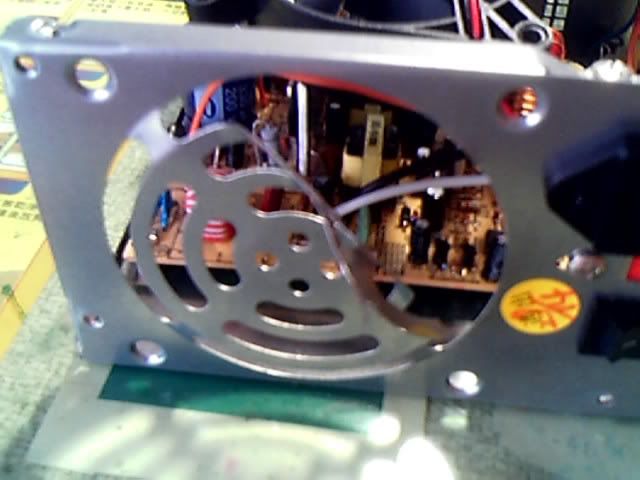
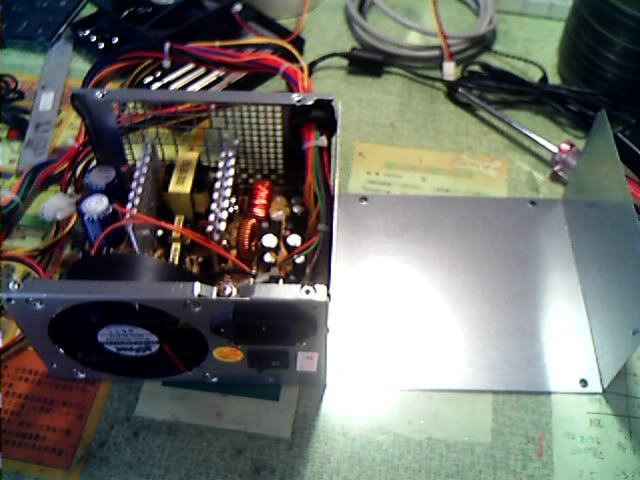
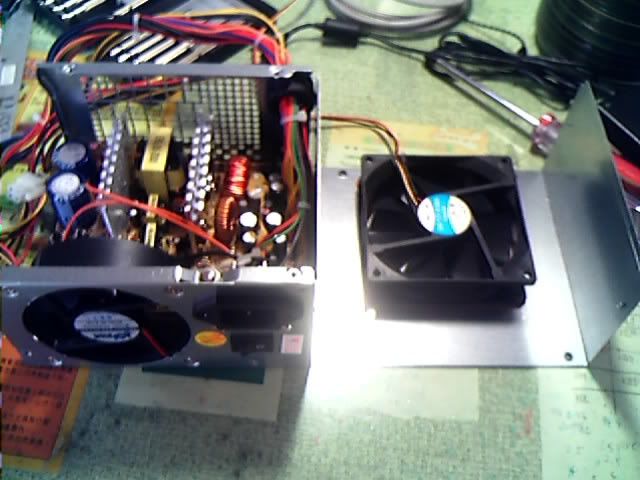
拆開後內部
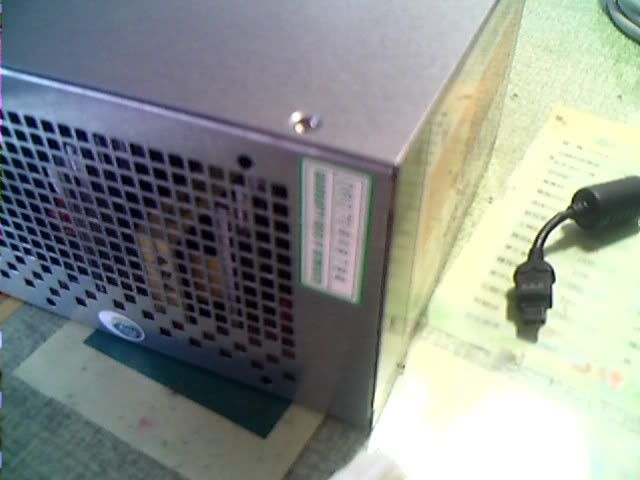
焊死的保險絲
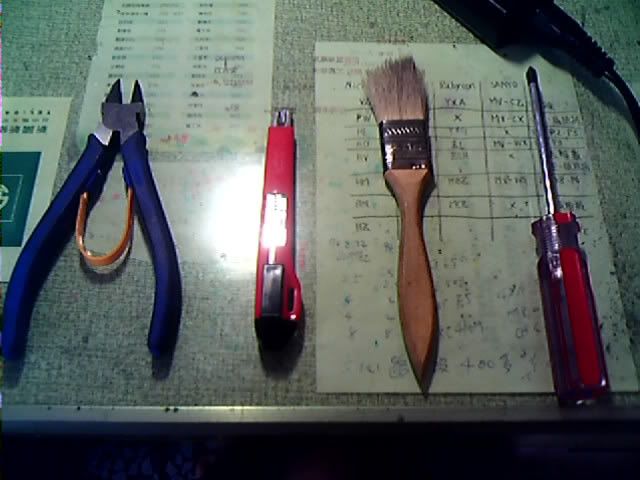
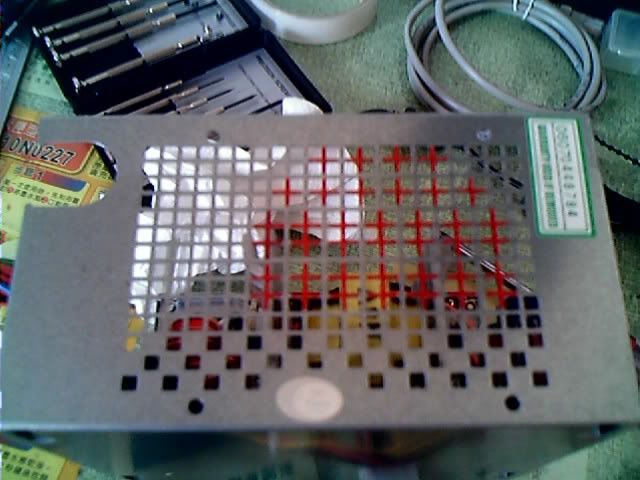
這次要用到的工具
先脫掉上衣(>口<)羞~
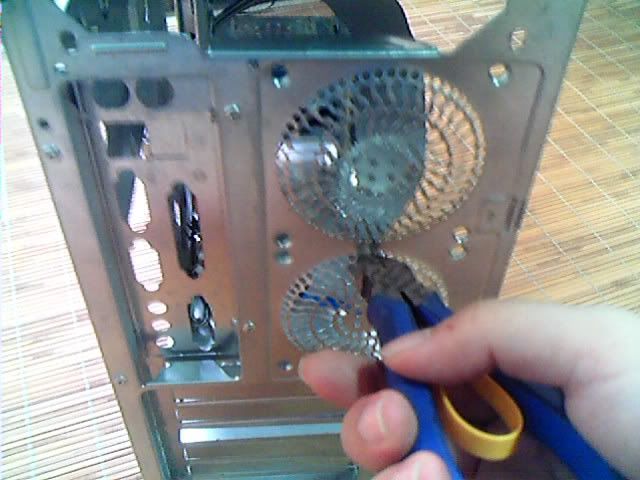
拆掉風扇
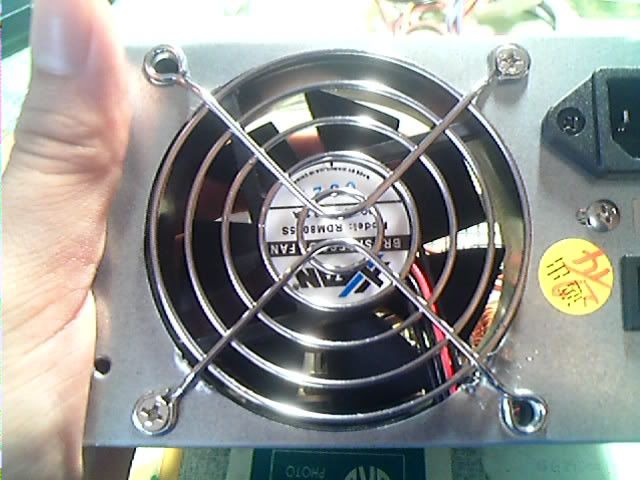
剪掉安全網
終於脫掉了Bra...不是啦~~是安全網~~

穿上泳衣~~

上半身穿好了~~

接著換小褲褲~~

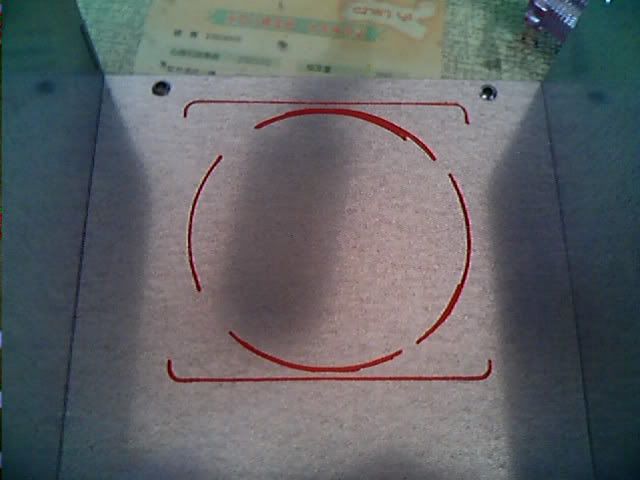
先畫好要挖空的區域~~
從純真的草莓換成蕾絲邊

---------------------- ------------------------------ -------------------------------
最後一個~~外衣
先把風扇擺上去~~
劃出形狀
修圖~~
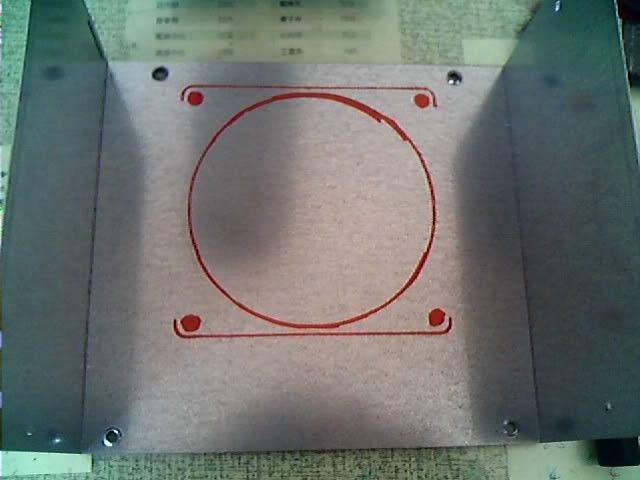
拿去請人家加工~~
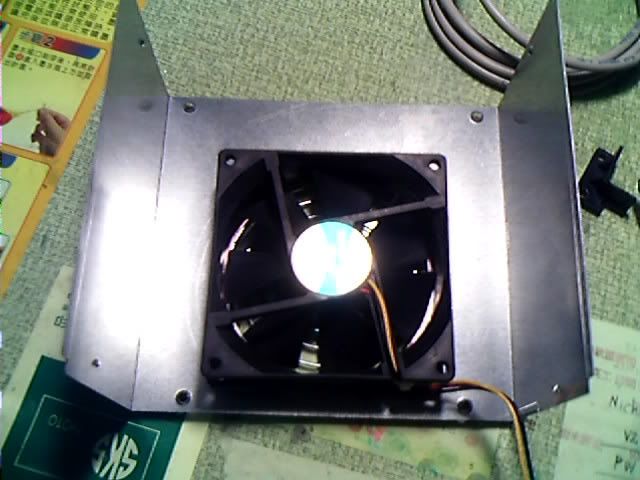
鎖上風扇~
正面照~~從緊身T變成露背裝~~

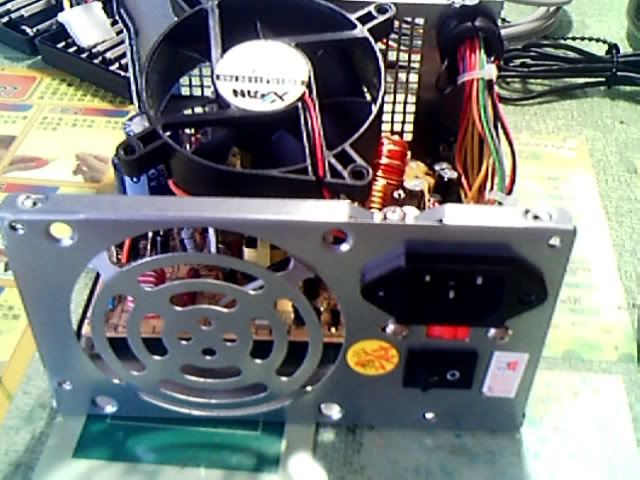
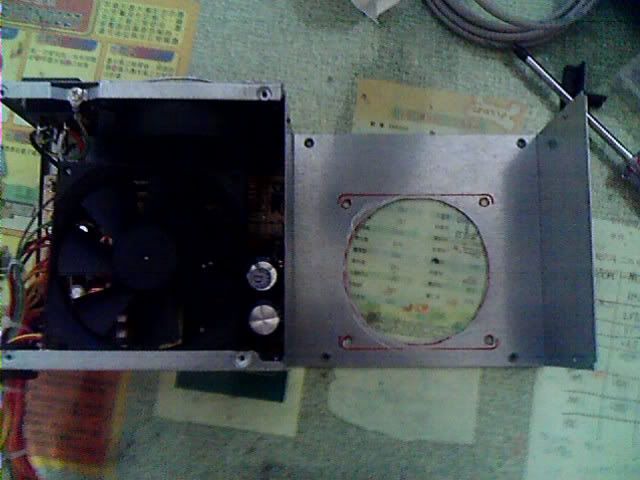
合體~~~
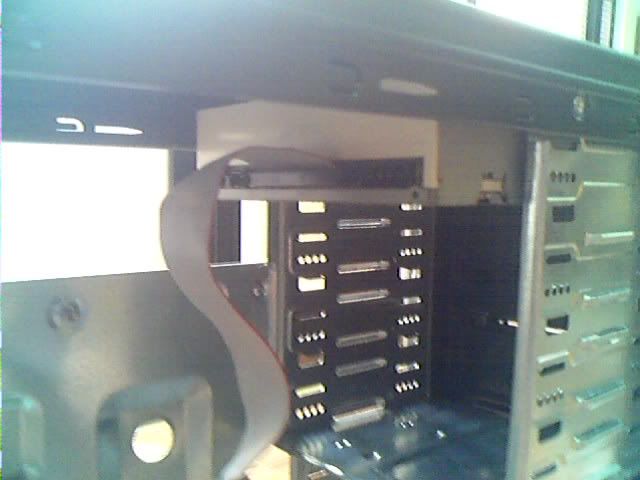
後續機殼部分~~先裝了光碟機
把要用的I/O擋板拆開~
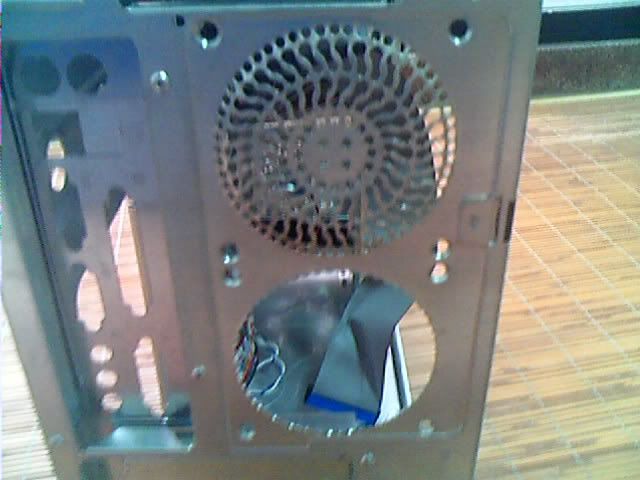
接著要改裝後出風口~~
我剪~~
Clear~~
鎖上風扇~~
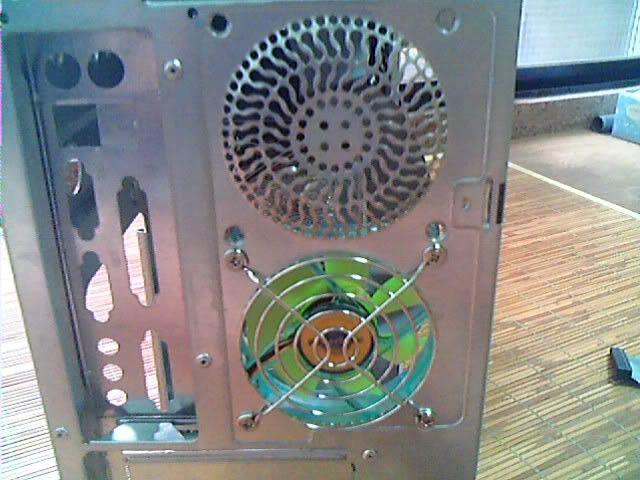
有人會問說"為啥上面的孔不用~~"因為考慮到1.共振2.噪音3.空氣動力學~~
鎖上兩個風扇會~~吵死人、吵死人、吵死人,也會造成改造的Power進氣量不足
就好像Twin-Turbo硬是要裝在1300cc的國產小客車~~
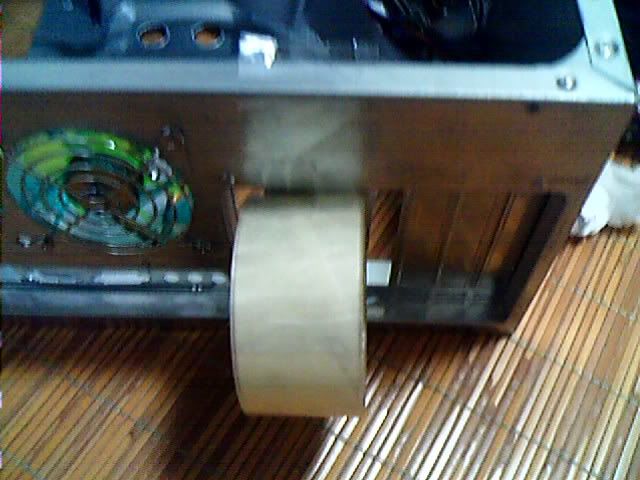
接著換膠帶上場~~要幹嘛哩??當然是要封口啦~~

這是原本主機板的鎖孔~~
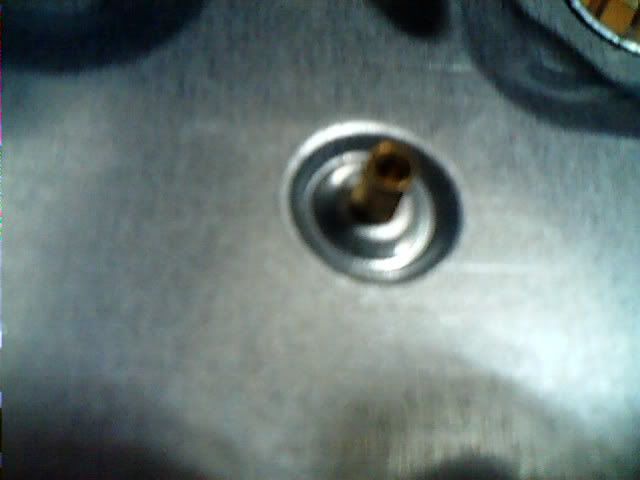
貼上膠帶~~
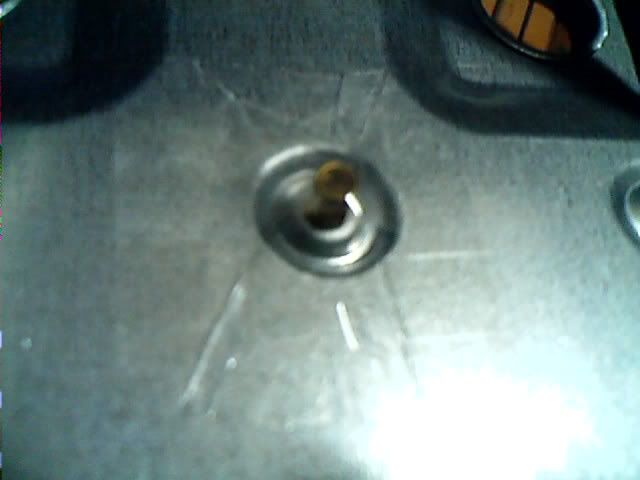
為了避免"ㄚㄙ"(短路),有些廉價機殼的絕緣處理不是做得很好~~

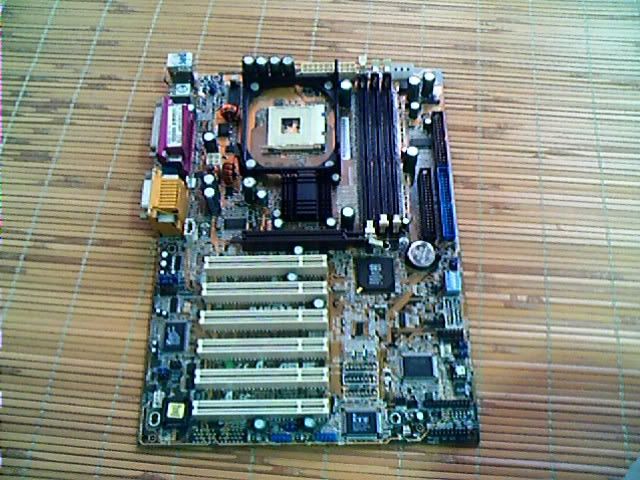
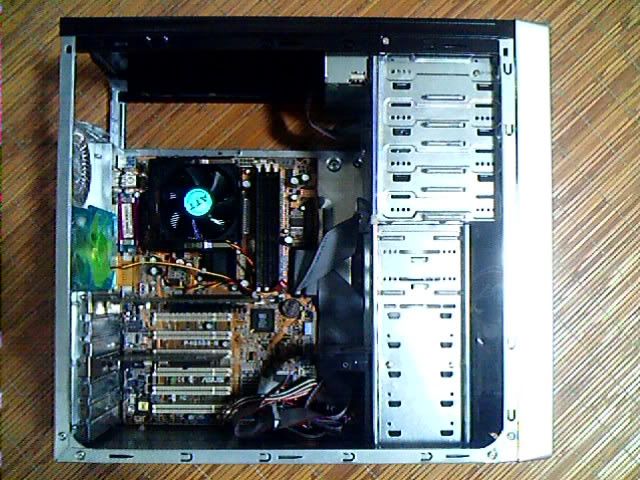
終於要裝機了~~主機板:ASUS-P4S533-E
先改造成鐵製強化底座~~
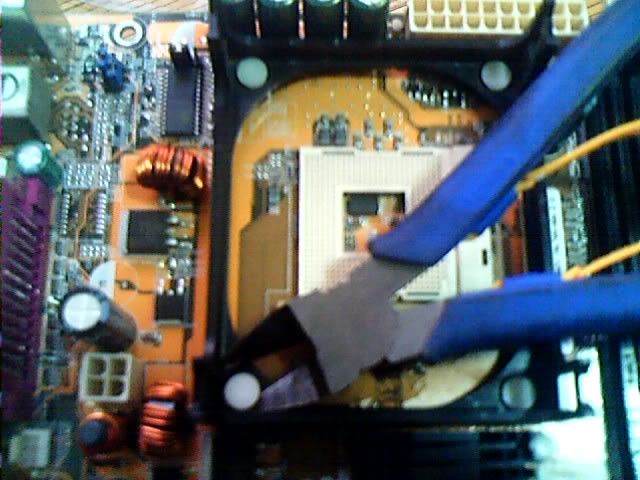
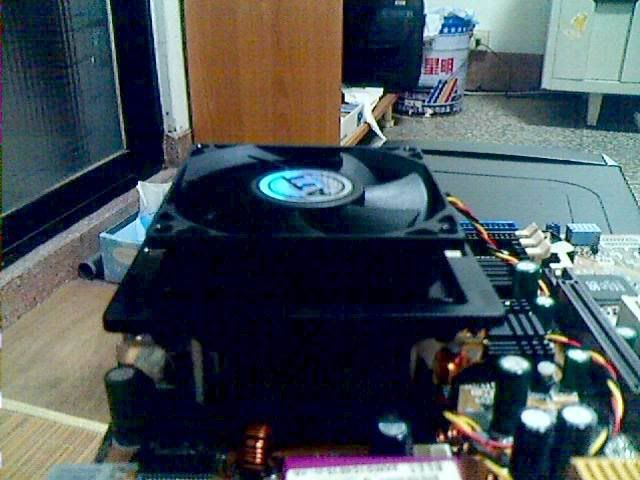
裝上CPU及風扇
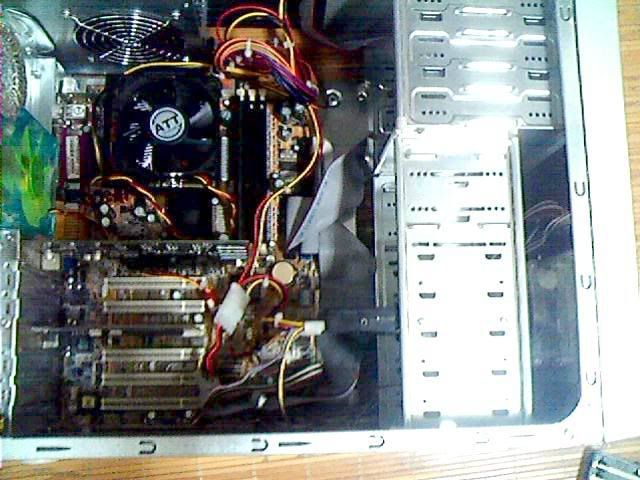
安放到機殼中~~

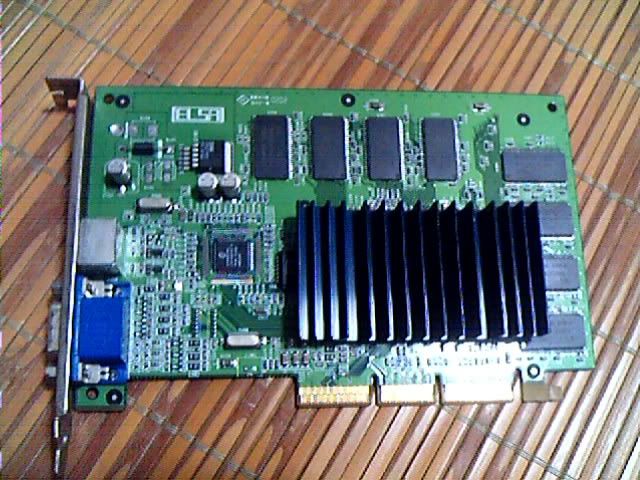
外接顯卡~~ELSA-Geforce 2 MX400 (鋁殼電容)
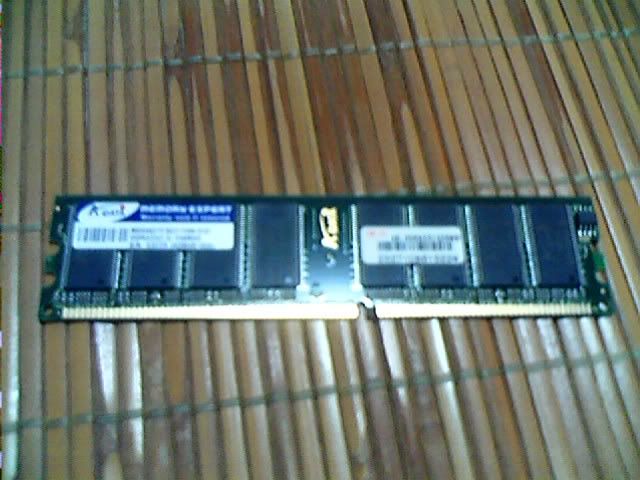
威剛的DDR-400-256M
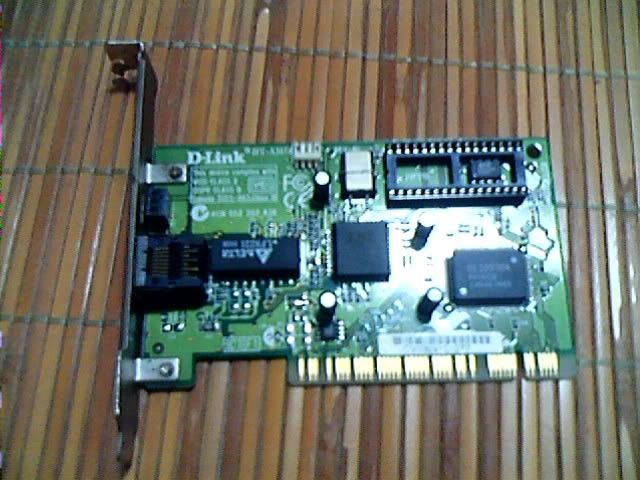
D-Link-530TX-B1網路卡(經典爛卡)
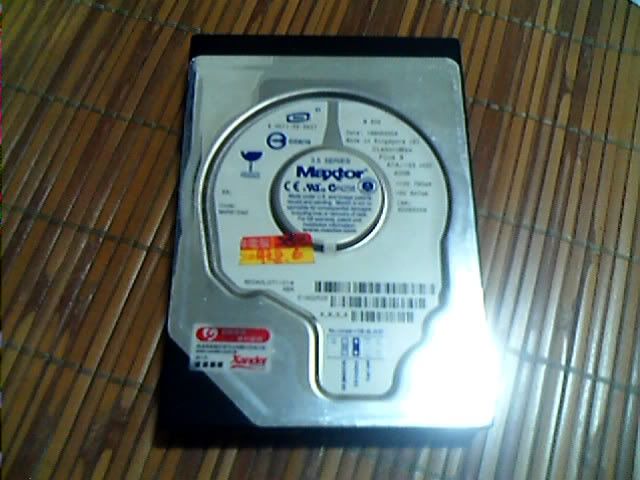
Maxtor-薄型40G-7200rpm-2M Cache(黃色鬼屋特價品)
嵌入完成~
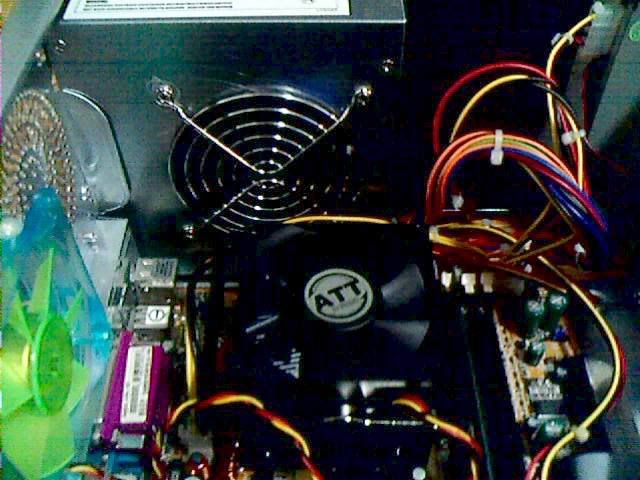
裝入Power美人~~

完成~~~
後記:這台改的效果比原本預期的好,燒機36小時,Power的溫度比另一台同樣的Power還要低~~
用手一摸便知,溫差有很大~有興趣自己DIY試試~~找時間另一台也來改一改


